Your Favourites in 2025
In 2025 the most popular recipe was Scallops with Roe. We were inspired by the great quality of the scallops on the market in Nice and we were not disappointed. The combination of scallops, roe and mashed potatoes is simple and delicious.
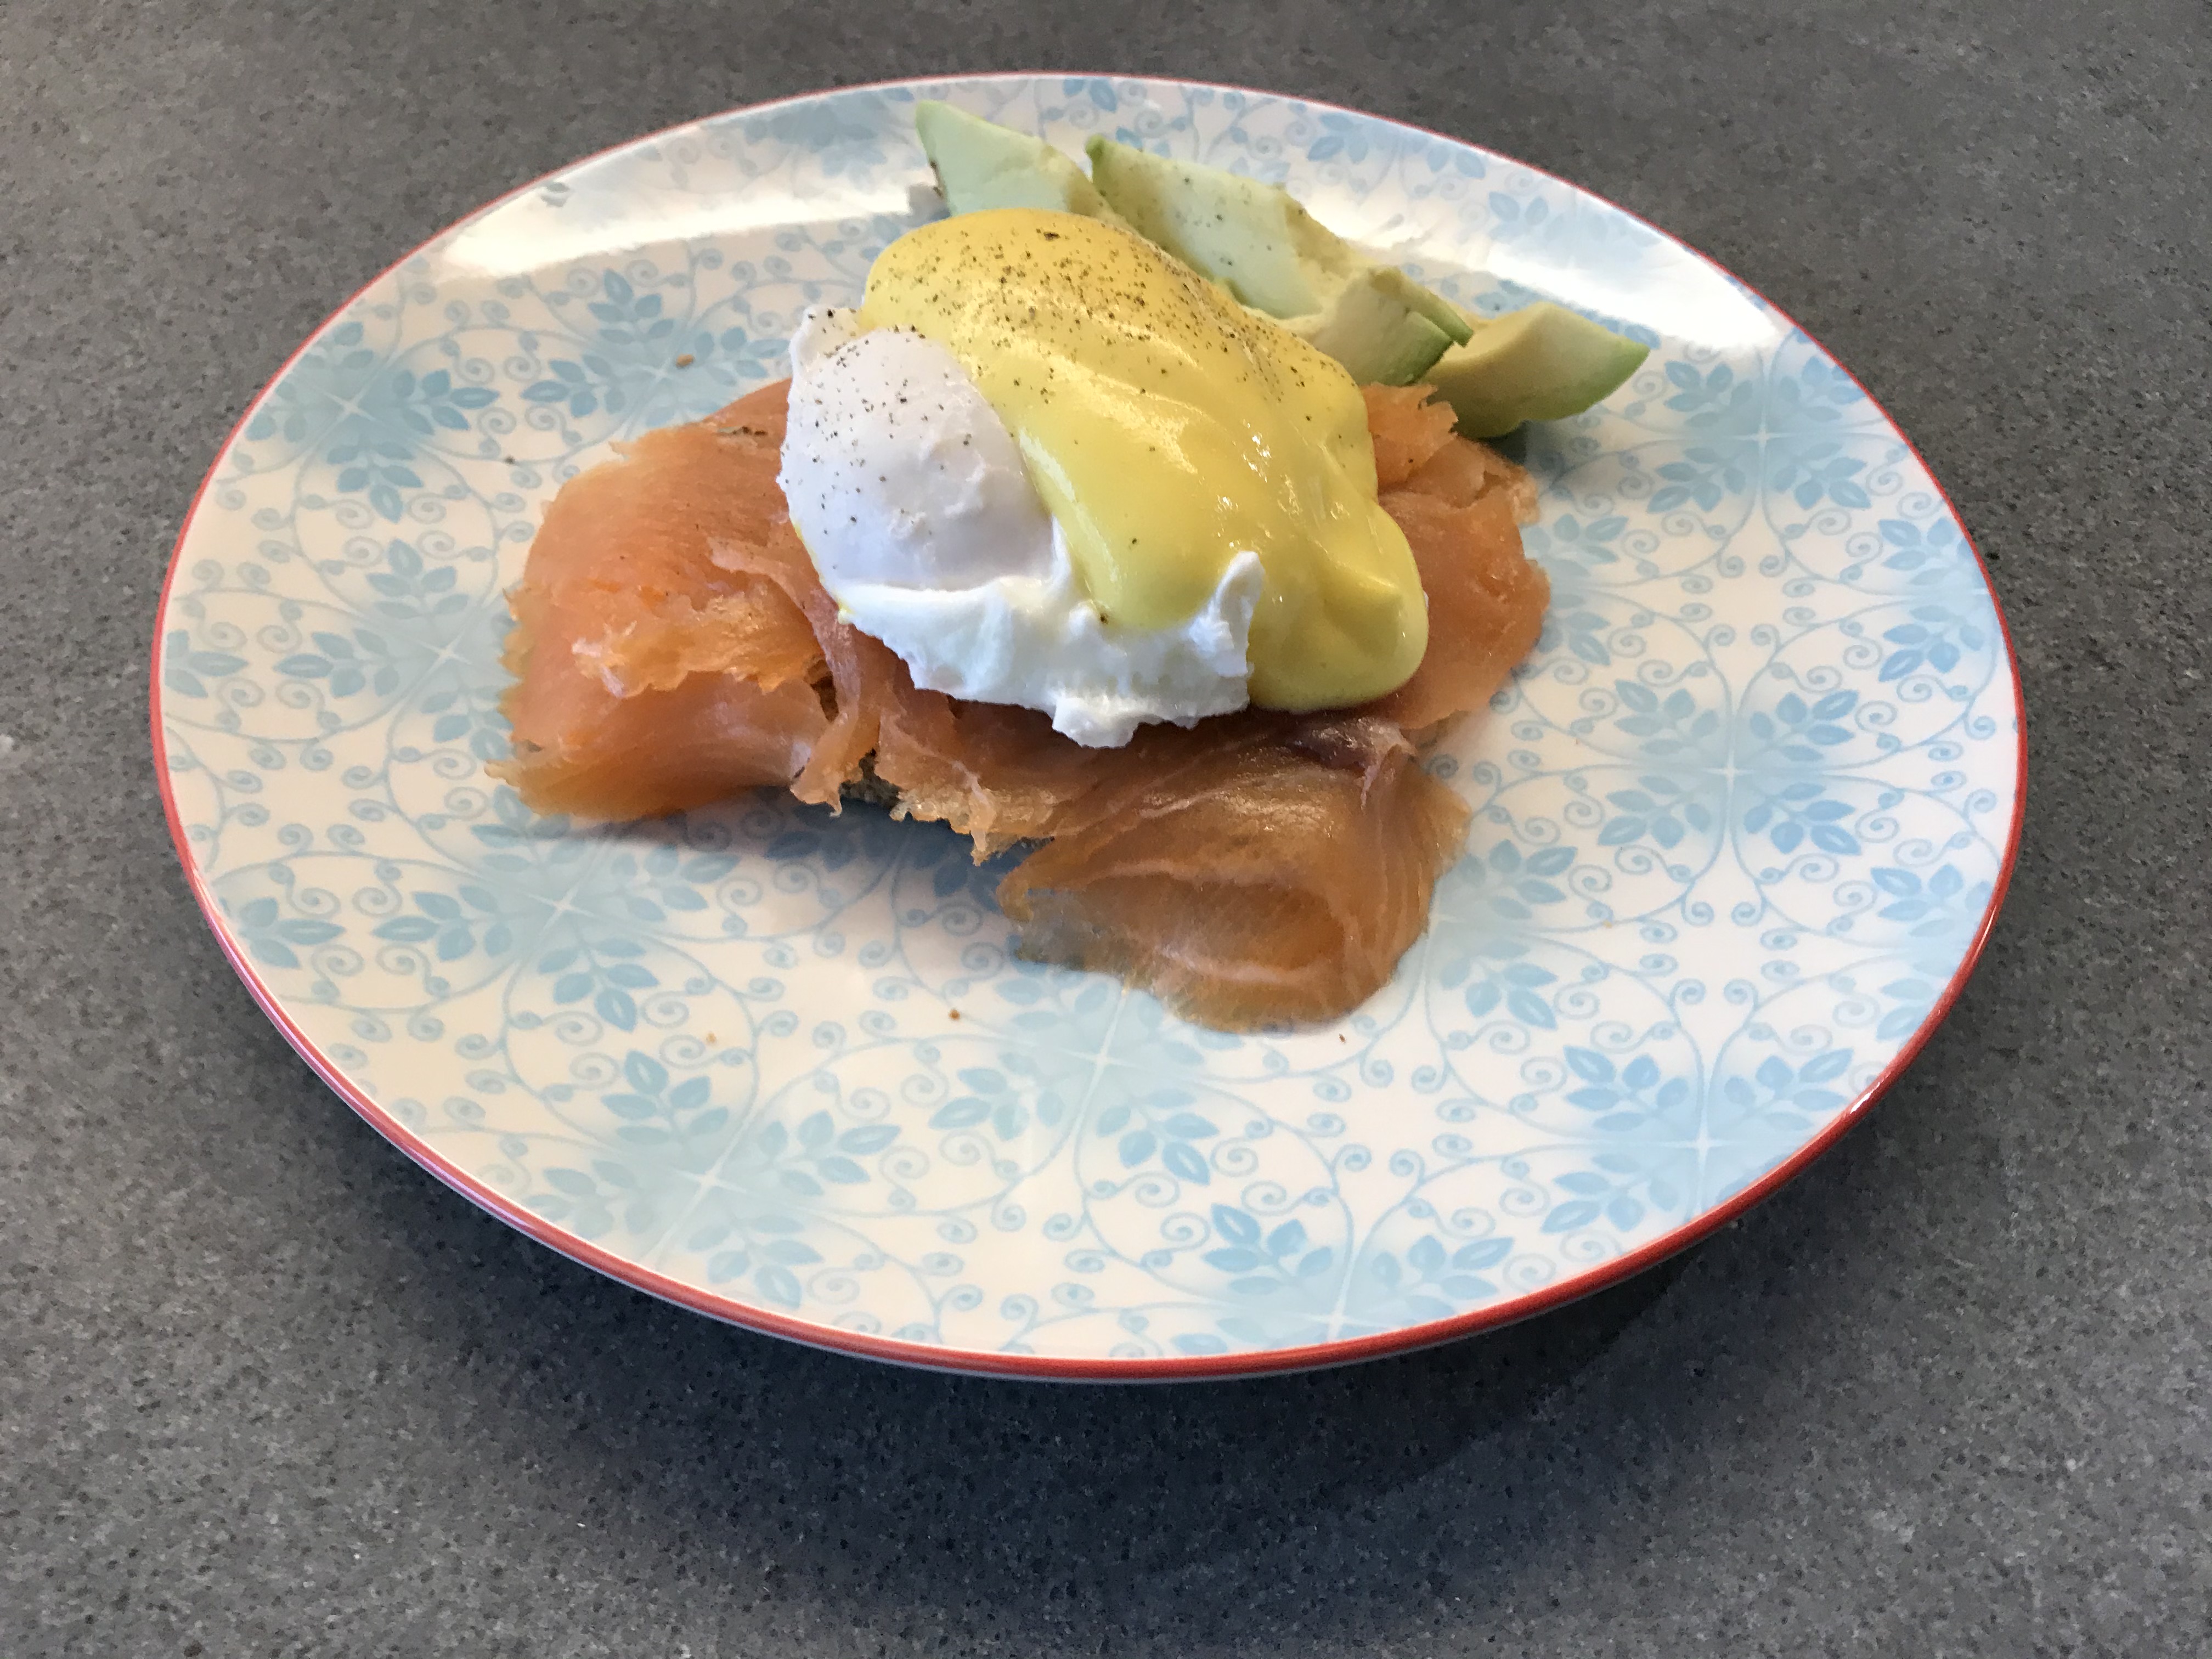
This year’s runner up is an all time favorite: Kimizu. This classic, golden sauce from Japan, is made with egg yolks, rice vinegar, water and mirin. We also made a version with tarragon, let’s say the Béarnaise version of Kimizu. Although it is a classic sauce, we use a microwave to prepare Kimizu and Kimizu with Tarragon. An easy and very effective way of controlling temperature and consistency.
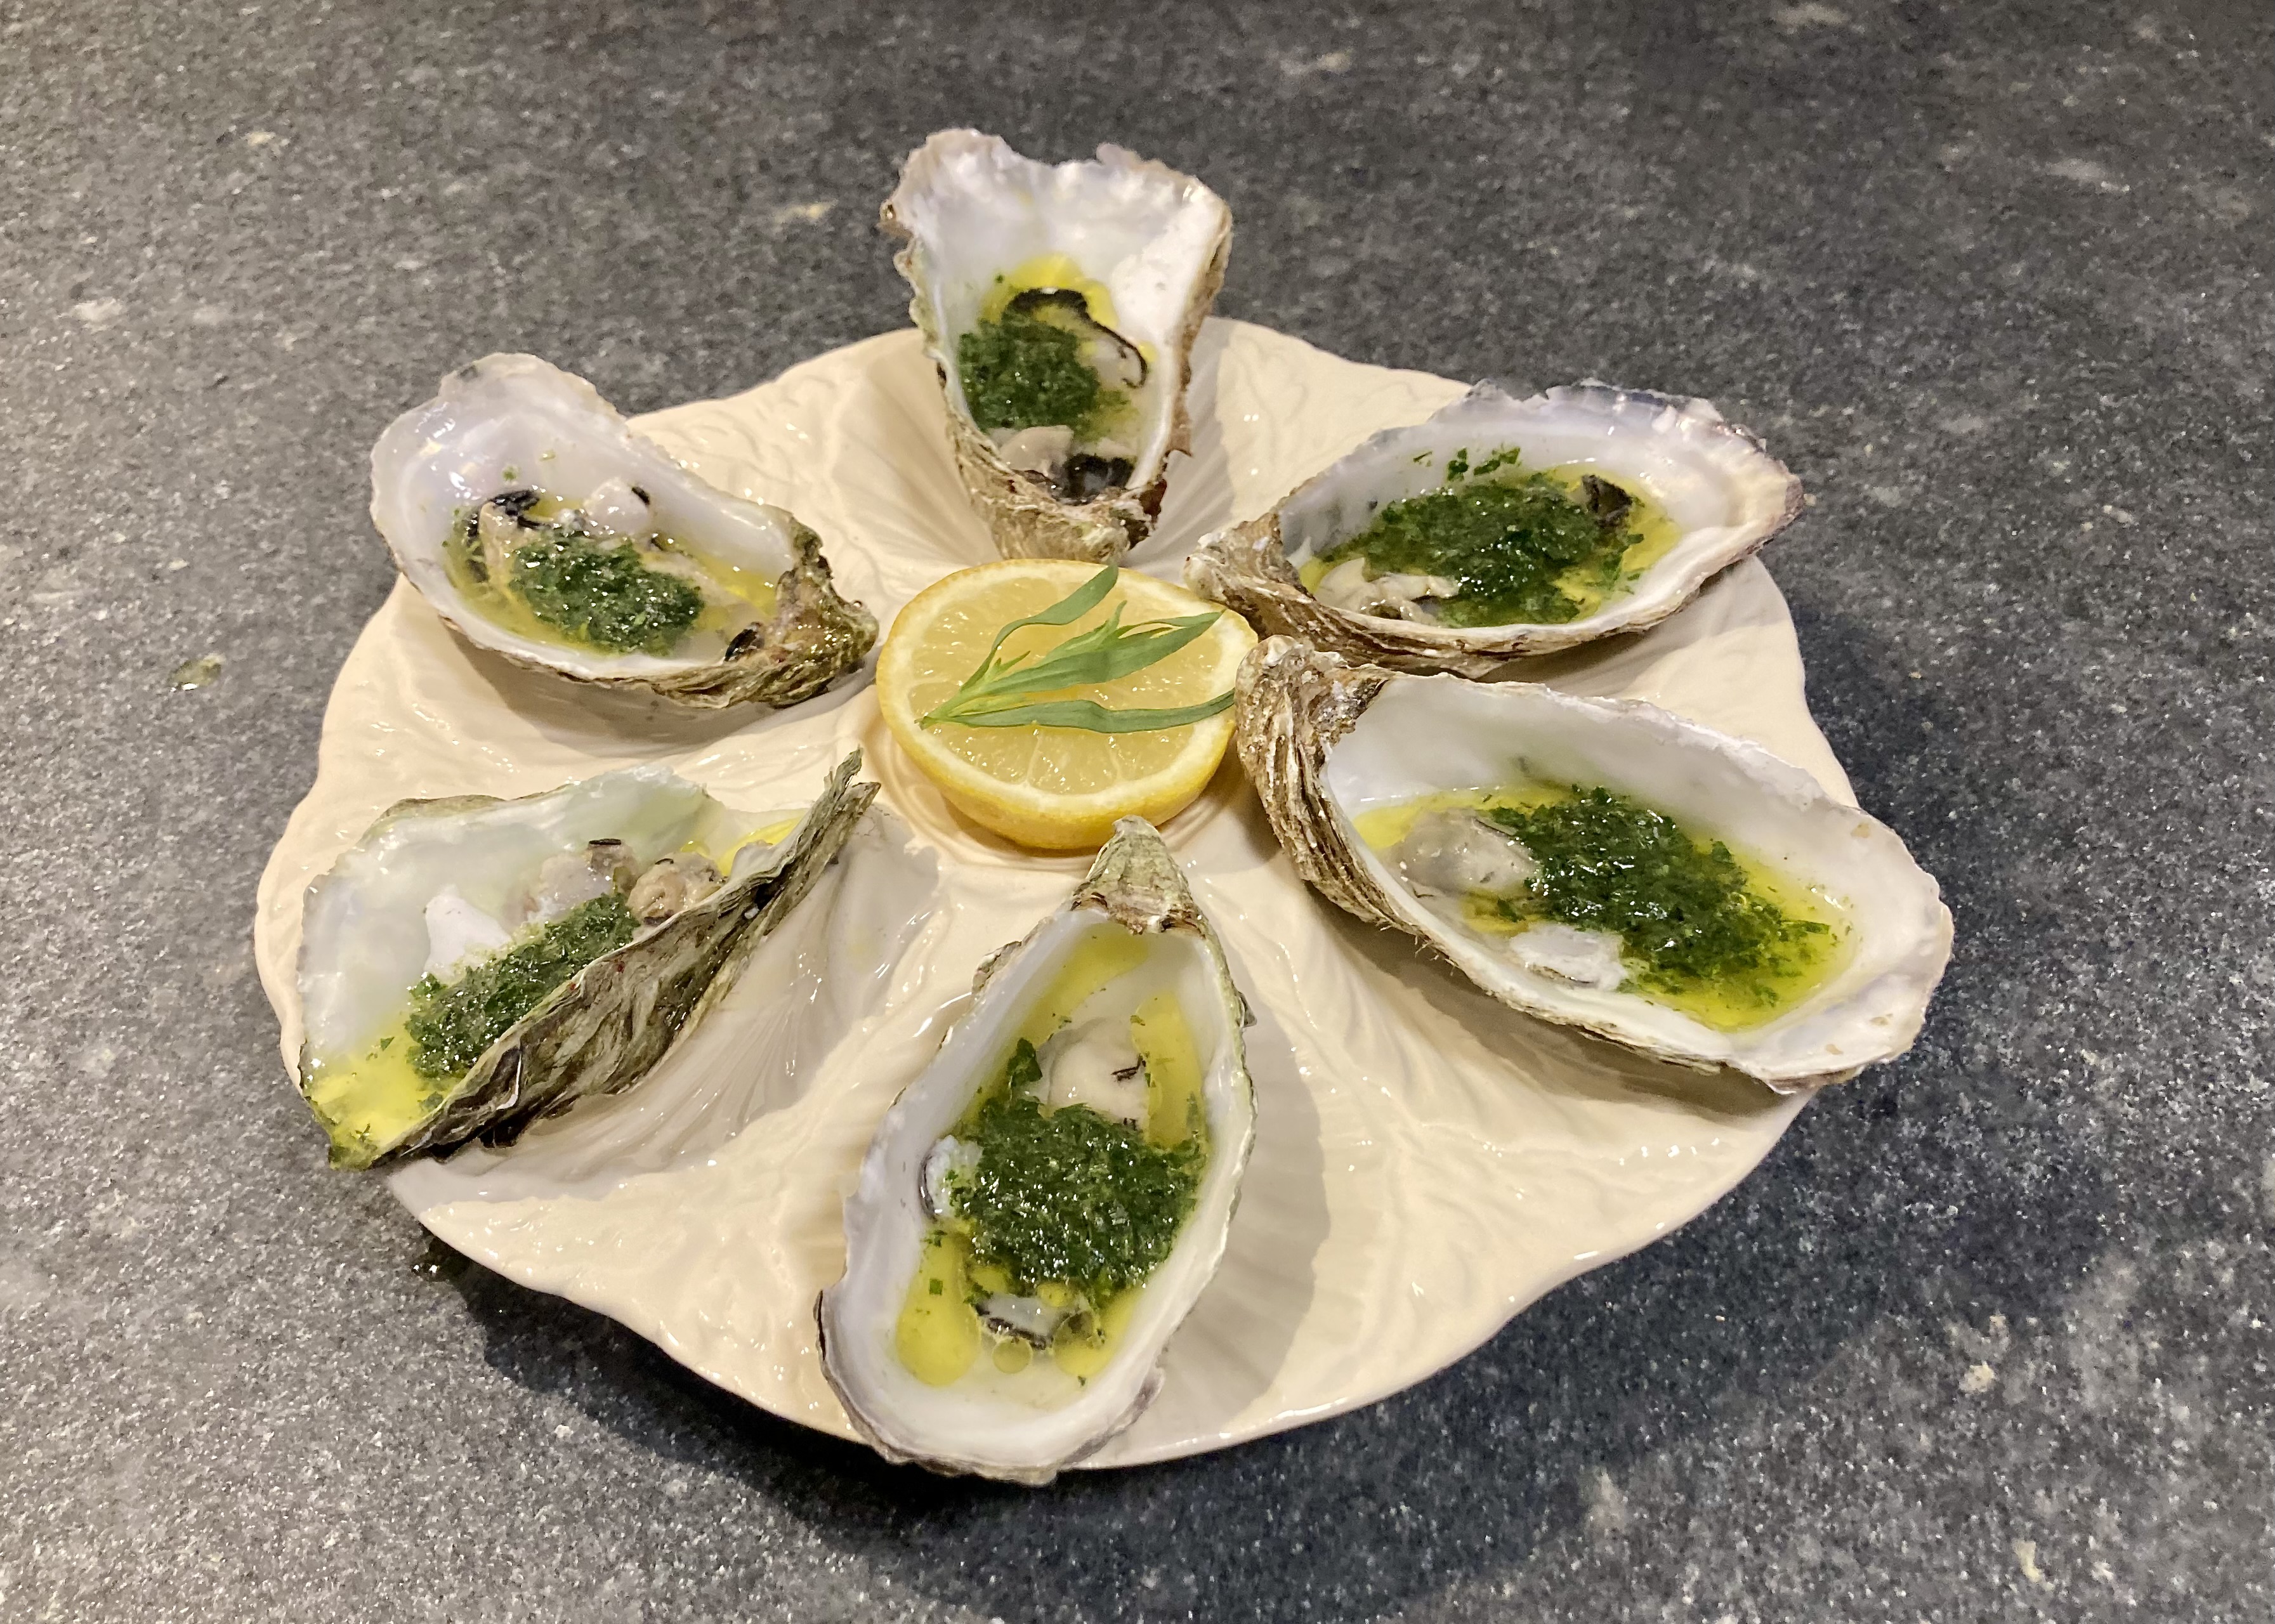
Number three was another classic sauce: Ravigote. We served it with Pâté de Tête Persillé and crusted bread. The recipe we posted goes back to the more or less original version. The Ravigote is light, uplifting and flavorful.
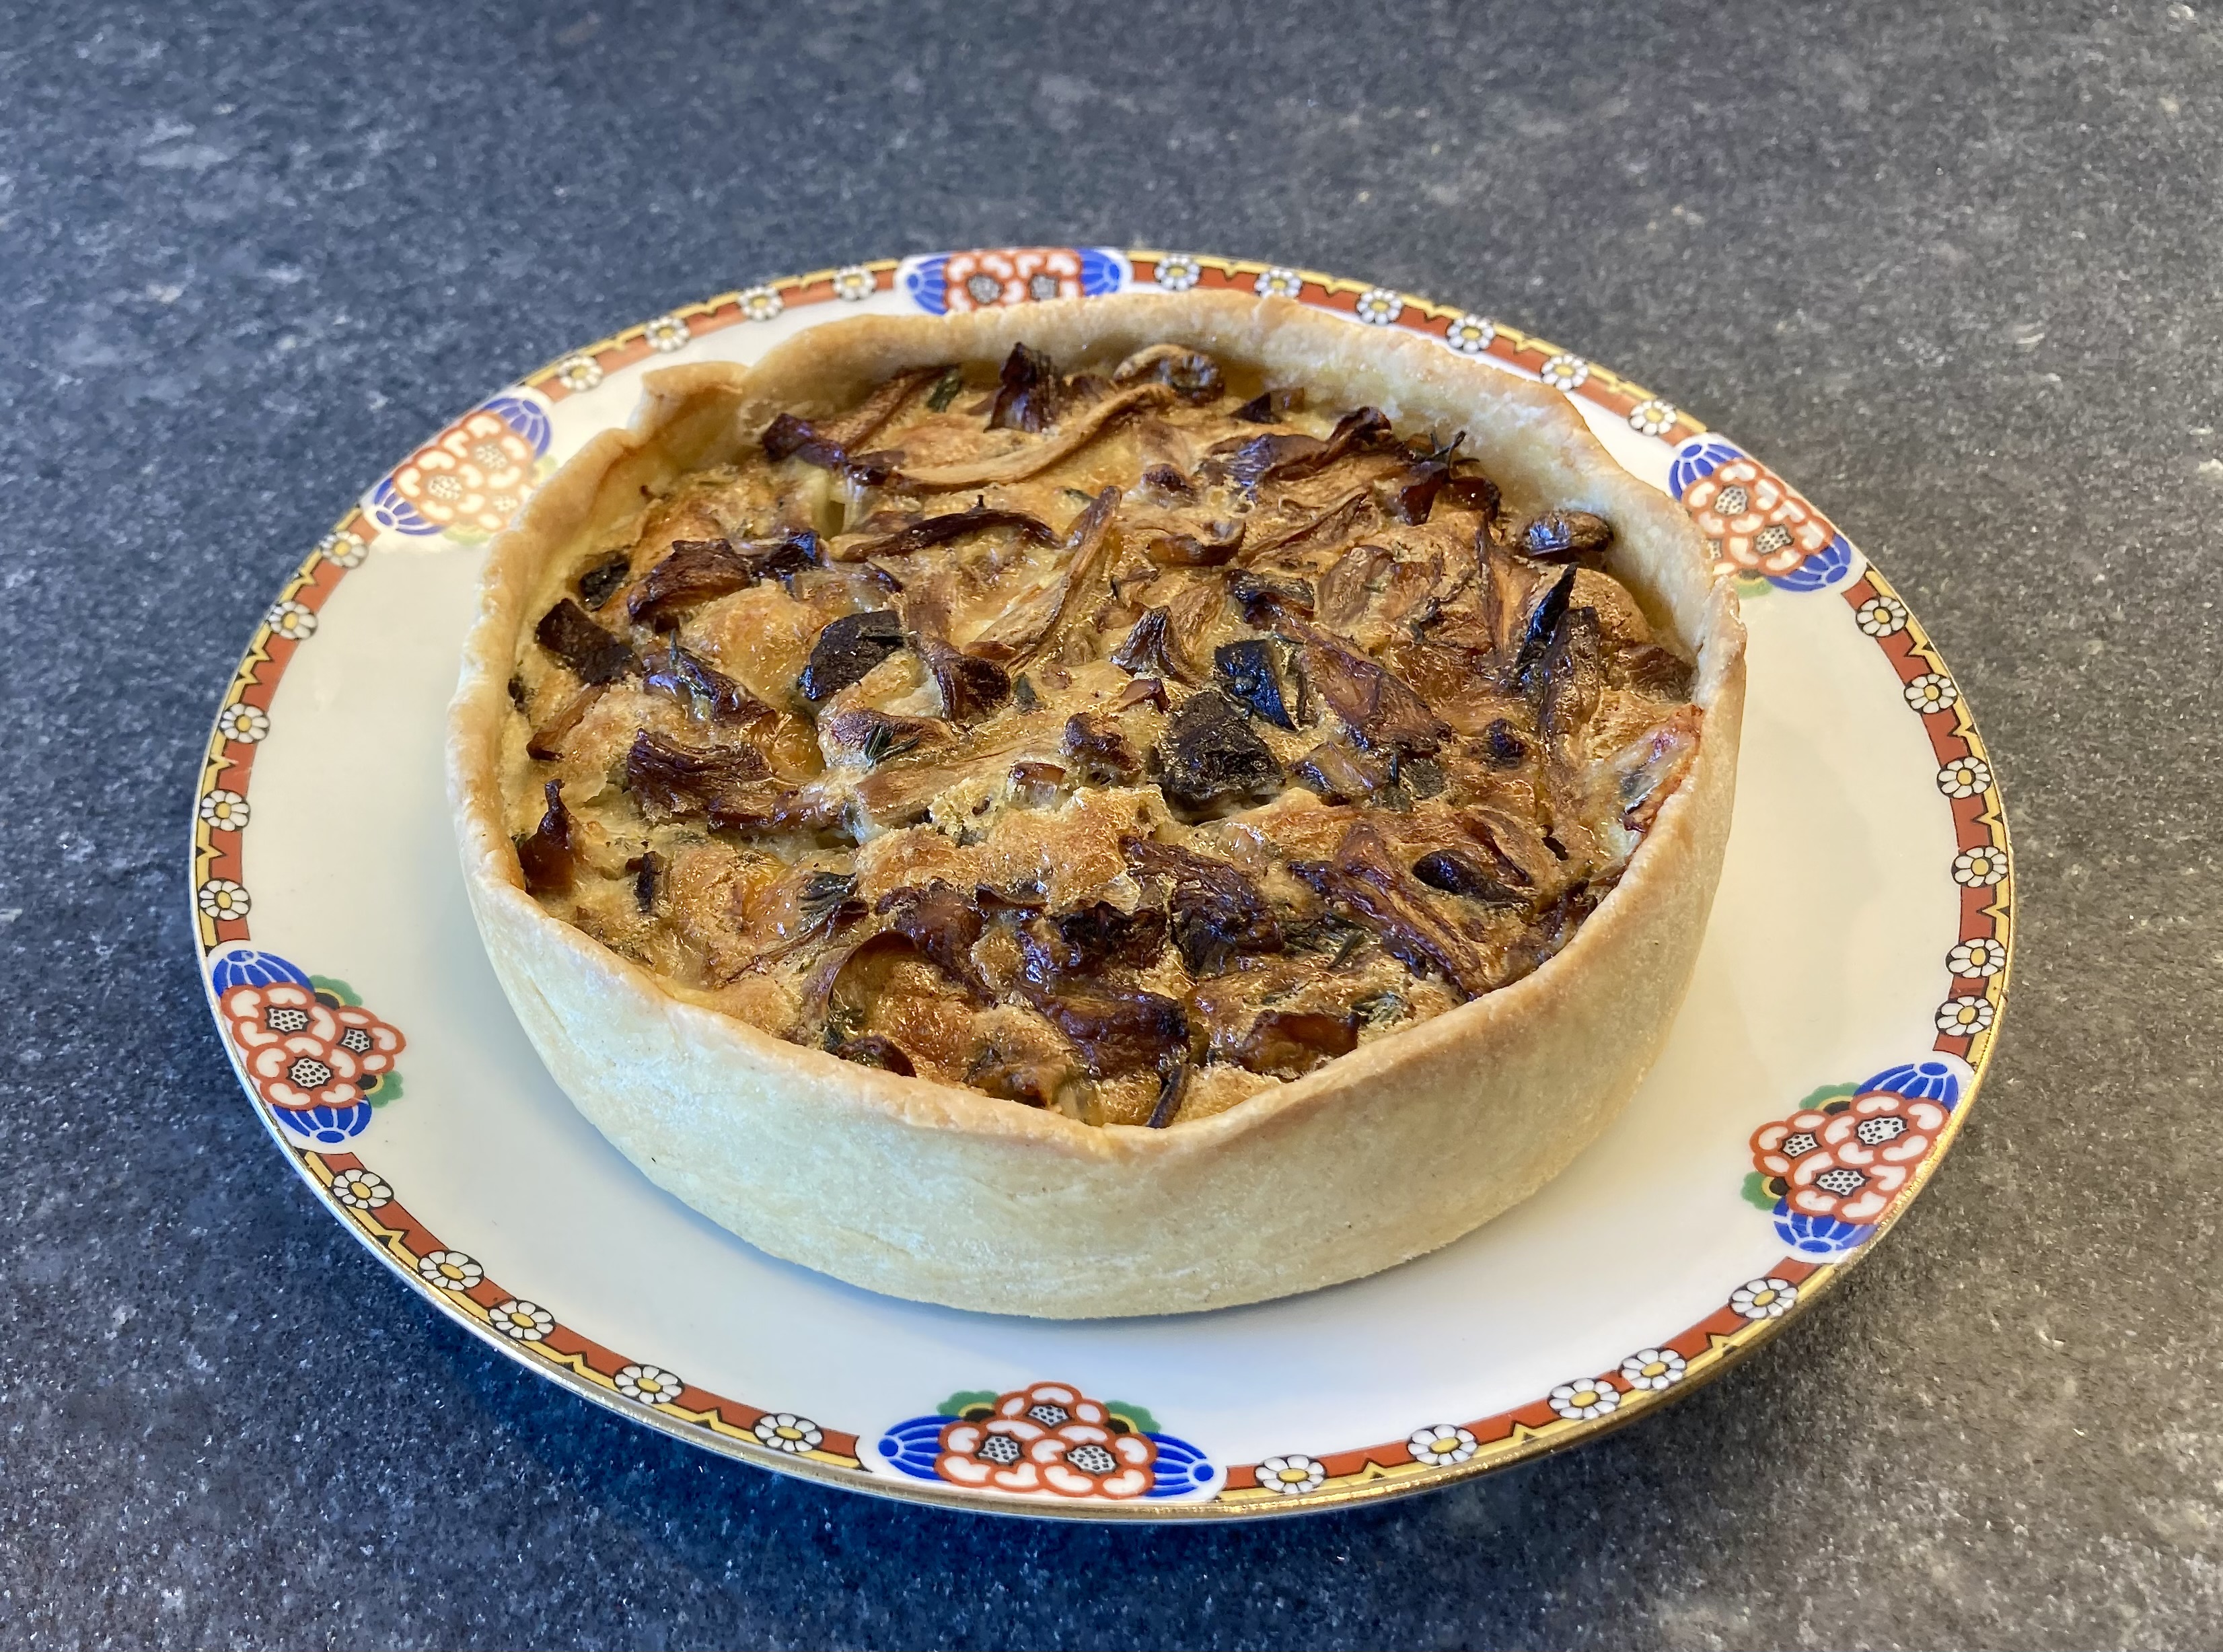
You’ve probably noticed we love mushrooms. Cultivated ones, like shiitake and oyster mushrooms and seasonal ones, such as morels and Caesar’s mushroom. This year we introduced a page with mushroom recipes in Dutch. It turned our to be a great success!
A few years ago we started exploring forgotten vegetables such as mashua and oca. We’re very pleased to see the popularity of this page. Clearly you’re as interested in these vegetables and their flavours as we are!
This year we will continue our series of sauces and of mushroom recipes, we will prepare dishes from illustrious Parisien restaurants and discuss wine pairing. We also plan to review cookbooks, with the help of our much loved tasting panel. In the meantime we look forward to your feedback, suggestions, likes and comments.
Let’s start cooking!