Summer Truffle and Golden Chanterelle
It’s always a great idea to combine seasonal ingredients: asparagus and morels, strawberries and rhubarb, summer truffle and golden chanterelle.
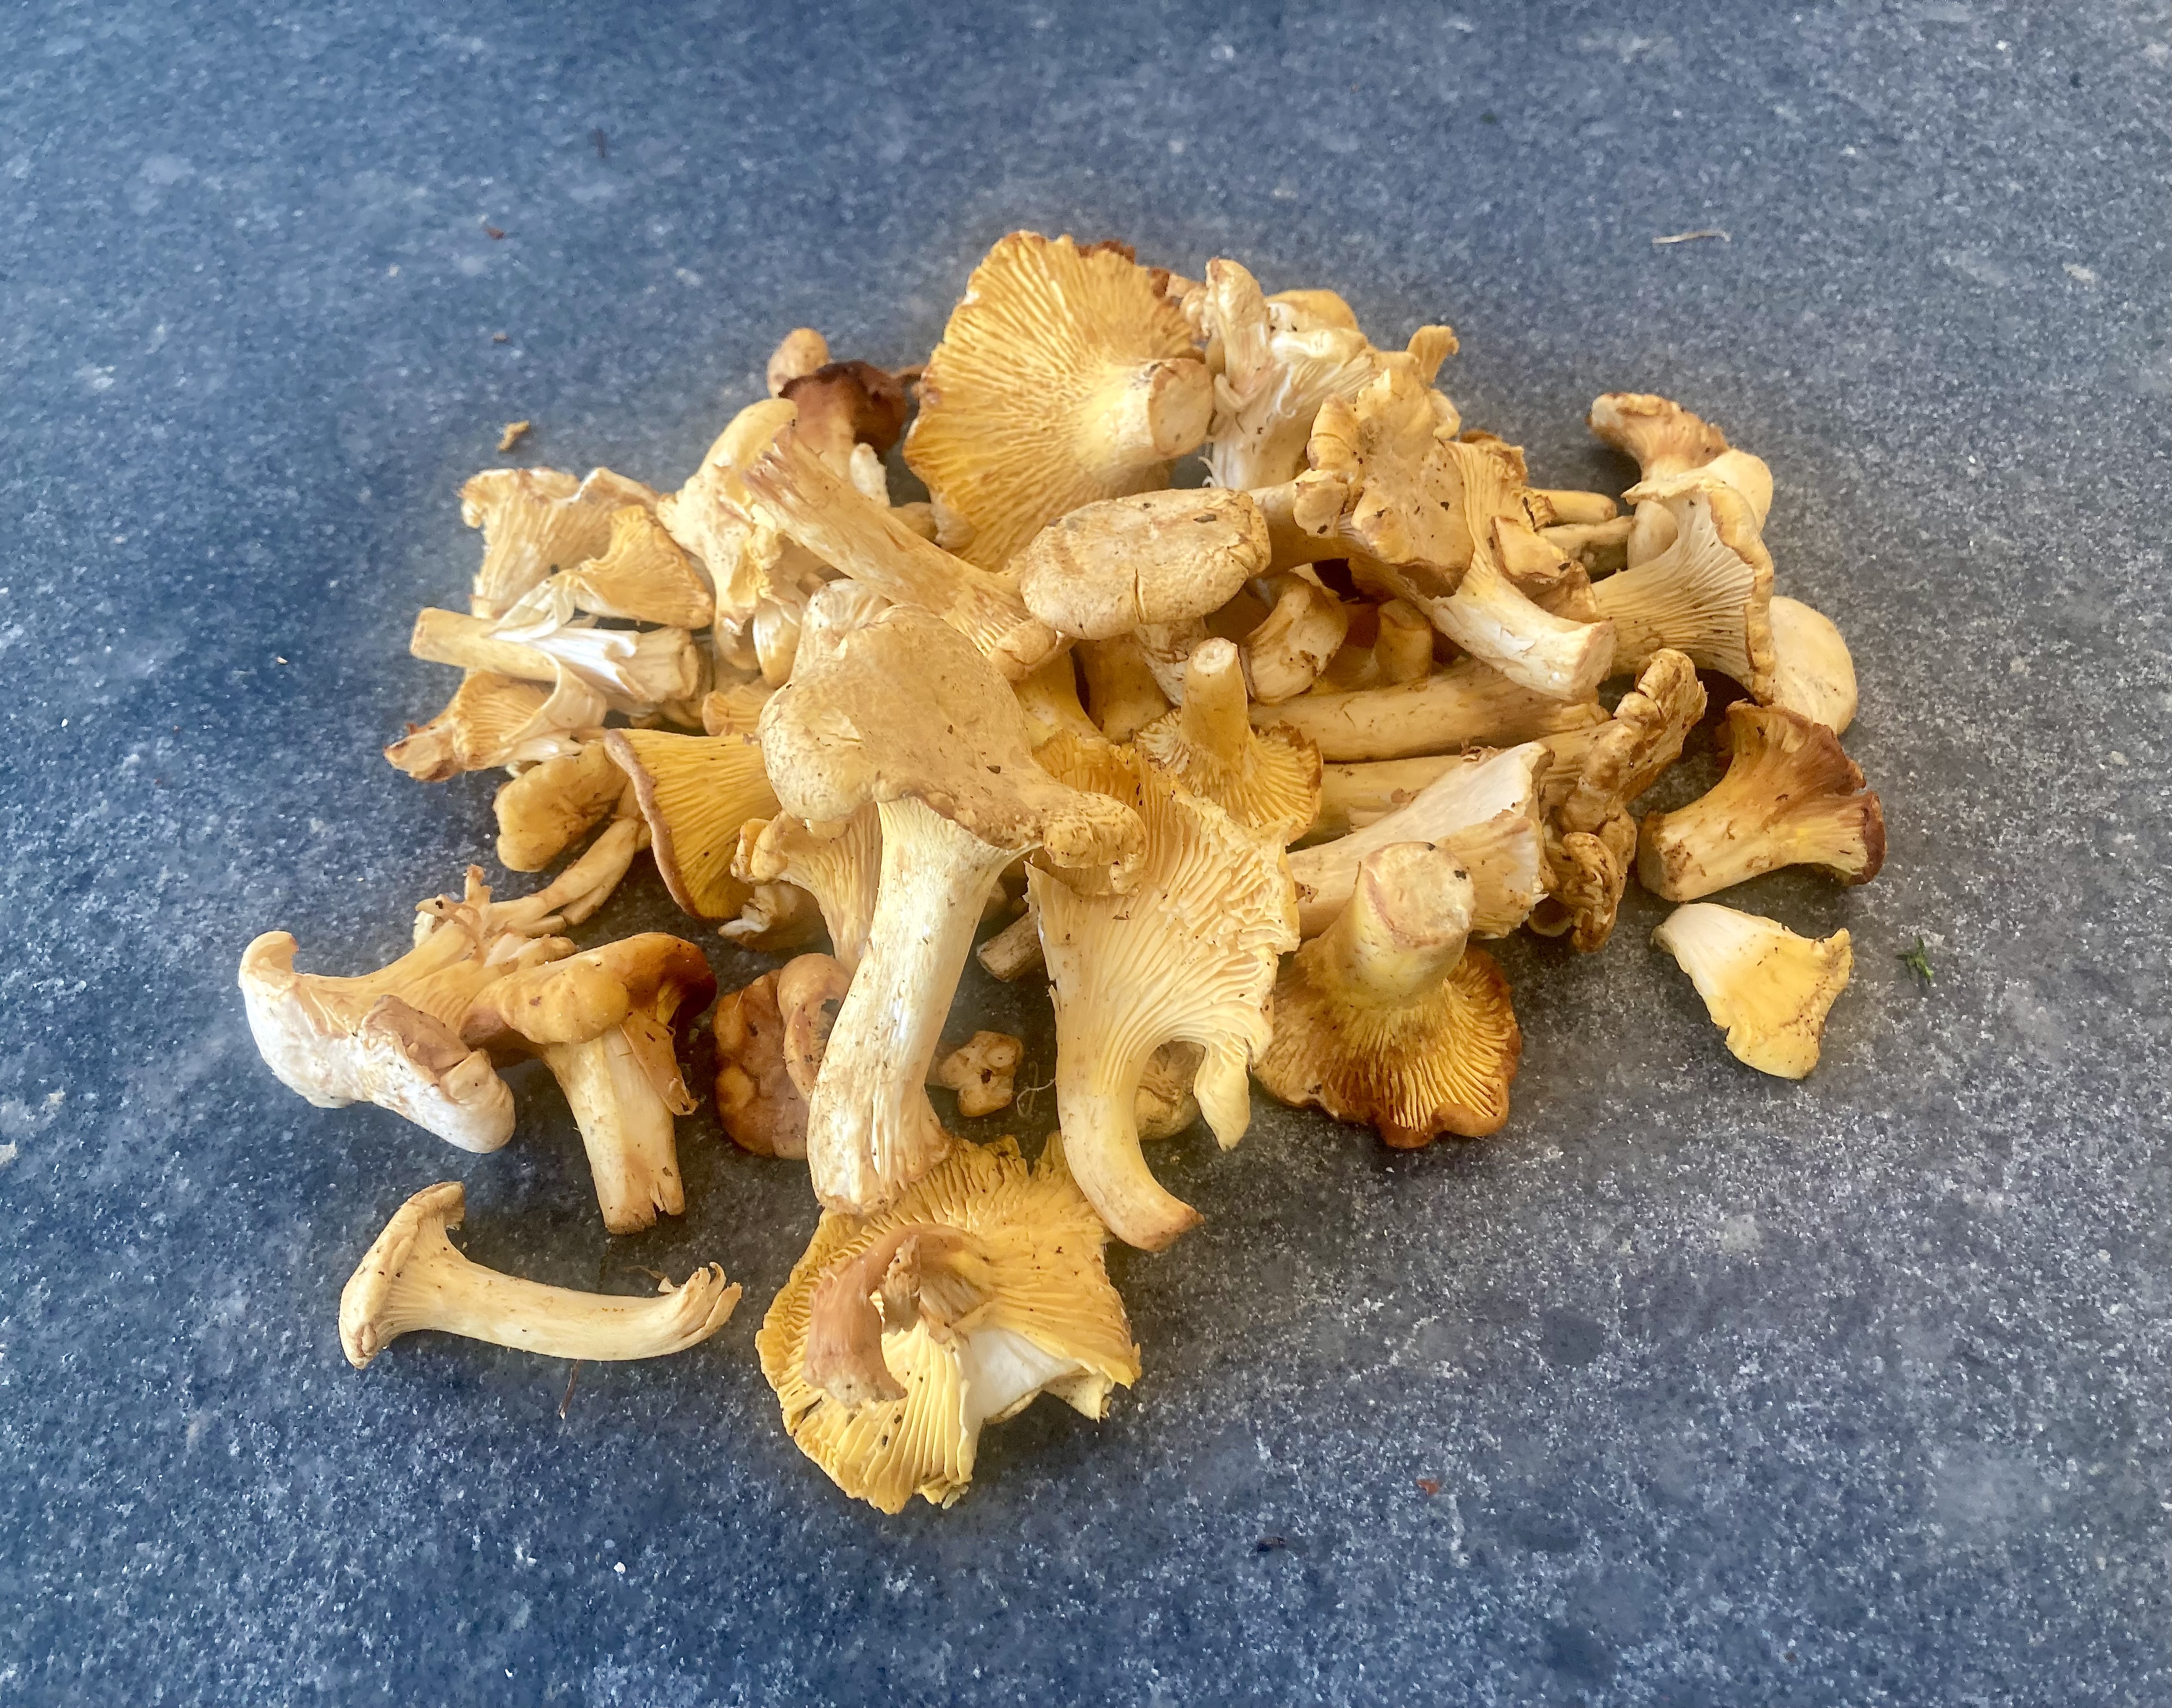
The season of the chanterelle runs from June to December. It’s a firm, bright yellow mushroom with subtle earthy, fruity flavour. It’s native to North America, Europe and Asia.
Summer truffles can be found between May and August. Their aroma and taste is very subtle. If slightly warmed, the flavour is more present (a bit nutty). If heated, the truffle loses its flavour.
The combination of chanterelle, truffle and cream is elegant and complex. The chanterelle gains depth from the truffle and vice versa. The pasta and the creamy sauce support the flavours beautifully.
Wine Pairing
We suggest a fruity, dry, red wine, with light tannins, for instance a Pinot Noir or perhaps a Gamay. We enjoyed a glass of Domaine Coudoulet Pinot Noir. This is a light, red wine from the Pays d’Oc in the south of France. It has a nice, light colour, aromas of strawberries, it’s refreshing and has a long finish. To be served somewhat chilled.
What You Need
- 200 grams of Golden (Yellow) Chanterelle
- 20 grams of Summer Truffle
- 1 Garlic Clove
- Stock (vegetable or chicken)
- Cream
- 1 teaspoon of Mustard
- Parmesan Cheese
- Spaghetti
- Olive Oil
- Butter
- Black Pepper
- Salt
What You Do
- Add olive oil to a heavy iron skillet. Set on low heat
- Slice the garlic in 3 or 4 and add to the oil
- Leave the oil on very low heat for 10-15 minutes
- Clean the chanterelle with a brush. Take your time!
- Cut the chanterelle in 2 or 4, depending on the size
- Clean the truffle
- Grate a quarter of the truffle, slice the remainder
- Grate some Parmesan cheese, just to thicken and gently flavour the sauce
- Cook the spaghetti in boiling water with some salt until al dente, according to the instruction on the package
- Remove the garlic from the pan
- Add some butter to the pan and increase the heat
- Fry the chanterelle
- Reduce heat
- Add stock, mustard and cream. Combine
- Add Parmesan cheese. Combine
- Add the spaghetti to the pan
- Taste and adjust
- Just before serving add black pepper and grated truffle
- Combine and serve
- Decorate with the summer truffle slices