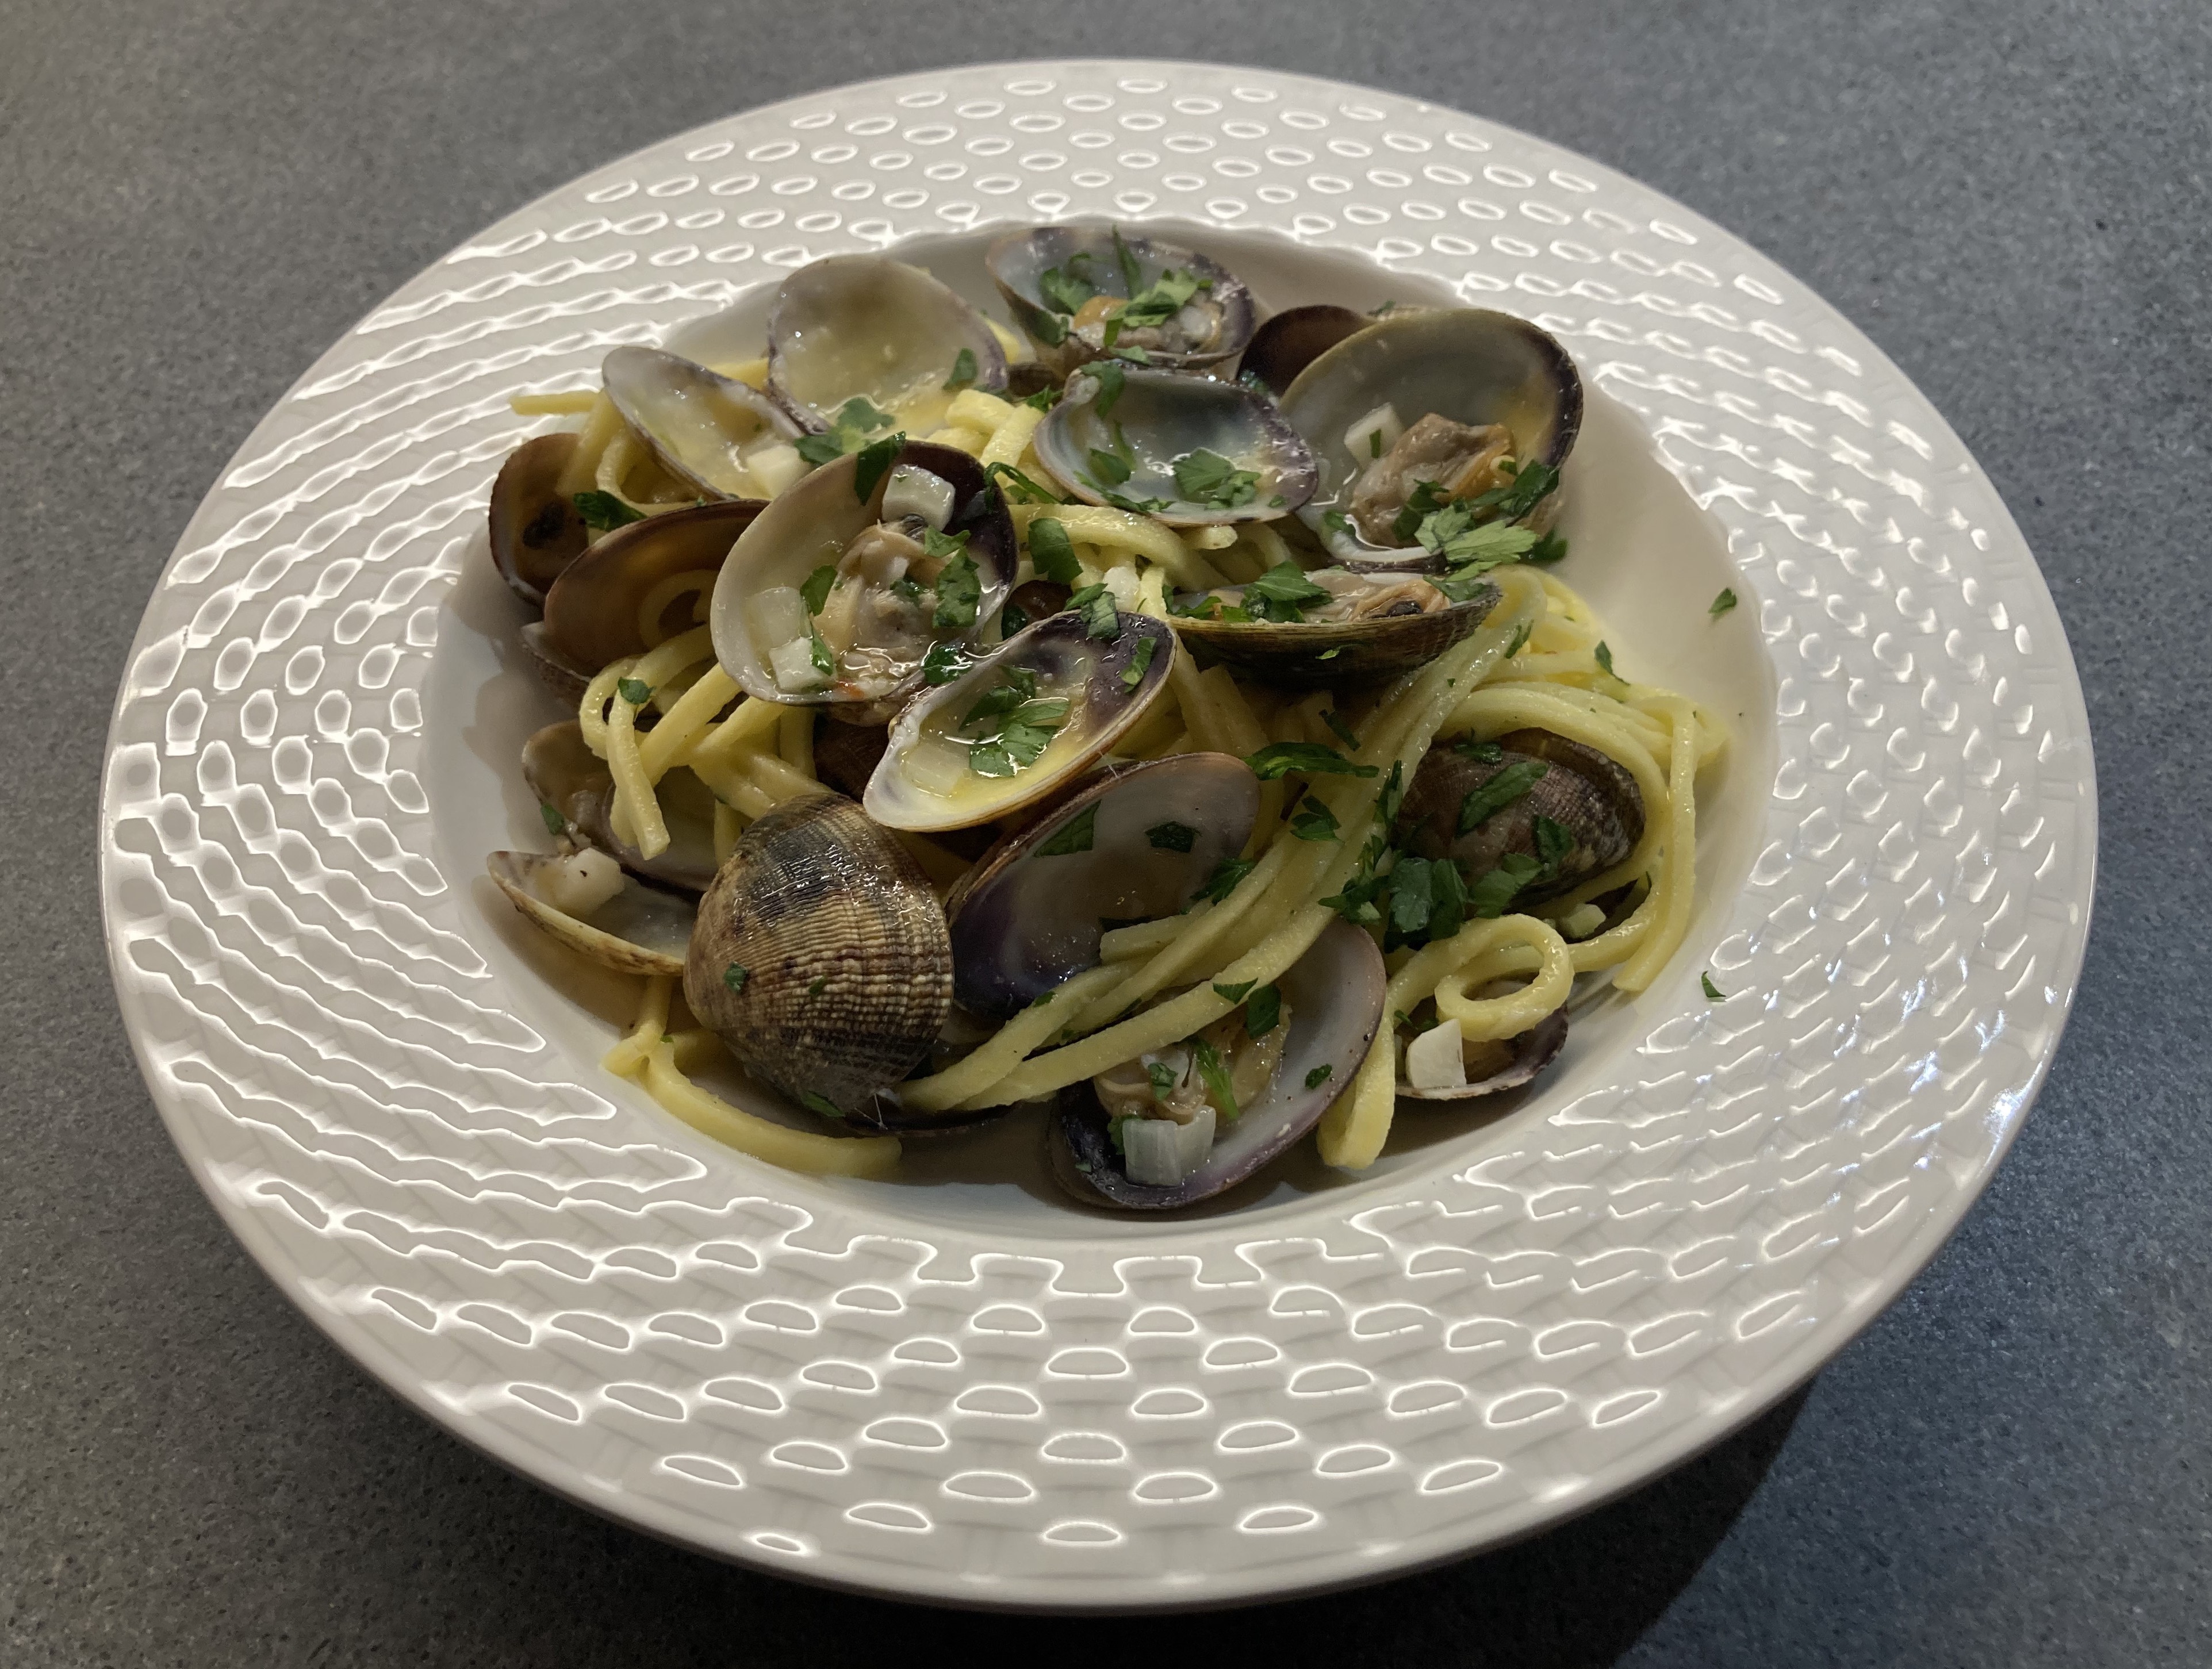
Mushroom Soup with Pancetta and Thyme

This morning when we looked outside, we saw a grey, foggy city. Knowing it would take hours for the fog to clear, we started thinking about something warm for lunch. Perhaps some soup with crusty bread? We opened our refrigerator. Various mushrooms, thyme, rosemary, cream, a carrot, some left over stock. Yes! We knew what we wanted to cook for lunch: Mushroom Soup with Pancetta. A hearty, rich soup, ideal for a cold, grey day. The combination of mushrooms, pancetta and cream works very well; the celery and leek add complexity and the thyme brings character.

Wine Pairing

It was much later that afternoon before the fog left the city, but since we also had some left over Chardonnay in the fridge, which we enjoyed with our soup, we didn’t mind that much.

What You Need

  • Pancetta
  • Shallot
  • Mushrooms (Best is a Mix of Champignons, Shiitake etcetera)
  • Celery
  • Leek
  • Carrot
  • Garlic
  • Stock (Chicken or Vegetable)
  • Bouquet Garni (Thyme, Rosemary and Bay Leaf)
  • Black pepper
  • Cream
  • Fresh Thyme
  • Olive Oil

What You Do

Keep two strips of pancetta apart (to be grilled just before serving). You probably need 4-6 strips in total. Slice the remaining pancetta and fry in olive oil on medium heat. Remove the pancetta from the pan, chop the shallot and glaze it in the fat and perhaps some extra olive oil. Clean and slice the mushrooms, slice half a stalk of celery, half a leek, a small carrot, chop two gloves of garlic and add this to the shallot. Gently fry for a few minutes. Add the pancetta, the stock and the bouquet garni. Allow to simmer for 30 minutes. Remove the bouquet garni. Blender the soup, pass through a sieve and leave on low heat for 10 minutes. The mushrooms will emulgate the soup, so no need to add a roux. Now it’s time to taste the soup and perhaps add some black pepper. Add cream and fresh thyme and leave for another 5-10 minutes. In the meantime grill the two strips of pancetta until brown and crispy. Cut the stripes in five pieces depending on the size. Serve the soup in a warm bowl with the pancetta on top of it.

Pasta Alle Vongole

This is a truly delicious and simple starter, one that will only take a few minutes to prepare. The dish comes with two challenges: you need fresh, excellent vongole and you need to resist the temptation to add shallot, tomato, chilli, wine, lemon or butter.

Hey, we can hear you thinking, no wine? Indeed, no wine. We’re not fan of the acidity that comes with the wine plus we don’t want too much liquid. Basically we’re happy with the liquid as provided by the vongole. The idea is to steam the vongole in their own juices. This requires closely monitoring the cooking process. Next time you prepare Pasta Alle Vongole, please try to forget the wine.

Another ingredient to forget: salt. No need to cook the pasta with salt because the vongole will bring enough saltiness.

Obviously the vongole need to be clean, meaning without sand. Sometimes we’re lucky and our fishmonger offers washed vongole. If not lucky, we wash the vongole a few times with salted water.

Wine Pairing

Enjoy this classic Italian dish with a Soave: a beautiful, dry, crisp white wine from Italy. We opened a bottle of Cuvée XX, Soave Classico DOC, produced by Guerrieri Rizzardi. It proved to be ideal with the clams: refreshing and dry with floral and mineral notes.

What You Need

  • 500 grams of super fresh, washed Vongole
  • 2 Gloves of Garlic
  • Parsley
  • Spaghetti
  • Olive Oil
  • Black Pepper

What You Do

  1. Make sure you have everything ready: crushed garlic, chopped parsley, a pan with boiling water, a heavy pan (warm through and through), two warm plates
  2. Discard vongole that are broken or damaged
  3. Ready?
  4. Cook the pasta as mentioned on the package
  5. Increase heat, add a generous amount of olive oil to the heavy pan, add garlic, count 30 seconds, add vongole, close the pan and cook the vongole for 3-5 minutes in total
  6. After 1 minute (so 2-4 minutes to go) check if all is okay
  7. If too dry, then add extra olive oil or a splash of water
  8. When clams have opened, drain the pasta, remove the pan with the vongole from the heat, add pasta, chopped parsley and black pepper, mix and serve on two warm plates
  9. You could remove some, but not all, of the shells to make eating the dish a bit more elegant, although it’s fun eating the vongole with your hands
  10. Discard shells that have not opened
  11. PS Some recipes suggest cooking the vongole, preparing a sauce and then reheating the vongole with the pasta. If you do, the poor vongole will become rubbery, so not a good idea.

Season’s Greetings

Perhaps you’re looking for some extra inspiration menu-wise for the Holiday Season? Let us help you with a few suggestions.

Apéretif

It’s of course great to serve a glass of Champagne, but why not start with a glass of Crémant de Bourgogne or Alsace? Or a Spanish Cava? The fun is that you can buy a slightly more expensive Crémant or Cava and enjoy a refined sparkling wine. Serve with Terrine de Foie Gras on toast or with a small prawn cocktail, served in a peeled tomato.

Starter

Scallops with fluffy cauliflower purée is a wonderful combination of flavours. The practical advantage is that you can prepare the purée a day ahead and grilling the pancetta is also something you can do in advance. Serve with a glass of Sauvignon Blanc. Dry, some acidity, touch of fruit.

Main Course

Canard à l’Orange, served with steamed Brussels sprouts and potatoes fried in butter: a dish that supports the festive character of your evening: sweetness, a touch of bitterness and crispy, rich potatoes. Enjoy with a beautiful Bordeaux. In general you’re looking for a powerful red wine, with aromas of berries and a touch of oak. The flavour must be round and long with subtle tannins.

Cheese

We tend to go for the classic combination of Stilton and Port. Spend some money and buy a Late Bottled Vintage Port.

Dessert

Continue the British tradition and enjoy a slice of Christmas Pudding with a coffee and a glass of Cognac or Calvados. No need to serve the pudding with brandy butter.

Season’s Greetings 2021 ©cadwu

Sauce Provençale

Based on one of the leading (mother) sauces this is a quick, tasty and uplifting sauce with olives, capers and Herbes de Provence. The success of this sauce depends on the use of the intense, flavorful classic tomato sauce. Sauce Provençal has a good structure and comes with a variety of flavors, making it very much an accompaniment for grilled chicken or fish. If you use modern tomato sauce, then the result will be nice, but not as spectacular.

Herbes de Provence is a mixture of dried herbs such as oregano, thyme, rosemary, savory and perhaps sage and lavender. Feel free to create your own mixture. If you buy a ready-made mixture, make sure it has character, aromas and structure.

What You Need
  • Classic Tomato Sauce
  • One shallot
  • Two Tomatoes
  • One Glove of Garlic
  • Teaspoon of Herbes de Provence
  • Capers
  • Black Olives
  • Olive Oil
  • Black Pepper
What You Do
  1. Peel the tomatoes, remove the seeds and cut in small cubes
  2. Finely chop the shallot
  3. Wash and drain the capers
  4. Crush the garlic
  5. Slice the olives in two
  6. Heat a heavy iron skillet and gently glaze the shallot
  7. Add tomatoes, garlic and herbes de Provence
  8. Leave on low heat for 5 minutes
  9. Add the classic tomato sauce, the capers and the olives
  10. Leave for 5-10 minutes
  11. Stir the mixture gently
  12. You want to keep the structure of the tomatoes
  13. Taste and perhaps add some black pepper
Sauce Provençal with Grilled Chicken ©cadwu

The Art of Sauces: Kimizu

A few years ago we enjoyed an excellent Kaiseki dinner at Yamazato in Amsterdam. The menu featured many wonderful dishes, one of them being Kimizu-Ae: a combination of white asparagus and Kimizu. We were immediately intrigued because Kimizu is a rich and light sauce. It comes with a velvety feeling, a natural note of sweetness, a bright yellow colour and perfect acidity. So yes, the next day we prepared our own Kimizu.

Kimizu brings together two ingredients: egg yolk and rice vinegar. You could add some mirin (or sugar) and a pinch of salt. Within two minutes you will have created a beautiful, golden sauce; one that combines very well with fish and asparagus.
Kimizu does not contain butter (the egg yolk being the only source of fat) so Kimizu, although it seems similar to Hollandaise, is lighter, easier to digest and fresher.

Many recipes include starch, probably because the cook has trouble making a warm, emulgated sauce. Our advice: never use starch or beurre manié. The consistency is an essential element of the sauce and must be the result of the combination of egg, liquid and warmth. Same for a sabayon.

Using a microwave oven to make Kimizu is a great idea (see our recipe for Hollandaise), although it does require more whipping and more attention compared to making Hollandaise.

Wine Pairing

We enjoyed our Asparagus and Kimizu with a glass of Sancerre, 2017, Domaine Merlin Cherrier. This classic wine reflects the chalky terroir of Sancerre beautifully. The combination of Sauvignon Blanc (citrus, minerals) and Kimizu (touch of sweetness, present but not overpowering acidity) works really well. A wine of true class and complexity with a long finish.

Now embrace your microwave and start using if for making Kimizu.

What You Need

  • For the Kimizu
    • 2 Egg Yolks
    • 1,5 tablespoon of Rice Vinegar (depending on the size of the egg yolks and the acidity of the vinegar)
    • 3 tablespoons of Water
    • Mirin (optional, we suggest adding 1 or 2 teaspoons)
    • pinch of Salt (very optional)
  • 6 Asparagus

What You Do

  1. Peel the asparagus
  2. Steam the asparagus (depending on the size 20 or 25 minutes; they should be well done for this dish)
  3. After 10 minutes start making the sauce
  4. Whisk the two egg yolks
  5. Add rice vinegar, mirin, water and whisk some more
  6. Transfer to the microwave and give it let’s say 10 seconds of 30%
  7. Remove from oven and whisk well
  8. Repeat steps 6 and 7
  9. You will now feel the consistency changing
  10. If not, don’t worry, just repeat step 6 and 7
  11. After 2*10 or 3*10, move to steps of 5 seconds on 30% power
  12. Whisk, whisk again and feel free to find your own way
  13. When the kimizu is ready, take it out of the oven and continue whisking gently
  14. Serve the asparagus with a generous helping of Kimizu
White Asparagus with Kimizu © cadwu

Pumpkin Soup (with Kombu Dashi)

It’s autumn, so obviously we want to cook pumpkin soup. A nice and warm combination of pumpkin, ginger, chilli and orange lentils for instance. Or with Jus de Truffe for a bit of extra umami and exclusivity.  Both are excellent vegetarian dishes, perfect for lunch with some crusted bread or as a starter.
Having recently prepared kabocha with shrimps, we decided to prepare a vegetarian soup with it. The basis of the soup is Kombu Dashi (made with dried Kelp). The dashi and the soy sauce bring saltiness and umami to the soup, which combines very well with the exceptional sweetness of the pumpkin and the mirin.

You could prepare the soup with the skin of the kabocha, but we love the intense orange colour of the inside.

What You Need

  • 20 grams of Kelp
  • 1 litre Water
  • 1 Kabocha
  • Light Soy Sauce
  • Mirin
  • Purple Shiso

What You Do

Add the kelp to one litre of cold water. Put on low heat and wait until it has reached 80 °C or 175 °F. Overheating it will make the dashi bitter. In the meantime, wash and peel the kabocha, remove the seeds and dice. Remove the kelp from the pan, discard and add the kabocha. Allow to simmer on low heat for 20-30 minutes until the kabocha is soft. Remove some of the liquid and blender the kabocha. Add liquid until you have the right consistency. In our experience you will need one litre of water to cook the kabocha but it might be too much liquid for a nice, velvety consistency of your soup. Add 2 or 3 tablespoons of mirin and 1 or 2 tablespoons of light soy sauce.  It’s a matter of your preference, ripeness of the kabocha and the kelp.
Best to decorate with some purple shiso, or with sprouts (as we did), provided they’re not too spicy.

Pâté with Mushrooms

Let’s celebrate the season by preparing a Pâté! The combination of a crispy crust, a structured, colourful filling and various flavours is always a pleasure. Making a pâté (or better: a Pâté en Croûte) can be a bit intimidating (especially if you look at the pâté’s prepared during the World Championship!) but that should not stop you from giving it a try. It’s a pleasure to think about the ingredients, work on the construction and enjoy the wonderful aromas from your oven while baking the pâté. And the joy when slicing it: is the pâté as beautiful as you expected it to be?
Feel free to make your own puff pastry, but if you buy ready-made pastry, please check it’s made with butter, flower, salt and water only and not with rapeseed oil, palm oil, yeast etcetera.

Wine Pairing

A red, medium bodied wine will be a great accompaniment of this Pâté en Croûte. In general you’re looking for a red wine with aromas of black fruit, floral notes and delicate wood. The tannins should be soft or well-integrated. We enjoyed a glass of Pinot Noir from La Cour Des Dames

What You Need

  • 150 grams of Cèpes
  • 250 grams of Champignon de Paris
  • 1 small Shallot
  • Handful of Spinach
  • Half a cup of Rice
  • Parmesan Cheese
  • Parsley
  • One Egg
  • Puff Pastry
  • Black Pepper

What You Do

Start by cooking some rice, you will probably need a tablespoon of cooked rice. Clean the cèpes and see how they best fit in the pâté baking mould. Perhaps you need to trim the stems or the caps to have the best result when it’s ready. Set the cèpes aside.
Clean the champignons and wash the spinach. Peel and finely chop the shallot. Warm a heavy iron skillet, glaze the shallot, add the cleaned and lengthwise halved mushrooms (and the leftovers of the cèpes) and cook them on medium heat for 10 minutes or so. In parallel blanch the spinach, drain and squeeze. Also in parallel, coat the mould first with baking paper and then with puff pastry. Make sure you have some extra pastry to create the lids for the chimneys. Chop the cooked mushrooms. Chop the spinach. Add the egg to a large bowl and whisk. Add the cooked mushrooms to the bowl, add some black pepper, chopped parsley and finely grated Parmesan Cheese. Add some spinach, just to have some extra colour. Add the rice. The rice will help absorb additional juices from the cèpes, so how much rice you need is a matter of looking at the mixture and the cèpes.

Now it’s time to build the pâté: start by creating a bottom with the mixture, position the cèpes and add the remainder of the mixture. Make sure the mixture envelops the mushrooms. Close the pâté with the pastry. Make two holes in the roof of the pâté and use baking paper to create 2 chimneys. Transfer to the oven (180 °C or 355 °F) for 45 minutes. Use the remainder of the puff pastry to make 4 mini cookies that will function as lid on the chimney (of course, you only need 2, but baking 4 allows you to choose the best). After 45 minutes add the 4 cookies, bake for another 10 minutes. Mix some egg yolk and coat the pâté and the cookies. Cook for another 5 to 10 minutes. The duration and temperatures very much depend on the shape of the mould and the pastry.

Transfer from the oven, remove the chimneys, glue the lids on the chimneys using some egg yolk and let cool. Once cool, remove from the mould, transfer to the refrigerator and wait until the next day. 

Japanese Pumpkin with Shrimps

The traditional Japanese way of preparing Kabocha (Japanese Pumpkin) requires a bit of work but is not overly complex. The result is a combination of delicate, fresh pumpkin flavours with clear umami as a result of simmering the pumpkin in a dashi-based stock. You could replace the Japanese Pumpkin with a more common winter squash or with a red Hokkaido pumpkin.

Combining shrimps and pumpkin seems a bit odd, but it’s actually very nice. The combination is colourful and the various flavours come together nicely, also thanks to the dashi.
The first time we enjoyed this combination was when we prepared Takiawase, following the recipe from author and Michelin Award winning chef Akira Oshima. The recipe is included in his book Yamazato, Kaiseki Recipes: Secrets of the Japanese Cuisine. It’s a mouth-watering dish but unfortunately fairly difficult to prepare. Typically, Takiawase is a combination of vegetables and fish. Every ingredient requires its own preparation and is simmered in its own dashi-based stock. Indeed: four different kinds of homemade stock. The recipe of Akira Oshima combines kabocha, eggplant, okra and shrimp.

Drink Pairing

We prefer a glass of sake with our Kabocha with Shrimps, for instance a Junmai sake with fresh aromas and good acidity. The sake must be dry and well-balanced with a clean finish. You could enjoy a glass of white wine with the dish, provided it’s dry and mineral. Or a more adventurous choice: a glass of Manzanilla or Fino sherry. Manzanilla is a dry sherry with a flowery bouquet, a delicate palate and subtle acidity. It works beautifully with the dashi and the sweetness of both the kabocha and the shrimps.

What You Need                                                                         

  • For the Dashi
    • 10 grams of Kelp
    • 10 grams of Katsuobushi
  • For the Kabocha
    • Mirin
    • Light Soy Sauce (Usukuchi)
    • Sake
  • For the Shrimps
    • Sake
    • (Olive) Oil
    • Mirin
    • Light Soy Sauce (Usukuchi)
  • Pickled Cucumber

What You Do

Start by preparing 500 ml of dashi.
Peel and devein the six shrimps. We prefer to leave the tail on. Transfer the shrimps to a bowl, add some sake and transfer to the refrigerator for a few hours.
Peel the Kabocha, remove the seeds. Halve and then slice in 6 equal parts. Combine 400 ml of dashi with 25 ml of mirin, 25 ml of light soy sauce and a tablespoon of sake. Add the slices of kabocha and let is simmer for some 10 minutes or until nearly done.
In parallel heat a heavy iron skillet, add oil, dry the shrimps with kitchen paper and then fry them quickly, let’s say 4 minutes. Transfer to a warm oven. Remove the oil from the pan with kitchen paper. Reduce the heat to low. Mix 50 ml of dashi with 25 ml of mirin and a small spoon of light soy sauce. Deglaze the pan and let the mixture reduce. Transfer the shrimps back the pan and coat them quickly with the mixture. Serve the slices of kabocha with the fried, coated shrimps and the pickled cucumber.

Salad of Cèpes and Smoked Duck

Both Salade Landaise and Salade Périgourdine combine cold ingredients (salad, tomatoes, green beans) and warm ingredients (lardons, confit of duck gizzards) with a dressing made of oil, mustard and (red wine) vinegar. Serve the salad with excellent bread and a glass of rosé and you will have a perfect lunch.
Our salad is perhaps a bit too subtle for a hearty lunch, but it does work very well as an additional starter.

Wine Pairing

Combining wine and salad is never obvious. In this case we need to consider the raspberry flavour, the umami from the cèpes and the duck plus the acidity of the dressing. We choose Domaine de Rimauresq Côtes de Provence Cru Classé rosé. A classic wine from the French Provence with grapes such as grenache noirmourvèdreugni blanc and rolle. The wine comes with delicate fruity, fresh flavours and aromas. It is very well balanced, dry and mouth filling and it combines beautifully with all aspects of the salad.
In general you’re looking for a rosé that has complexity and length, without being overpowering.

What You Need

  • Cèpes (Porcini, Penny Bun)
  • Corn Salad (Lamb Lettuce, Mâche)
  • Olive Oil
  • Raspberry Vinegar
  • White Wine Vinegar
  • Black Pepper
  • Smoked Duck Breast

What You Do

An hour before serving, transfer the slices of smoked duck breast from the refrigerator to a plate. The duck must be at room temperature. Clean the mushrooms and slice. Heat a large iron skillet and add olive oil. Fry the mushrooms and when coloured reduce the heat somewhat. In parallel make a dressing by combining excellent olive oil, white wine vinegar and raspberry vinegar. Taste and adjust. Perhaps some black pepper. Add the salad and toss. Add some of the smaller bits of mushroom and toss again. Quickly serve the salad, adding 2 or 3 slices of smoked duck per person plus the fried cèpes. 

Raspberry Vinegar

Many years ago, we had the pleasure of being regular guests at the Auberge des Seigneurs in Vence, France. In those days the restaurant offered a wide range of beautiful dishes from the days of King François I, such as blue trout, roasted chicken, quail with Pruneaux d’Agen and tender lamb cooked on a spit before an open fire in the dining room.
Ah, Madame Rodi, we treasure these evenings, the beautiful food, the local wine, your dog (known to regular guests as monsieur Tim) and your infinite hospitality. We also remember your wonderful Coca Cola Light, which you would serve after dinner. It came in a huge Biot bottle and to the surprise, astonishment, shock of most of your new guests it was everything but light. It was a strong grappa with Boutons de Fleur d’Oranger (orange blossom buds). We can still see the broad smile on your face when yet another guest would take too big a sip of your powerful concoction.

Adding fruit can be a disastrous idea (just think about strawberry tea or sole Picasso) but the touch of acidity of raspberries makes them ideal to combine with vinegar. We follow Madame Rodi’s approach when making raspberry vinegar: simply combine the two and enjoy.

Use the raspberry vinegar wisely, for instance combine it with strong flavours, preferably umami. We use it in our favourite autumn salad with Porcini and Smoked Duck. The colour, the aromas, the taste: the vinegar and the raspberries integrate perfectly.

What You Need

  • 250 grams of Excellent Organic Raspberries
  • 250 ml White Vinegar

What You Do

Clean the raspberries, crush them with a fork and combine with the vinegar. Put in a jar and transfer to the refrigerator for one week, making sure to stir at least once a day.
Pass the mixture through a sieve, applying light pressure only. Pass the vinegar through a white cloth, squeeze very gentle. The result is probably a bit cloudy, so leave for a few days before using.