Escargots de Bourgogne

We noticed that more and more supermarkets and shops sell snails. Canned, frozen or with garlic butter ready to be cooked in the oven, all very tempting. Snails are high on protein, low on fat, high on minerals, low on calories. A glass of white wine and some crusted bread; what more do you need as a healthy starter?
But before buying snails it’s important to look at the label and find out what kind of snail you’re buying.

The snail used for the classic Escargots de Bourgogne is called Helix Pomatia. It’s protected in many countries. Farming of this snail is not profitable. Excellent taste, expensive and hard to find.
There are three alternatives: Helix Aspera (either the small one called Petit Gris or the large one called Gros Gris) and Helix Lucorum. The last one is considered to be less tasty than the other three, but when prepared well, it’s a very nice, affordable alternative. All three can be farmed.

It could also say Achatina on the label. This is a different kind of land snail, much larger than the first four. It’s taste and texture are okayish.

Sometimes it simply says ‘Escargots’ and ‘Gros’ on the tin. Sounds good, doesn’t it? Well, it may and it may not. Some companies cook larger (sea) snails, chop these, and sell the chunks as ‘Escargots’. The term ‘Gros’ is supposed to make you think of the Gros Gris. Don’t be fooled: they are rubbery, tasteless and a waste of money.

The classic Escargots de Bourgogne are prepared with butter, garlic and parsley. We like to add a bit of tarragon and a pinch of salt. Traditionally they are served in the shell and you need a tong and a special fork to eat them. The ones we use are from a can, so no special equipment required. 

Wine Pairing

The obvious choice is a glass of Bourgogne: a chardonnay with a touch of oak. The wine must be dry, mineral and medium bodied.

What You Need

  • 12 snails
  • Butter
  • Parsley
  • Garlic
  • Tarragon
  • Salt
  • 2 Snail Plates

What You Do

You could of course buy fresh snails (which makes us think of the amazing market in Valencia! So much choice, such excellent quality. Also various kinds of snails, fresh and alive, obviously, also the Caragolus, the snail that is required when you prepare a traditional Paella Valenciana) but otherwise buy them canned. Remove them from the can, wash carefully with lots of water and set aside.

Chop parsley, tarragon and garlic very fine. Using a fork, combine butter, herbs, garlic and a pinch of salt. Transfer six snails to a snail plate, add a chunk of butter to every snail, transfer the snail plate to an oven at 160 °C or 320 °F for 10 minutes or until boiling hot. Serve the snail plate on a cool plain white plate.

Escargots de Bourgogne ©cadwu

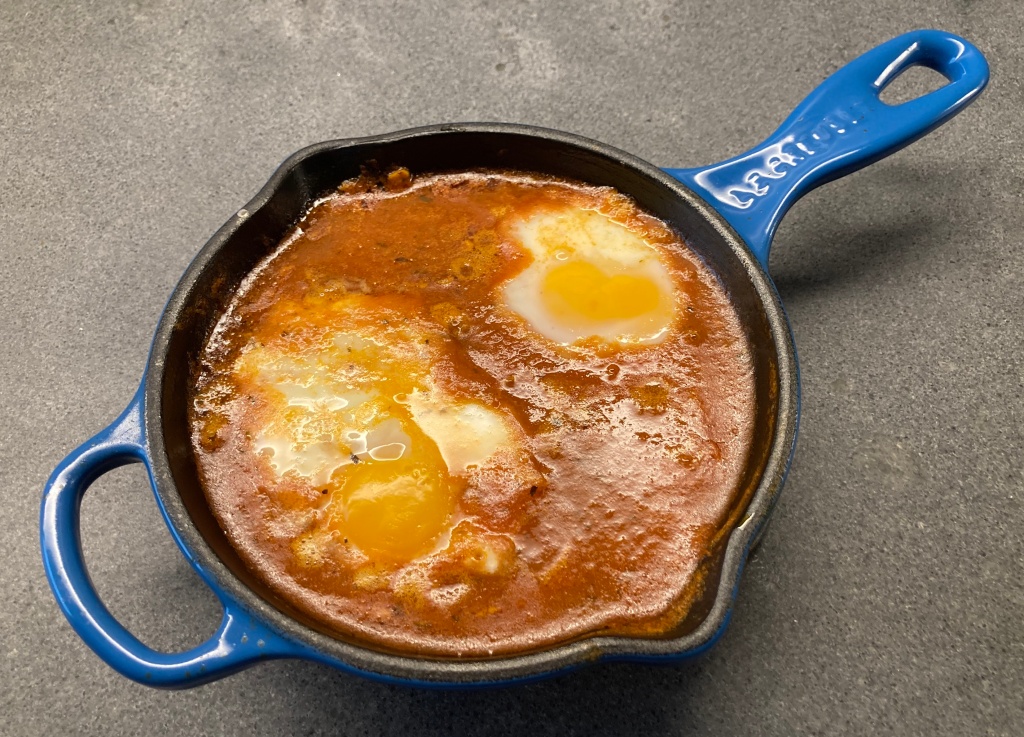
Eggs Poached in Tomato Sauce

Poaching eggs in water requires a bit of technique or a nice tool. Poaching eggs in tomato sauce is slightly different: you want to keep the white close to the yolk, but it should not envelope it: the yolk must remain visible.

The combination of tomato sauce and egg seems to be a bit odd, but the rich, runny egg in combination with the slightly acidic, aromatic tomato sauce is really nice. Great suggestion for lunch or a hearty breakfast. Feel free to create your own version of this dish, for instance by adding some parsley or cheese. Serve with crusted bread.

In most cases the result is shown in a pan. For good reasons: it does not look very attractive when served on a plate. The fun is definitely in the flavours and aromas.

What You Need

What You Do

Warm the tomato sauce and reduce. Increase the heat until the sauce is nearly boiling, gently add the eggs (as you would do when poaching eggs in water) and reduce heat. Using a small spoon make sure the white remains close to the yolk, without covering it. Wait until the white is set. Perhaps add some freshly grounded black pepper.

Eggs Poached in Tomato Sauce ©cadwu

Carpaccio

Carpaccio has evolved into an anything-goes combination of something sliced (beef, veal, (smoked) salmon, beetroot) with a dressing and garnished with for instance pine nuts, cheese, lettuce, capers, tomatoes, spring onion etcetera, which is a pity because the original Carpaccio is actually rather perfect.
We’re not culinary puritans but nevertheless we were slightly shocked when we found the next version of Carpaccio in our local supermarket: with wasabi mayonnaise, teriyaki glaze and roasted sesame seeds. Help?

Original Version

Let’s go back to the original Carpaccio as it was created (in 1950) by chef Giuseppe Cipriani of Harry’s Bar in Venice for one of his regular guests, the Contessa Amalia Nani Mocenigo. Her doctor had ordered her to eat uncooked food, especially raw, red meat. Most likely she suffered from anemia. The poor Contessa was used to excellent food, so something raw on a plate wasn’t very appealing. Chef Cipriani created a special dish for her, which he named after, indeed, the Venetian painter Vittore Carpaccio. Some say this was a tribute to the whites and reds as used by Carpaccio.

Sauce

The sauce is a very clever combination of mayonnaise, Worcester sauce, lemon juice, white pepper and milk. The velvety mayonnaise works very well with the lean meat, the acidity of the lemon is a perfect match for the sweetness of the beef and the Worcester sauce brings umami and depth. The milk gives the sauce the right consistency.

Next time when you think about preparing Carpaccio, why not try the original version and forget about all the extra’s.

Wine Pairing

We suggest enjoying your Carpaccio with a glass of Pinot Grigio or a Soave. It should be a fruity, not too powerful wine. Carpaccio is about the flavour of the meat. The sauce and the wine should simply support this. You could also go for a Pinot Noir, provided it has a light character.

What You Need

  • 50 grams of Excellent Tenderloin or Sirloin (per person) thinly sliced, cold but not frozen.
  • (Homemade) Mayonnaise
  • Worcester Sauce
  • Lemon
  • White Pepper
  • Milk

What You Do

Take one or two spoons of mayonnaise and add two teaspoons of Worcester sauce, one or two teaspoons of lemon juice and freshly ground white pepper. Taste and adjust until you have the perfect balance. Now add milk, creating a thinner sauce. Remove the meat from the refrigerator, flatten the meat if so required and transfer to a cold plate. Create a nice pattern with the sauce, using a sauce bottle. Serve immediately.

Mushroom Soup with Pancetta and Thyme

This morning when we looked outside, we saw a grey, foggy city. Knowing it would take hours for the fog to clear, we started thinking about something warm for lunch. Perhaps some soup with crusty bread? We opened our refrigerator. Various mushrooms, thyme, rosemary, cream, a carrot, some left over stock. Yes! We knew what we wanted to cook for lunch: Mushroom Soup with Pancetta. A hearty, rich soup, ideal for a cold, grey day. The combination of mushrooms, pancetta and cream works very well; the celery and leek add complexity and the thyme brings character.

Wine Pairing

It was much later that afternoon before the fog left the city, but since we also had some left over Chardonnay in the fridge, which we enjoyed with our soup, we didn’t mind that much.

What You Need

  • Pancetta
  • Shallot
  • Mushrooms (Best is a Mix of Champignons, Shiitake etcetera)
  • Celery
  • Leek
  • Carrot
  • Garlic
  • Stock (Chicken or Vegetable)
  • Bouquet Garni (Thyme, Rosemary and Bay Leaf)
  • Black pepper
  • Cream
  • Fresh Thyme
  • Olive Oil

What You Do

Keep two strips of pancetta apart (to be grilled just before serving). You probably need 4-6 strips in total. Slice the remaining pancetta and fry in olive oil on medium heat. Remove the pancetta from the pan, chop the shallot and glaze it in the fat and perhaps some extra olive oil. Clean and slice the mushrooms, slice half a stalk of celery, half a leek, a small carrot, chop two gloves of garlic and add this to the shallot. Gently fry for a few minutes. Add the pancetta, the stock and the bouquet garni. Allow to simmer for 30 minutes. Remove the bouquet garni. Blender the soup, pass through a sieve and leave on low heat for 10 minutes. The mushrooms will emulgate the soup, so no need to add a roux. Now it’s time to taste the soup and perhaps add some black pepper. Add cream and fresh thyme and leave for another 5-10 minutes. In the meantime grill the two strips of pancetta until brown and crispy. Cut the stripes in five pieces depending on the size. Serve the soup in a warm bowl with the pancetta on top of it.

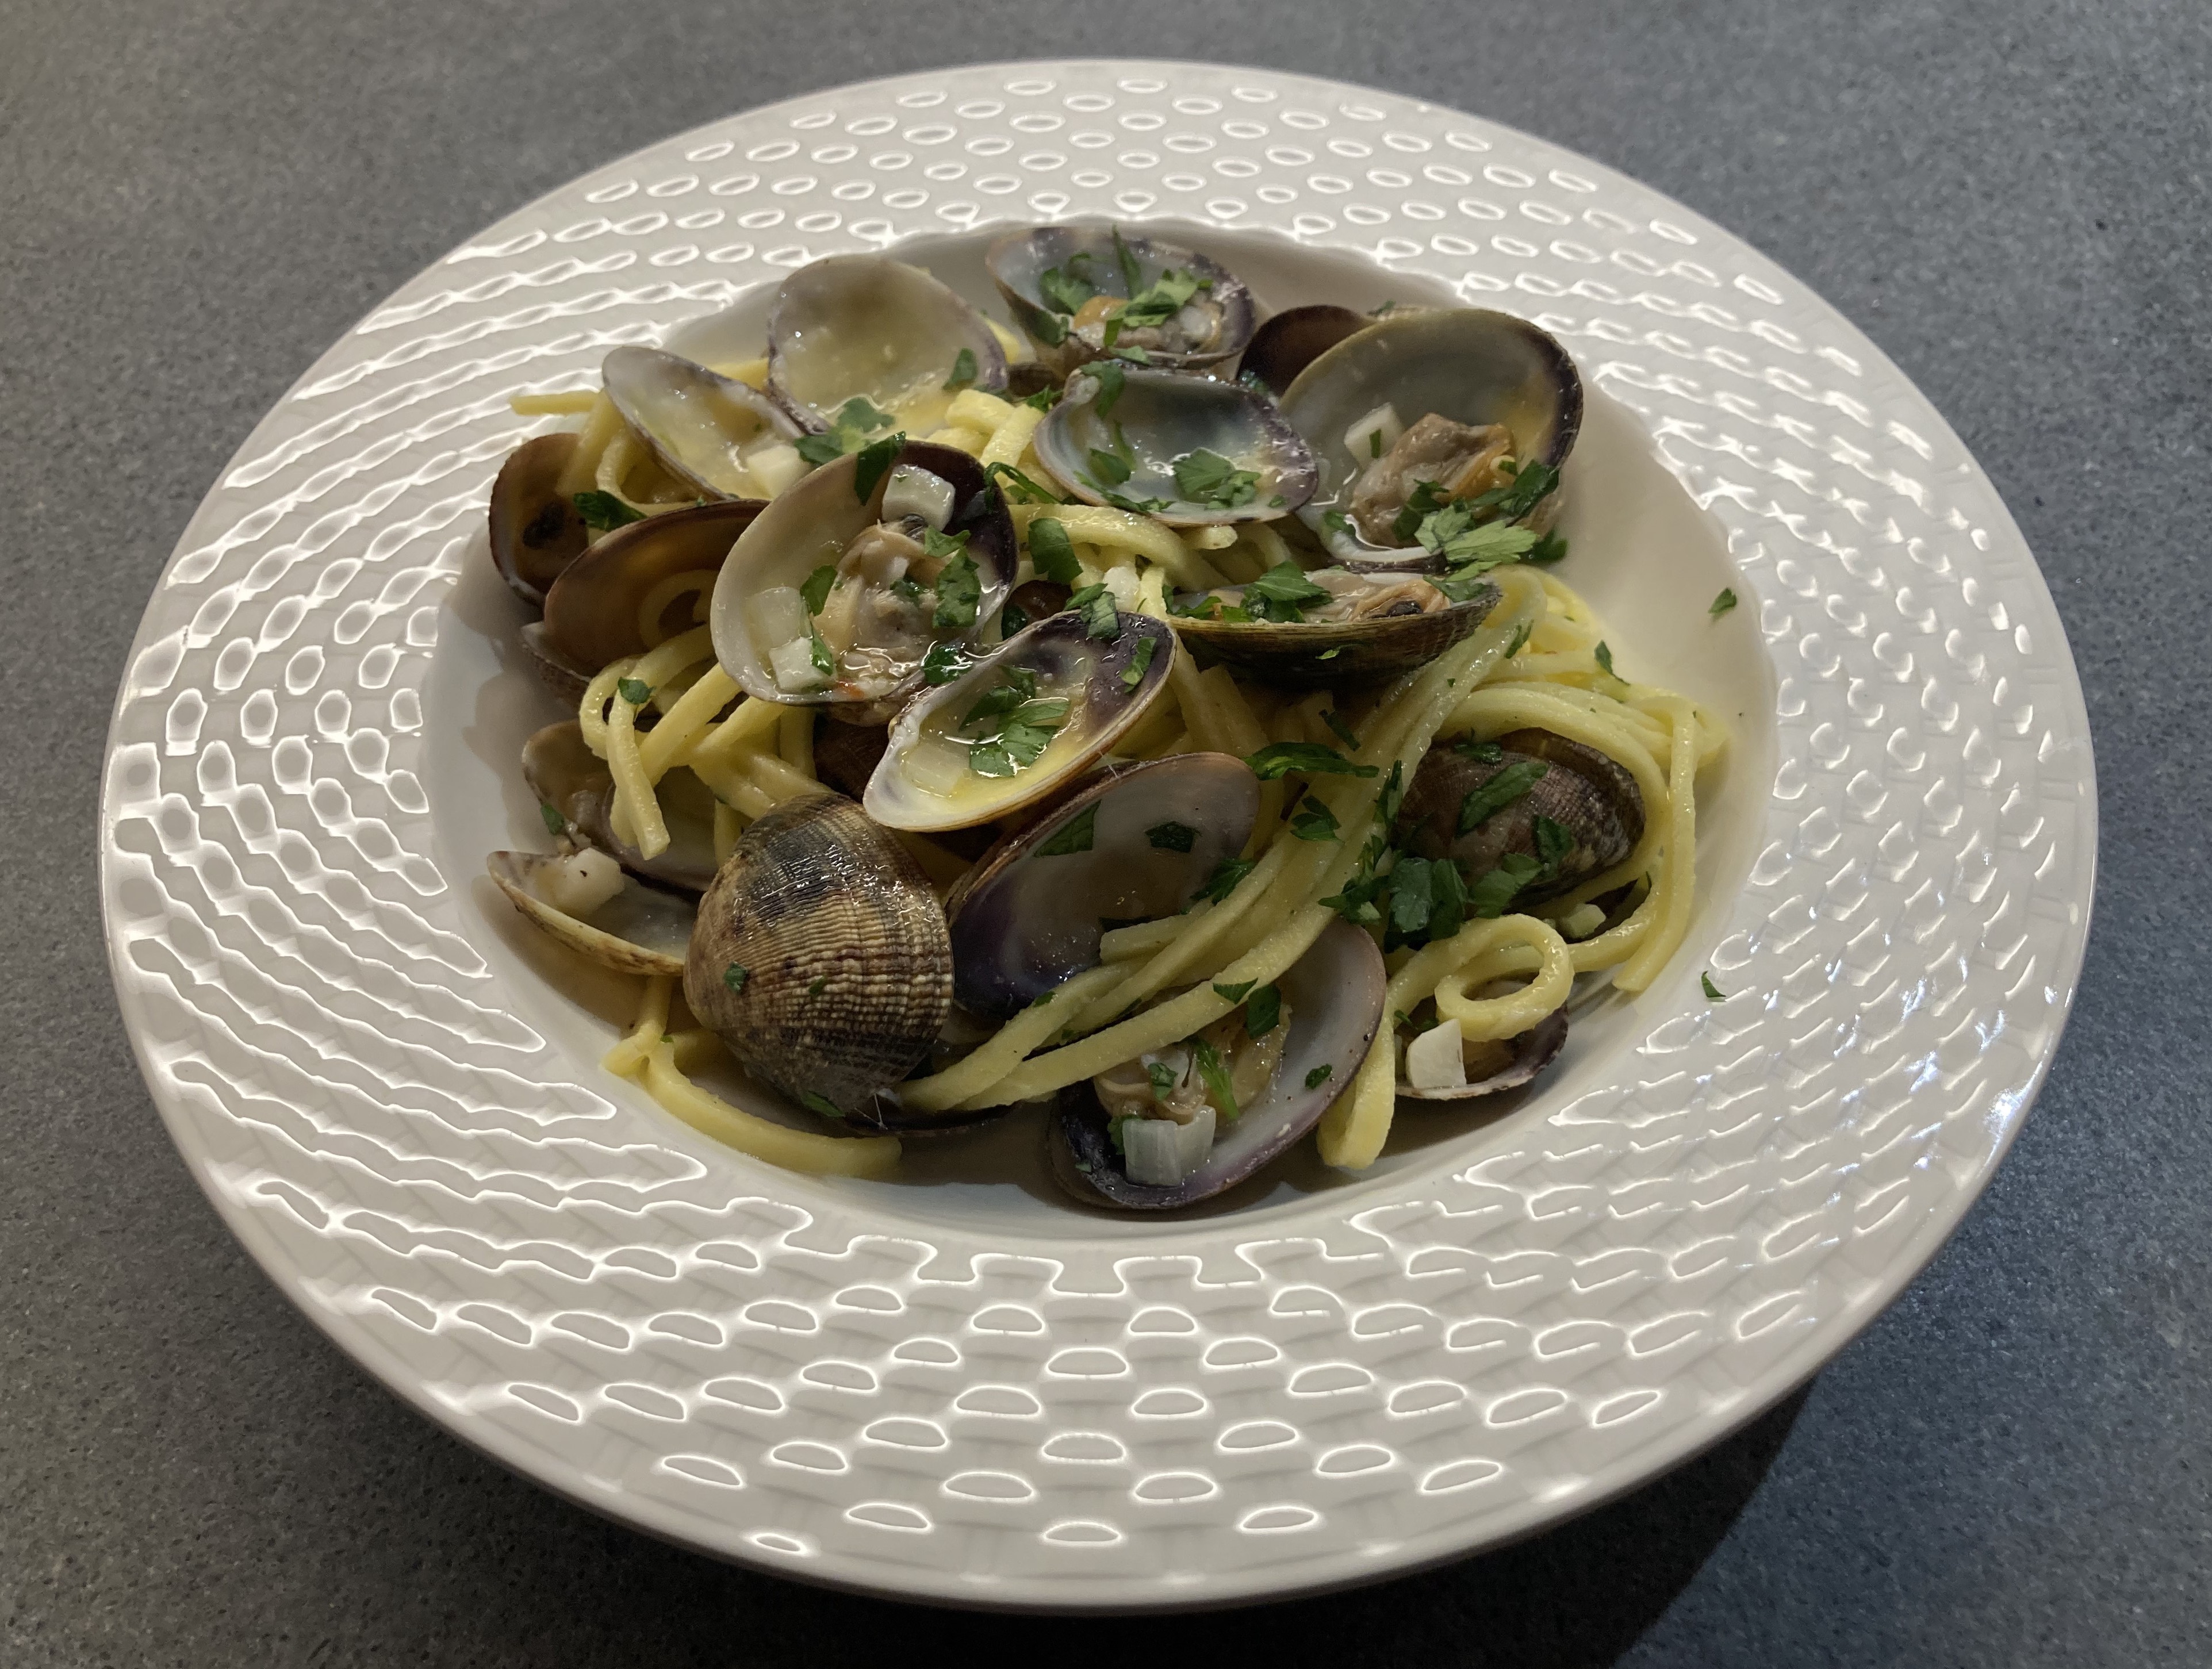
Pasta Alle Vongole

This is a truly delicious and simple starter, one that will only take a few minutes to prepare. The dish comes with two challenges: you need fresh, excellent vongole and you need to resist the temptation to add shallot, tomato, chilli, wine, lemon or butter.

Hey, we can hear you thinking, no wine? Indeed, no wine. We’re not fan of the acidity that comes with the wine plus we don’t want too much liquid. Basically we’re happy with the liquid as provided by the vongole. The idea is to steam the vongole in their own juices. This requires closely monitoring the cooking process. Next time you prepare Pasta Alle Vongole, please try to forget the wine.

Another ingredient to forget: salt. No need to cook the pasta with salt because the vongole will bring enough saltiness.

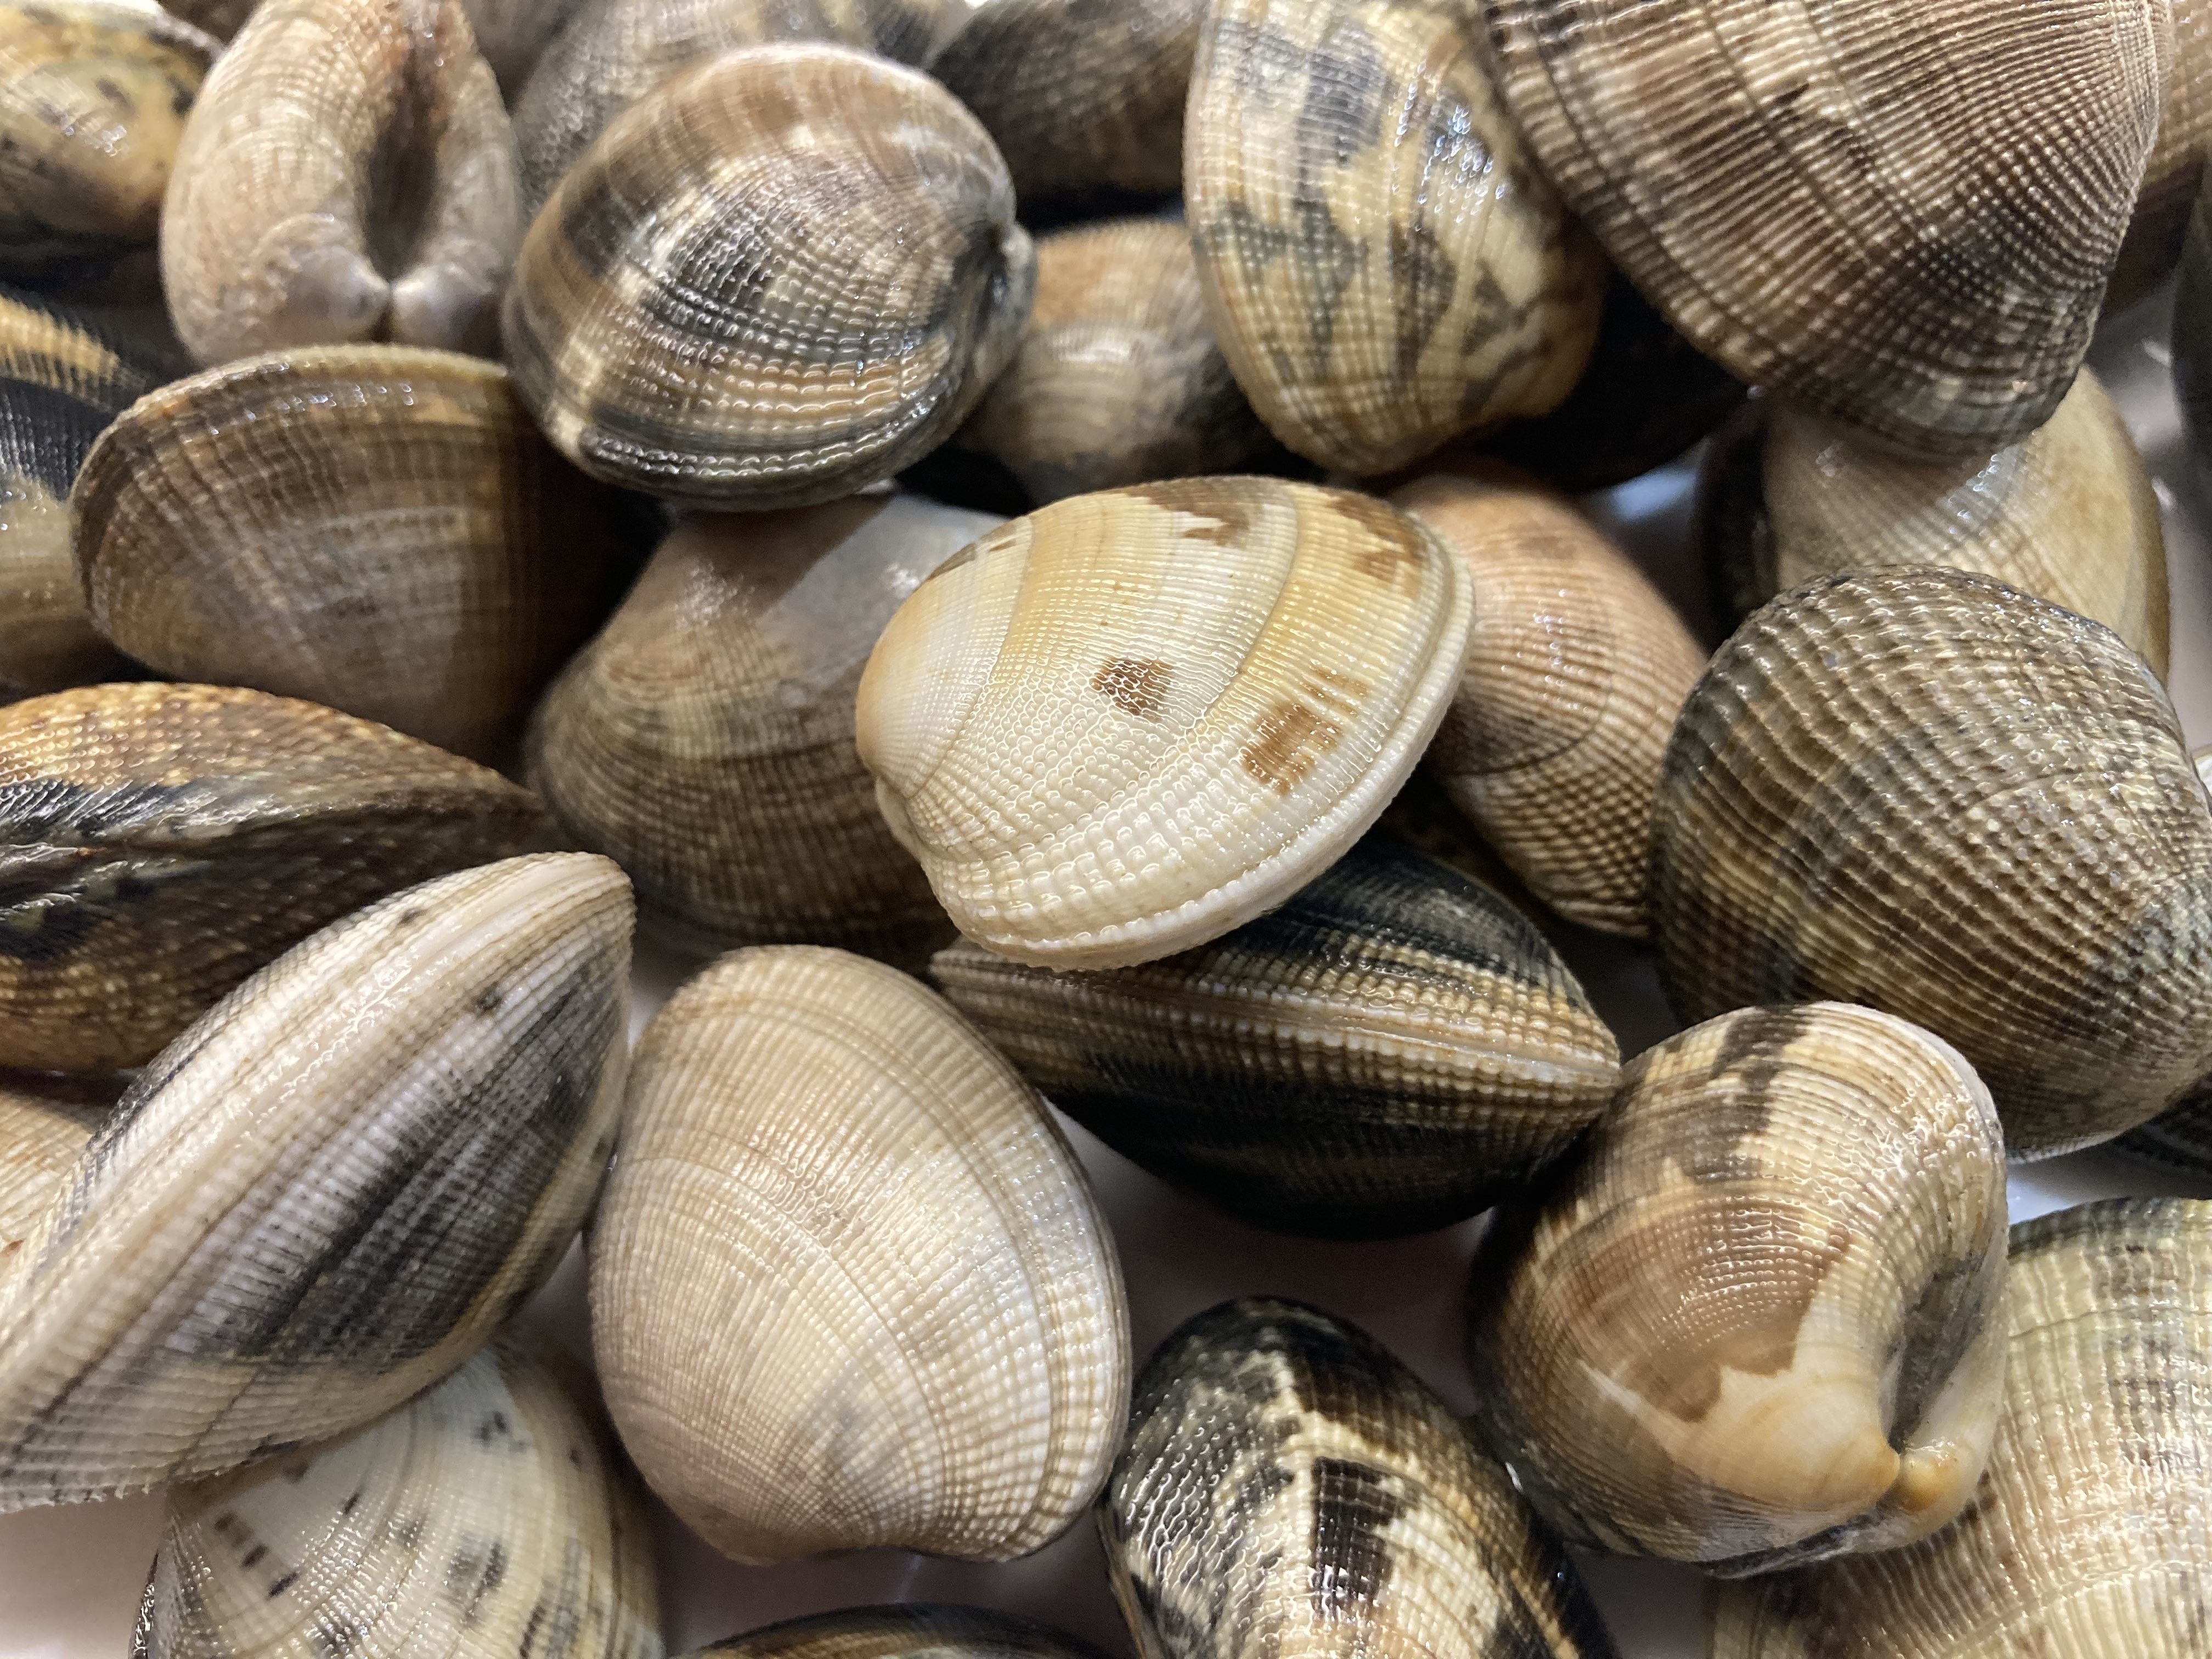
Obviously the vongole need to be clean, meaning without sand. Sometimes we’re lucky and our fishmonger offers washed vongole. If not lucky, we wash the vongole a few times with salted water.

Wine Pairing

Enjoy this classic Italian dish with a Soave: a beautiful, dry, crisp white wine from Italy. We opened a bottle of Cuvée XX, Soave Classico DOC, produced by Guerrieri Rizzardi. It proved to be ideal with the clams: refreshing and dry with floral and mineral notes.

What You Need

  • 500 grams of super fresh, washed Vongole
  • 2 Gloves of Garlic
  • Parsley
  • Spaghetti
  • Olive Oil
  • Black Pepper

What You Do

  1. Make sure you have everything ready: crushed garlic, chopped parsley, a pan with boiling water, a heavy pan (warm through and through), two warm plates
  2. Discard vongole that are broken or damaged
  3. Ready?
  4. Cook the pasta as mentioned on the package
  5. Increase heat, add a generous amount of olive oil to the heavy pan, add garlic, count 30 seconds, add vongole, close the pan and cook the vongole for 3-5 minutes in total
  6. After 1 minute (so 2-4 minutes to go) check if all is okay
  7. If too dry, then add extra olive oil or a splash of water
  8. When clams have opened, drain the pasta, remove the pan with the vongole from the heat, add pasta, chopped parsley and black pepper, mix and serve on two warm plates
  9. You could remove some, but not all, of the shells to make eating the dish a bit more elegant, although it’s fun eating the vongole with your hands
  10. Discard shells that have not opened
  11. PS Some recipes suggest cooking the vongole, preparing a sauce and then reheating the vongole with the pasta. If you do, the poor vongole will become rubbery, so not a good idea.

Sauce Provençale

Based on one of the leading (mother) sauces this is a quick, tasty and uplifting sauce with olives, capers and Herbes de Provence. The success of this sauce depends on the use of the intense, flavorful classic tomato sauce. Sauce Provençal has a good structure and comes with a variety of flavors, making it very much an accompaniment for grilled chicken or fish. If you use modern tomato sauce, then the result will be nice, but not as spectacular.

Herbes de Provence is a mixture of dried herbs such as oregano, thyme, rosemary, savory and perhaps sage and lavender. Feel free to create your own mixture. If you buy a ready-made mixture, make sure it has character, aromas and structure.

What You Need
  • Classic Tomato Sauce
  • One shallot
  • Two Tomatoes
  • One Glove of Garlic
  • Teaspoon of Herbes de Provence
  • Capers
  • Black Olives
  • Olive Oil
  • Black Pepper
What You Do
  1. Peel the tomatoes, remove the seeds and cut in small cubes
  2. Finely chop the shallot
  3. Wash and drain the capers
  4. Crush the garlic
  5. Slice the olives in two
  6. Heat a heavy iron skillet and gently glaze the shallot
  7. Add tomatoes, garlic and herbes de Provence
  8. Leave on low heat for 5 minutes
  9. Add the classic tomato sauce, the capers and the olives
  10. Leave for 5-10 minutes
  11. Stir the mixture gently
  12. You want to keep the structure of the tomatoes
  13. Taste and perhaps add some black pepper
Sauce Provençal with Grilled Chicken ©cadwu

The Art of Sauces: Classic Tomato Sauce

This recipe goes back to the days of Antonina Latini who published a recipe for a tomato sauce in his Lo Scalco alla Moderna (The Modern Steward, or The Art of Preparing Banquets Well) in 1692. Marie-Antoine Carême wrote about Latini’s recipes and Auguste Escoffier positioned the sauce as a leading (mother) sauce.

The sauce is different from a modern, vegetarian tomato sauce, for instance because one of the ingredients is salted pork, which obviously brings saltiness and depth to the sauce, in a very natural way. 
The sweetness of the tomato is supported by carrots, onions and various herbs, making it a much more complex sauce. The flavours and aromas of the tomatoes benefit from the rich and tasteful context. This also supports the concept of a leading sauce: you can use it as a starting point for other sauces.
The texture of the sauce (it’s not smooth) in combination with the fat creates a very pleasant mouthfeel.

Sauce Tomate has many derivatives, such as Sauce Portuguese, Sauce Marinara and even Ketchup. In one of our next posts we will describe how to make Sauce Provençal and Oeuf à la Provençal (eggs poached in tomato sauce).

What You Need

  • 200 grams of Salted Organic Pork (not smoked)
  • ½ Leek
  • 1 Carrot
  • 1 Celery Stalk
  • 1 Shallot
  • 2 gloves of Garlic
  • 4 – 6 Excellent Ripe Tomatoes
  • White Stock (Veal preferably)
  • Bouquet Garni (Parsley, Thyme, Bay Leaf, Rosemary)

What You Do

  1. Start by cleaning and chopping the vegetables
  2. Wash, dry and dice the salted pork
  3. Render the pork meat on medium heat in a Dutch oven
  4. Once lightly coloured add the leek, carrot, celery and shallot
  5. Allow to cook for 5 to 10 minutes
  6. You’re looking for a bit of colour, but not too much
  7. Add the tomatoes and the garlic
  8. Once warm, wait for a few minutes before adding some white stock
  9. This is a tricky part: if you add too much stock your sauce will be thin. Therefore some recipes suggest adding flour. We decided against it because we want a natural consistency
  10. Now it’s a matter of simmering, either in the oven or on low heat
  11. Allow to simmer for 90 minutes.
  12. Remove the pork meat from the sauce
  13. Pass the sauce through a sieve, making sure you capture all those lovely juices
  14. It’s hard work, but the remainder in your sieve should be as dry as possible.

Pumpkin Soup (with Kombu Dashi)

It’s autumn, so obviously we want to cook pumpkin soup. A nice and warm combination of pumpkin, ginger, chilli and orange lentils for instance. Or with Jus de Truffe for a bit of extra umami and exclusivity.  Both are excellent vegetarian dishes, perfect for lunch with some crusted bread or as a starter.
Having recently prepared kabocha with shrimps, we decided to prepare a vegetarian soup with it. The basis of the soup is Kombu Dashi (made with dried Kelp). The dashi and the soy sauce bring saltiness and umami to the soup, which combines very well with the exceptional sweetness of the pumpkin and the mirin.

You could prepare the soup with the skin of the kabocha, but we love the intense orange colour of the inside.

What You Need

  • 20 grams of Kelp
  • 1 litre Water
  • 1 Kabocha
  • Light Soy Sauce
  • Mirin
  • Purple Shiso

What You Do

  1. Add the kelp to one litre of cold water
  2. Put on low heat and wait until it has reached 80 °C or 175 °F. Overheating it will make the dashi bitter
  3. In the meantime, wash and peel the kabocha, remove the seeds and dice
  4. Remove the kelp from the pan, discard and add the kabocha
  5. Allow to simmer on low heat for 20-30 minutes until the kabocha is soft
  6. Remove some of the liquid and blender the kabocha
  7. Add liquid until you have the right consistency
  8. In our experience you will need one litre of water to cook the kabocha but it might be too much liquid for a nice, velvety consistency of your soup
  9. Add 2 or 3 tablespoons of mirin and 1 or 2 tablespoons of light soy sauce.  It’s a matter of your preference, ripeness of the kabocha and the kelp
  10. Best to decorate with some purple shiso, or with sprouts (as we did), provided they’re not too spicy

Beaujolais Primeur 2021

Beaujolais Primeur or Nouveau is made from the Gamay grape, using a technique called macération carbonique. The result is a fruity, light red wine, with little or no tannins. One that can’t be stored for too long. It was (and is) a very popular wine in many a French Bistro, served and enjoyed with lunch.

Over the years we became used to the idea of drinking the first French wine of the year and we started to pay more attention to the quality, only to notice that actually most of the primeur wines were thin, with a bit of acidity but without depth or length.

Today we will open a bottle of Jean-Paul Brun Terres Dorées Beaujolais L’Ancien Primeur 2021. Jean-Paul Brun is a serious and excellent producer of beautiful, tasty Beaujolais wines. We’re sure this primeur will be pure pleasure and a true indication of the quality of the Beaujolais wines this year.

Food Pairing

We will enjoy our Beaujolais Primeur with Confit the Canard and Roasted Seasonal Vegetables.

Beaujolais Primeur at The Art of Wines, Amsterdam ©cadwu

The Art of Sauces: Modern Tomato Sauce

We love a good sauce: it supports the flavours, it adds complexity to the dish and it brings components together. Orange sauce with duck, Béarnaise with beef, Sauce Mornay on a Croque Monsieur: the sauce is the key to the dish.

Marie-Antoine Carême (1784 – 1833) was the first chef to analyse sauces and create a classification. He identified four leading (mother) sauces and described how other sauces could be derived from these four. His four leading sauces are Espagnole (made with brown roux, roasted bones and brown stock), Velouté (white roux and light (veal) stock), Béchamel and Allemande (light roux with veal stock and thickened with egg yolks and cream). If for instance you want to make a Pepper Sauce, then you start by making a Sauce Espagnole.

Auguste Escoffier (1846 – 1935) refined the classification and replaced Sauce Allemande with Sauce Tomate as leading sauce. Later Hollandaise and Mayonnaise were added to the list of main sauces.

Sauce Tomate as prepared by Carême and Escoffier is very different from the sauce we use on pizza’s and pasta’s. It’s made with salted pork, veal stock, bones, various aromatic vegetables and of course tomatoes. Among the derived sauces are Sauce Portuguese and Sauce Provençal.
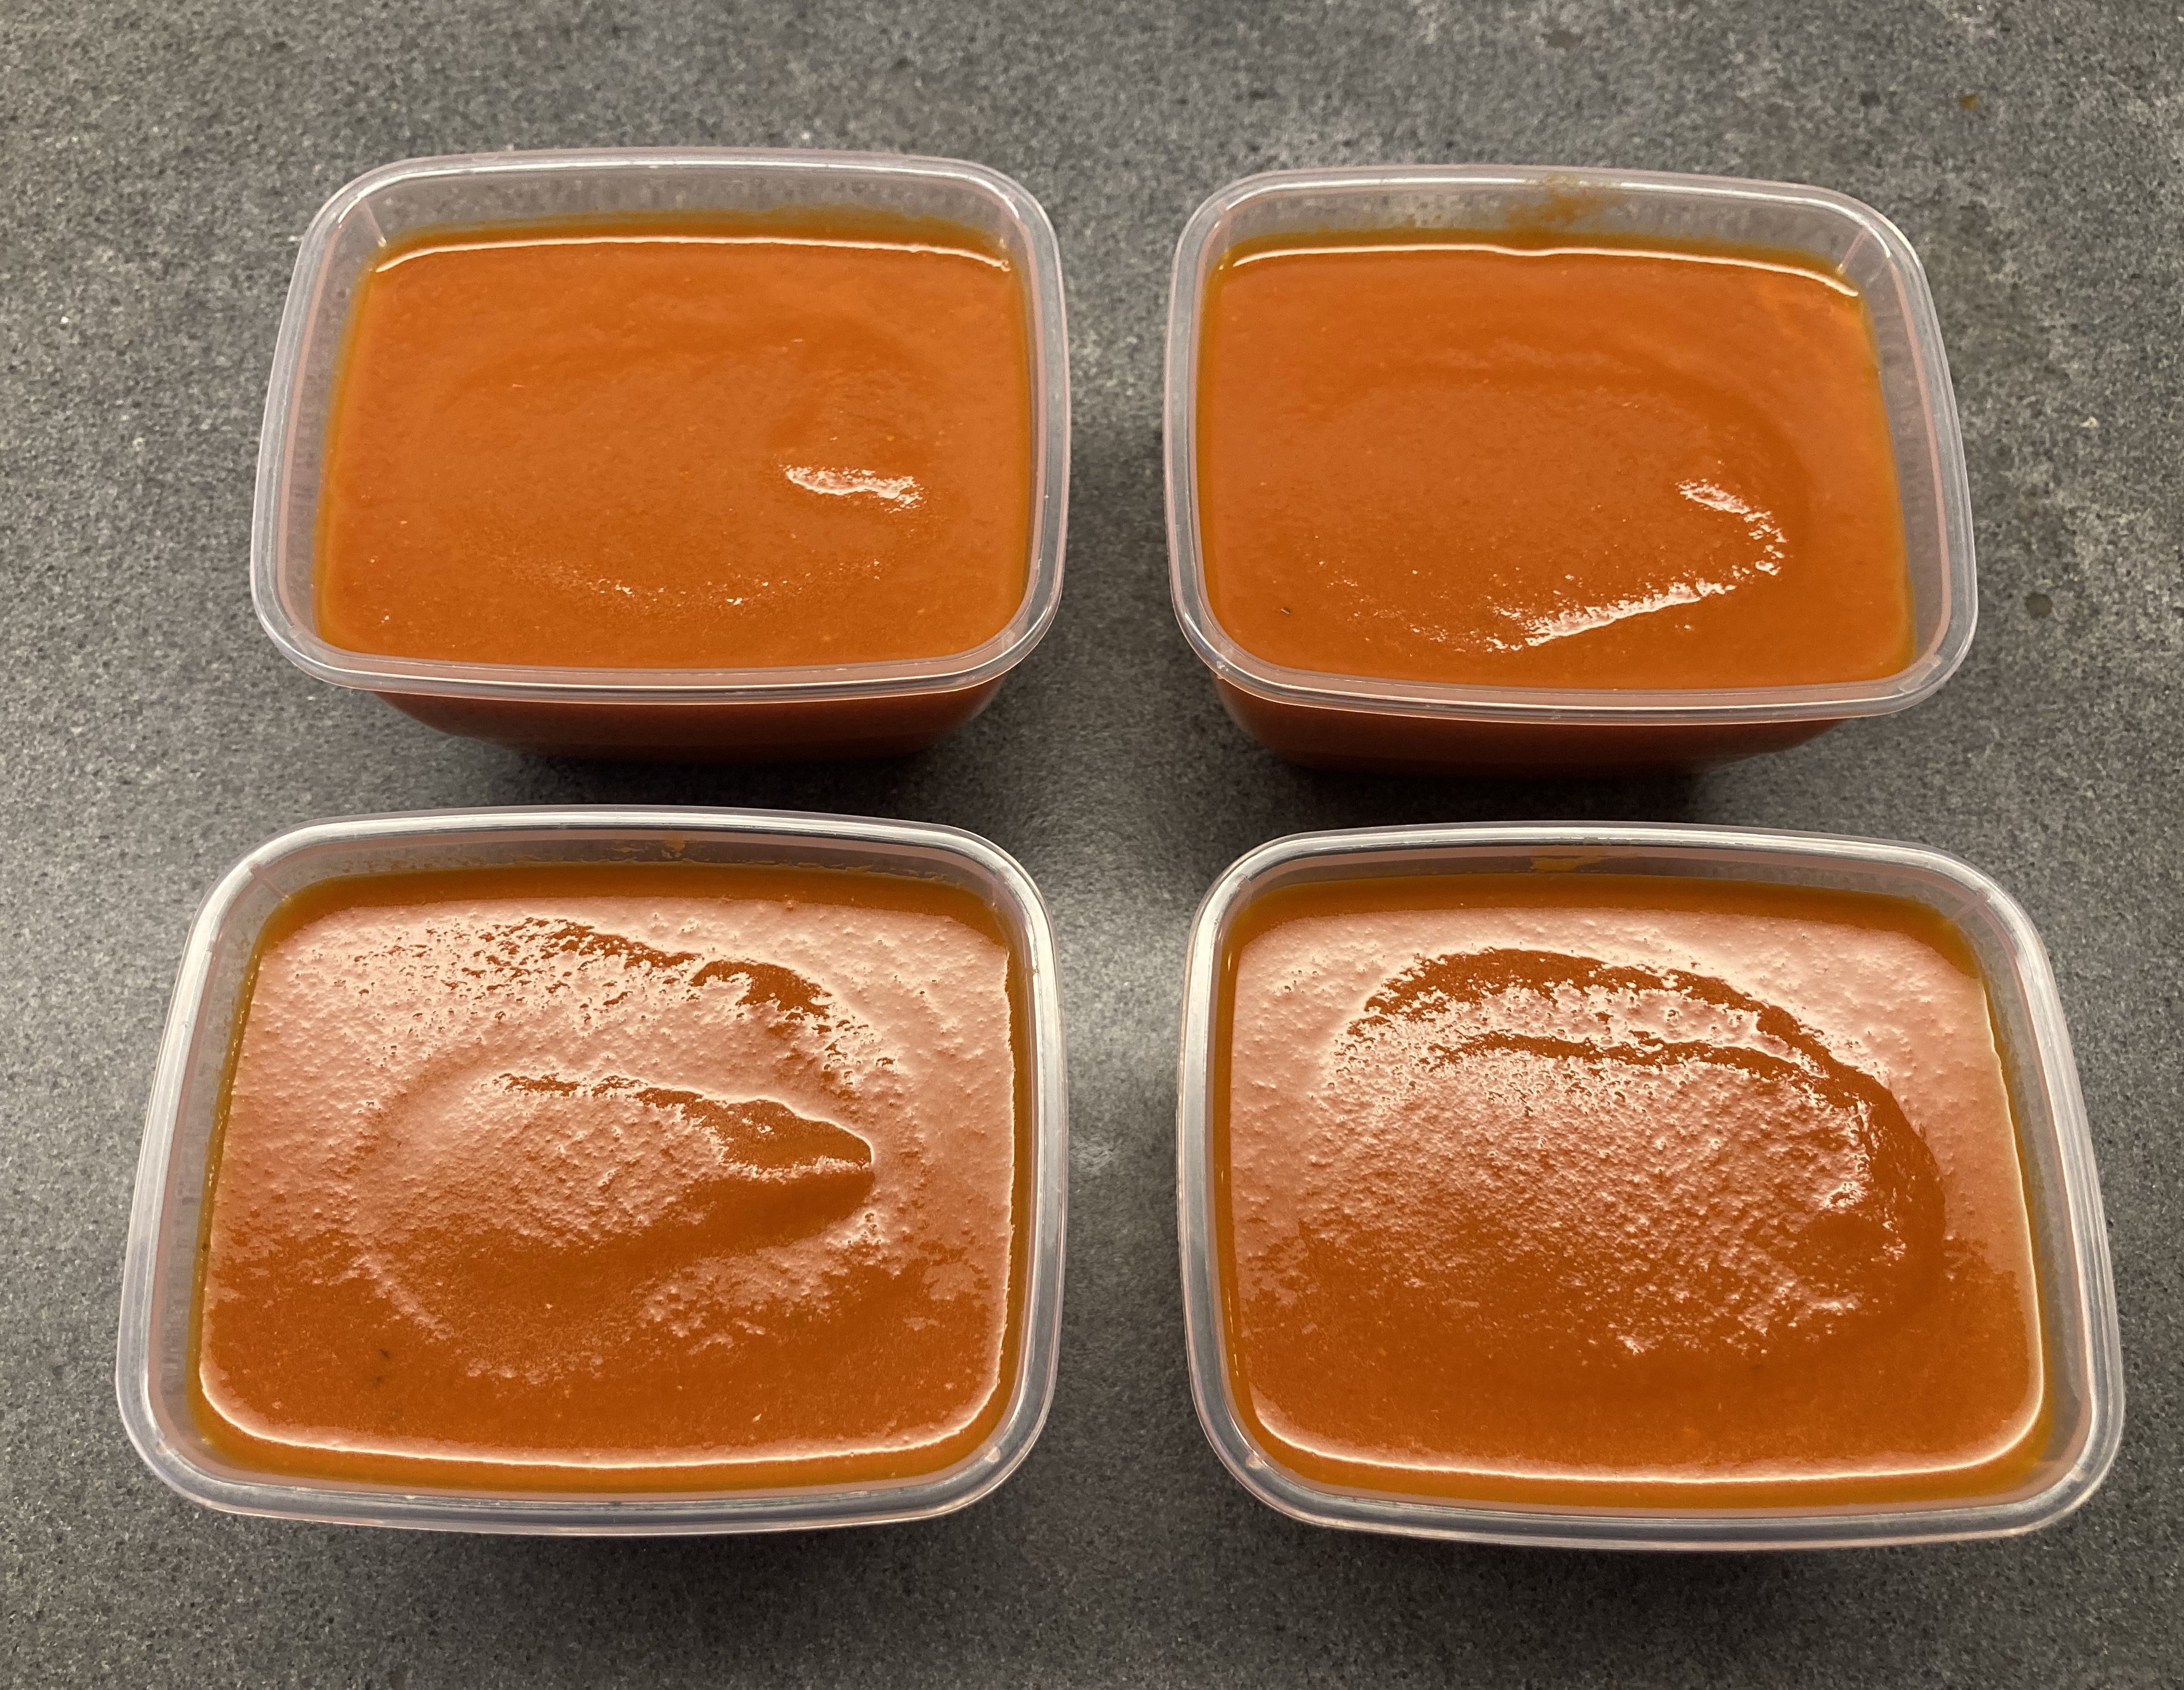
Next week we will share the Classic way of cooking Sauce Tomate in detail; today we share our modern (vegetarian) recipe.
The sauce freezes very well, so ideal to make a nice quantity.

What You Need
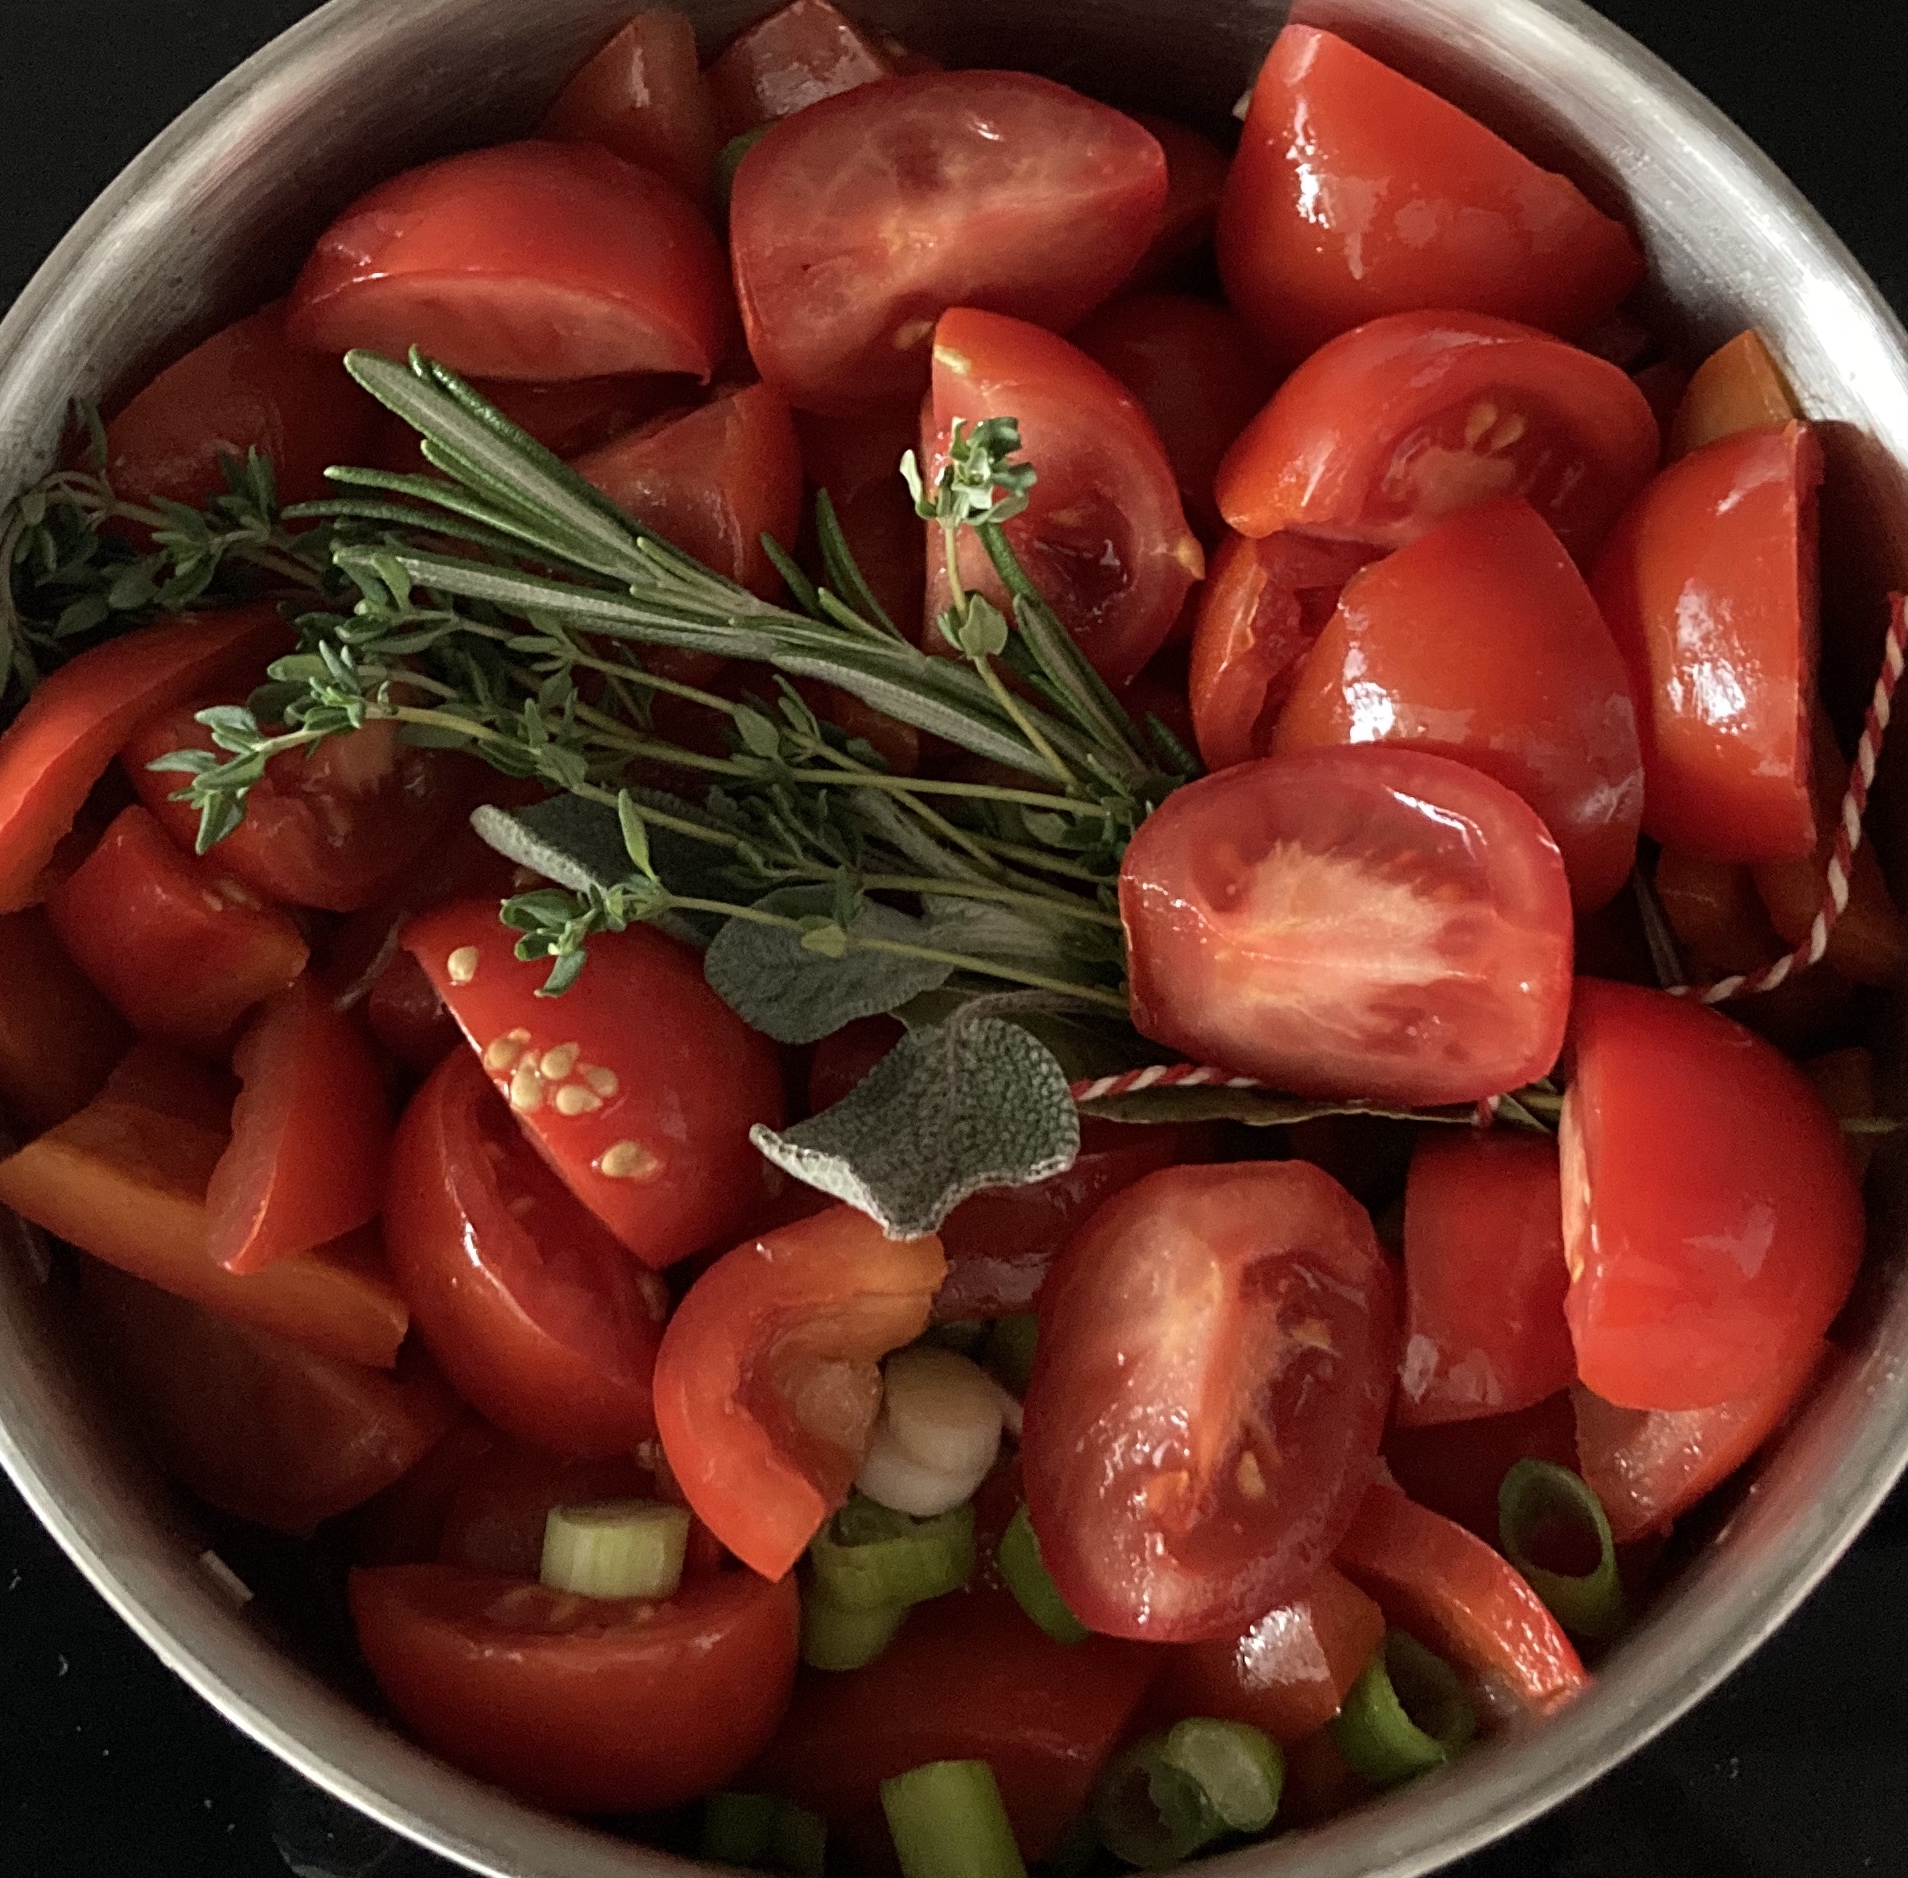
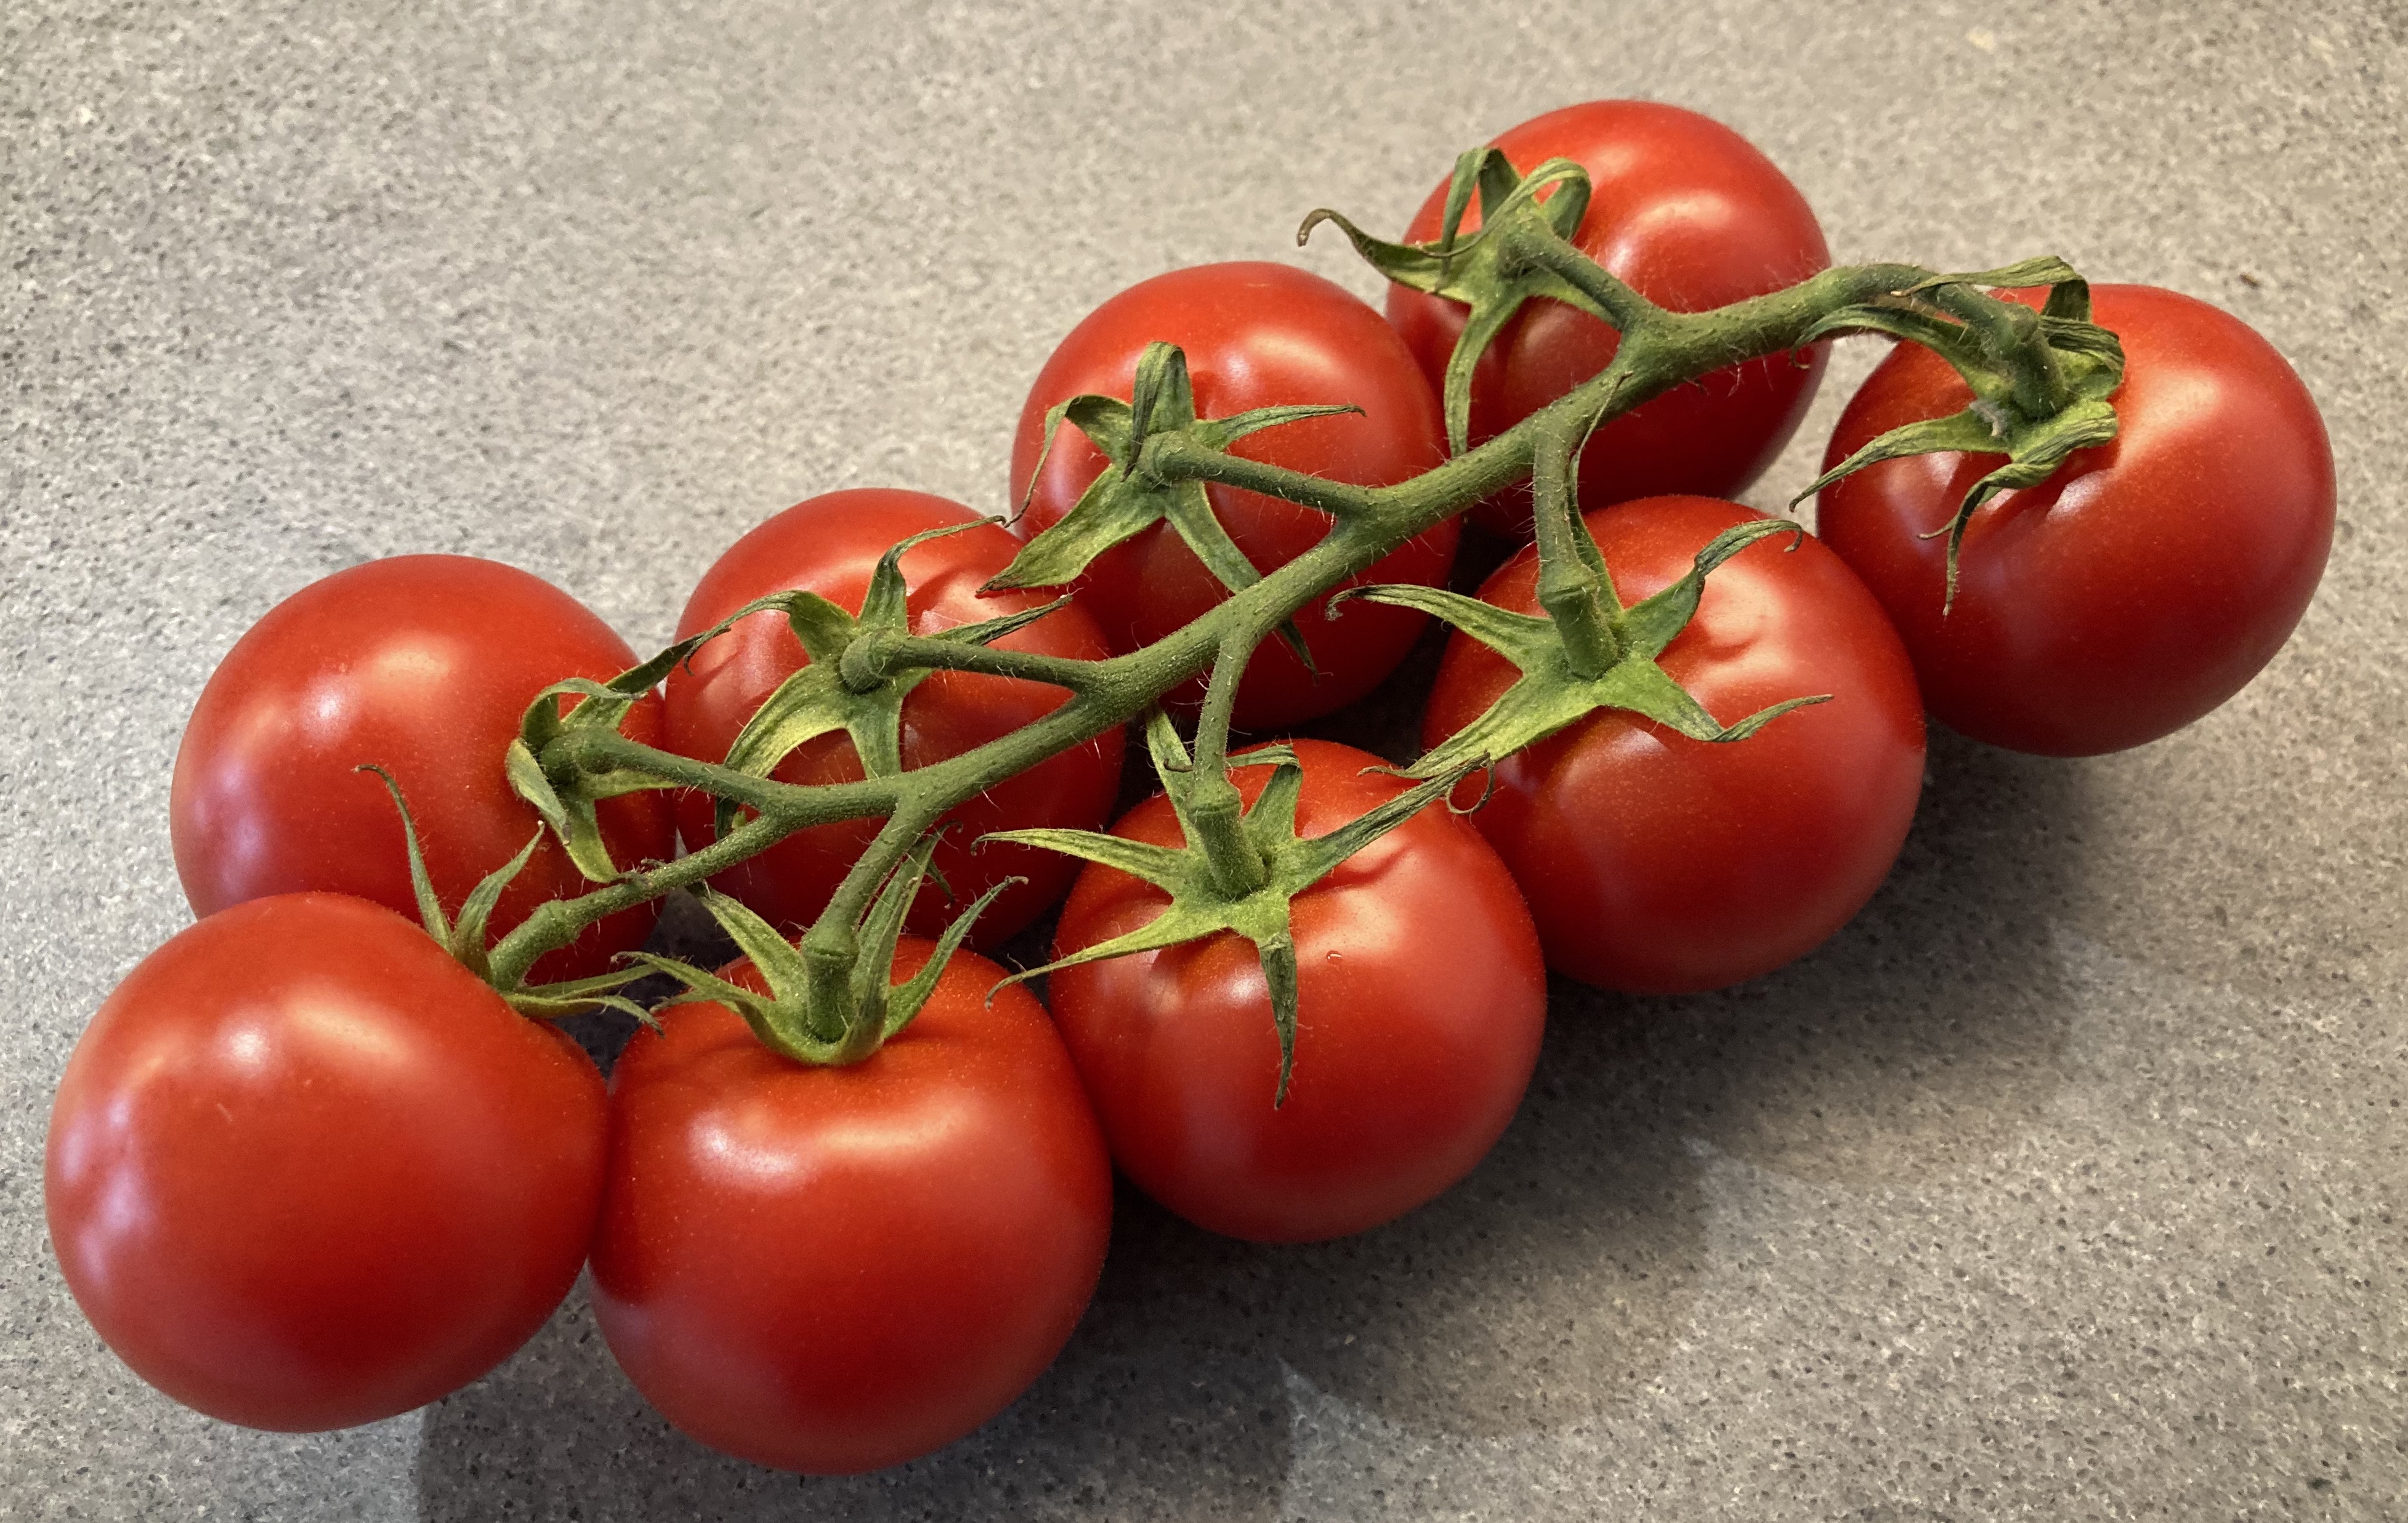
  • 4 – 6 Excellent Ripe Tomatoes (depending on the size)
  • 1 Red Bell Pepper (preferably grilled and peeled)
  • ½ Chilli
  • 1 Onion
  • 1 Garlic Clove
  • Olive oil
  • 1 Glass of Red Wine
  • Bouquet Garni (Parsley, Thyme, Rosemary, Bay Leaf)
What You Do
  1. Wash the tomatoes and slice in chunks
  2. Peel the onion and chop
  3. Add olive oil to the pan and glaze the onion for 10 minutes or so
  4. Stir and add the sliced bell pepper and the sliced and seeded chilli
  5. Let cook on medium heat for 5 minutes or so
  6. Reduce heat
  7. Add the chopped garlic clove
  8. After 5 minutes or so add the sliced tomatoes, the red wine and the bouquet garni
  9. Leave for 2 hours minimum to simmer
  10. Remove the bouquet garni and blender the mixture
  11. Pass through a sieve and leave to simmer for another 2 hours
  12. Cool and transfer to the refrigerator or freezer.
PS Grilling a Bell Pepper
  1. slice the pepper in large slices
  2. Set your oven to grill or broil, put a sheet of aluminium foil on the baking tray, put the slices on the foil, skin up and transfer to the oven, as close to the grill as possible
  3. Wait for 10 minutes or until the skin is seriously burned
  4. Transfer the slices to a plastic container and close the lid.
  5. Wait for an hour
  6. Use your fingers and perhaps a knife to peel of the skin
  7. Store the bell pepper and the juices in the refrigerator
  8. The taste is deeper and sweeter compared to raw bell pepper.