
The Art of Sauces: Classic Tomato Sauce
This recipe goes back to the days of Antonina Latini who published a recipe for a tomato sauce in his Lo Scalco alla Moderna (The Modern Steward, or The Art of Preparing Banquets Well) in 1692. Marie-Antoine Carême wrote about Latini’s recipes and Auguste Escoffier positioned the sauce as a leading (mother) sauce.
The sauce is different from a modern, vegetarian tomato sauce, for instance because one of the ingredients is salted pork, which obviously brings saltiness and depth to the sauce, in a very natural way.
The sweetness of the tomato is supported by carrots, onions and various herbs, making it a much more complex sauce. The flavours and aromas of the tomatoes benefit from the rich and tasteful context. This also supports the concept of a leading sauce: you can use it as a starting point for other sauces.
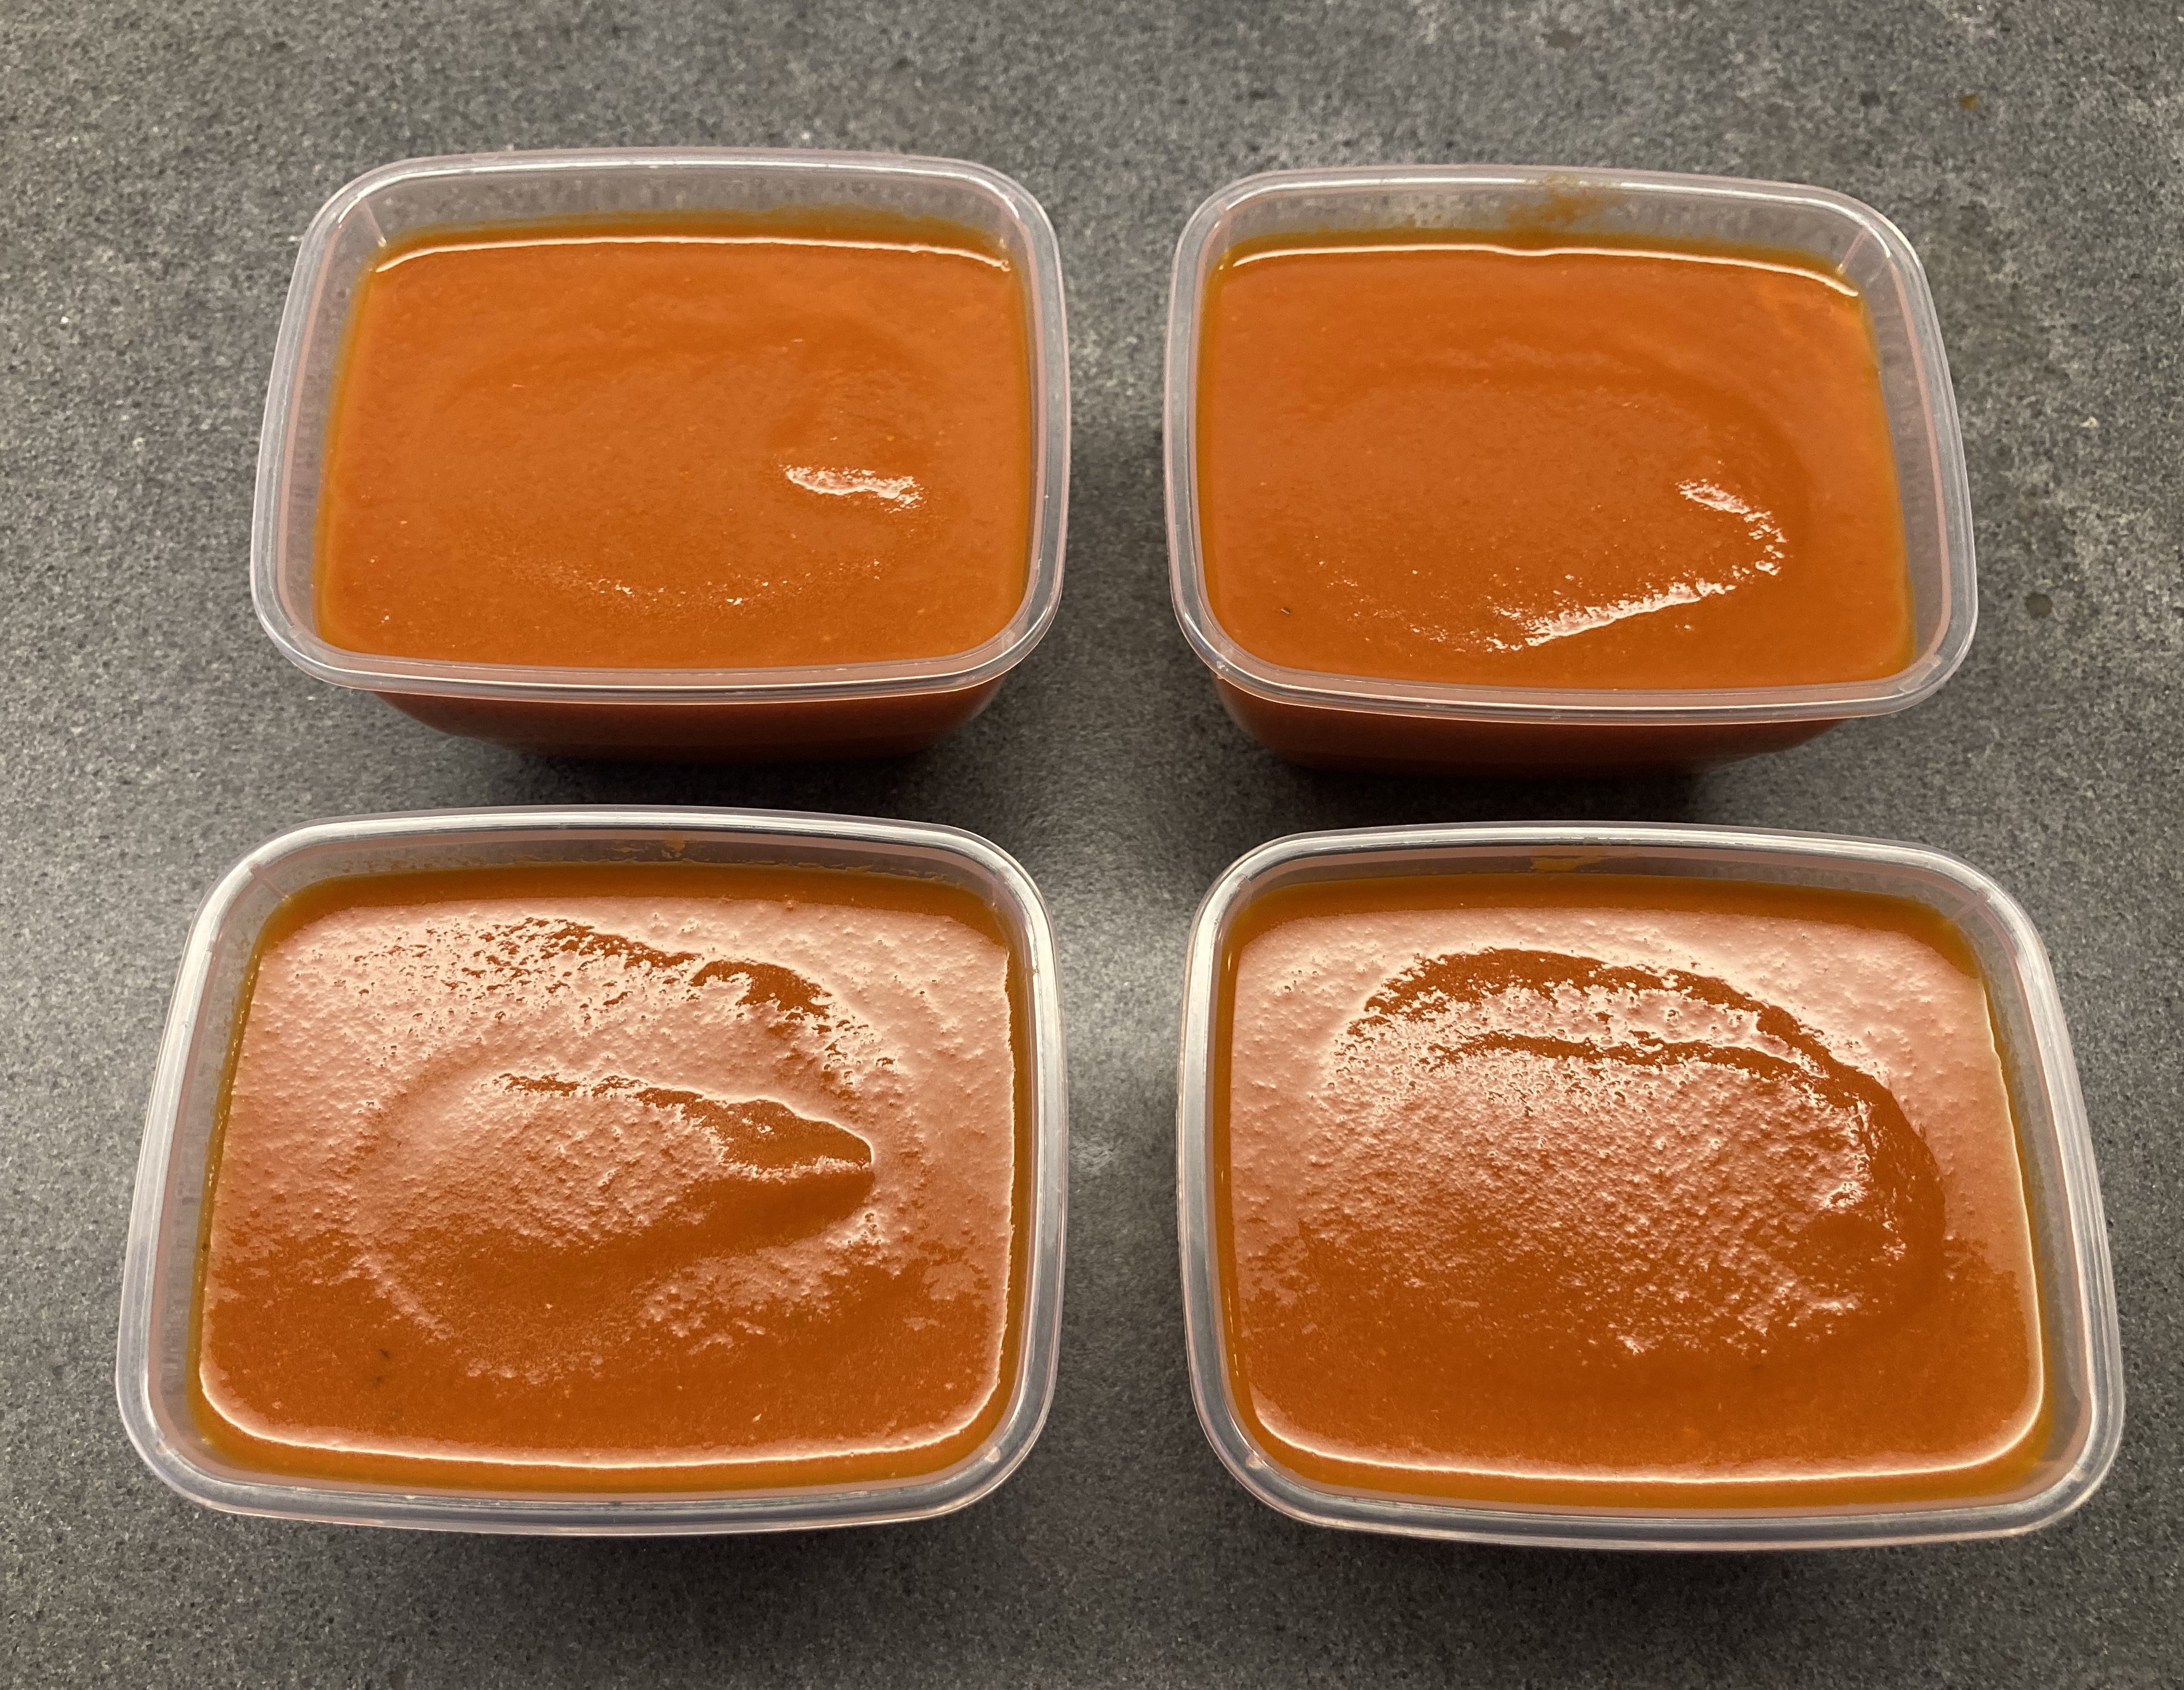
The texture of the sauce (it’s not smooth) in combination with the fat creates a very pleasant mouthfeel.
Sauce Tomate has many derivatives, such as Sauce Portuguese, Sauce Marinara and even Ketchup. In one of our next posts we will describe how to make Sauce Provençal and Oeuf à la Provençal (eggs poached in tomato sauce).
What You Need
- 200 grams of Salted Organic Pork (not smoked)
- ½ Leek
- 1 Carrot
- 1 Celery Stalk
- 1 Shallot
- 2 gloves of Garlic
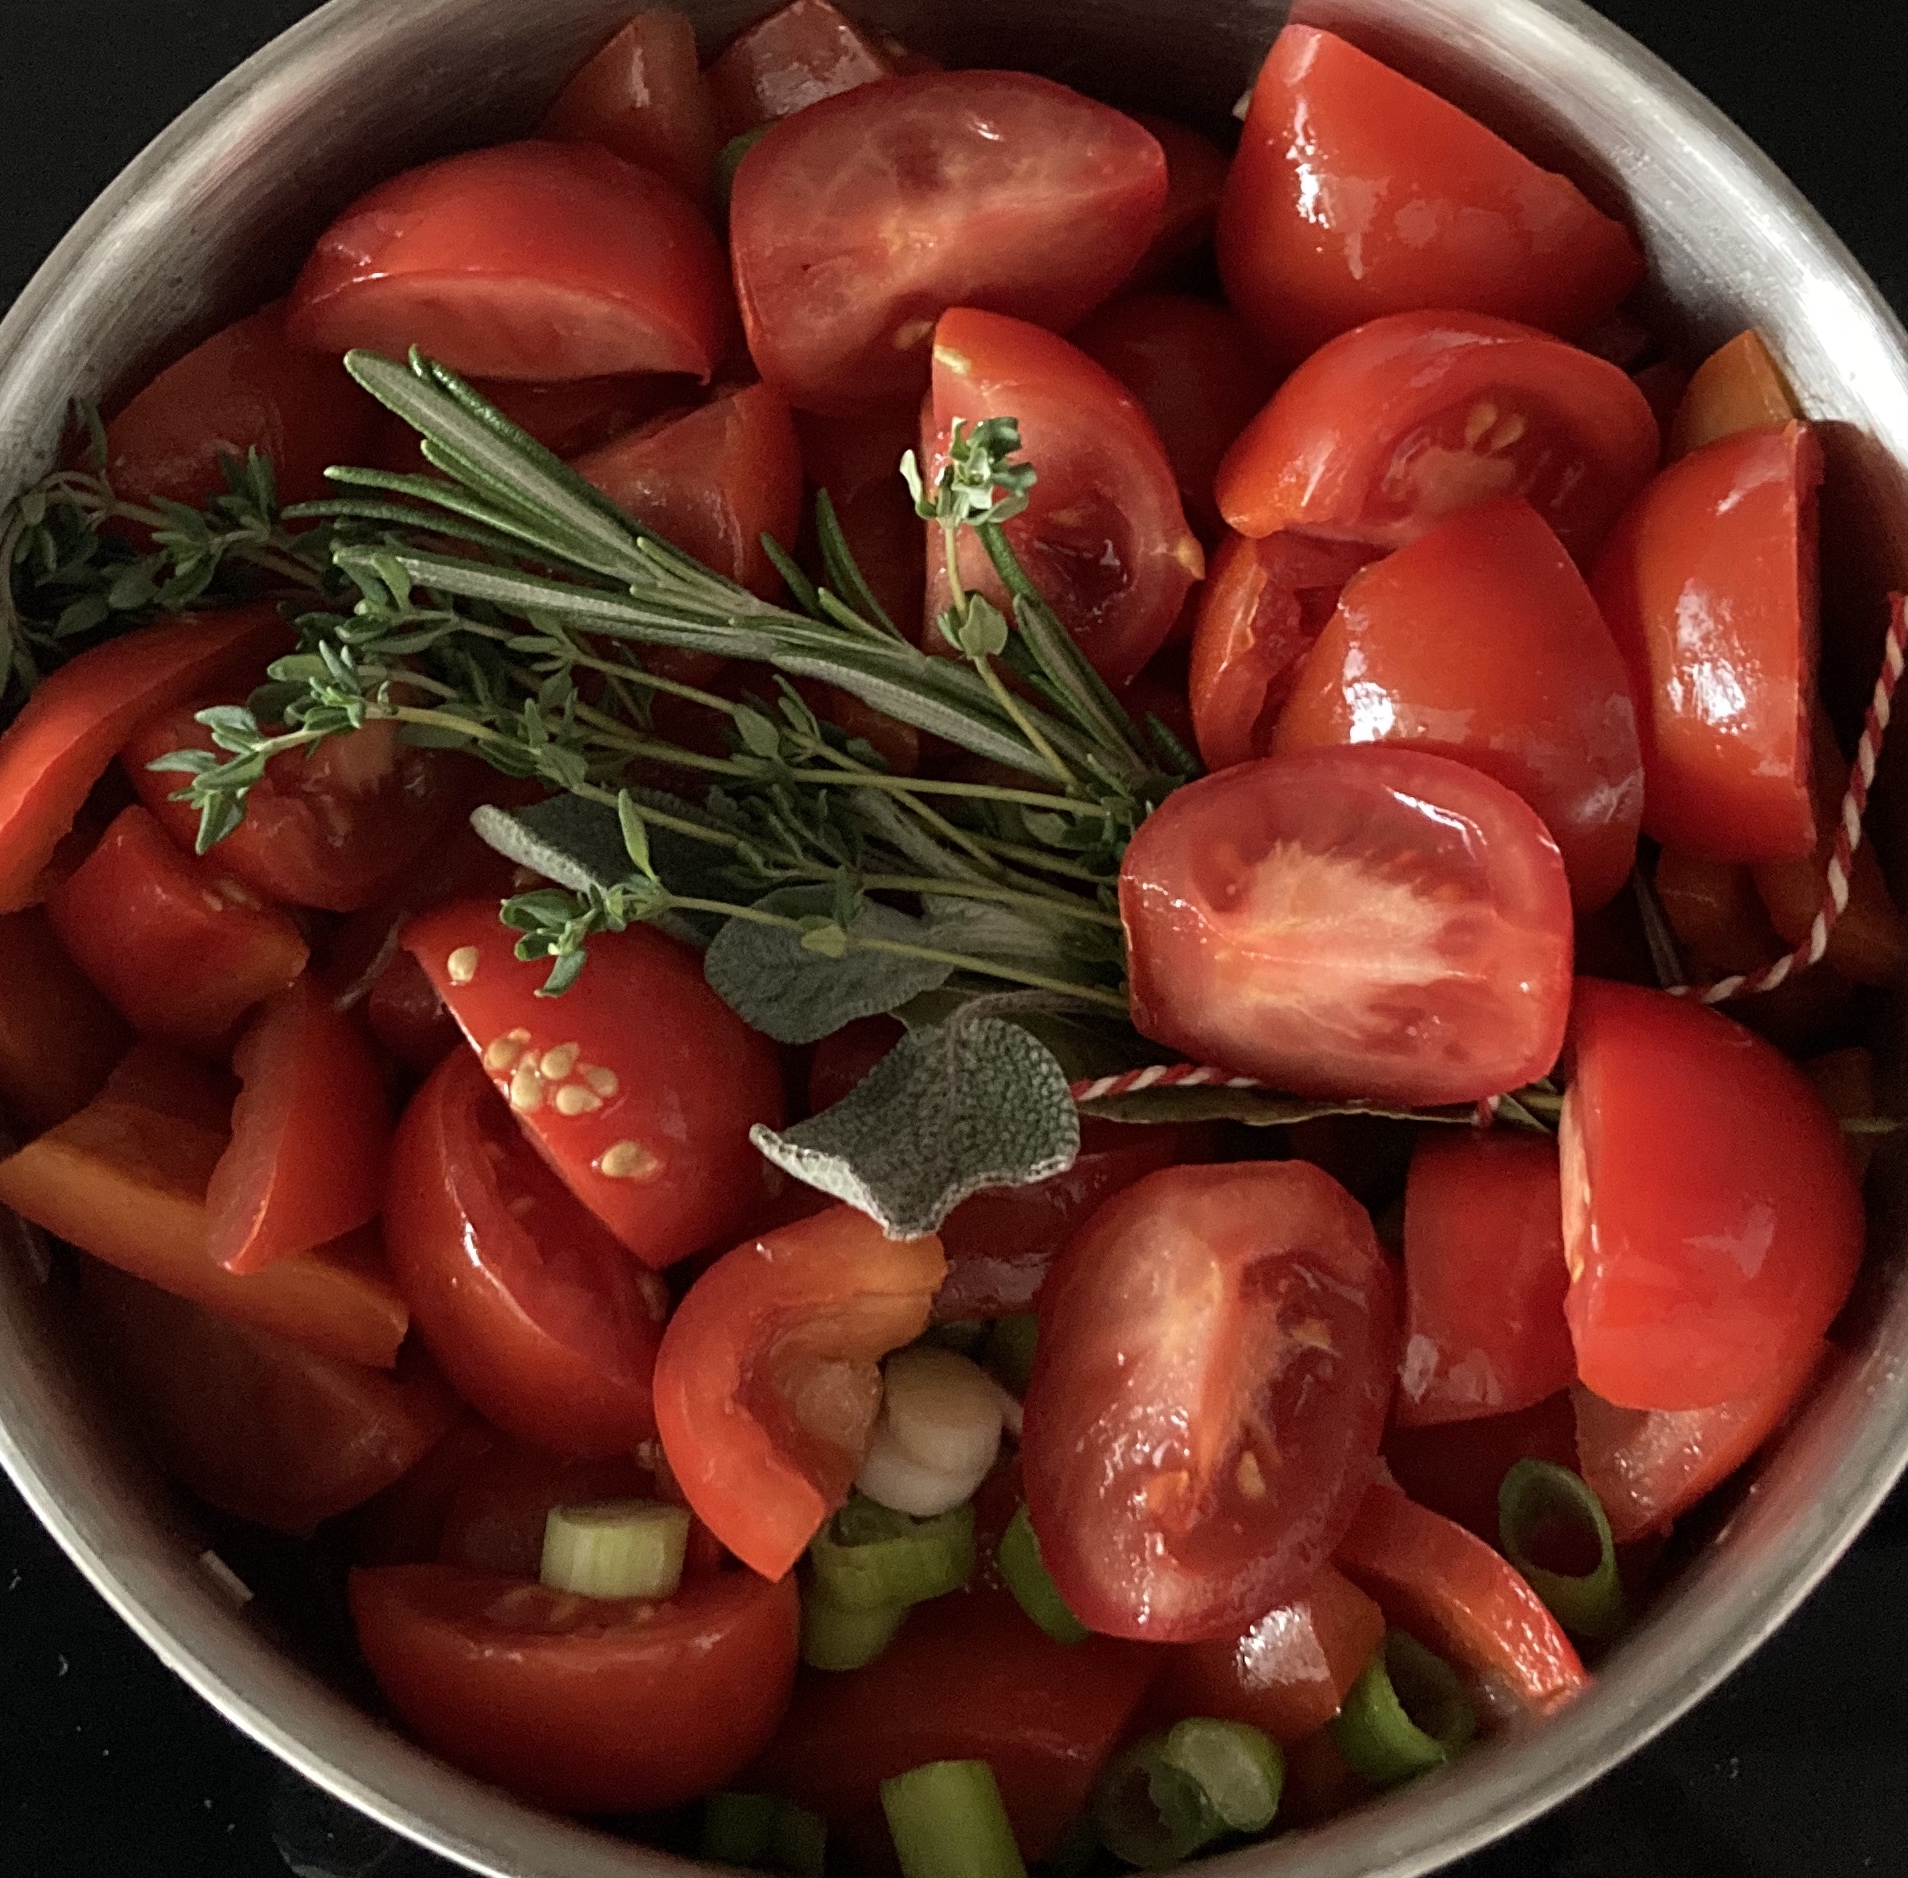
- 4 – 6 Excellent Ripe Tomatoes
- White Stock (Veal preferably)
- Bouquet Garni (Parsley, Thyme, Bay Leaf, Rosemary)
What You Do
- Start by cleaning and chopping the vegetables
- Wash, dry and dice the salted pork
- Render the pork meat on medium heat in a Dutch oven
- Once lightly coloured add the leek, carrot, celery and shallot
- Allow to cook for 5 to 10 minutes
- You’re looking for a bit of colour, but not too much
- Add the tomatoes and the garlic
- Once warm, wait for a few minutes before adding some white stock
- This is a tricky part: if you add too much stock your sauce will be thin. Therefore some recipes suggest adding flour. We decided against it because we want a natural consistency
- Now it’s a matter of simmering, either in the oven or on low heat
- Allow to simmer for 90 minutes.
- Remove the pork meat from the sauce
- Pass the sauce through a sieve, making sure you capture all those lovely juices
- It’s hard work, but the remainder in your sieve should be as dry as possible.


