Roquefort and Mushroom Mini Bites

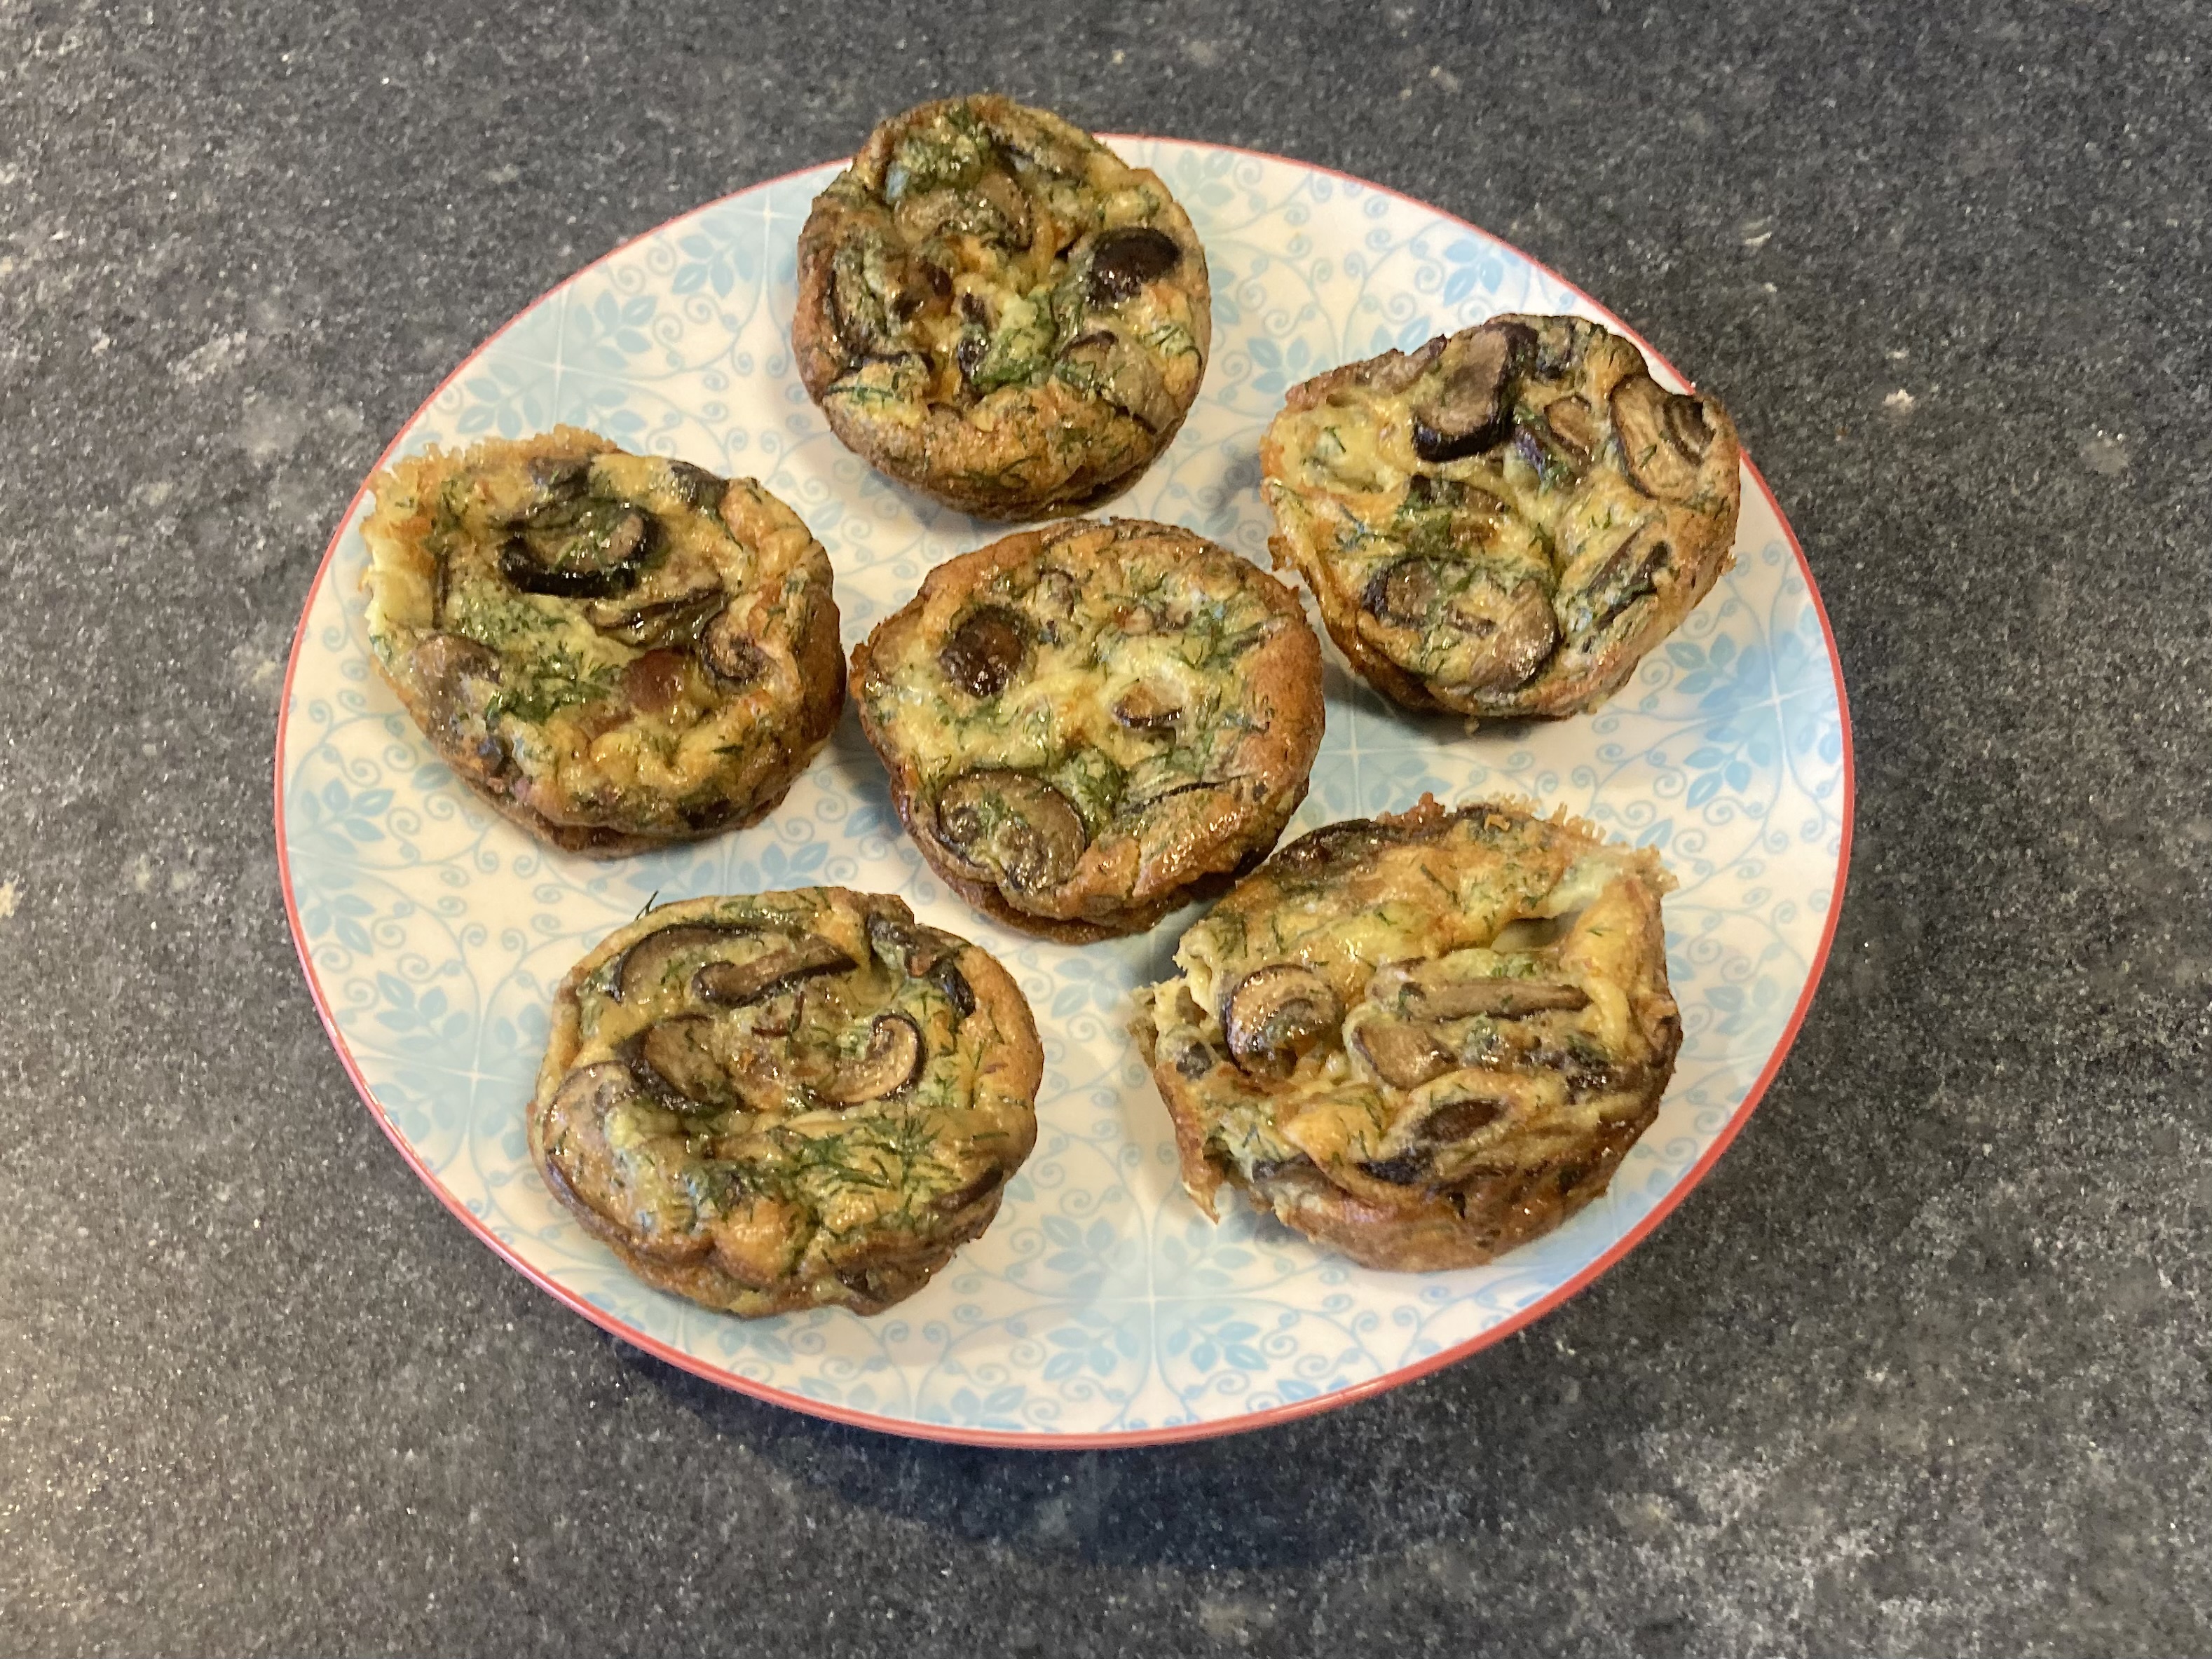
A few months ago we read a recipe for Herb and Mushroom Egg Bites. The bites looked like mini quiches. They were made with a combination of bacon, sauteed mushrooms, cheese, thyme and chives. We simply had to make them. They egg bites turned out to be delicious. Thanks Jeanne for sharing! More delicious recipes on her website.

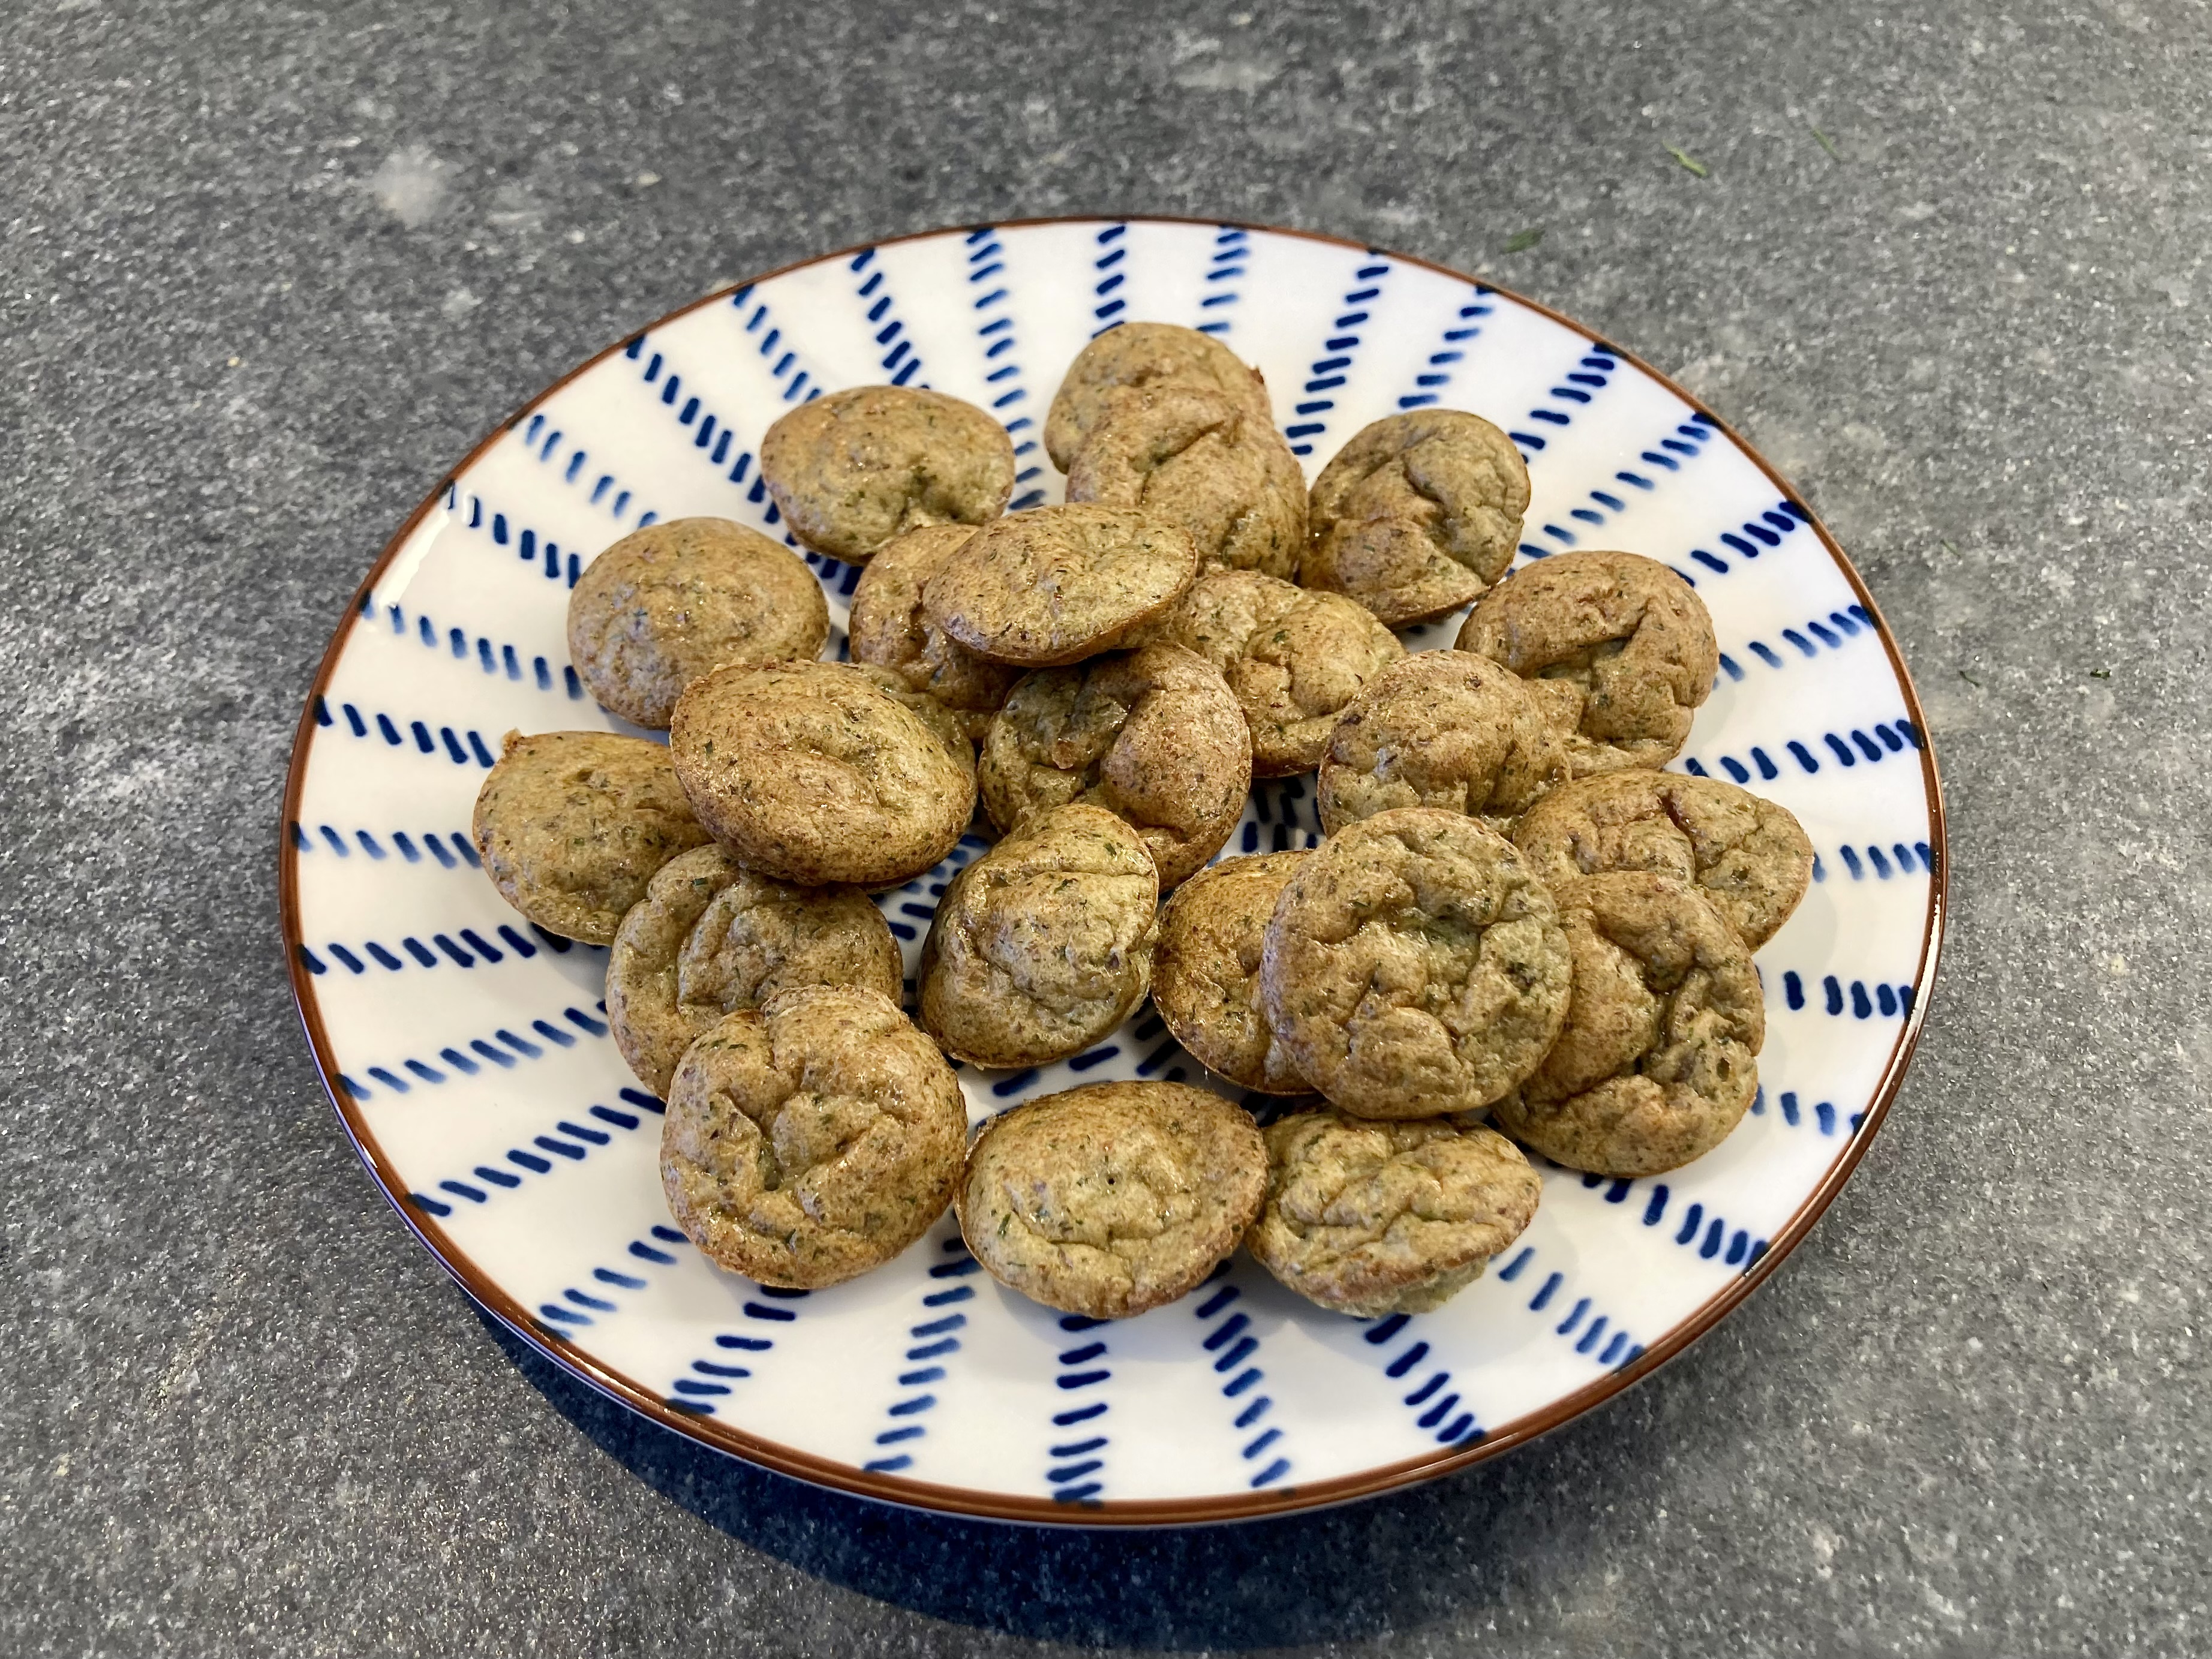
Jeanne served them as a side dish with grilled tuna, focaccia and a rich salad. As she wrote: a perfect summer meal. We wanted to serve the bites as a starter. Worked well, but we felt something was missing. Why not make them smaller and serve them with an aperitif? That could work, but we would have to enhance the flavour. Which we did by using Roquefort (our favourite blue cheese) and dill. We used a silicon mould with 2,8 cm (1.1 inch) semi-sphere holes.

Wine Pairing

We enjoyed the mini bites with a glass of dry, sparkling wine. They will also combine very well with a dry white or rosé wine, or with a beer. Given the flavours of the mini bites, they are best combined with a non-sweet drink.

What You Need
  • 2 Eggs
  • 50 grams of Roquefort or another strong blue cheese
  • 100 ml Cream
  • Lots of Dill
  • 2 slices of Pancetta
  • 100 grams of mixed mushrooms, including Shiitake
  • Black Pepper
What You Do
  1. Slice the mushrooms
  2. Chop the dill
  3. Prepare the semi-sphere mould according to the instruction. We lightly buttered ours
  4. Pre-heat your oven to 170 °C or 340 °F (traditional, so not fan)
  5. Gently fry the slices of pancetta in a skillet
  6. When nicely done, transfer from the pan to a plate with kitchen paper
  7. Fry the mushrooms in the pan until done
  8. Transfer the mushroom to a plate and allow to cool
  9. Whisk the eggs and add the cream
  10. Add Roquefort, dill, crumbled pancetta, mushrooms and black pepper. Mix
  11. Taste and adjust
  12. Use a blender to pulse the mixture: you’re looking for a batter that is a bit smoother, but not completely smooth
  13. Pour the batter in the semi-sphere silicon mould and transfer to the oven for 20 minutes or until golden-brown
  14. Let cool in the mould for a few minutes, then pop them out
  15. Serve warm
PS

If you want to go for larger bites, then skip step 12. You could decorate each with a slice of mushroom.

Pike Perch with Shrimps and Dill

Pike Perch (zandersnoekbaarssandre) is one of the tastiest, flavour-packed freshwater fish. The flesh is white, firm and lean and the taste is delicate, mild and perhaps a touch sweet. It combines very well, for instance with this delicious shrimp-based sauce with dill. It seems to be a bit of work, but when you prepare the bisque-like sauce in advance, then it’s actually a very quick recipe.

Wine Pairing

We opened a bottle of Domaine Font-Mars Picpoul de Pinet. This is a white wine from the South of France between Narbonne and Montpellier. The terroir (think calcareous soil, clay, quartz) is influenced by the sea, which is reflected in the mineral taste of the wine.
If you feel like spending more money, then we suggest a glass of Chablis. In general you’re looking for a refreshing, unoaked white wine with minerality and fresh acidity.

What You Need
  • Pike Perch fillets
  • Butter
  • For the Bisque
    • 300 grams of unpeeled small Grey Shrimps
    • Tomato Paste
    • 1 small Shallot
    • 1 Garlic Clove
    • Dill
    • Olive oil
    • pinch of Saffron
    • Cognac
    • pinch of Salt
    • Butter
What You Do
  1. Start by peeling the shrimps. It’s a very simple, mindfulness exercise
  2. Remove the heads and discard
  3. Use the shells for the bisque and transfer the bodies of the shrimps to the refrigerator
  4. Chop the shallot and the garlic
  5. Gently glaze the shallot for 10 minutes or so in olive oil
  6. Add the shells and the garlic
  7. Increase the heat for a few seconds
  8. Add some water and stir
  9. Add tomato paste, dill and saffron
  10. Add a splash of cognac and a pinch of salt
  11. Allow to simmer for 20 minutes
  12. Pass the liquid through a fine sieve. Make sure you get all the lovely juices
  13. Reduce the liquid until it’s powerful
  14. Cool and set aside.
  15. Transfer the shrimps from the refrigerator some 15 minutes before serving
  16. In a non-stick pan heat some butter and fry the pike-perch
  17. In parallel warm the bisque
  18. Use ice cold butter to make the sauce thicker and richer
  19. Plate up by creating a pool of sauce
  20. Place the fried fish somewhat in the middle of the sauce
  21. Add the shrimps and finish with some fresh dill
Pike Perch with Shrimps and Dill ©cadwu

Asparagus Soup (Traditional)

Preparing Asparagus soup starts by using the skin and woody ends of the asparagus with leek or shallot to make a stock. Since the stock is fairly bland and watery, you need to add additional flavour (the tips of the asparagus, cream, salmon and dill) and improve the consistency of the final result. The traditional way of doing this is by making a roux. You will get a nice, thickened soup with a velvety mouthfeel. It’s still a bit one dimensional so if you want a more complex soup, we suggest replacing the water by chicken or vegetable stock.

Another way of improving the consistency and enhancing the flavour is by adding asparagus to the soup and blending the result. In this post we will prepare the traditional version.

What You Need

  • The skin and woody ends of lots of White Asparagus
  • Shallot
  • Butter
  • Water (Chicken or Vegetable Stock preferred)
  • Five White Asparagus
  • 30 grams of All Purpose Flour
  • 30 grams of Butter
  • Cream
  • White Pepper
  • Pinch of Salt

What You Do

Peel and slice the shallot. Peel the five asparagus and cut of the woody ends. Add butter to a pan, glaze the shallot. Now add the skin and woody ends of the asparagus, coat with the shallot and butter mixture and add cold water. Allow to simmer for 30 – 45 minutes. If you cook the stock too long, then it will become bitter. Pass the liquid through a sieve. Squeeze to capture all the lovely asparagus juices. With the stock ready it’s time to make the (white) roux. Warm the butter in the pan, add the flour and stir. Keep on medium heat until you just begin to smell cookies. Now start adding the warm liquid, slowly at first, keep stirring and adding until you have used all the liquid. Taste, add some white pepper and a pinch of salt. Keep on low heat. Slice the five asparagus, add the slices to the soup and keep the tips. Stir every 5 minutes. After 20 minutes add some cream, slice the five tips lengthwise and add these to the soup. 5 more minutes and the soup is ready.

Asparagus Soup (Traditional) ©cadwu

Avocado and Cucumber Soup

Something Extra

Preparing a chilled soup is more than simply combining and blending a few ingredients; it needs something extra, something that will give the soup a push, simply because it’s chilled and the aromas are not as present as when a soup is warm. For instance Gazpacho is not just a mixture of tomatoes, cucumber, bell pepper and red onion; it absolutely needs Jerez vinegar.
Cold soups also benefit from adding excellent olive oil just before serving. The olive oil will give that velvety, rich feel in your mouth.
Chilled avocado and cucumber soup also needs something extra. We add soft blue cheese (for instance Gorgonzola Dolce) and Dill. Lemon will bring the required acidity and Greek Yoghurt will enhance the texture.

What You Need

  • One Ripe Avocado
  • One Small Cucumber
  • Stock (Chicken, Veal or Vegetable)
  • Soft Blue Cheese
  • Fresh Dill
  • Lemon
  • Black Pepper
  • Greek Yoghurt
  • Olive Oil

What You Do

Peel the cucumber and remove the seeds. Add the cucumber, avocado, stock, cheese and dill to your blender and mix. Now it’s a matter of tasting. Add a bit of lemon and black pepper. You may want to add more dill because it’s a fairly delicate herb. Once you’re happy with the taste, add some yoghurt and mix with a spoon. Transfer to the refrigerator and let cool and integrate for at least 4 hours. In this case ‘integrate’ also means making sure the cucumber is not too present. Just before serving taste again and add some olive oil. Stir with a spoon. Serve in a cold soup plate and decorate with a sprig of dill.

Flan with Tofu, Dashi and Ginger

An Asian Coddler

Serving food prepared in a coddler is always good fun. Turn of the lid and be surprised! In this case it’s a light and elegant starter; one that you can prepare the day before. The ginger and spring onion bring spiciness and freshness, the dashi brings umami and the flan a velvety, rich feeling. Making the dish comes with two challenges: the flan should be smooth and the gel not too firm.

Sake Pairing

Sake is best with this dish. The taste of the flan is subtle with a nice fresh touch because of the ginger and spring onion. The gel is a bit salty, given the dish a nice edge. The sake should be straight and crisp (and cold of course).

What You Need

  • For the Flan
    • 8 Small Coddlers (so-called standard size)
    • 100 gram of Silken Tofu (light and soft)
    • 1 Egg
    • 1 Egg Yolk
    • 50 ml Dashi (preferably home-made)
    • Touch of Soy Sauce
    • 1 Teaspoon of Mirin
    • Butter
    • Dill
  • For the Gel
    • 75 ml Dashi
    • Cornstarch
    • Fresh Ginger
    • Spring Onion

What You Do

In a bowl mix the egg and the egg yolk. Use a blender to smoothen the tofu. After blendering it should look like yoghurt. In a second bowl mix the tofu, 50 ml dashi, a touch of soy sauce and mirin. Now combine the content of the two bowls and mix gently. Pass through a sieve. It’s important that the mixture is very smooth, so no lumps or bits of white from the egg. And no bubbles. If not, pass through a finer sieve.
Apply a very thin layer of butter to the coddler, just enough to cover the inside. Pour the mixture in the coddlers, but nor more than 2/3. The mixture will set but not raise (or only a little bit). Close the coddlers, but not too tight. You want to test one during the cooking process and you don’t want to burn your fingers.
Set your oven to ‘classic’ and to 170° Celsius or 340° Fahrenheit. Put the coddlers in a large oven tray and add boiling water. The water should reach ¾ of the coddler, leaving ¼ free. Once in the oven reduce the temperature to 120° Celsius or 250° Fahrenheit and cook for 25 to 30 minutes. The coddlers are done when a metal pin comes out clean.
Remove the coddlers from the oven and allow to cool. You can do this by putting them in cold water, but you can also give it a bit of time. Make sure you dry the inside of the metal lid (condense).
Reduce the dashi. The taste should be relatively strong because the cornstarch will soften it. Better to use agar agar, but cornstarch is perfectly fine in this case. Thicken the sauce with the starch and let it cool. It should work as a gel on top of the flan.
Grate the ginger and very thinly slice both white and green of the spring onion.
Put a bit of ginger in the middle of the flan; sprinkle the onion over the top of the flan and finish by pouring a bit of the gel. Ideally this will cover the top (and the ginger and spring onion) and flow between the coddler and the flan.
Put the coddlers in the refrigerator and let cool. Half an hour before serving take them out of the refrigerator, remove the lid, dry it and put it back on again. Decorate with dill.

Flan with Prawns, Blue Cheese, Spinach and Dill

Something on a Spoon

A glass of white wine, perhaps a glass of Crémant d’Alsace or maybe even a glass of Champagne; such a great way to start dinner (or lunch when you feel like treating yourself). You enjoy some bread with homemade Tapenade, or a few nice olives. All good. And then suddenly the chef presents you her or his Amuse-Bouche. Something very special and an indication of the chef’s talent. But in most cases it’s something on a spoon and not very special.

A bit of background: amuse-bouche is actually not a French term. Restaurateurs made it up because they think amuse-gueule (the correct term) is a bit harsh. ‘Gueule’ can refer to both humans and animals. And ‘ferme ta gueule’ is far from polite. So restaurateurs started using ‘bouche’, to eliminate the impression that they think their guests have a snout.

Some say the concept of the amuse was invented by the Nouvelle Cuisine in the 1960s. Not really. In 1946 Francis Ambrière, in his book Les Grandes vacances, writes … Une côtelette à midi. Quelques amuse-gueule à l’heure du goûter. Et le soir, ô splendeur, un gigot bien saignant, le premier gigot depuis l’an 40!

Today’s amuse-gueule is a dish in its own right that amuses the mouth, fools your appetite and makes you want to start on the first course. Small, tasty, full of flavours and maybe a bit out of the ordinary.

We use a traditional coddler for this amuse-gueule, but you could also use a small ramequin. No spoon, please.

Wine Pairing

Typically the amuse-gueule is combined with your aperitif. We combined this amuse gueule with a glass of German Sekt, to be more precise with a glass of Reichsrat von Buhl – Pfalz – Sekt – Spätburgunder Brut rosé 2016, which is a superb pale pink wine, made from 100% Pinot Noir and produced by one of the leading wineries in Germany. Think red berries, brioche, a delicate texture with a nice mousse, fresh acidity and a long-lasting aftertaste.

What You Need (for 4)

  • One Egg
  • Four Medium Sized Raw Prawns
  • 75 grams Spinach
  • ½ Shallot
  • A Generous Tablespoon of Crème Fraiche
  • Dill
  • Blue Cheese
  • Chives
  • 4 Edible flowers

What You Do

Start by cleaning the prawns, removing the head, the shell and the vein. We used Argentine red shrimps. The meat is fairly soft and they become beautifully red when cooked. Fry the shrimps is some olive oil for 3 minutes. Remove the shrimps from the pan, set aside and let cool. Gently fry the shallot in the same pan for 10 minutes until glazed. Remove from the pan and let cool. In a different pan quickly cook the (dry and clean) spinach in some olive oil. Keep stirring! Drain if so required, set aside and let cool.
Cut the prawns in smaller bits. Chop the spinach using a large knife. Whisk the egg until completely smooth. Now add the (cool) bits of prawn, the spinach and the shallot. Whisk with a spoon. Add the Crème Fraiche. Add some chopped dill (depending on your taste), a bit of blue cheese (not too much, just to add a dimension to the dish) and a generous amount of chives. Mix. Coat the coddlers or ramequins with butter. Add the mixture to the coddlers or ramequins. Heat your oven to 170° Celsius (or 340° Fahrenheit). Place the coddlers or ramequins in a shallow dish. Add boiling water up to 2/3 of the height of the coddler or ramequin. Close the oven and reduce the temperature to 120° Celsius (or 250° Fahrenheit). After 30 minutes au bain marie your amuse-gueule should be ready. Test with a needle. Let cool.
If using a coddler, remove and dry the lid, add the flower and close.

Amuse-Gueule © cadwu