Clafoutis
Cherries, cherries, cherries! We love their rich, sweet taste, the touch of tartness and their firm, succulent texture! They just want to be eaten, one after the other. So what better summer dessert than Clafoutis?
Should you use whole cherries or pitted ones? Not removing the pits is less work for you (obviously) and it reduces the risk of a soggy Clafoutis. Unpitted cherries will give a subtle almond flavour to the clafoutis. On the other hand, you don’t want to bite into a pit while enjoying your dessert. Also important: the pits contain amygdalin, a toxic compound that can also be found in almonds, apple seeds and apricot stones.
We decided to pit the cherries and compensate for the lack of almond taste by adding some almond flour to the batter.
If you decide to remove the pits, make sure you remove all of them!
Finally, yes, you can replace the cherries with fresh apricots, berries, peaches or prunes. The result is called a Flaugnarde. But nothing as tasty as Clafoutis made with fresh cherries!
What You Need
- 2,5 dl of regular Milk
- 2 Eggs
- 30 grams of plain Flour
- 10 grams of Almond Flour
- 20 grams of Sugar
- 500 grams of Cherries, pitted
- 10 grams of Butter
What You Do
- Pre heat the oven to 180° Celsius or 350° Fahrenheit
- Whisk together the eggs, plain flour, almond flour and sugar
- Bring the milk almost to a boil
- Stir the milk into the mixture
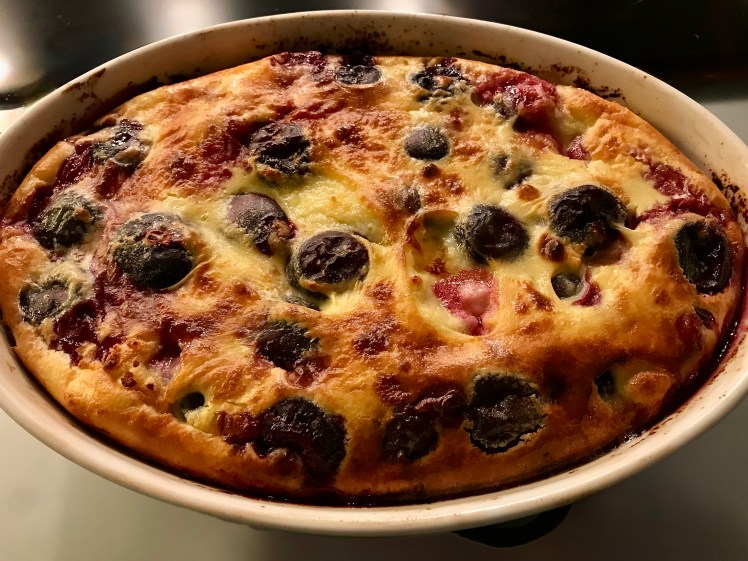
- Butter a large, shallow baking dish, add cherries to the dish
- Make sure the bottom is nicely covered with cherries; no need to have two layers of cherries
- Pour the mixture over the cherries
- Bake (lower third of the oven) for 20 minutes
- Add a few dots of butter
- Continue baking for another 20 minutes or until the Clafoutis is golden
- Leave to cool for 60 minutes or so, this will enhance the taste
- Clafoutis should be served luke-warm
- You could decorate the clafoutis with icing sugar