Cod and Horn of Plenty

The magic of a great combination: only two ingredients supported by butter, olive oil and white pepper. It made us think of James Tanner’s inspiring Take 5 Ingredients. Sometimes you need various cooking techniques and lots of ingredients. Sometimes the combination of only 5 ingredients is all you need to make a perfect dish.

Why perfect? Both the fish and the mushroom are clearly present and nicely balanced. As if the combination brings out the best of both. The butter supports the richness of the fish and the aromas are delicate. The texture of the cod is soft and a touch flaky; the Trompettes de la Mort have a more fibrous and chewy texture. Excellent mouthfeel!

Wine Pairing

You’re looking for a wine that has minerality, a touch of oak and has sufficient body and length, for instance a Chardonnay.
We enjoyed our Cod and Horn of Plenty with a glass of Chablis, Antonin Rodet, Premier Cru, Montmains. It has a clear and pale gold colour. It comes with mineral notes and a touch of lemon. The taste is delicate and persistent with aromas of fresh citrus. It goes very well with the ‘long’ taste of the dish and the citrus is ideal with the cod and butter.

What You Need

  • 150 grams of Cod
  • 100 grams of Horn of Plenty
  • Butter
  • Olive Oil
  • White Pepper

What You Do

Make sure the mushrooms are fresh and dry. They become soggy and smelly easily. Clean the mushrooms thoroughly with a piece of kitchen paper. This can be time consuming. You may want to cut the cod in two. Fry the cod in olive oil with some butter in a non-stick pan. In a second pan fry the mushrooms in olive oil. This may take 5 minutes or so. Transfer the mushrooms from the pan to a warm plate with kitchen paper. When the cod is ready, serve immediately on a warm plate with some white pepper and sprinkle the mushrooms on top.

  • Cod and Horn of Plenty ©cadwu
  • Horn of Plenty ©cadwu

Guineafowl with Ras el Hanout

Preparing guineafowl can be a bit of a challenge: easily overcooked and quickly dry. Guineafowl has more structure and less fat compared to chicken plus it’s much firmer. The good news is that guineafowl has lots of flavour, perhaps a bit gamey, but not overpowering. So great to combine with nice ingredients such as morels or with grappa, junipers, sage, white wine and pancetta (as included in The River Cafe Classic Italian Cookbook, written by Rose Gray and Ruth Rogers).

Ras el Hanout is a mix of some twenty plus spices such as coriander, cumin, cinnamon, nutmeg, fenugreek, fennel, cardamom, turmeric and many more. Ras el Hanout is complex, layered, warm, a touch sweet and bitter. It works beautifully with the guineafowl and the various vegetables. 

Wine Pairing

Enjoy your guineafowl with a not too complex, medium bodied, fruity red wine. Grapes such as Grenache, Carménère, Carignan. We enjoyed a glass of Merlot, produced by Les Ormes de Cambras from the French Pays d’Oc region. A round, fruity wine with aromas of berries and subtle tannins. Also available as Bag in Box!

What You Need

  • Guineafowl
    • Guineafowl (Supreme preferred, but Leg is also fine)
    • Teaspoon of Ras el Hanout
    • 2 Garlic Gloves
    • Olive Oil
    • White Onion or Shallot
  • Vegetables
    • 1 Sweet Potato
    • 1 Carrot
    • Cinnamon
    • Olive oil
    • Teaspoon of Soy Sauce
  • Ratatouille

What You Do

Crush the two garlic gloves and mix with some olive oil and ras el hanout. Rub the meat with the mixture and leave to marinate in the refrigerator for a few hours.
Pre-heat the oven to 180 ˚C or 355 ˚F. Add the two legs of guineafowl to a shallow dish with generous olive oil and chopped onion. Cook for 10 minutes. Turn the legs upside down and cook for another 10 minutes. Turn them a second time, skin up, for 10 more minutes. If you want a bit more colour, then set the oven to 200 ˚C or 390 ˚F.
In parallel peel the potato and the carrot. Dice and slice. Cook separately (the carrot needs more time) until tender but firm. Combine the vegetables, add olive oil, a teaspoon of grated cinnamon and a teaspoon of soy sauce. Mix well, making sure the vegetables are nicely coated. Leave on very low heat for 10 minutes. This will help integrate the flavours. (You wonder why we add soy sauce? Its umami will bring the flavours of the potato and the carrot together plus the saltiness will give the dish the required push. And because it’s one teaspoon only, you will not be able to recognise it).
The ratatouille is optional. Make it the day before, with relatively small slices and cubes of vegetables, add some tomato puree, making it nearly paste like.

Guineafowl with Ras el Hanout ©cadwu

Lamb with Rosemary, Garlic and Anchovies

A powerful and uplifting combination, one that works very well on a summer’s evening, eating al fresco. Using anchovies is not a semi-modern twist (the Surf and Turf cliché), it’s a way of adding flavor and salt to the dish. It made us think of the Roman Garum or Liquamen, a sauce made with fish and salt. The recipe for Garum is simple: just combine fish, lots of salt and leave to ferment for a couple of weeks, until you have a clear liquid. This fish sauce (but it doesn’t taste like fish) will bring umami and depth to the dish. In this case the anchovies will have a similar effect. During the cooking process they will practically dissolve and what is remains is flavor.
We enjoyed our lamb with Ratatouille. Make sure you prepare it one day ahead.

Wine Pairing

This combination requires a red wine that will not be blown away. We enjoyed a glass from the Corbières region in France, produced by Château Coulon and made from Syrah, Mourvedre, Carignan and Grenache grapes. Flavors such as cassis, black fruit with a hint of pepper. The wine is dark red, with a liquoricey edge, a touch of smokiness, firm but supple tannins and a minerally character.

What You Need

  • For the Lamb with Rosemary, Garlic and Anchovies
    • 400 gram Leg of Lamb
    • 1 Rosemary Sprig
    • 4 Garlic Gloves
    • 2 Anchovies
    • Olive Oil
  • For the Ratatouille
    • 1 Red Bell Pepper
    • 1 Red Pepper
    • 1 Courgette
    • 1 Aubergine
    • 4 Excellent Tomatoes
    • Thyme
    • Cilantro
    • Olive oil

What You Do

  1. The day before prepare the Ratatouille.
  2. Make 4 slices in the meat, preferably in the fatty part
  3. Remove the needles from the rosemary and chop very fine (using a herb chopper)
  4. Peel the gloves and press them
  5. In your mortar, mix the garlic and chopped rosemary with some olive oil, creating a paste
  6. Cut the anchovies in 4
  7. Add paste and anchovies to slices
  8. Cover with foil and leave to rest for at least 12 hours
  9. Remember to remove it from the refrigerator one hour before cooking
  10. Heat the oven to 235 °C or 455 °F
  11. Transfer the meat to the oven for 10 to 15 minutes, until it has the right colour
  12. Open the oven, allow to cool and set the oven to a low temperature
  13. You could go for 80 °C or 175 °F.
  14. Remove from the oven when the internal (core) temperature is 60 °C or 140 °F
  15. Cover with foil (not tight) and allow to rest for 10 minutes
  16. In parallel warm the ratatouille
  17. Slice the meat at a right angle to the direction of the stuffed slices
  18. Mix the ratatouille with lots of fresh cilantro
  19. Serve on a warm plate

Ratatouille

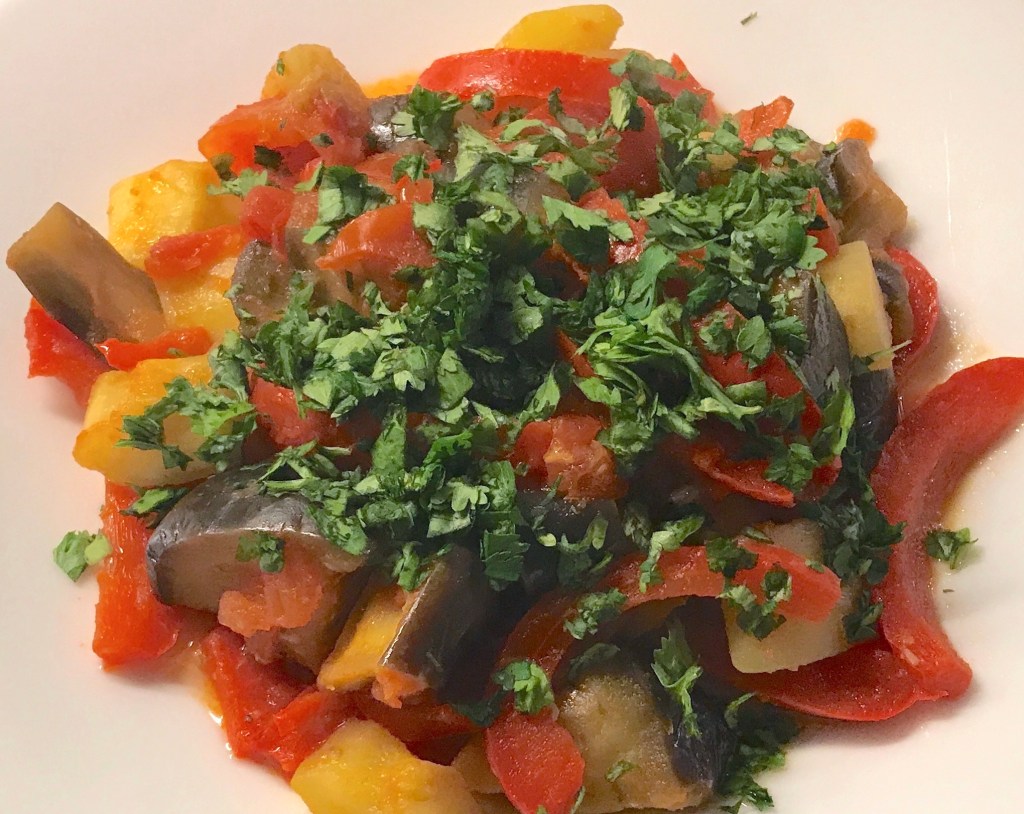
Think summer vegetables, think Ratatouille! Which is also the title of a film released in 2007 about a rat called Remy with a passion for cooking. If you want to see how he prepares ratatouille then simply go to YouTube (or buy the DVD if you’re old fashioned like us).
Ratatouille brings back memories of summer, of the South of France, of the Mediterranean. It combines very well with a simple sausage, with lamb, with grilled chicken.
However you prepare your ratatouille, be sure to prepare it a day ahead. The taste becomes much more integrated after a day (or two) in the refrigerator. Unfortunately it doesn’t freeze well due to the eggplant.

Our recipe is very much the recipe of a dear friend. She taught us how to make ratatouille in her summer kitchen, overlooking the pool and the garden with herbs and vegetables. Indeed, fond memories.
To our surprise she added cilantro (you would expect thyme or basil) and many years later we are still grateful for this twist. The cilantro enhances the feeling of summer and it supports the various vegetables in a beautiful way.

Wine Pairing

We enjoyed our ratatouille with a glass of simple, red wine with lots of red and black fruits. Spicy with subtle tannins. A wine that brings summer to your glass. A glass of Syrah from the Languedoc-Roussillon are will be perfect.

What You Need (4 people)
  • 1 Eggplant or Aubergine
  • 1 Courgette or Zucchini
  • 1 Red Bell Pepper
  • 1 Chili Pepper
  • 4 Excellent Tomatoes
  • Cilantro
  • Olive oil
What You Do
  1. Cut the aubergine in small but not too small chunks
  2. Drizzle with salt and mix
  3. Let the mixture rest for a few hours, allowing for the aubergine to loose water and become firm. Best way to do this is by putting the aubergine in a sieve and let it rest above a bowl
  4. The tomatoes require some attention as well. You could peel them, but that’s optional. What is not optional is to separate the tomato meat and juices from the pits. First step is to remove the internal hard bits and the pits and put these aside. You now have the outer part of the tomato, which you can slice. Cut the remainder of the tomatoes roughly, add to a sieve and by using the back of a spoon make sure you capture the juices. Be surprised about the volume of tomato juice and the small amount of tomato bits and pits that remain in your sieve.
  5. Cut the bell pepper into long slices and fry these in the pan with olive oil
  6. Peel the courgette, slice in the way you sliced the aubergine and add to the pan. Continue frying
  7. Add the finely chopped chilli pepper (not the seeds of course)
  8. Add the firm aubergine after having removed the remaining salt with water
  9. After a few moments add the tomato chunks, fry a bit more, add the tomato juice and leave on low to medium heat for 60 minutes
  10. Try not to stir too much; otherwise you risk creating mashed vegetables
  11. Cool, set aside and store in the refrigerator
  12. The next day: if you have excess liquid, remove the vegetables from the liquid, reduce it until thickened and transfer the vegetables back into the pan. Otherwise gently warm the ratatouille, add some chopped cilantro, mix gently and add more cilantro just before serving

PS

Many years later we found the ‘original’ recipe of Ratatouille in Nice.

Ratatouille ©cadwu
Ratatouille ©cadwu

Maitake Soup

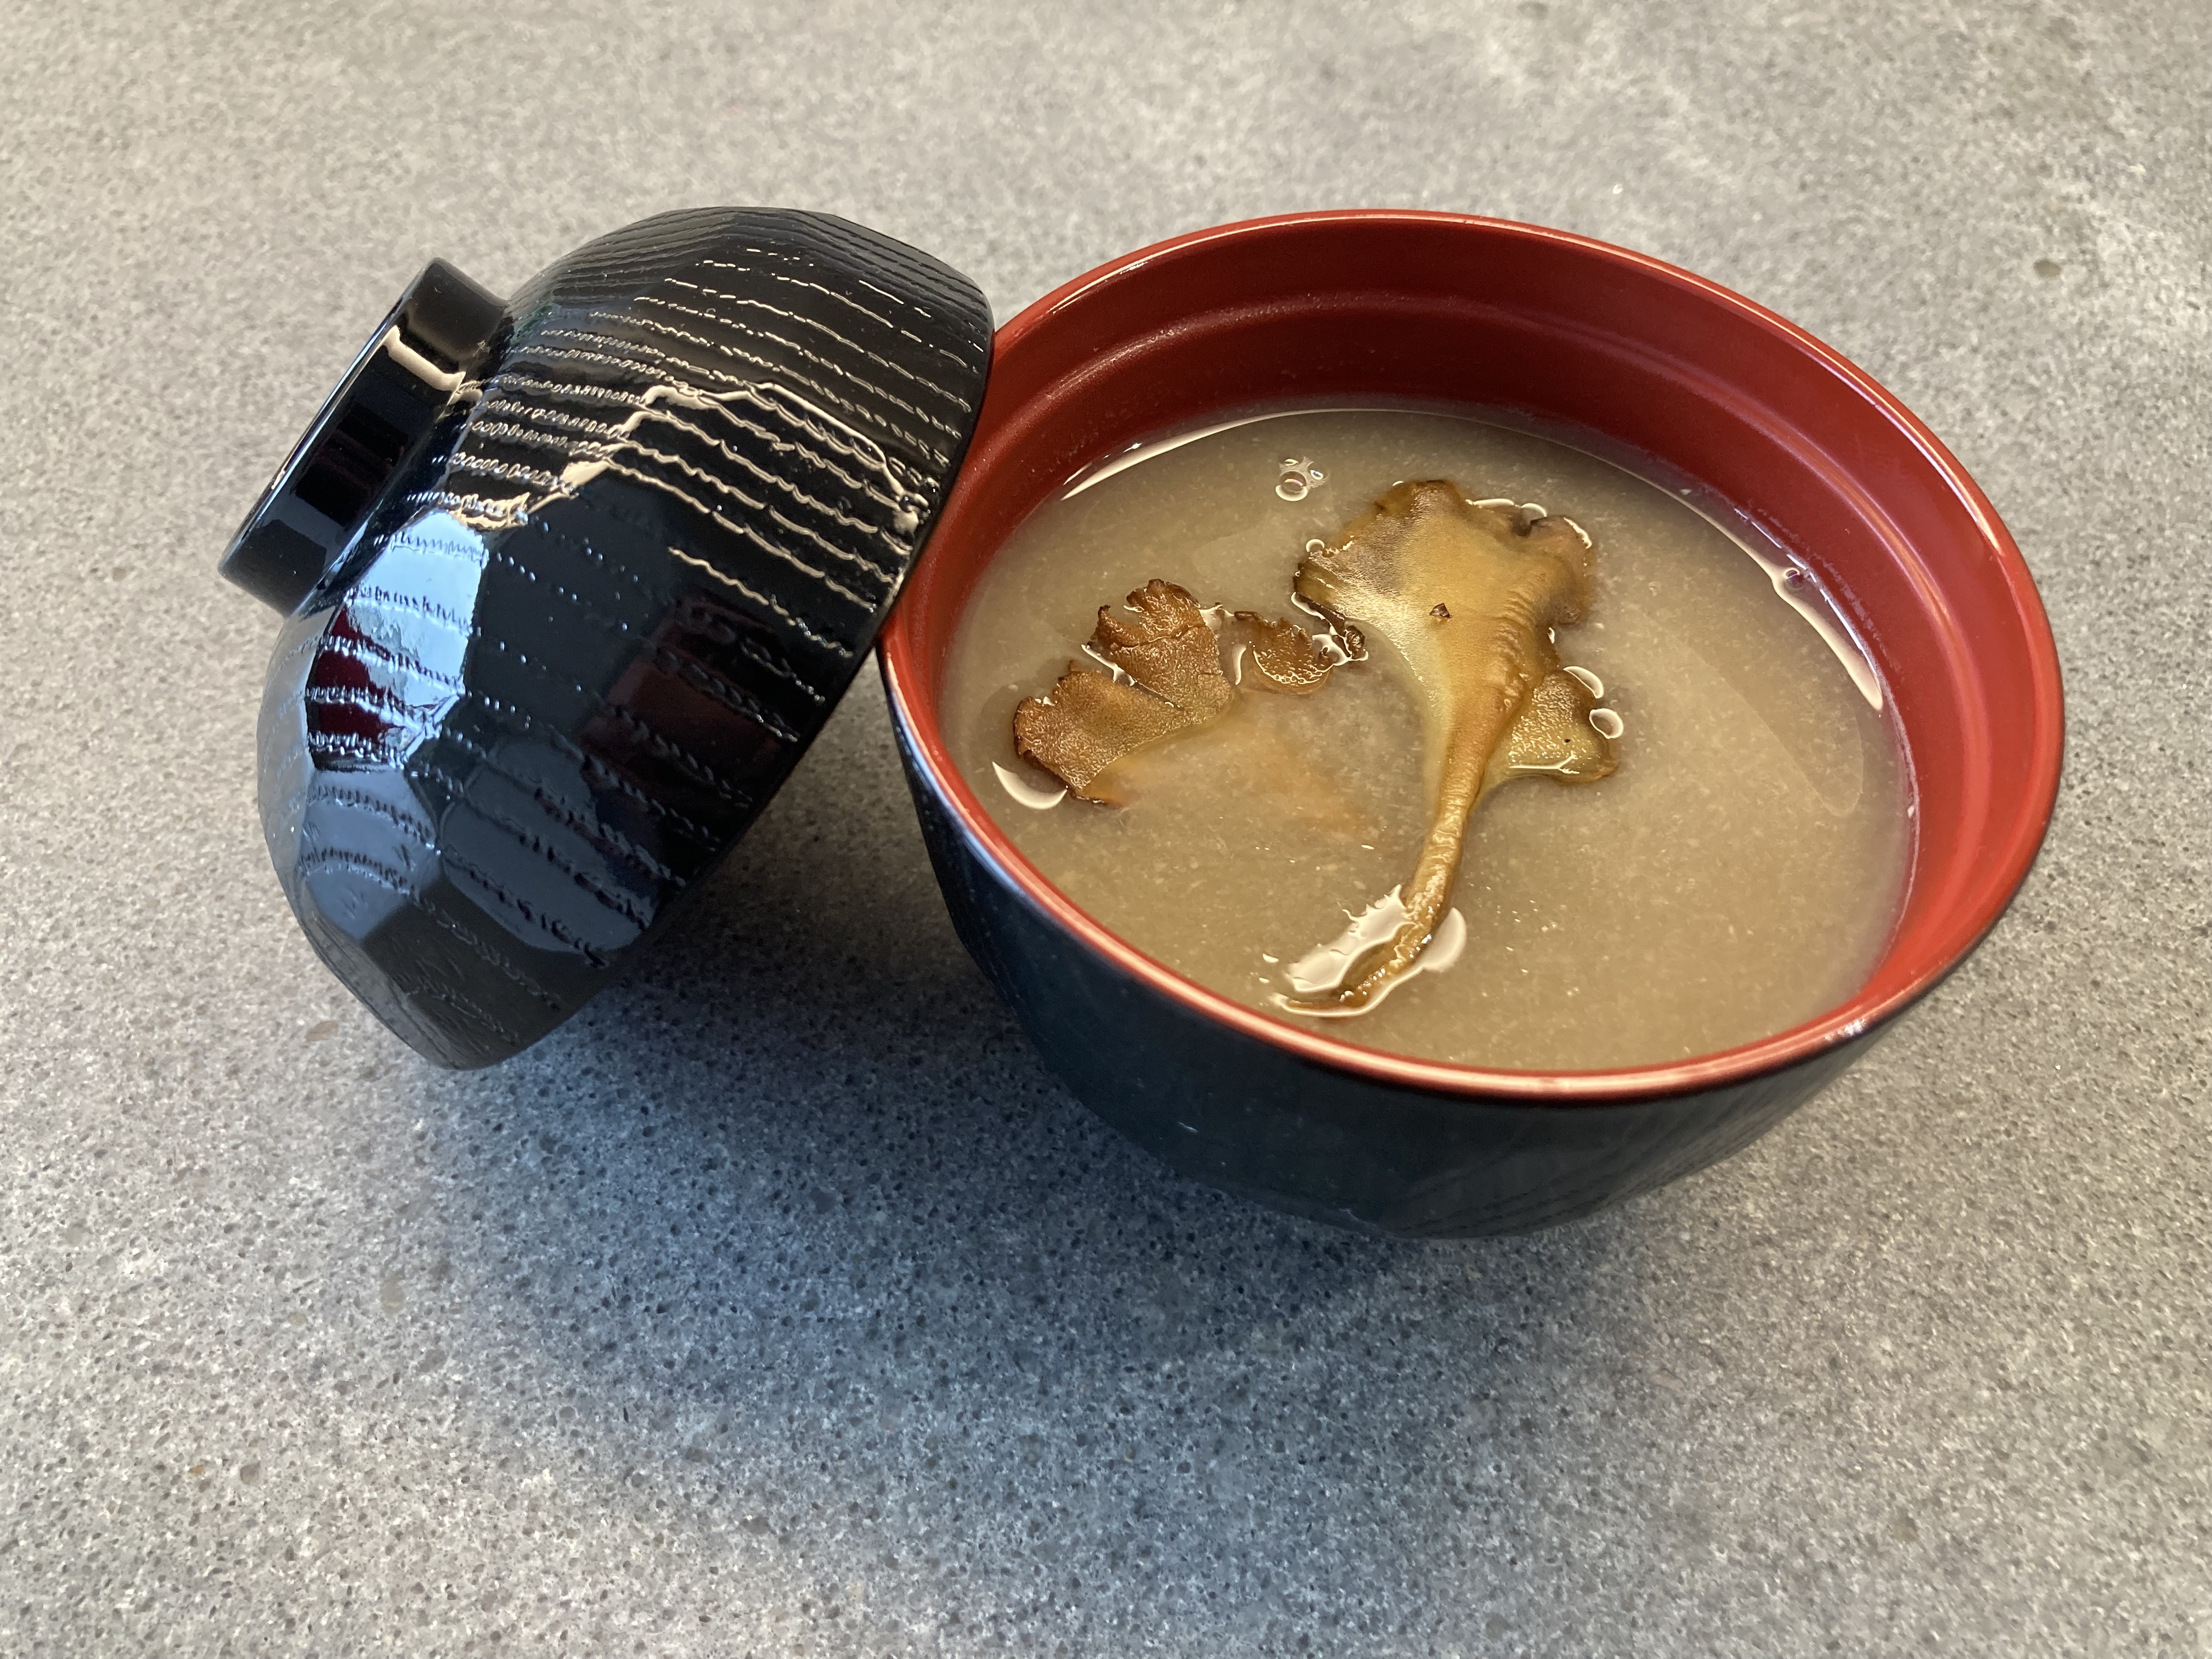
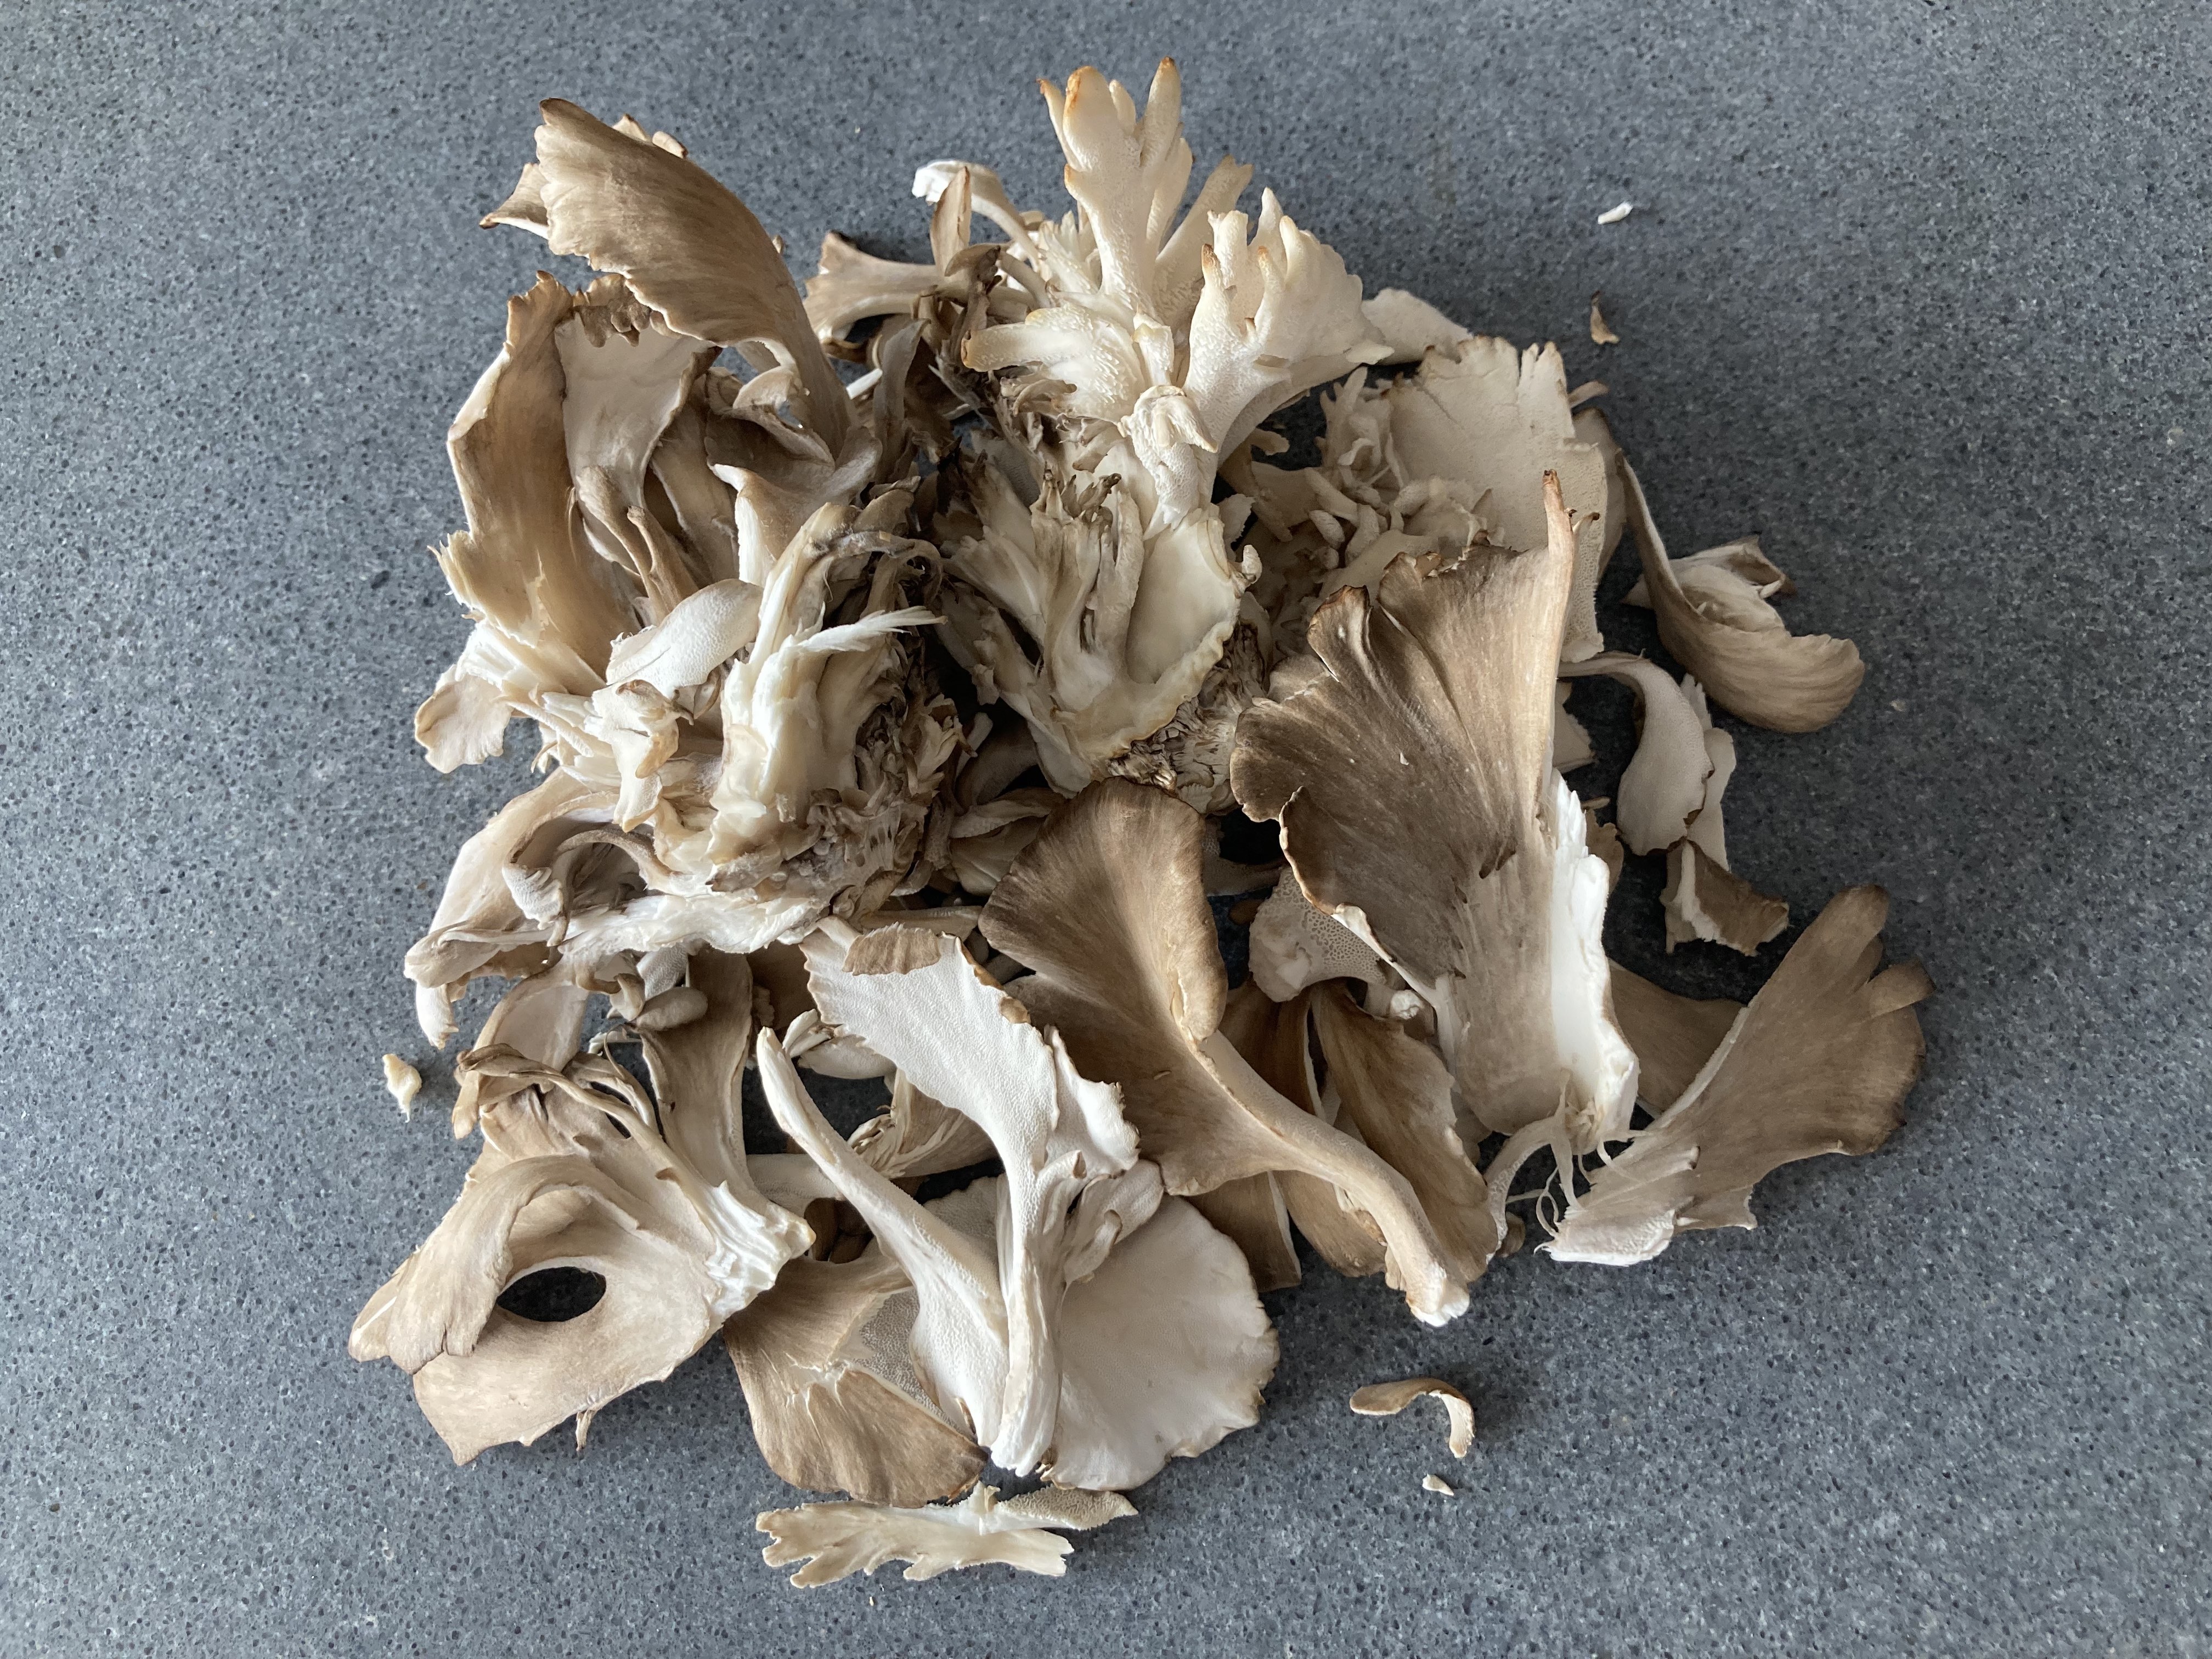
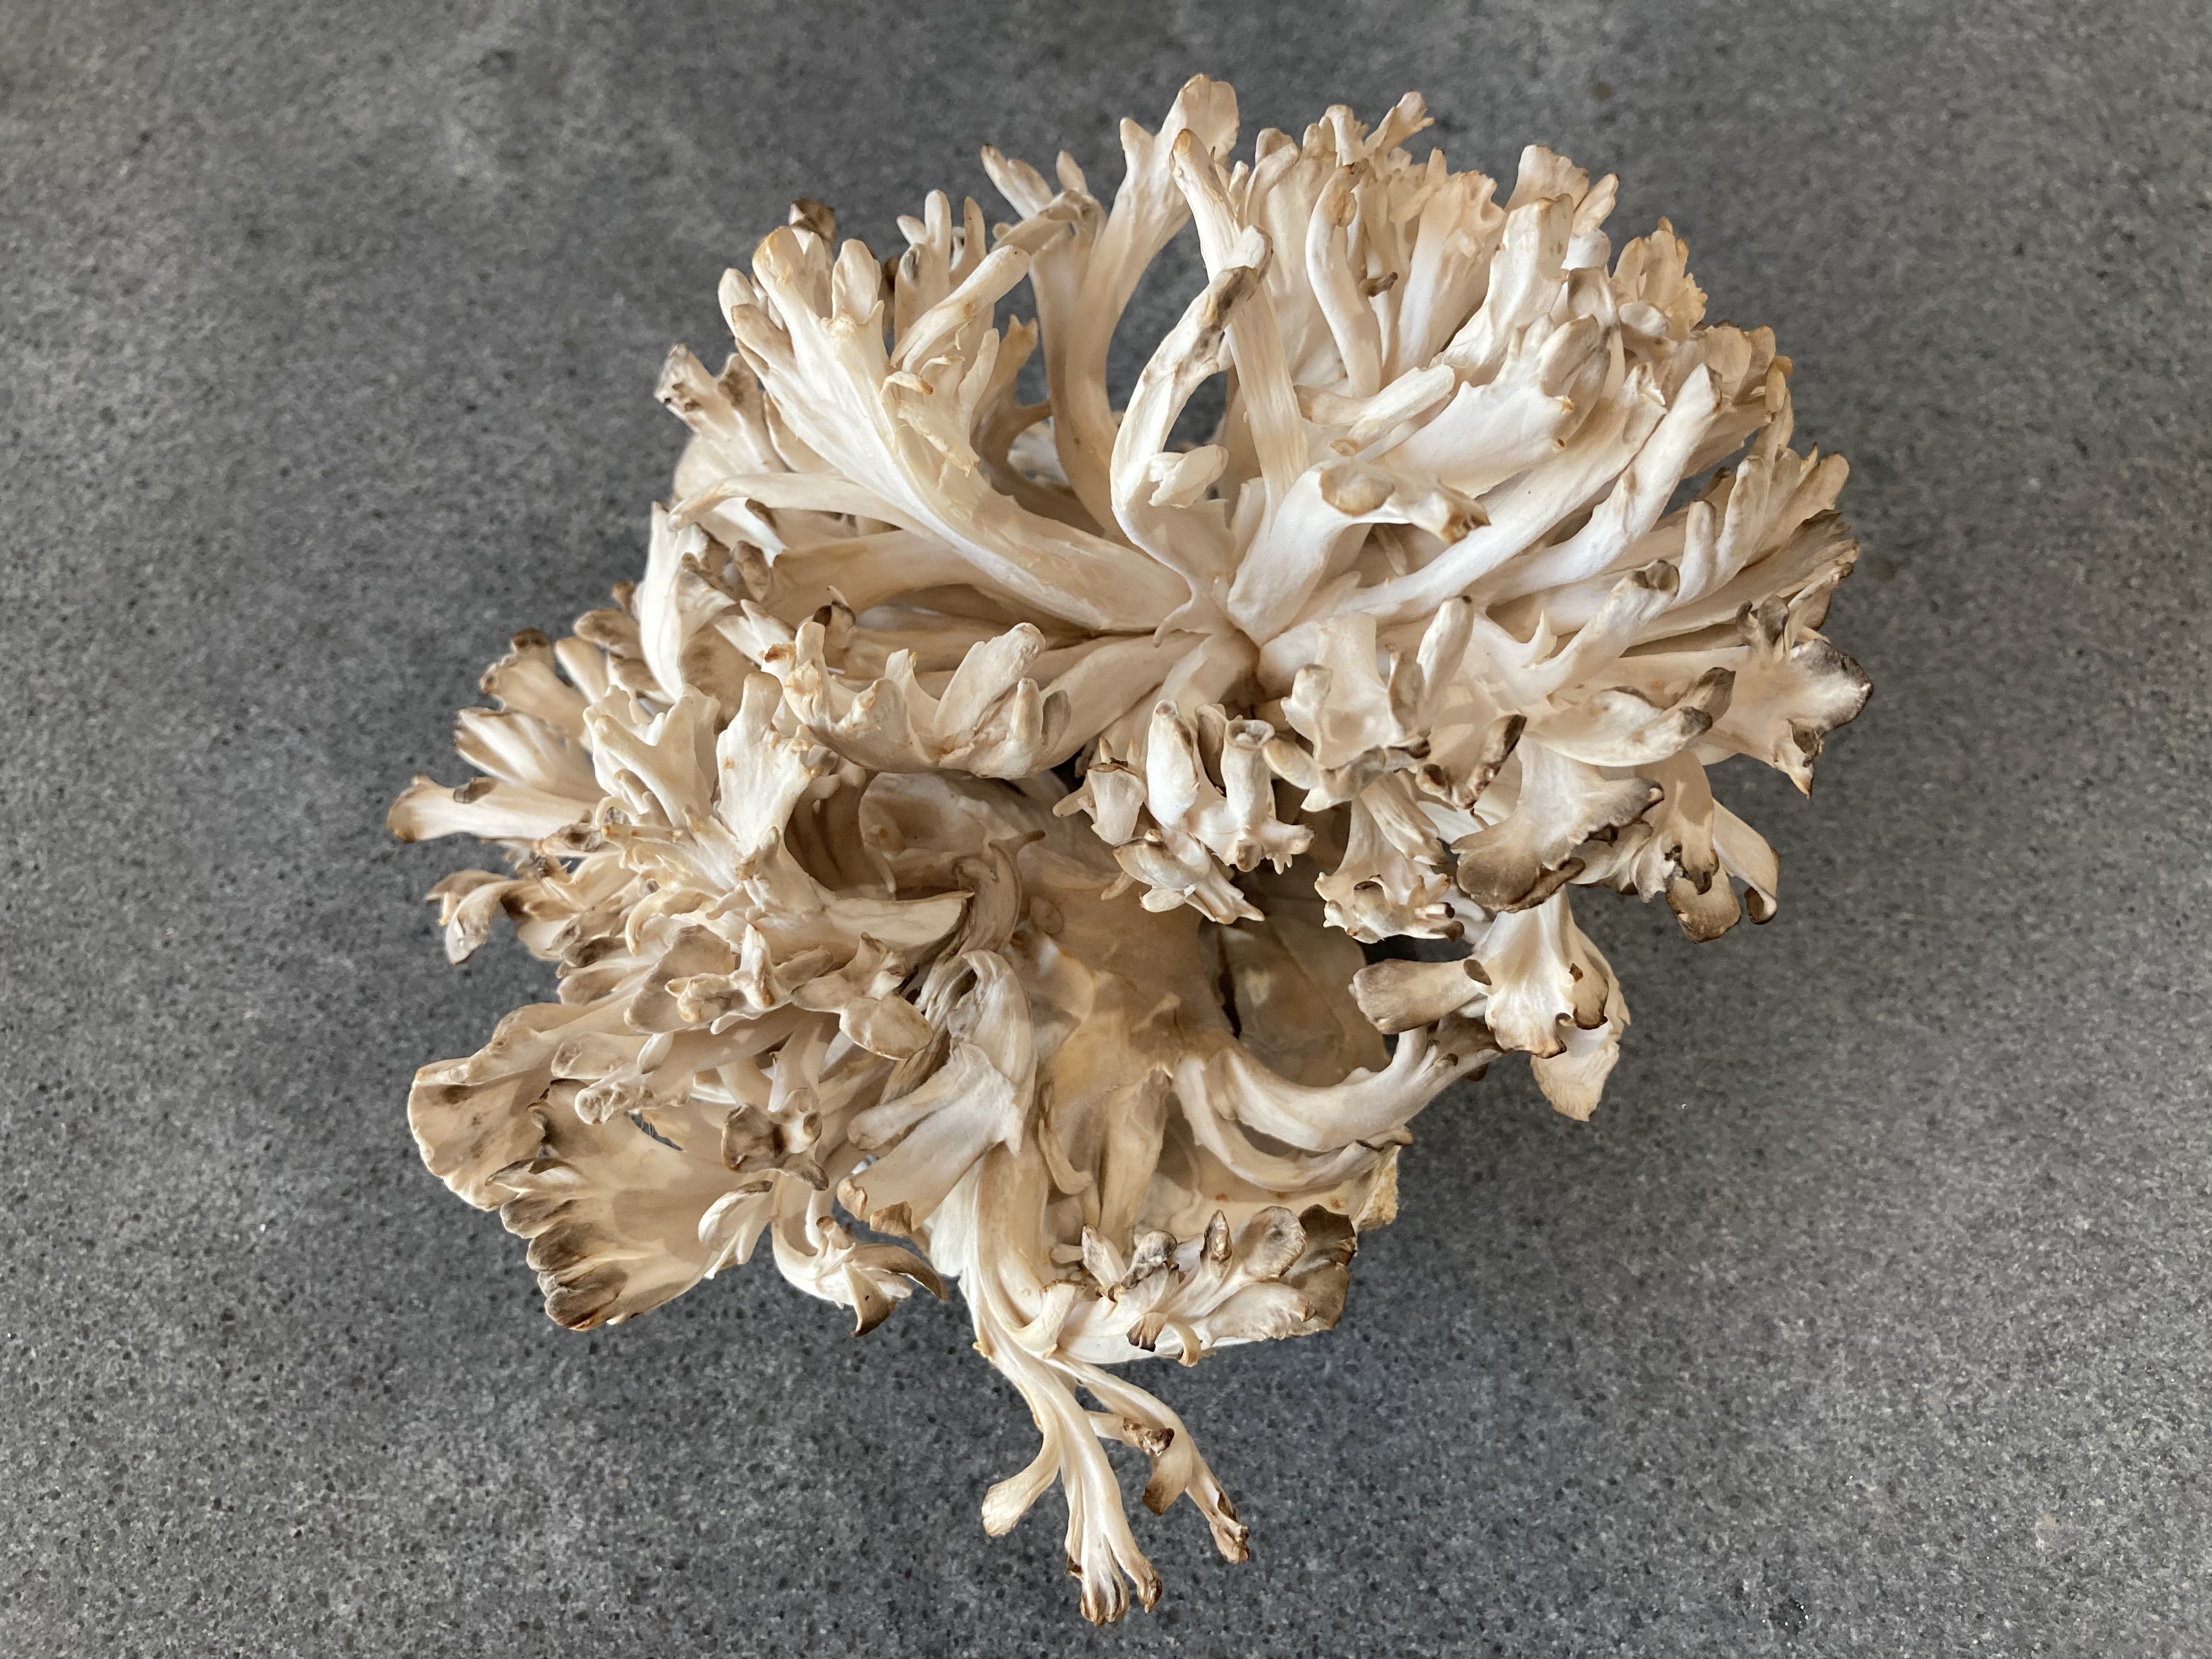
Welcome to the wonderful world of the Dancing Mushroom, better known as Maitake, Hen of the Woods or Ram’s Head. Enjoy the powerful, intense and nutty flavours and be intrigued by the aroma. No wonder it’s a much loved culinary mushroom!

Legend has it that maitake got its name because foragers danced with happiness when finding it. Nowadays maitake can be wild or cultivated. Both are fine; we actually prefer the cultivated ones. Make sure you cook maitake through and through, otherwise you may upset your stomach (and other parts of your body).

Maitake combines very well with beef and thyme. It is also great when combined with shrimps, crab, coquilles St Jacques, coriander, dill and parsley; a salad created by Antonio Carluccio and published in 2003 in the Complete Mushroom Book. The book has a wealth of wonderful, simple recipes.

Our soup is perhaps a bit odd, because it’s a thickened soup, something you would perhaps not expect given dashi is the base of the soup. It’s a gentle soup, with some umami and bitterness. The fried maitake amplifies the flavours.

What You Need
  • For the Dashi
    • 500 ml Water
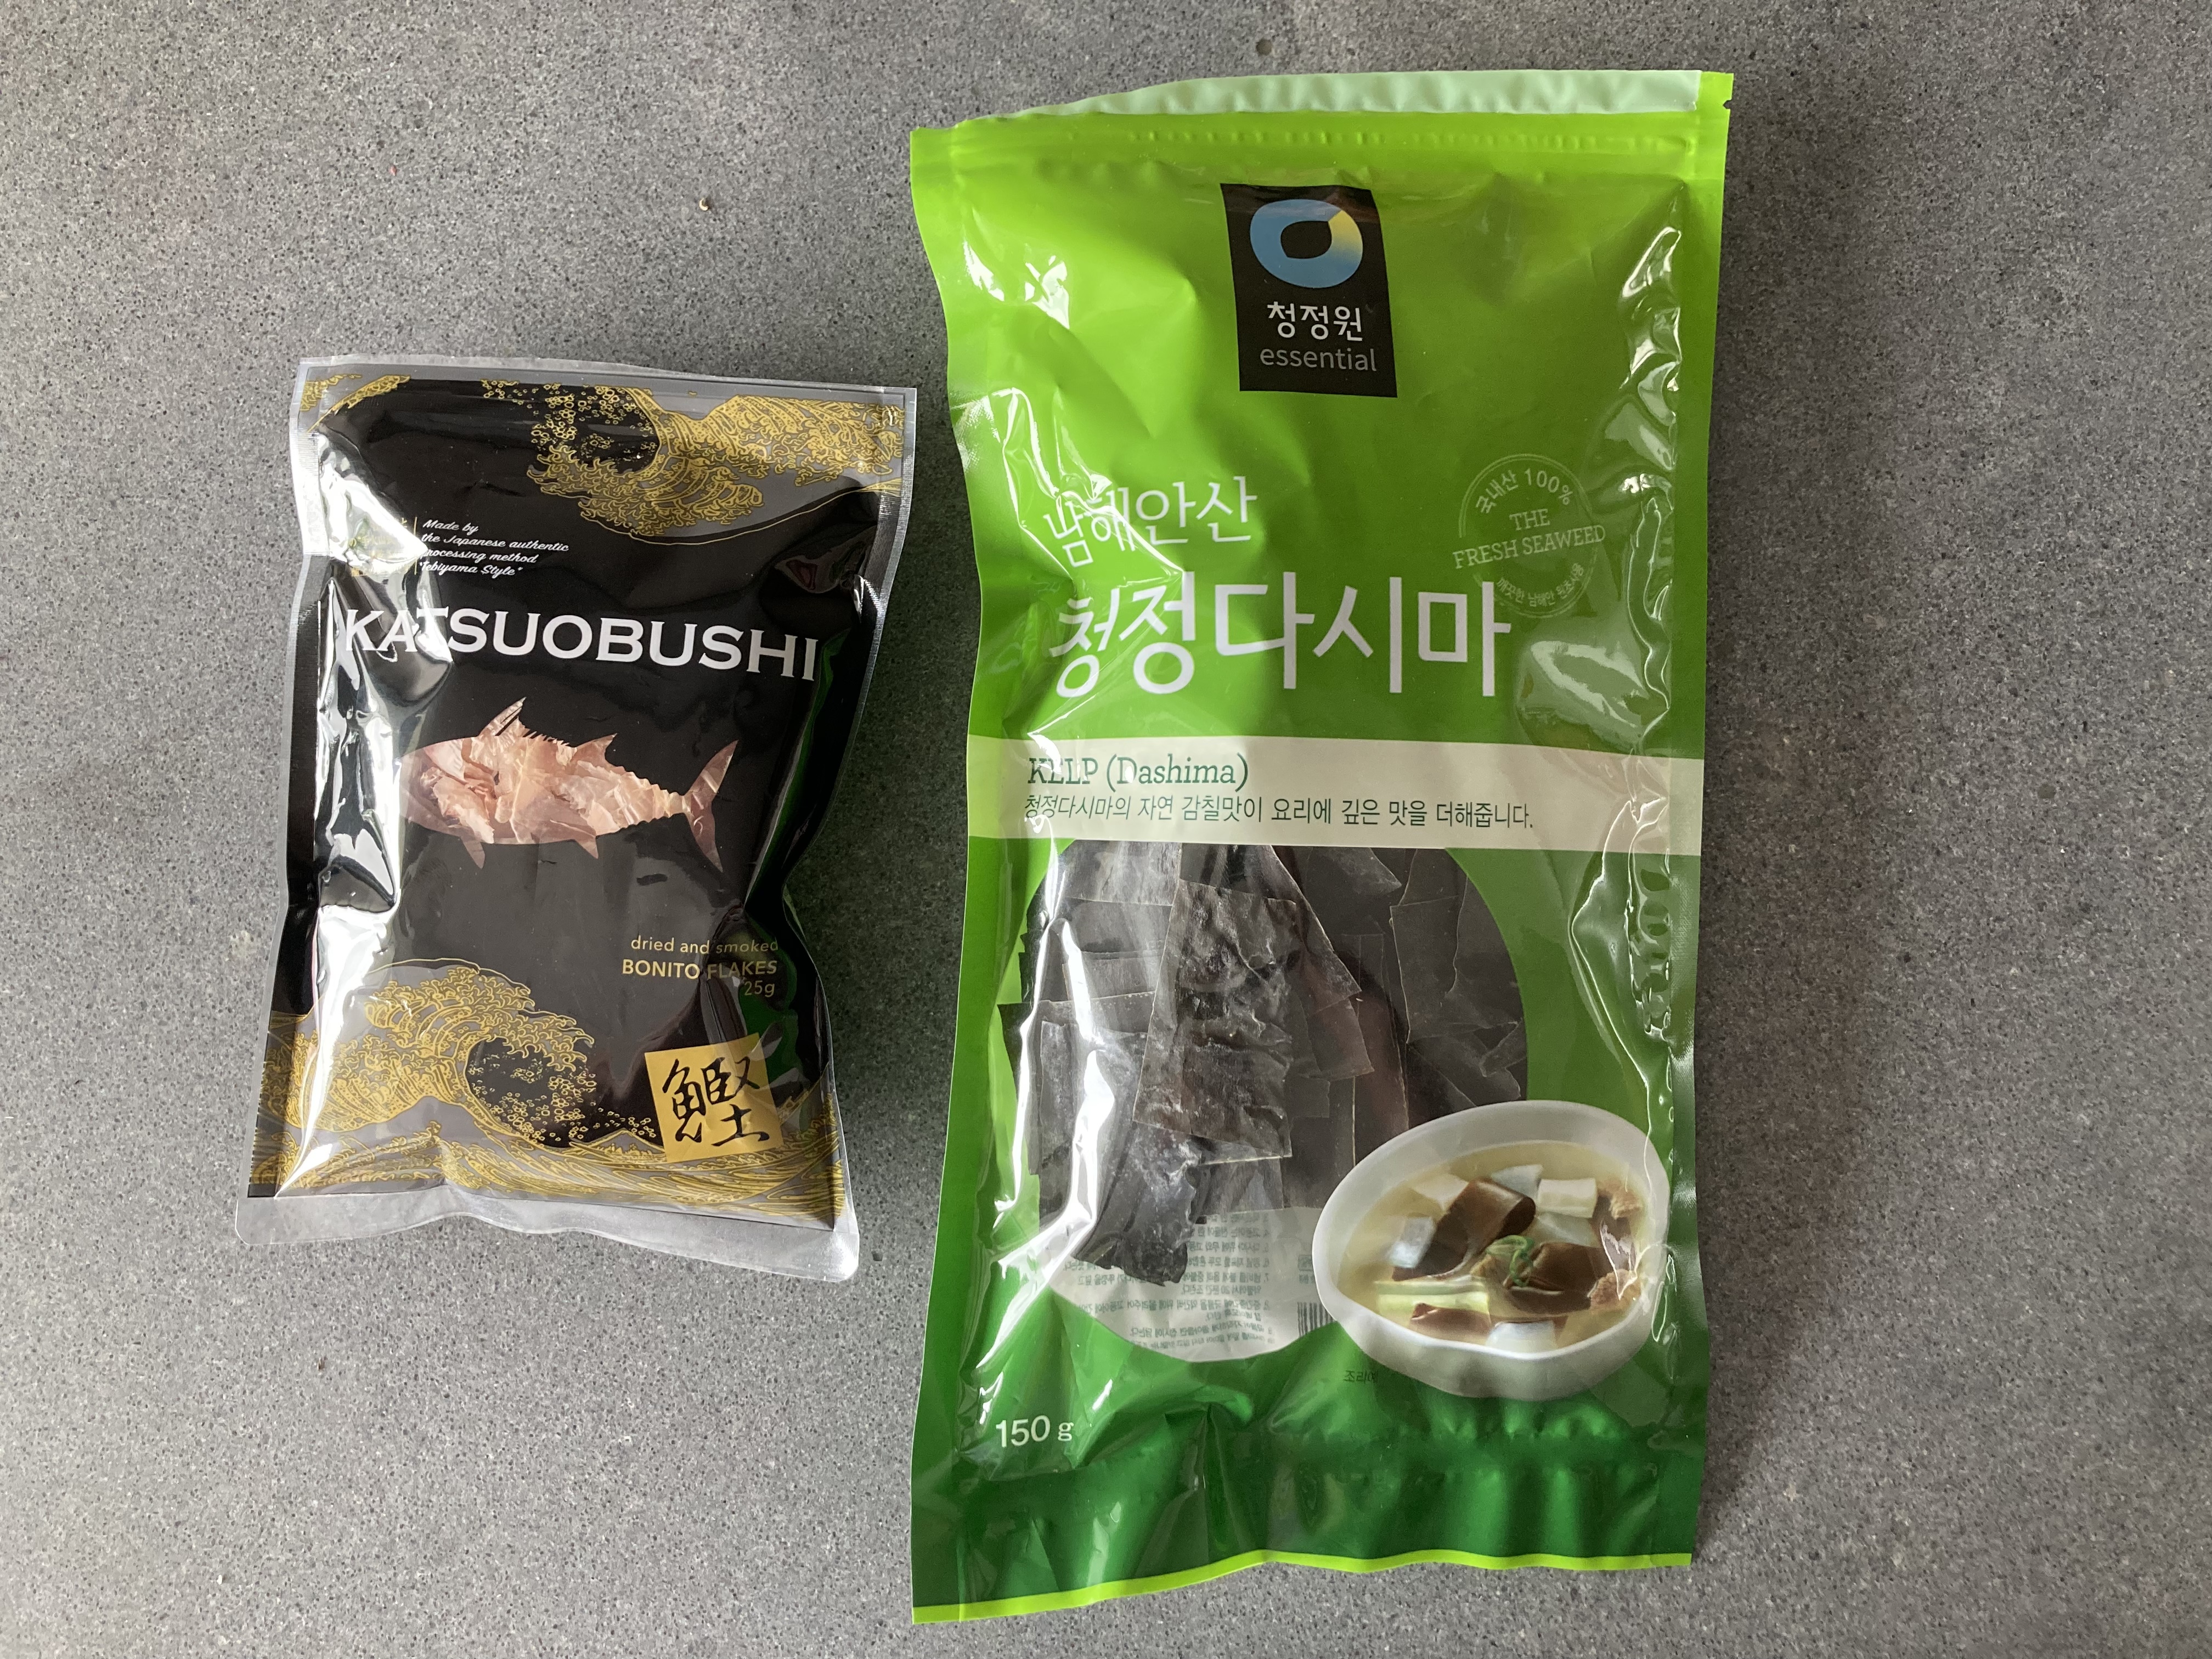
    • 10 grams Konbu
    • 10 grams Katsuobushi 
  • 150 grams of Maitake
  • 5 cm Fresh Ginger
  • Soy Sauce
  • Sake
  • Mirin
  • Tablespoon of Cooked Plain Rice
  • Olive Oil
What You Do
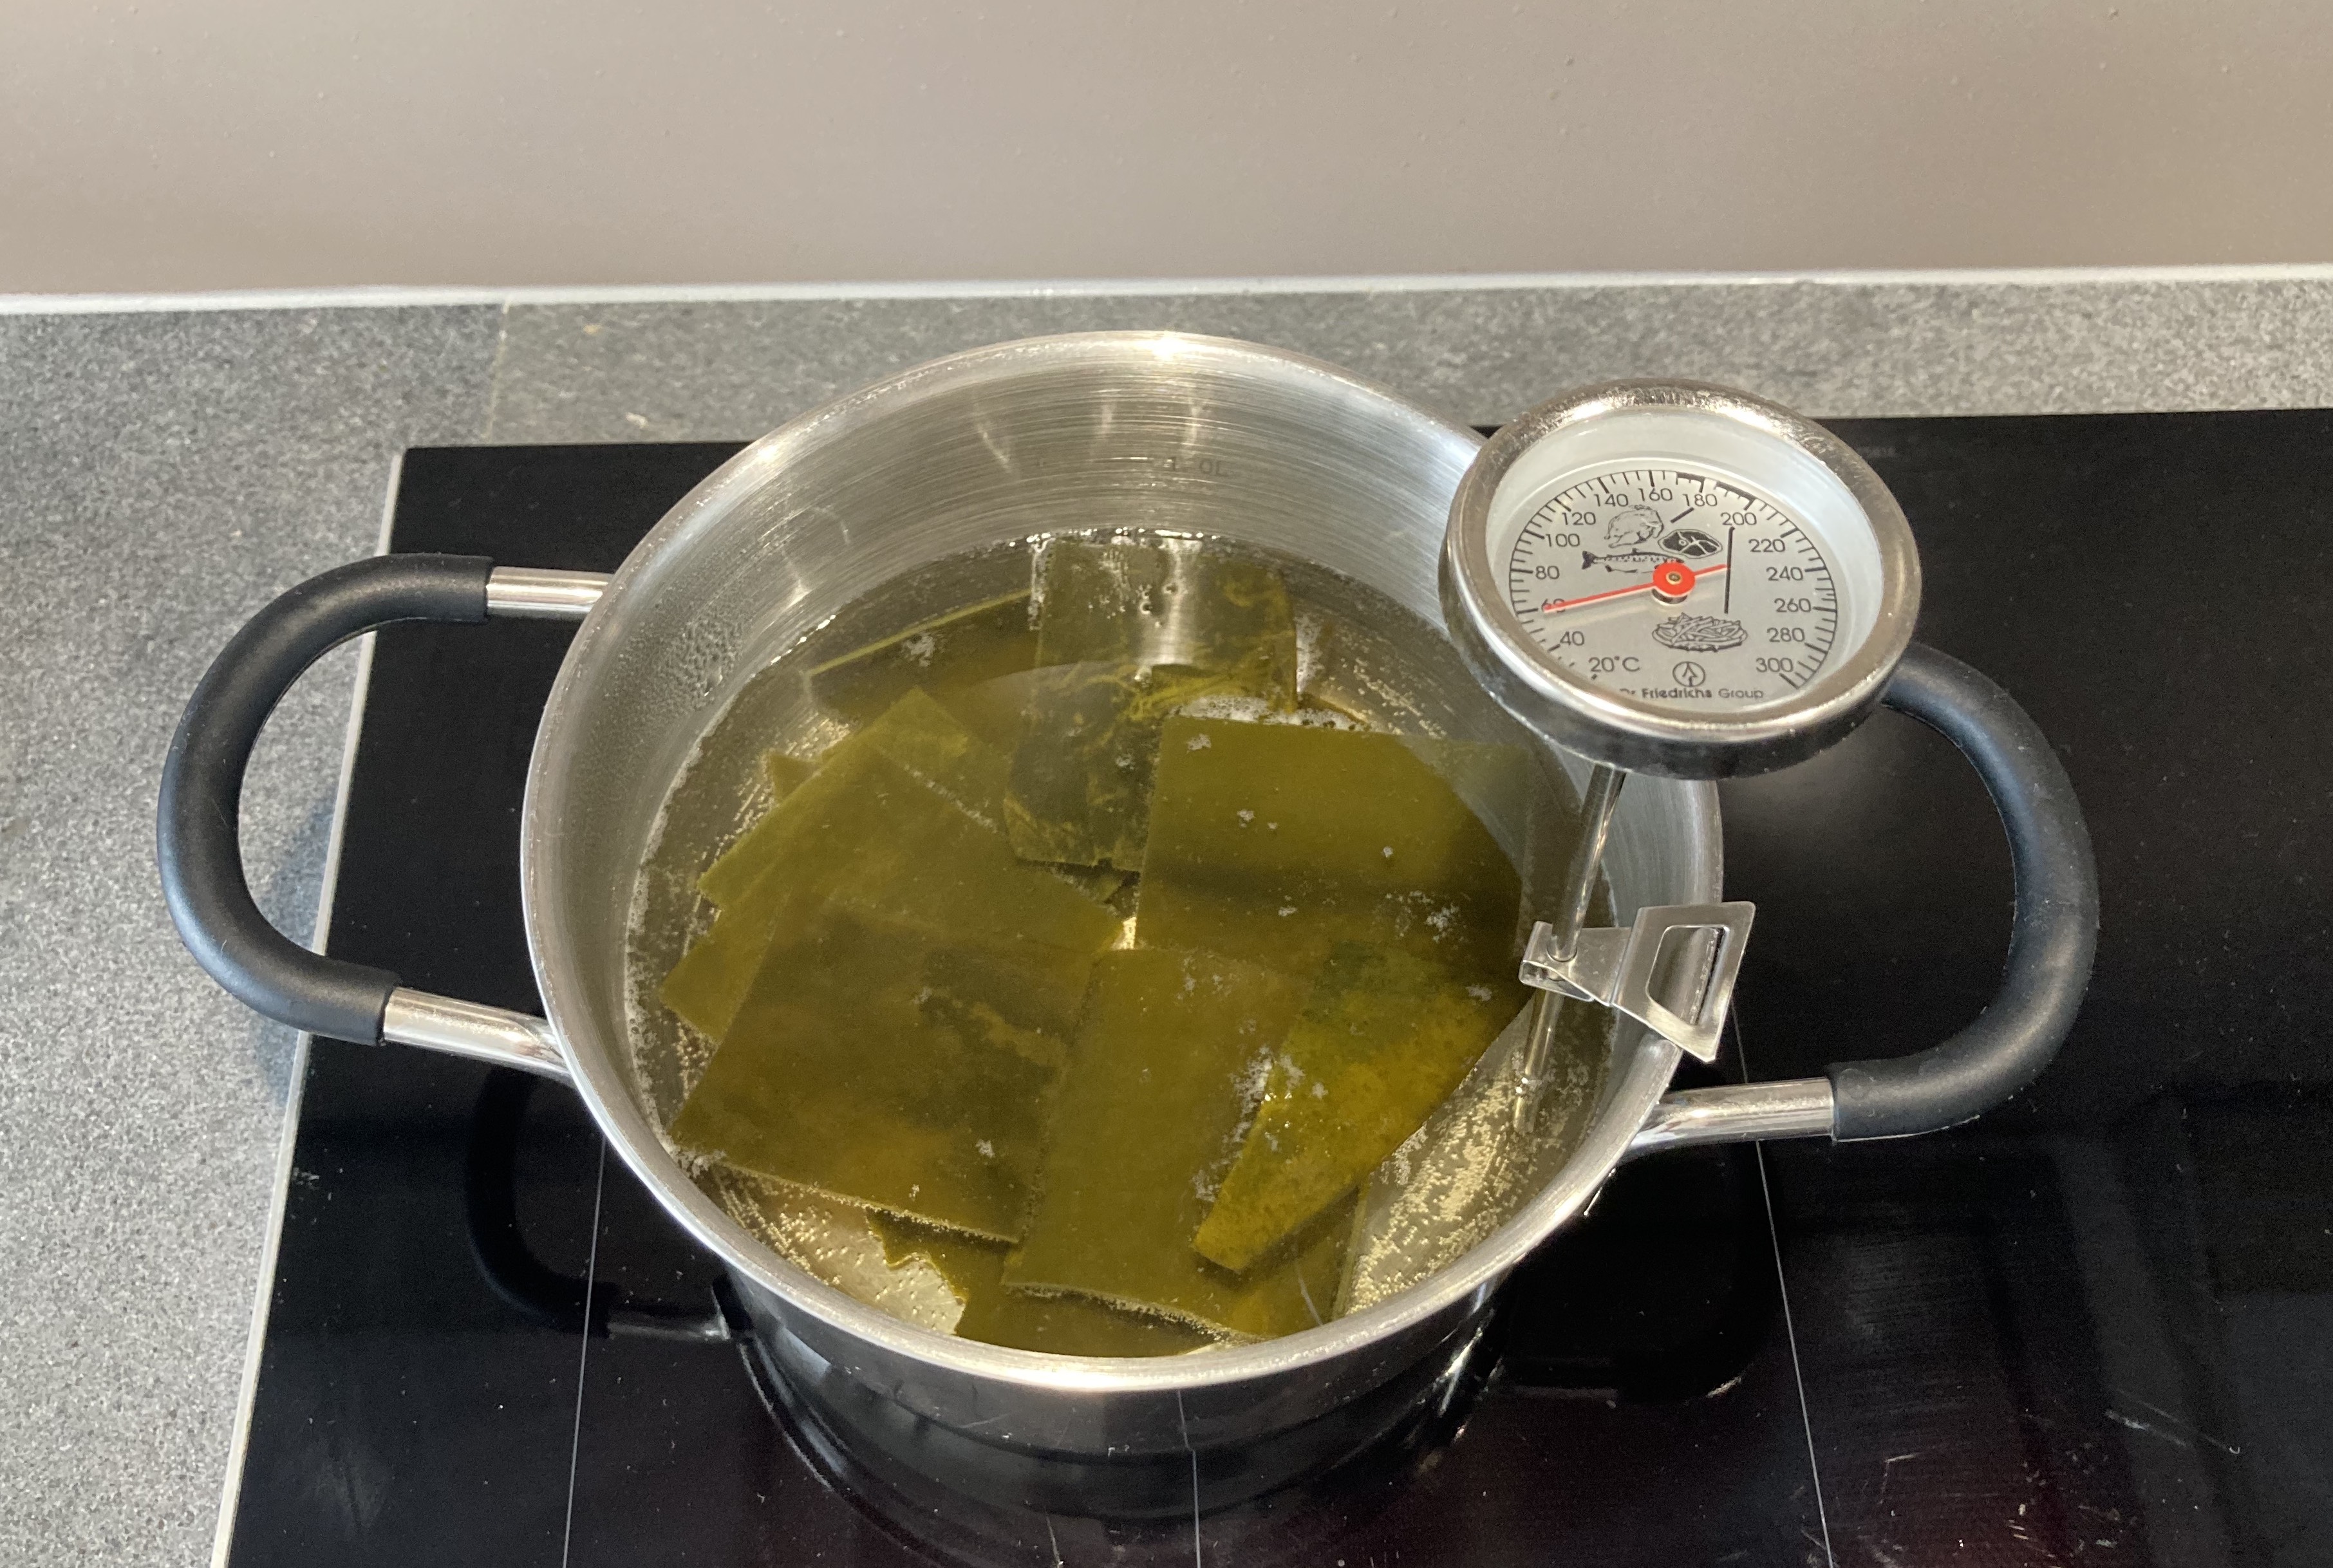
  1. Prepare the dashi
  2. Remove the base of the maitake
  3. Set a few ‘leaves’ aside (to be fried later)
  4. Peel and quarter the ginger
  5. Add the remaining ‘leaves’ of the maitake, the ginger and the cooked rice to the dashi
  6. Leave for 20 minutes on low heat
  7. Remove the ginger and use a blender to create a smooth mixture
  8. You will notice that the maitake doesn’t thicken the soup, as a classic Champignon de Paris would do, the rice should do the trick
  9. Pass through a sieve
  10. Keep on low heat for another 10 minutes
  11. Add a tablespoon of sake, some soy sauce and mirin
  12. Taste and adjust if necessary. The quanities very much depend on the flavour of the maitake and your personal taste. You’re looking for umami, bitterness and depth
  13. Leave for another 10 minutes on low heat
  14. Add olive oil to a small heavy iron skillet and fry the remaining maitake; initially on medium heat, later on low heat. This may take 5 minutes
  15. Use the blender for the second time to make sure the soup is perfectly smooth
  16. Serve in a miso bowl.

Time To Replace Your Non-Stick Pan

We all know that every few years we need to replace our non-stick pans. The surface has become less smooth, there are small scratches in the coating and it has become semi non-stick. Time to buy a new pan.
Perhaps you wonder what happened to your pan? Well, the truth is that not only have you eaten lovely fried food, you have also eaten bits of your pan.

Which is not great, because the coating contains PFAS. This substance may have very harmful effects, to your health and to the environment.

The abbreviation PFAS stands for Per- and Polyfluoroalkyl substances. These (artificial) substances don’t decompose, and once present they will not disappear and continue to be harmful.

Denmark, Germany, the Netherlands, Norway and Sweden announced the intention to submit a restriction proposal for PFAS to the European Chemicals Agency by July 2022. A restriction proposal is a first step towards a European ban on PFAS.

Great news for your health and the environment, but how about your beloved non-stick pan?

Fortunately, we have found an excellent alternative. The ceramic non-stick Prime-cook pans are 100% free of PFAS, PTFE, PFOA, GenX and nickel plus they are suitable for all cooking hobs. And given they last longer, it’s a sound investment.
Having tested it, we are convinced this is the future of healthy non-stick frying.

Bring your non-stick pan to the hazardous chemical waste disposal and buy a Prime-cook pan!

non-stick pan Prime-Cook ©cadwu

Lentils with Sausage and Beetroot

Think France, think a nice small bistro in a small street, off centre, nothing posh, no Michelin star in sight. It’s 12.30, time for a quick lunch. You enter the restaurant, take a seat and order today’s dish, the plat du jour. It turns out to be a generous helping of lentils, fried sausages, mashed potatoes and mustard. A beer works beautifully with it. After having enjoyed your lunch, you think about the joy of good food, French mustard and the beauty of lentils. Time for a coffee. And perhaps a glass of Calvados?

In our recipe for Cod with Lentils and Cilantro we mentioned the joy of lentils, especially the joy of eating Lentille Verte du Puy A.O.P & A.O.C. from Sabarot.

We’re not too keen on mashed potatoes so we decided to combine the lentils and sausage with a beetroot salad.

Sausage wise we suggest coarsely ground (so not minced) organic porc sausages with sage, for instance Lincolnshire sausages. The texture of the sausages is great in combination with the size of the lentils. 

Wine Pairing

We enjoyed our lentils with a glass of red Pays d’Oc wine, with grapes such as Grenache and Syrah. The Syrah brings an intense colour, aromatic strength and structure. The Grenache reveals red berry flavours. For instance wine from Domaine La Colombette. This producer is well known for its innovative light wines and its Super Bio wines, made with grapes (Cabernet Noir, Souvignier Gris) that have a natural resistance to various diseases, meaning that no pesticides are needed in the vineyard.

What You Need
  • For the Lentils
    • Shallot
    • Olive Oil
    • Green or Du Puy Lentils
    • Chicken Stock
    • Parsley
  • For the Sausages
    • 2 or 4 Sausages (organic pork with sage, coarsely ground)
    • Olive Oil
  • For the Salad
    • Beetroot
    • Spring Onion
    • Vinegar (plain and white wine)
  • French Mustard
What You Do
  1. One day before serving, wash the beetroot, wrap in aluminium foil and put in the oven on 180° Celsius or 365° Fahrenheit for 45-60 minutes, depending on the size
  2. Transfer, remove foil and let cool
  3. Cut the shallot in small bits and glaze gently in olive oil
  4. In the mean time check the lentils for small pebbles; wash the lentils
  5. Once the shallot is glazed, add the lentils and heat them for a few minutes, as you would do with risotto rice
  6. Add some chicken stock and water (the stock is only intended to give the lentils a small push) and leave to simmer on low heat
  7. Fry the sausages in olive oil in a heavy iron skillet
  8. Remove the skin of the beetroot, slice the beetroot and combine with thinly sliced spring onion and vinegar
  9. Mix
  10. Drain the lentils, chop the parsley and add to the lentils.
  11. Serve the sausage on top of the lentils
  12. Definitely a good dash of French mustard on the side!
  • Lentils with Sausage and Beetroot ©cadwu
  • Du Puy Lentils AOP AOC © cadwu

All Our Recipes For You

A few years ago we created an overview of recipes per season, simply because it’s such a good idea to enjoy what is available in the season. Nice to eat strawberries in Winter, but isn’t it a much better idea to enjoy seasonal slow cooked pears?

We then introduced overviews per course, ranging from side dish to lunch. The categories didn’t always make sense, so we added a few more, making our admin more complicated, especially when we updated a recipe or a picture.

The obvious thing happened: we lost track of recipes, noticed some links were broken and the overviews became incomplete.

So how to organise this blog?

After much debate and intense workshops (not really) we’re pleased to present to you an old fashioned, up to date and very easy to use (and maintain) index of All Our Recipes For You!

All Our Recipes For You ©cadwu

Daube Provençale

On a warm summer’s evening, sitting on your terrace, relaxing and sipping rosé, you wonder what to eat. Perhaps something that will make you think of the beautiful Cote d’Azur, with the chirping of cicadas and aromas of pine trees? A Salade Niçoise or something more substantial?
That’s the moment to dive into your freezer and look for that last portion of Daube Provençale. Excellent beef, stewed in red wine and packed with flavours, olives and mushrooms.

Fortunately preparing Daube Provençale is not too much work (and it keeps well in the freezer). You can also be fairly flexible with the recipe. Well known chef Hélène Barale (La Cuisine Niçoise, Mes 106 Recettes) uses beef, veal and pork with tomatoes and dried mushrooms, Hilaire Walden (French Provincial Cooking) suggests marinating the beef in red wine and also adds orange peel and olives whereas the classic La Cuisinière Provençale published in 1897 and written by Jean-Baptiste Reboul suggests adding vinegar to the marinade but doesn’t use tomatoes, mushrooms or olives.

Wine Pairing

We prepared our daube with red wine from France, made from Cabernet Franc grapes and produced by La Tour Beaumont. In general you need a full bodied, fruity red wine, with a good structure. You could of course enjoy the daube with the same red wine, but the daube is flexible. Just remember that the flavours and aromas are intense. 

What You Need (for 4)
  • 750 grams of Excellent Marbled Beef (Blade Steak for instance)
  • ½ Carrot
  • Shallot
  • 3 Garlic Gloves
  • 250 grams of Mushrooms
  • 50 grams of Black Olives (Kalamata or Taggiasca)
  • Olive Oil
  • Bouquet Garni (Bay Leaf, Thyme, Oregano, Rosemary, Parsley, Chives and/or Sage)
  • 500 ml Red Wine
What You Do
  1. Slice the meat into nice, big cubes
  2. Heat a heavy large pot through and through, add olive oil and fry the meat until brown
  3. Probably you need to do this in two or more batches
  4. Set the meat aside
  5. Fry the chopped shallot, the carrot and the garlic until smooth
  6. Transfer the meat to the pot, stir well, add the red wine, the (halved) olives and the bouquet garni
  7. Keep on low heat for 2 hours
  8. Clean the mushrooms and add these to the pan
  9. Keep on low heat for another two hours
  10. Check if the meat is soft and tender
  11. Quickly cool the pot and transfer the content to the refrigerator
  12. The next day label off some of the fat (we prefer not to do this, but feel free to do so)
  13. You could divide the daube in two portions. One for the freezer, the other one to enjoy today
  14. Warm the daube
  15. Option 1: remove some of the bigger mushrooms and four tablespoons of cooking liquid. Blender the liquid and mushrooms very fine and transfer back to the pan. This mixture will thicken the cooking liquid
  16. Option 2: combine 15 grams of flour with 15 grams of butter until it’s a smooth paste. Add this to the daube, making sure it’s fully dissollved. This way of thickening is called Beurre Manié
  17. Leave the daube to gently simmer for an hour.
  18. If the sauce has not yet reached the right consistency, then transfer cooking liquid to a separate pan and reduce on medium to high heat. Transfer back to the main pan and combine.
  19. Serve with red bell pepper salad, pasta, polenta or boiled potatoes.
  • Daube Provençale ©cadwu
  • Ingredients of Daube Provençale ©cadwu
  • Daube Provençale ready to be stewed ©cadwu

Duck with Soy Sauce and Mushrooms

eIn his book Yamazato, Kaiseki Recipes: Secrets of the Japanese Cuisine, author and Michelin Award winning chef Akira Oshima includes a recipe for breast of duck, marinated in a soy-based sauce, served with Belgian endive (chicory) and karashi (Japanese mustard). A mouth-watering dish. The book contains some 20 recipes that are technically challenging (at least, we think so) and well written.

In general the combination of duck and soy sauce works really well. It’s all about sweetness and umami. The Japanese mushrooms (shiitake, enoki, nameko and/or shimeji) add nuttiness and texture to the dish.
We use soy sauce and tentsuyu: a mix of soy sauce, mirin and dashi, the clasic tempura dip.

Wine Pairing

We enjoyed our duck with a glass of gewurztraminer (full bodied and long lasting with aromas of lychees and roses) but there are many options in this case. Perhaps a nice rosé or a sake with a touch of sweetness?

What You Need
  • Breast of Duck
  • Japanese Mushrooms
  • Soy Sauce (preferably with less salt)
  • Tentsuyu
  • Chicken Stock
  • (Olive) Oil
  • Mirin
  • (optional) Sake
What You Do
  1. Start by cleaning the breast of duck
  2. Heat a non-stick pan
  3. Fry the duck, straight from the fridge, for 12 minutes on the skin-side and 2 minutes on the meat-side in a non-stick pan
  4. Wrap in foil, making sure the skin is not covered.
  5. Clean the pan with kitchen paper and fry the sliced mushrooms for 5 minutes or so in oil until ready
  6. Set aside and keep warm
  7. Add soy sauce, tentsuyu and chicken stock to the pan and reduce
  8. Add a splash of sake and some mirin
  9. Add liquid of the duck
  10. Let simmer for a few minutes, add the mushrooms and make sure they are coated with the sauce
  11. Let simmer for 5 minutes
  12. Slice the duck, add liquid to the sauce, stir and serve.
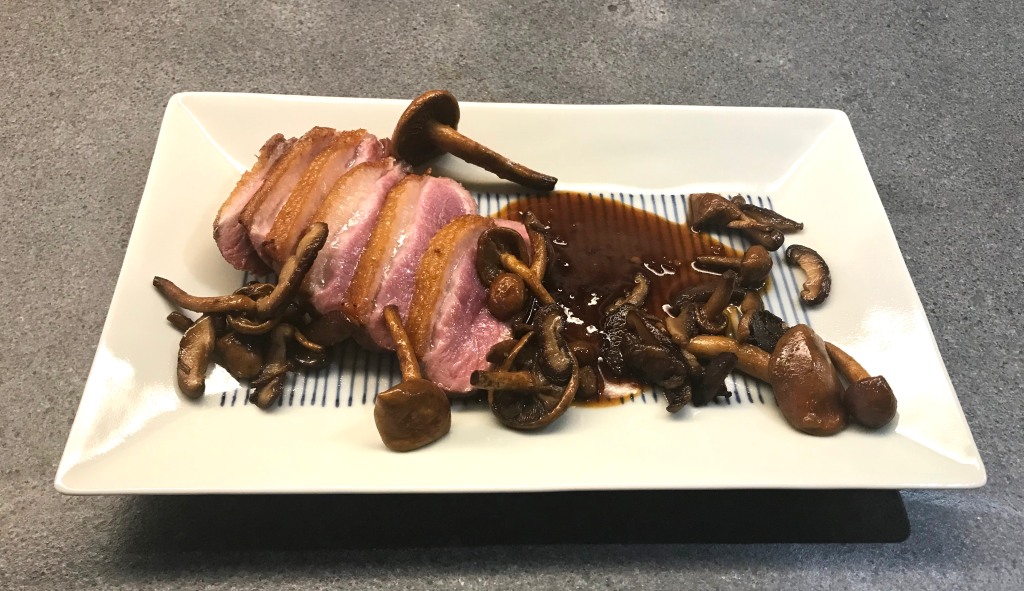
Duck with Soy Sauce and Mushrooms ©cadwu