Fig Jam

Sometimes we dream of having a small garden, with perhaps a few roses, herbs, peonies and definitely a fig tree. Being able to pick figs, all summer long, and enjoy the abundance of the tree, it sounds like magic to us. Figs don’t do well in a pot on a balcony, so we depend on greengrocers and the market. And that’s where we struggle: when you want to buy figs, you’ll notice they’re fairly expensive and hard to find. The ones we bought yesterday were individually wrapped in paper, as if they were very exclusive chocolates. But since we love fig jam, we simply had to buy them.

Wine Pairing

Homemade fig jam combines very well with Foie Gras, toasted bread and a glass of Sauternes, for instance this very affordable Dourthe Grands Terroirs. This wonderful, sweet wine from the French Bordeaux region made from late-harvest grapes affected by noble rot, comes with flavors like apricot, tropical fruit, honey and gently toast. Drinking Sauternes has become less popular, also because it’s often positioned as a wine to accompany your dessert. A concept that seems to be a bit old fashioned. Why not try a glass of Sauternes with some excellent blue cheese, a chocolate cake or simply on its own as aperitif?

What You Need

  • 500 grams of Fresh Figs
  • 100 grams of Sugar
  • 1 Lemon

What You Do

We recommend using only 100 grams of sugar, so 20% of the weight of the figs. Therefore the jam must be stored in the refrigerator and the jar must be finished shortly after opening it. That’s why we prefer using small jars and cooking small quantities of jam.
Start by washing the figs. Remove the stems. Cut the figs in small chunks, add to a pan. Add the sugar and the juice of one lemon. Put on medium heat, for at least 60 minutes, no lid needed (but be careful if the fruit is not ripe). During the cooking process the jam will become bright red. Use a fork to mash some of the figs. We think using a blender ruins the texture.
Make sure your jars are perfectly clean. Fill the jars, close the lid and cool in a cold-water basin. When cool, transfer to the refrigerator.

Maitake Soup

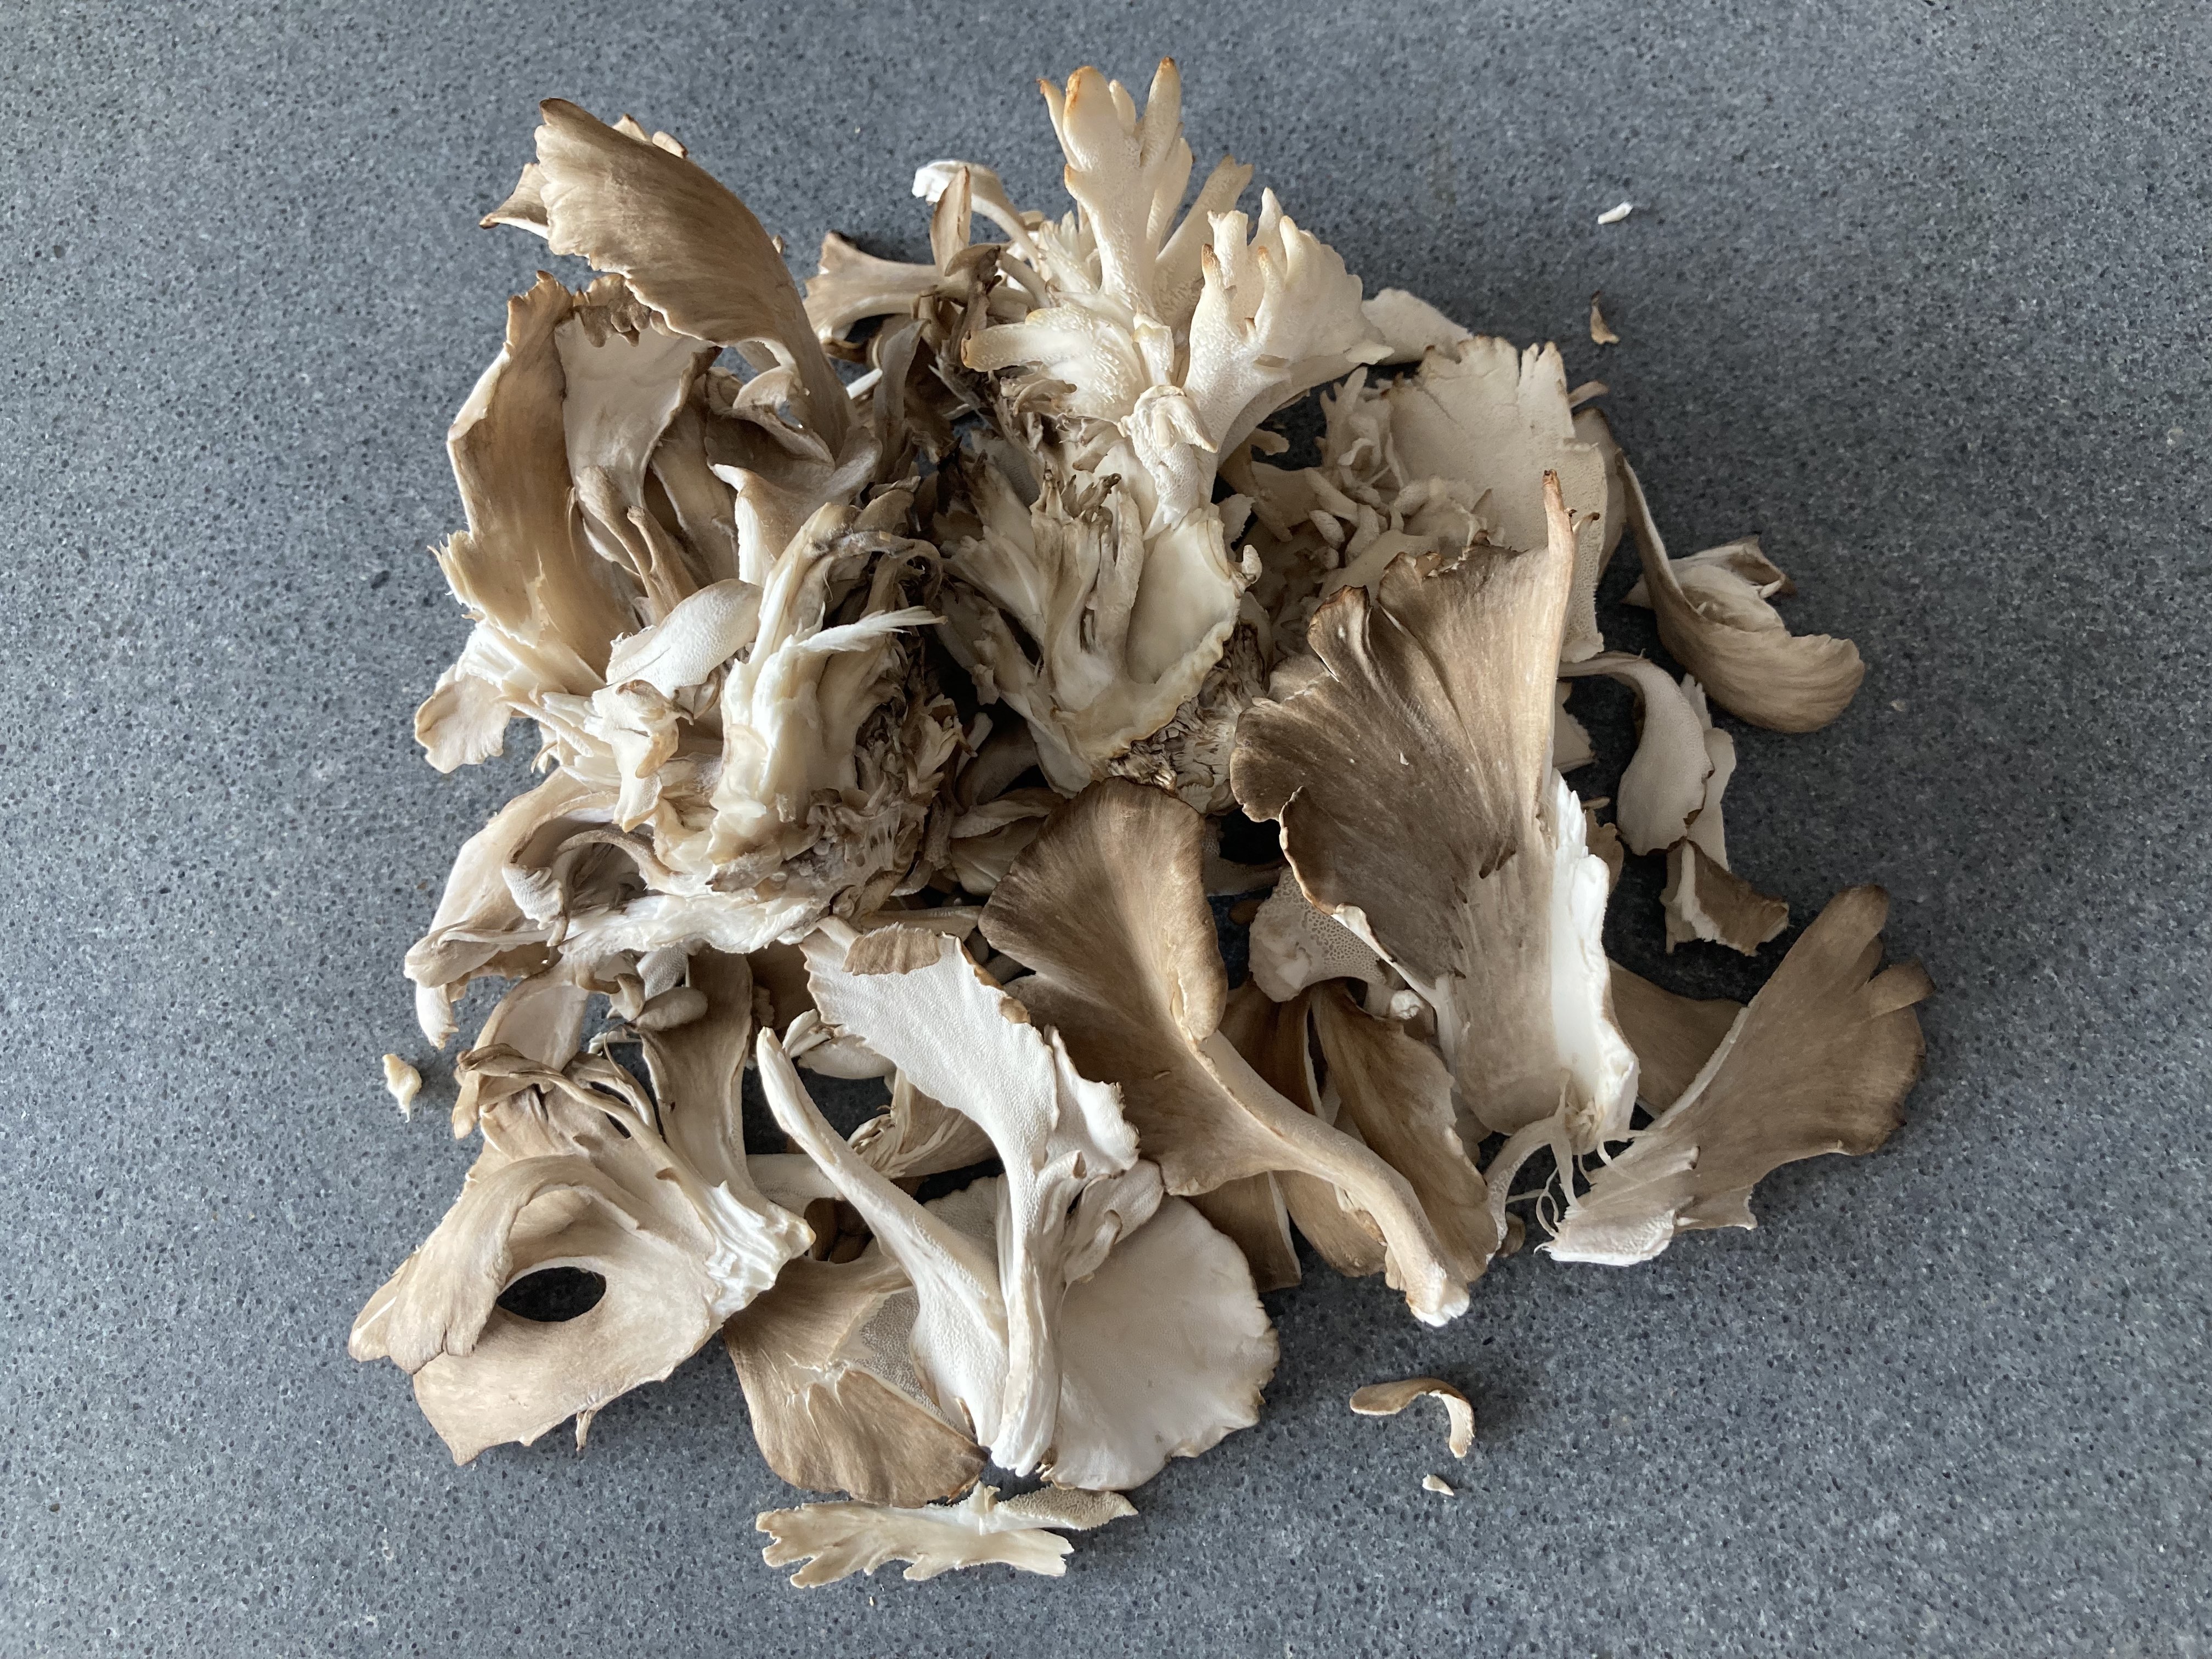
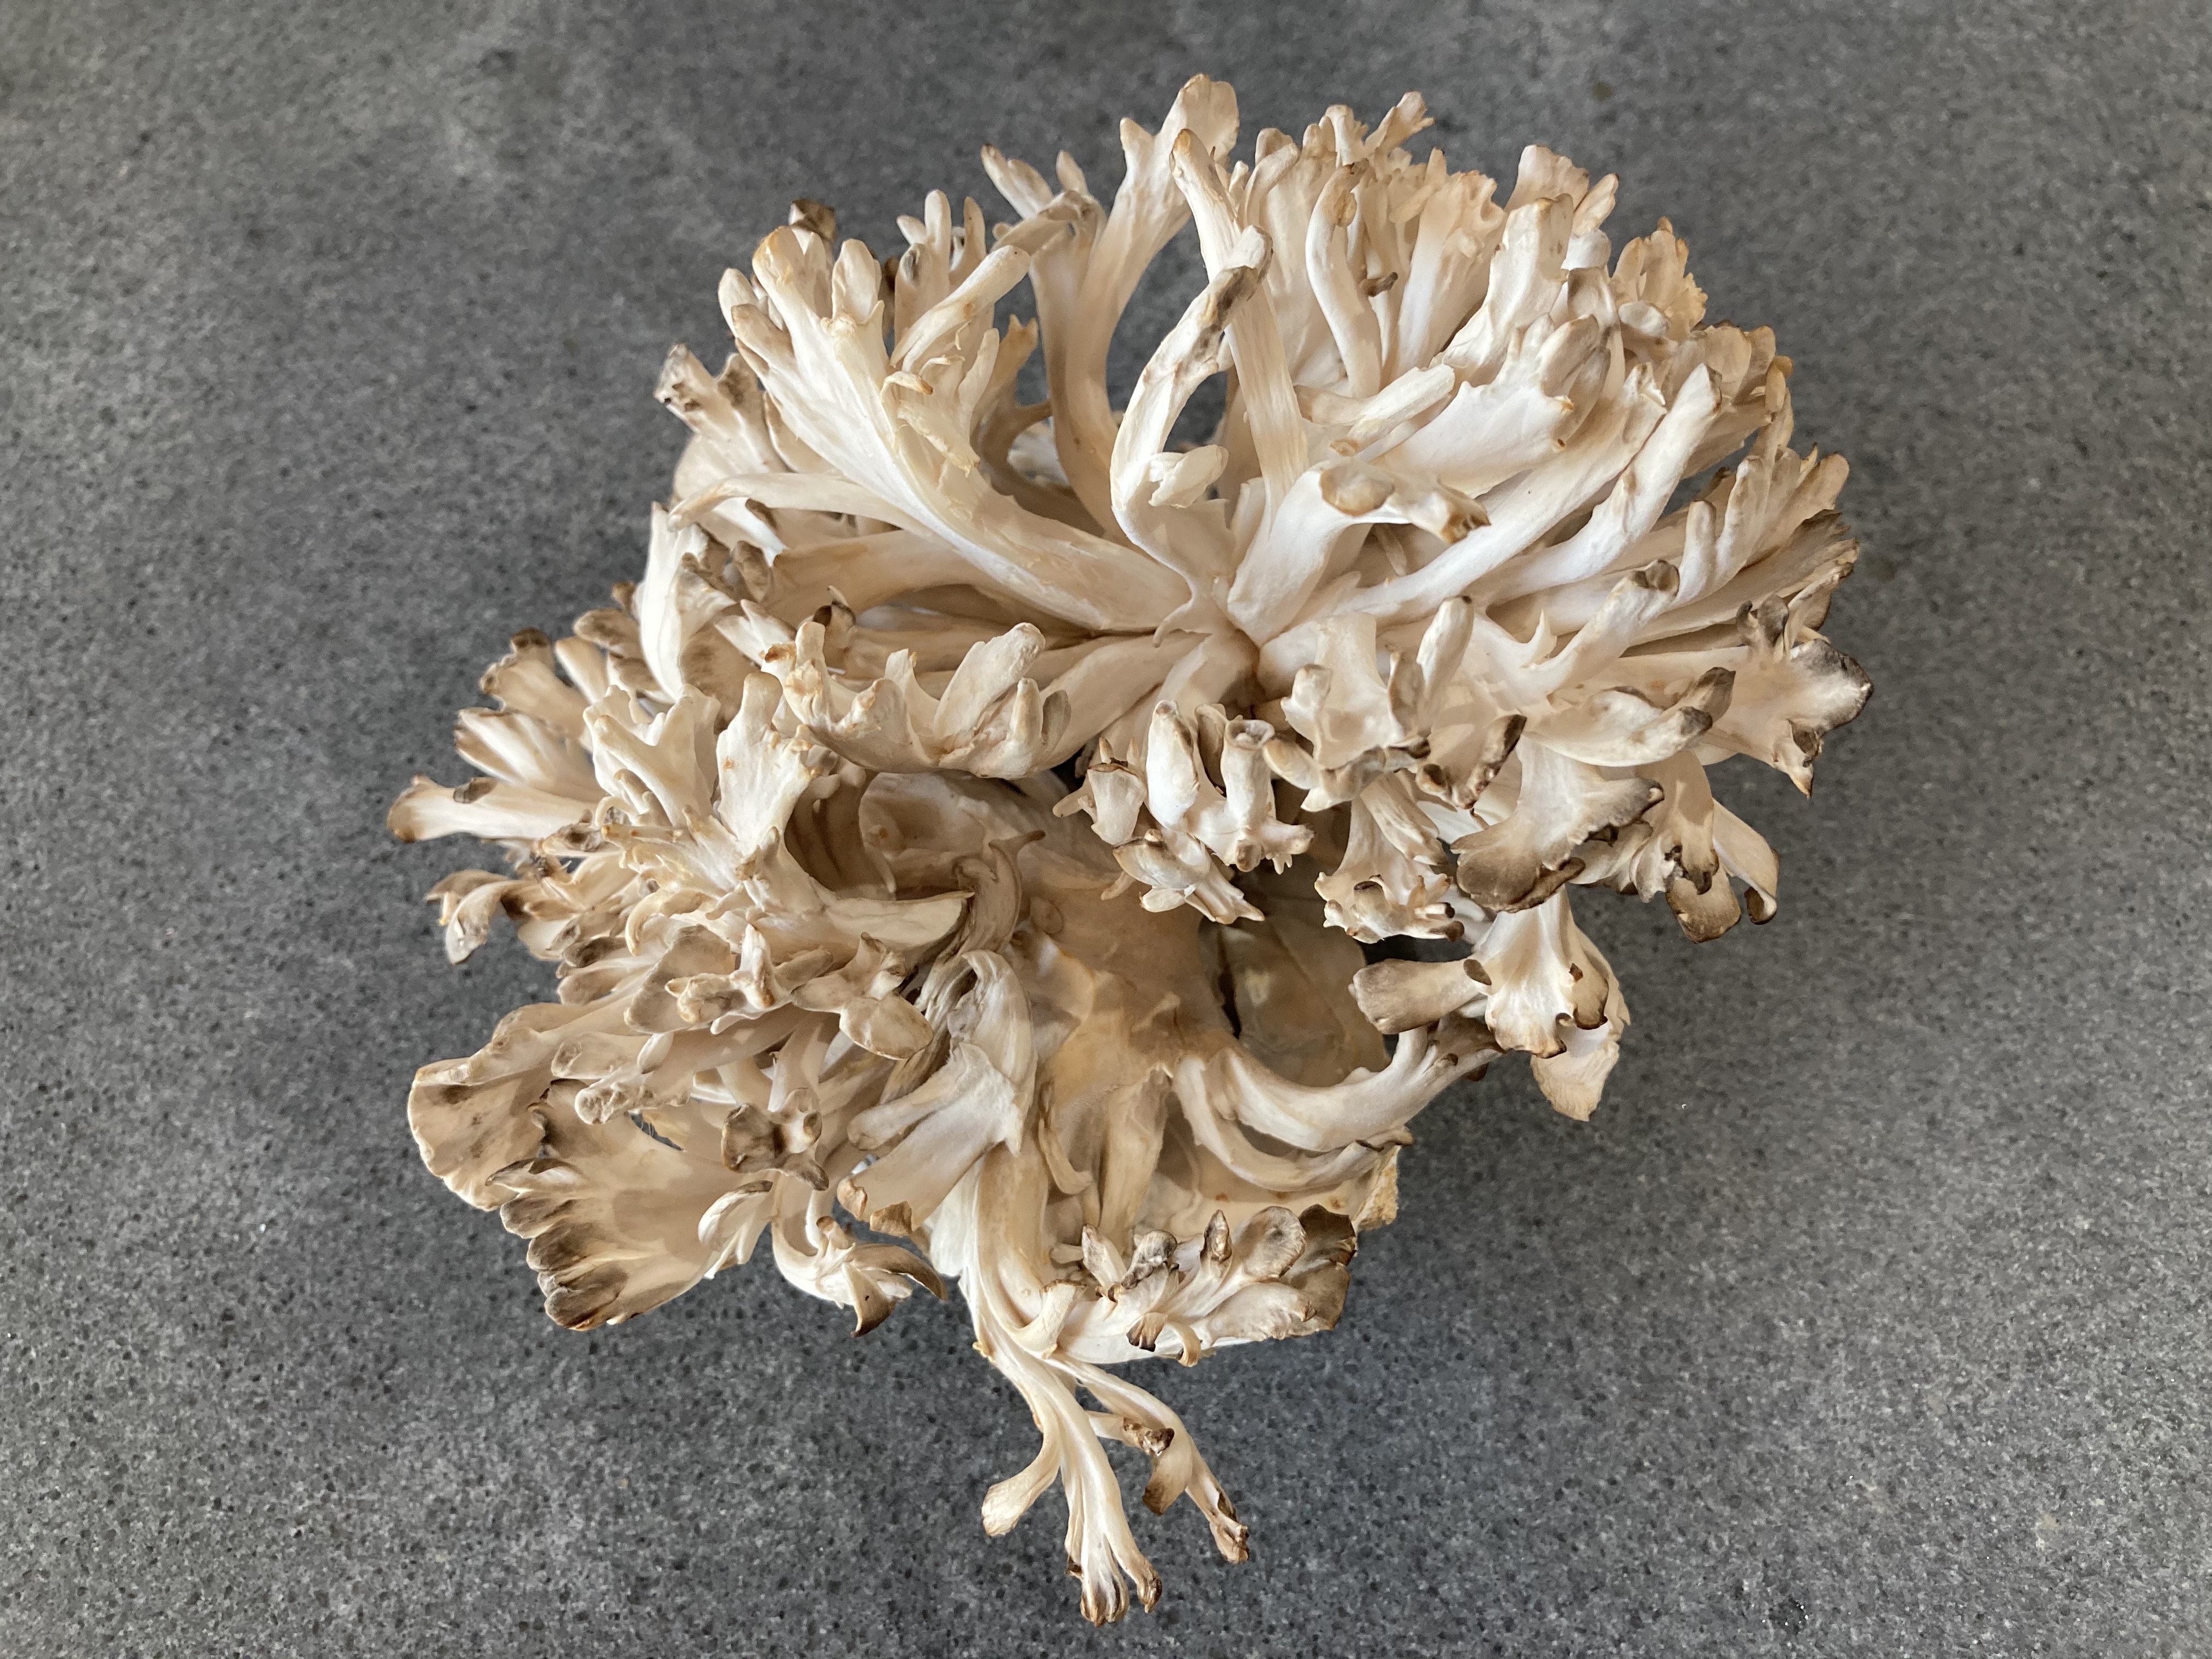
Welcome to the wonderful world of the Dancing Mushroom, better known as Maitake, Hen of the Woods or Ram’s Head. Enjoy the powerful, intense and nutty flavours and be intrigued by the aroma. No wonder it’s a much loved culinary mushroom!

Legend has it that maitake got its name because foragers danced with happiness when finding it. Nowadays maitake can be wild or cultivated. Both are fine; we actually prefer the cultivated ones. Make sure you cook maitake through and through, otherwise you may upset your stomach (and other parts of your body).

Maitake combines very well with beef and thyme. It is also great when combined with shrimps, crab, coquilles St Jacques, coriander, dill and parsley; a salad created by Antonio Carluccio and published in 2003 in the Complete Mushroom Book. The book has a wealth of wonderful, simple recipes.

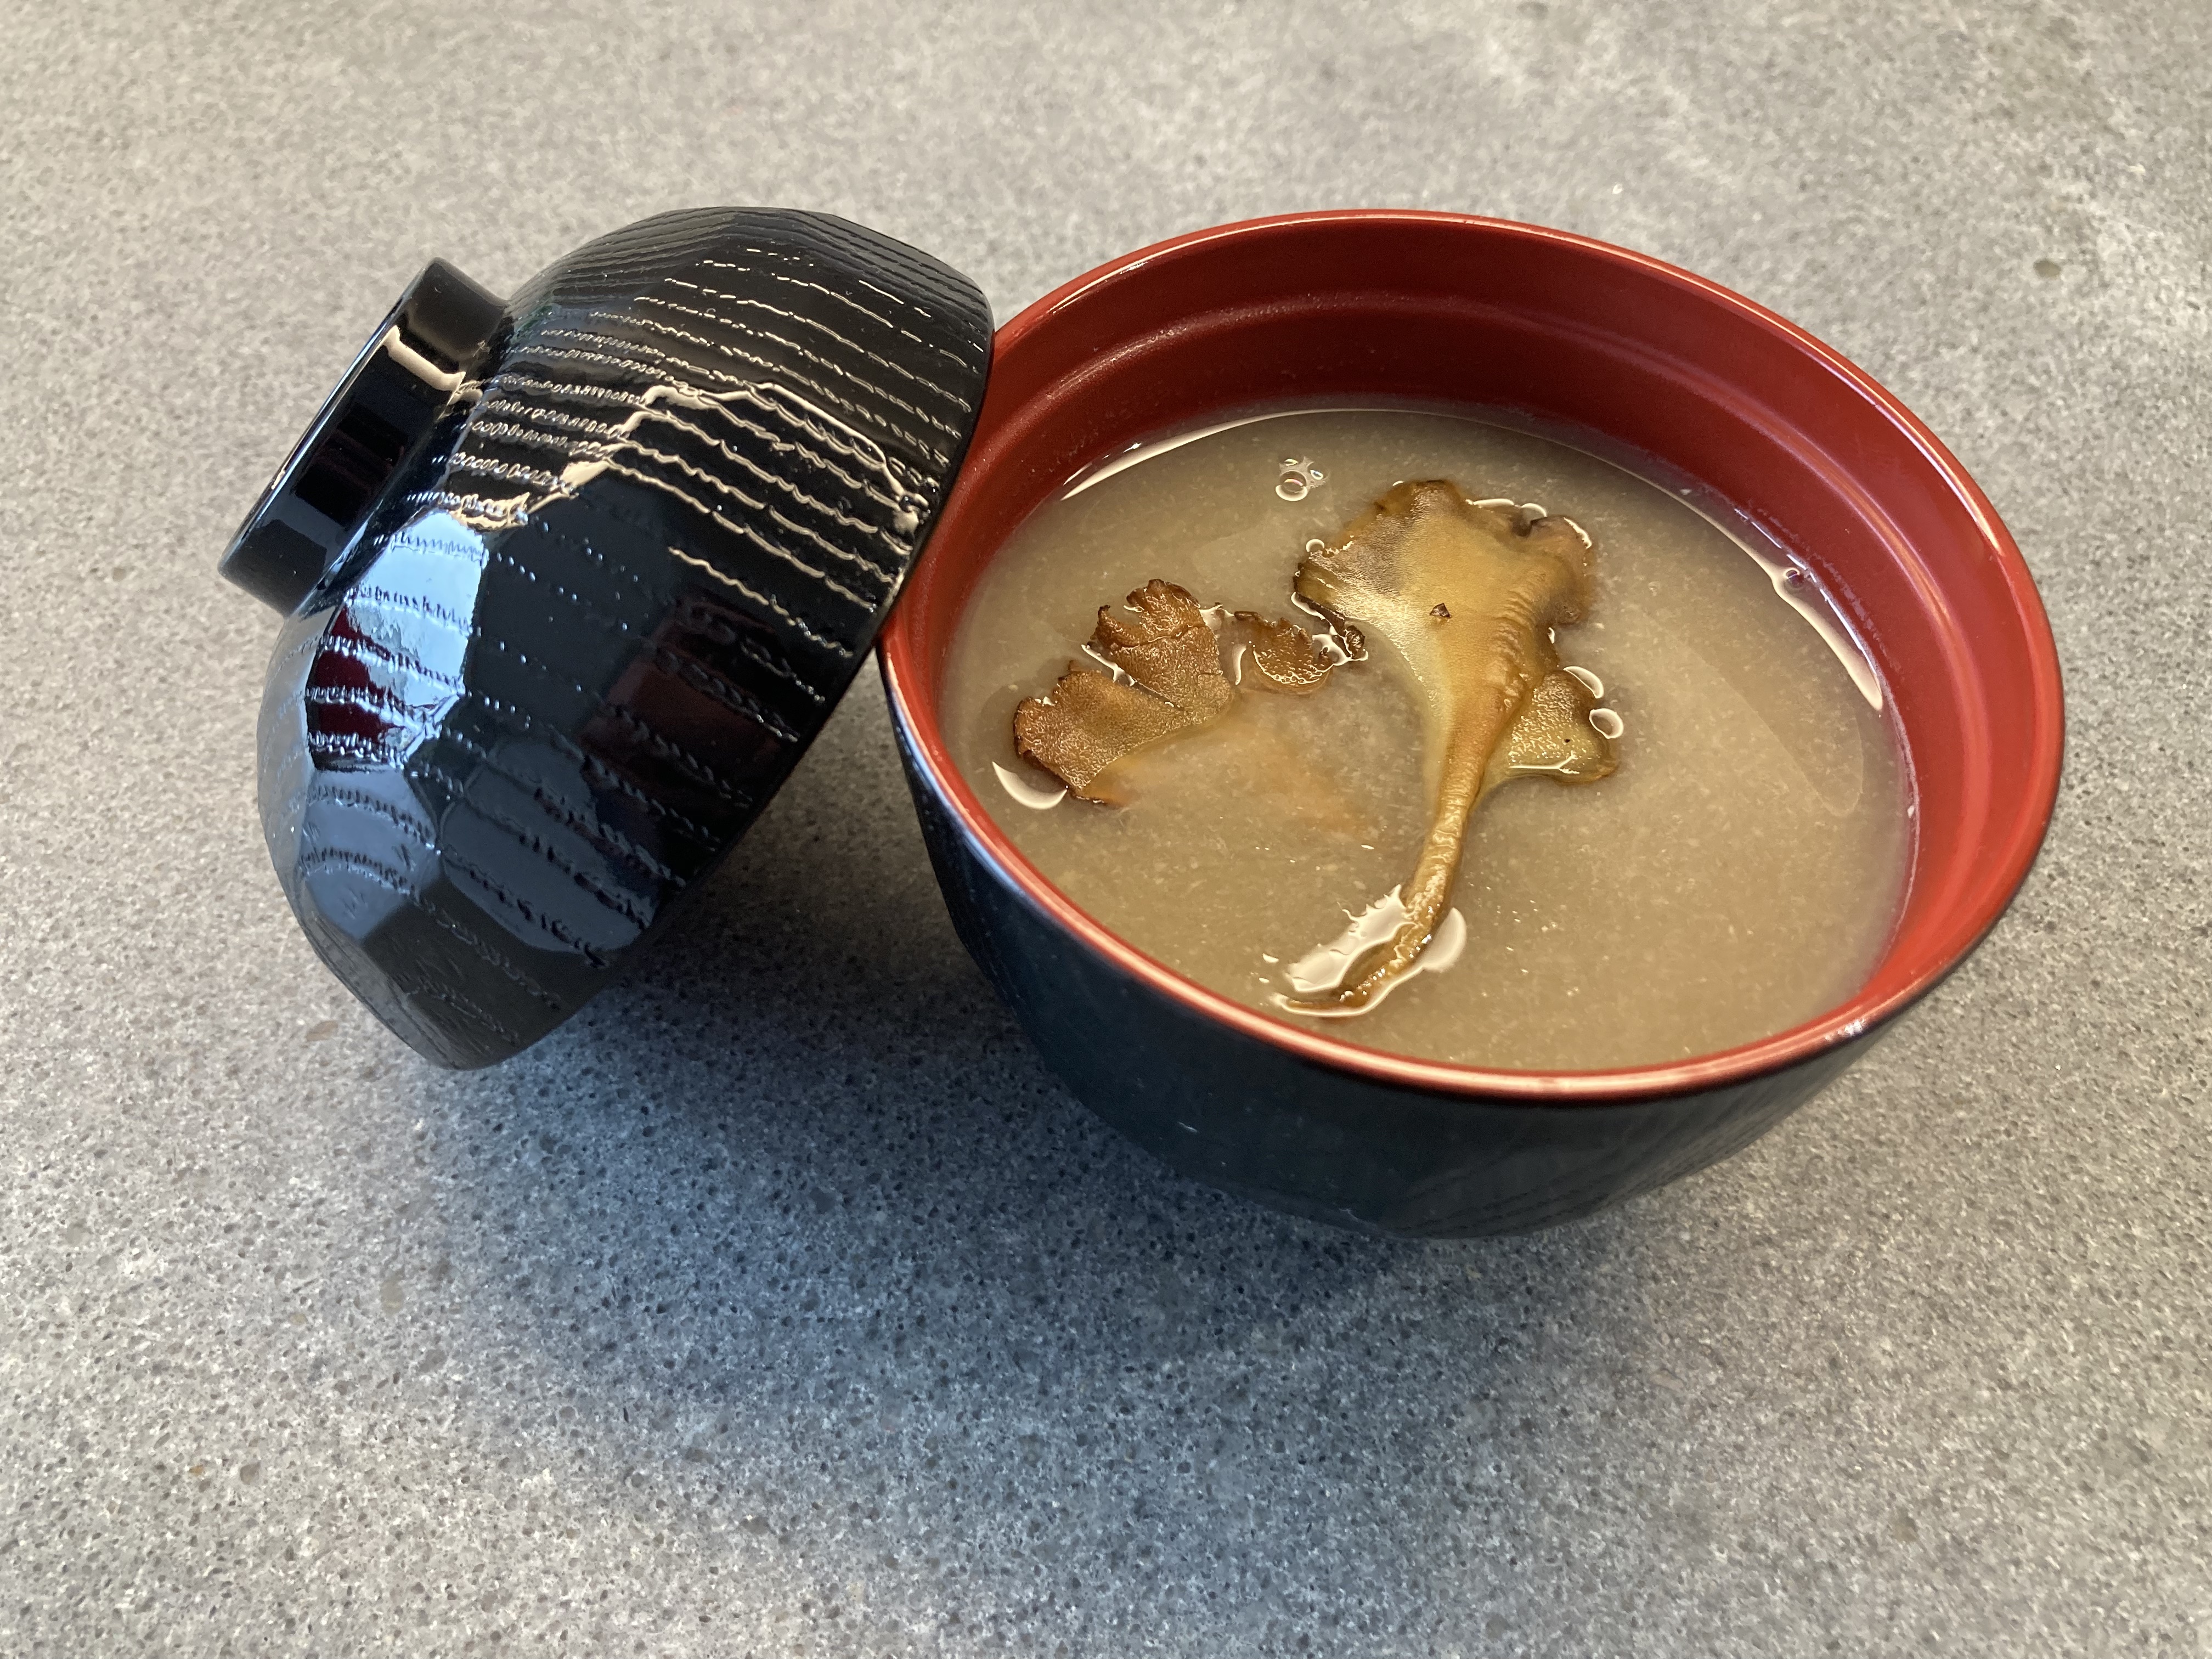
Our soup is perhaps a bit odd, because it’s a thickened soup, something you would perhaps not expect given dashi is the base of the soup. It’s a gentle soup, with some umami and bitterness. The fried maitake amplifies the flavours.

What You Need
  • For the Dashi
    • 500 ml Water
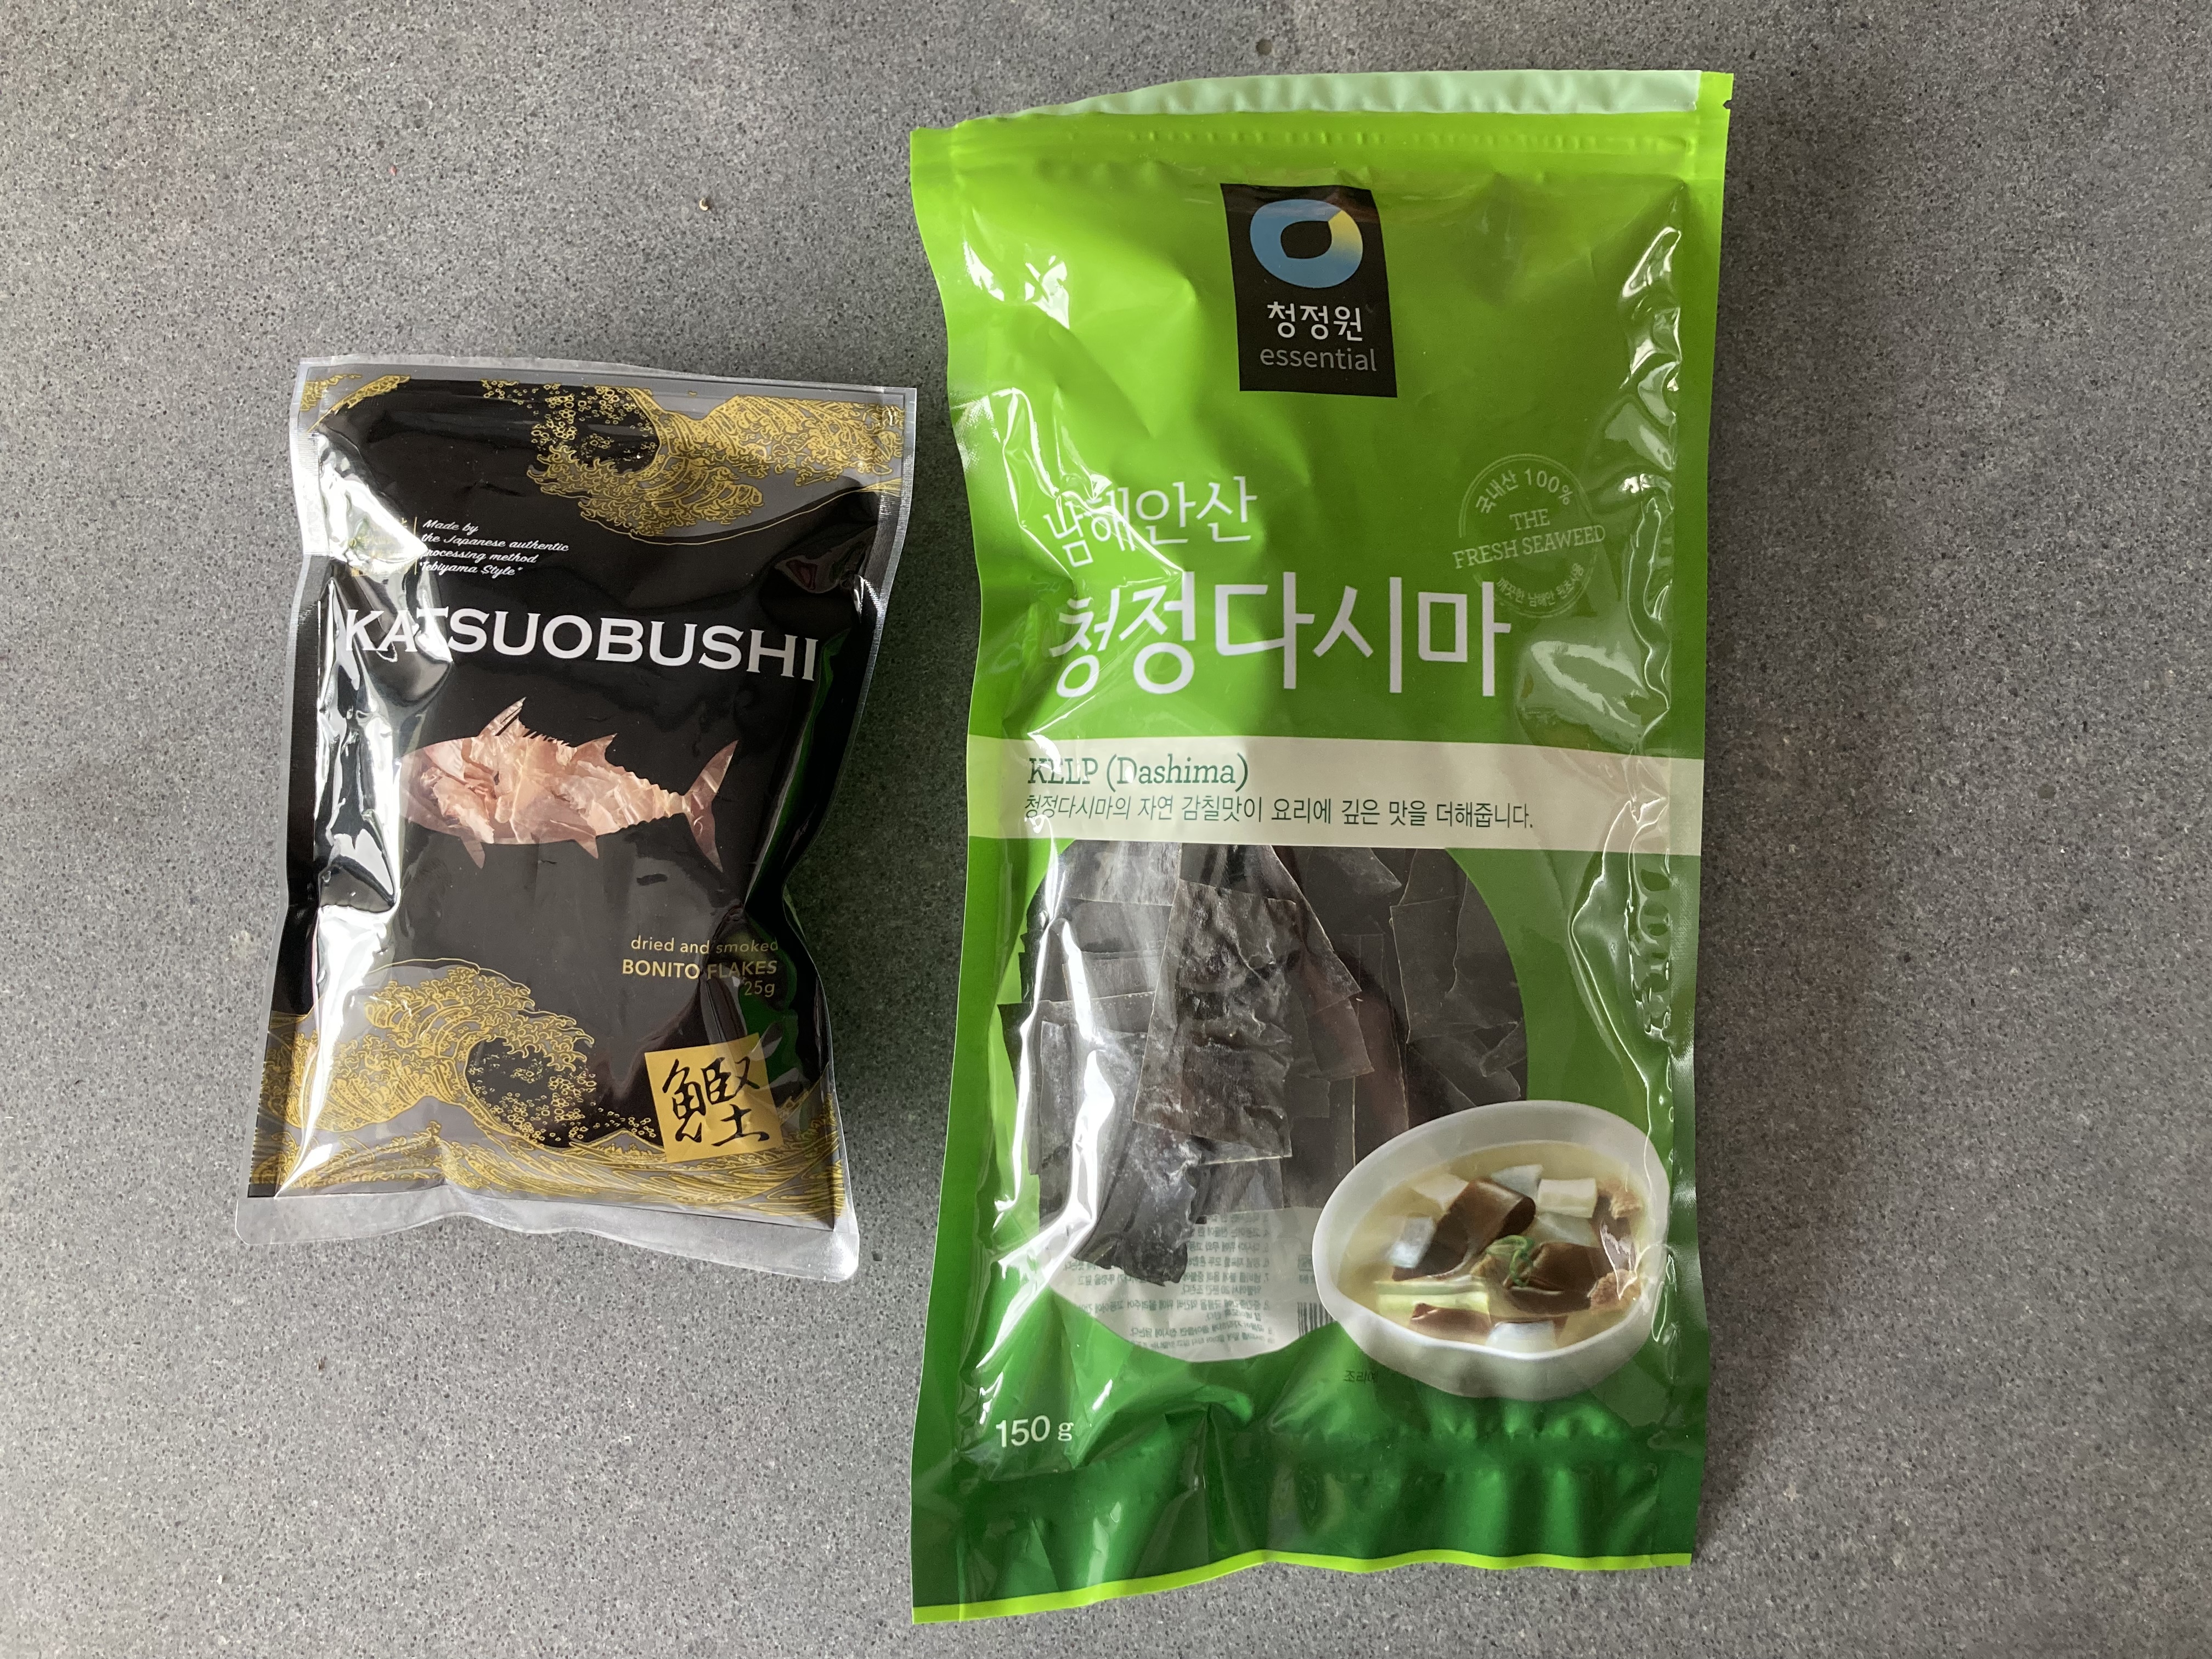
    • 10 grams Konbu
    • 10 grams Katsuobushi 
  • 150 grams of Maitake
  • 5 cm Fresh Ginger
  • Soy Sauce
  • Sake
  • Mirin
  • Tablespoon of Cooked Plain Rice
  • Olive Oil
What You Do
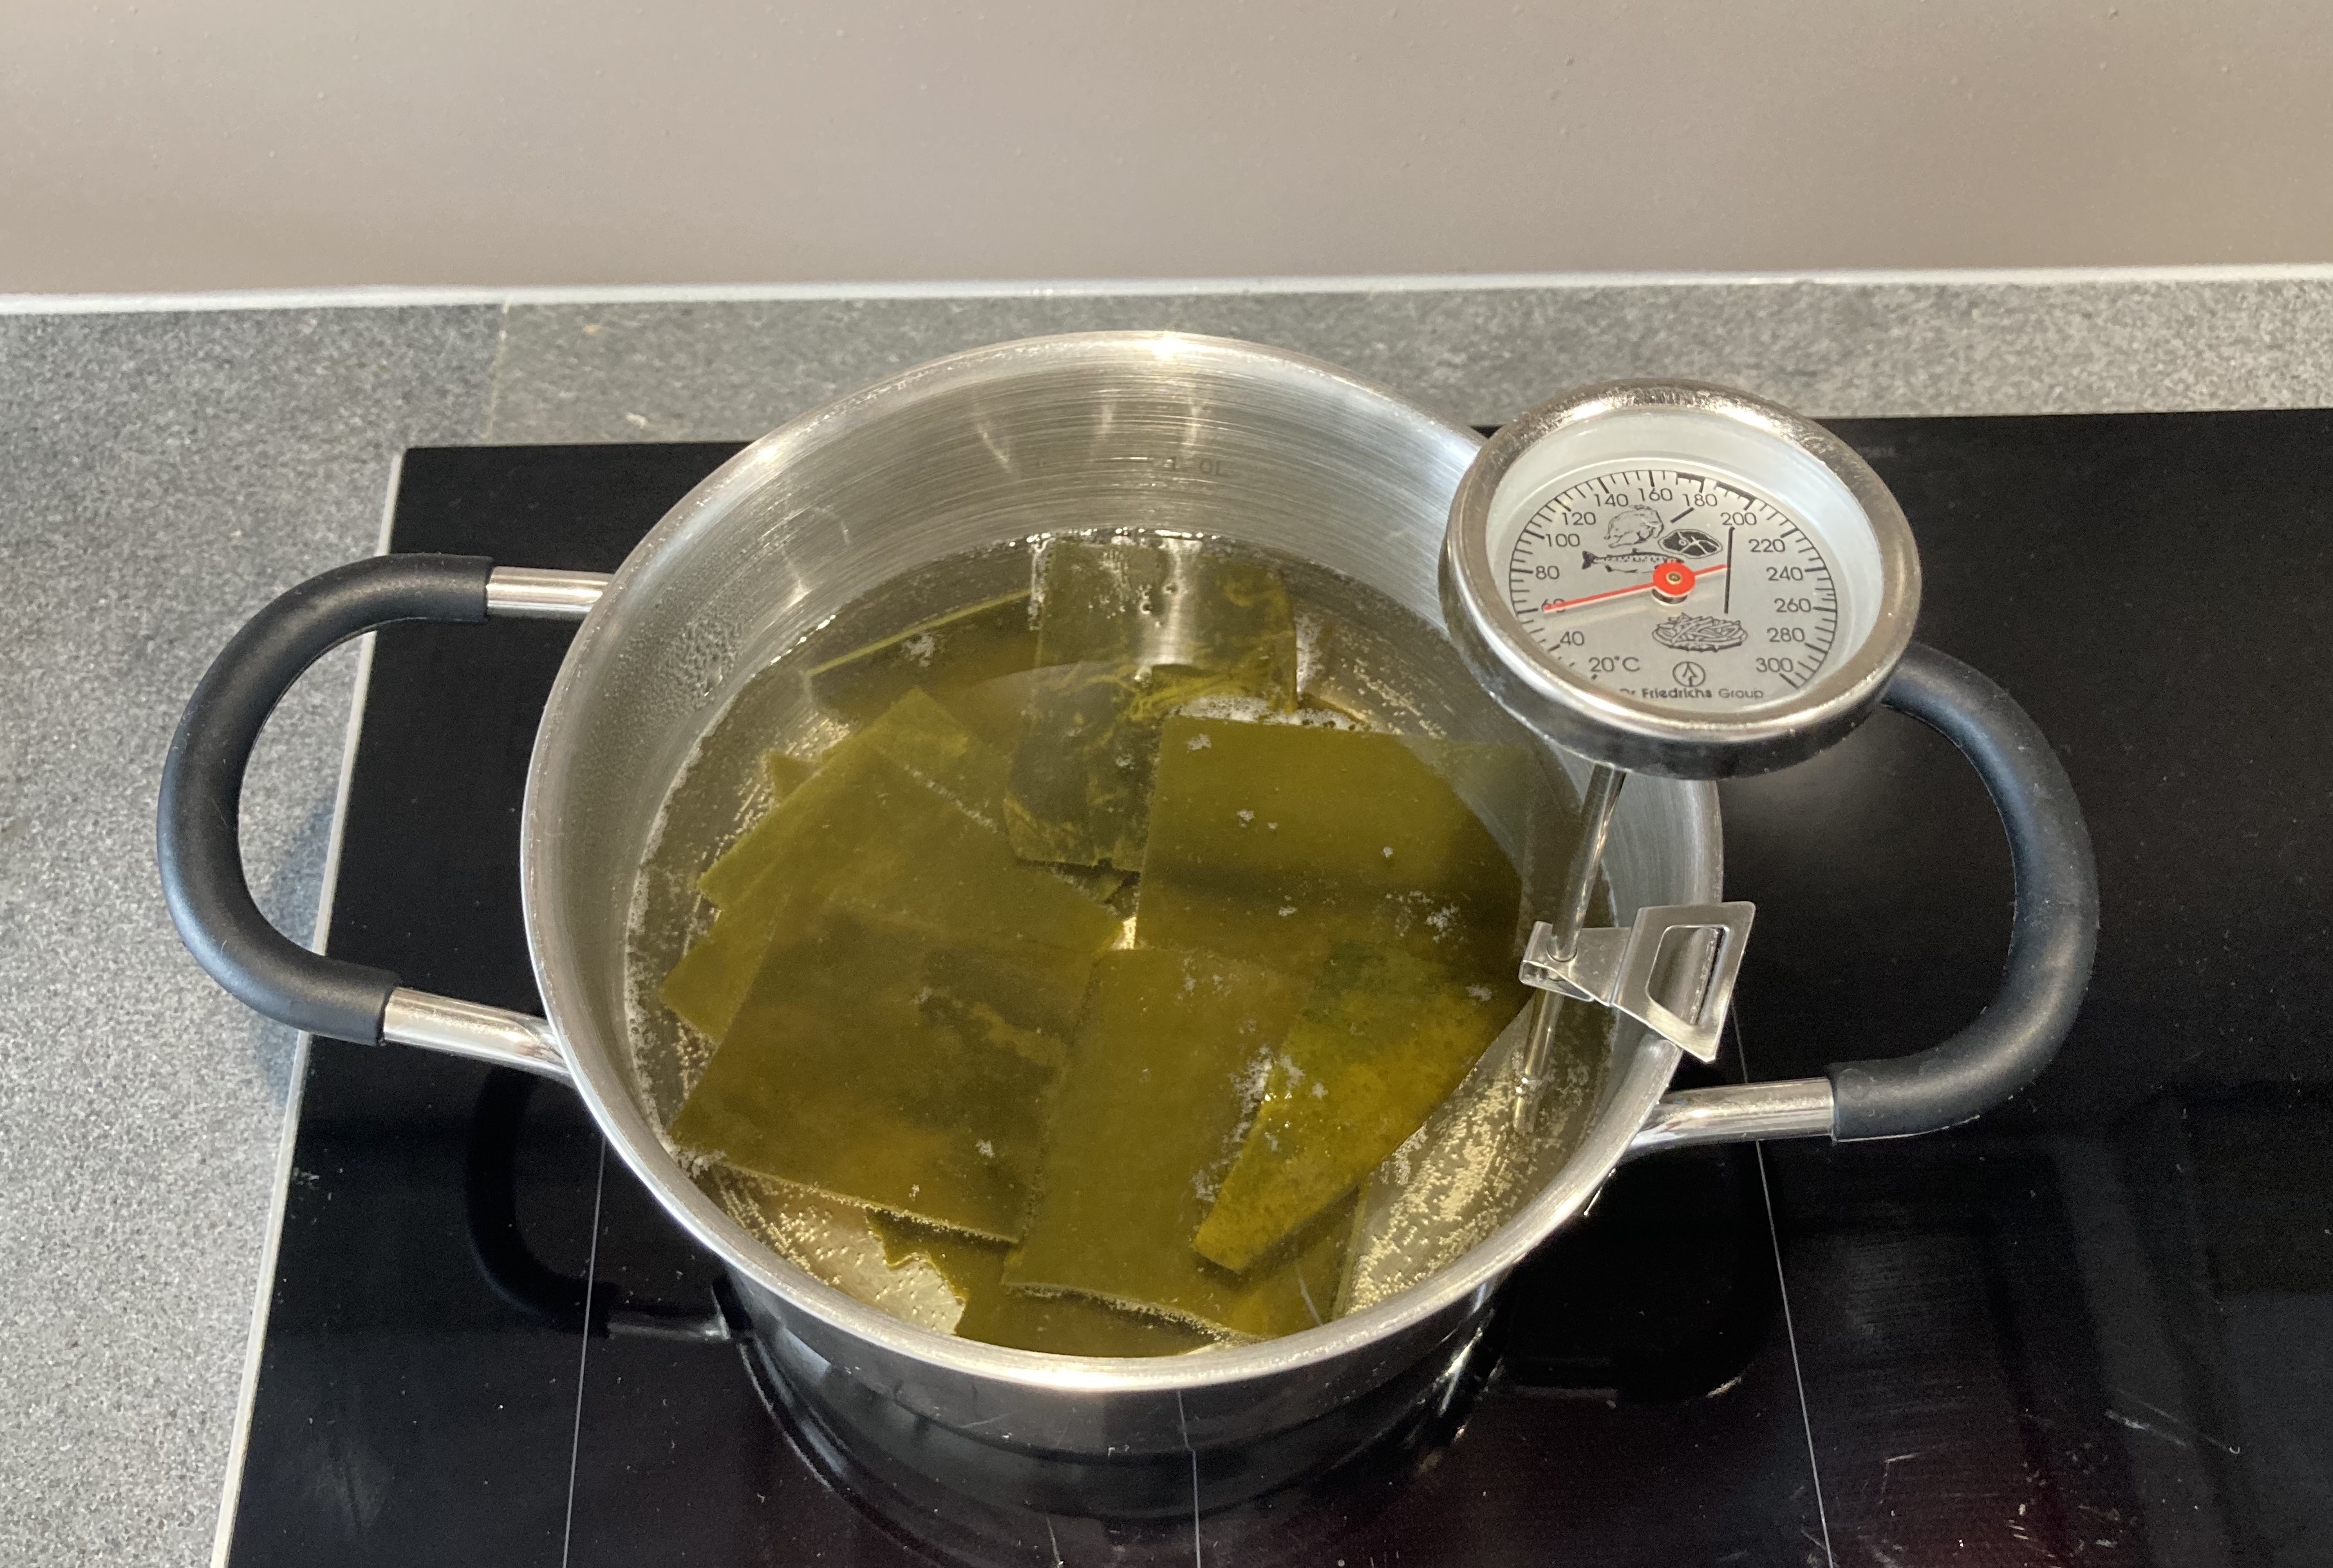
  1. Prepare the dashi
  2. Remove the base of the maitake
  3. Set a few ‘leaves’ aside (to be fried later)
  4. Peel and quarter the ginger
  5. Add the remaining ‘leaves’ of the maitake, the ginger and the cooked rice to the dashi
  6. Leave for 20 minutes on low heat
  7. Remove the ginger and use a blender to create a smooth mixture
  8. You will notice that the maitake doesn’t thicken the soup, as a classic Champignon de Paris would do, the rice should do the trick
  9. Pass through a sieve
  10. Keep on low heat for another 10 minutes
  11. Add a tablespoon of sake, some soy sauce and mirin
  12. Taste and adjust if necessary. The quanities very much depend on the flavour of the maitake and your personal taste. You’re looking for umami, bitterness and depth
  13. Leave for another 10 minutes on low heat
  14. Add olive oil to a small heavy iron skillet and fry the remaining maitake; initially on medium heat, later on low heat. This may take 5 minutes
  15. Use the blender for the second time to make sure the soup is perfectly smooth
  16. Serve in a miso bowl.

Time To Replace Your Non-Stick Pan

We all know that every few years we need to replace our non-stick pans. The surface has become less smooth, there are small scratches in the coating and it has become semi non-stick. Time to buy a new pan.
Perhaps you wonder what happened to your pan? Well, the truth is that not only have you eaten lovely fried food, you have also eaten bits of your pan.

Which is not great, because the coating contains PFAS. This substance may have very harmful effects, to your health and to the environment.

The abbreviation PFAS stands for Per- and Polyfluoroalkyl substances. These (artificial) substances don’t decompose, and once present they will not disappear and continue to be harmful.

Denmark, Germany, the Netherlands, Norway and Sweden announced the intention to submit a restriction proposal for PFAS to the European Chemicals Agency by July 2022. A restriction proposal is a first step towards a European ban on PFAS.

Great news for your health and the environment, but how about your beloved non-stick pan?

Fortunately, we have found an excellent alternative. The ceramic non-stick Prime-cook pans are 100% free of PFAS, PTFE, PFOA, GenX and nickel plus they are suitable for all cooking hobs. And given they last longer, it’s a sound investment.
Having tested it, we are convinced this is the future of healthy non-stick frying.

Bring your non-stick pan to the hazardous chemical waste disposal and buy a Prime-cook pan!

non-stick pan Prime-Cook ©cadwu

Horn of Plenty with Cumin and Pork Fillet

The name Horn of Plenty refers to the shape (very much like a funnel without a stem) of the mushroom and to the mythical goat Amaltheia, whose horn would be filled with everything you whished for. It’s also called Black Chantarelle, which is very appropriate because it’s a chantarelle and truly black when cooked. The more morbid name is Trompette de la Mort, as if the buried use the mushrooms to play the Marche Funèbre.

More importantly to us: they are very edible with a pleasant fibrous and chewy texture. The only downside is that they quickly become soggy and smelly, so make sure you buy (or harvest) dry ones and use them the same day or the next.

For some reason Horn of Plenty simply loves cumin. We also added coriander and fennel seed to give some additional lightness and freshness to the combination.
And as always, only use the very best organic pork.

Wine Pairing

A medium bodied, not too complex, red wine will be perfect. Think Merlot, Tempranillo, Grenache, Cabernet Franc, Carménère.

What You Need

  • 150 grams Horn of Plenty
  • One Red Onion
  • Cumin, Coriander and Fennel (seeds)
  • Black pepper
  • Olive Oil
  • Pork Fillet

What You Do

Clean the mushrooms thoroughly. This can be time consuming. Slice the pork fillet to create 6 medallions. Heat a heavy iron skillet and fry the medallions in olive oil until just underdone. Wrap in aluminium foil and leave to rest. Slice the red onion, add some olive oil to the pan and fry the onion. Grind cumin, coriander and fennel seeds and fry the spices. Lower the heat, perhaps add some more olive oil and fry the mushrooms for 5-10 minutes. Taste, adjust and add some black pepper. Add the juices from the pork to the pan, deglaze and serve.

  • Horn of Plenty with Cumin and Pork Fillet ©cadwu
  • Horn of Plenty ©cadwu

Lentils with Sausage and Beetroot

Think France, think a nice small bistro in a small street, off centre, nothing posh, no Michelin star in sight. It’s 12.30, time for a quick lunch. You enter the restaurant, take a seat and order today’s dish, the plat du jour. It turns out to be a generous helping of lentils, fried sausages, mashed potatoes and mustard. A beer works beautifully with it. After having enjoyed your lunch, you think about the joy of good food, French mustard and the beauty of lentils. Time for a coffee. And perhaps a glass of Calvados?

In our recipe for Cod with Lentils and Cilantro we mentioned the joy of lentils, especially the joy of eating Lentille Verte du Puy A.O.P & A.O.C. from Sabarot.

We’re not too keen on mashed potatoes so we decided to combine the lentils and sausage with a beetroot salad.

Sausage wise we suggest coarsely ground (so not minced) organic porc sausages with sage, for instance Lincolnshire sausages. The texture of the sausages is great in combination with the size of the lentils. 

Wine Pairing

We enjoyed our lentils with a glass of red Pays d’Oc wine, with grapes such as Grenache and Syrah. The Syrah brings an intense colour, aromatic strength and structure. The Grenache reveals red berry flavours. For instance wine from Domaine La Colombette. This producer is well known for its innovative light wines and its Super Bio wines, made with grapes (Cabernet Noir, Souvignier Gris) that have a natural resistance to various diseases, meaning that no pesticides are needed in the vineyard.

What You Need
  • For the Lentils
    • Shallot
    • Olive Oil
    • Green or Du Puy Lentils
    • Chicken Stock
    • Parsley
  • For the Sausages
    • 2 or 4 Sausages (organic pork with sage, coarsely ground)
    • Olive Oil
  • For the Salad
    • Beetroot
    • Spring Onion
    • Vinegar (plain and white wine)
  • French Mustard
What You Do
  1. One day before serving, wash the beetroot, wrap in aluminium foil and put in the oven on 180° Celsius or 365° Fahrenheit for 45-60 minutes, depending on the size
  2. Transfer, remove foil and let cool
  3. Cut the shallot in small bits and glaze gently in olive oil
  4. In the mean time check the lentils for small pebbles; wash the lentils
  5. Once the shallot is glazed, add the lentils and heat them for a few minutes, as you would do with risotto rice
  6. Add some chicken stock and water (the stock is only intended to give the lentils a small push) and leave to simmer on low heat
  7. Fry the sausages in olive oil in a heavy iron skillet
  8. Remove the skin of the beetroot, slice the beetroot and combine with thinly sliced spring onion and vinegar
  9. Mix
  10. Drain the lentils, chop the parsley and add to the lentils.
  11. Serve the sausage on top of the lentils
  12. Definitely a good dash of French mustard on the side!
  • Lentils with Sausage and Beetroot ©cadwu
  • Du Puy Lentils AOP AOC © cadwu

Prosciutto e Melone

Is it an ancient recipe combining wet and cold (melon) with dry and hot (cooked meat, later cured ham)? Is it an invention of famous author Pellegrino Artusi? Is it a typical sixties dish? Or is it the ideal starter for a lazy chef?

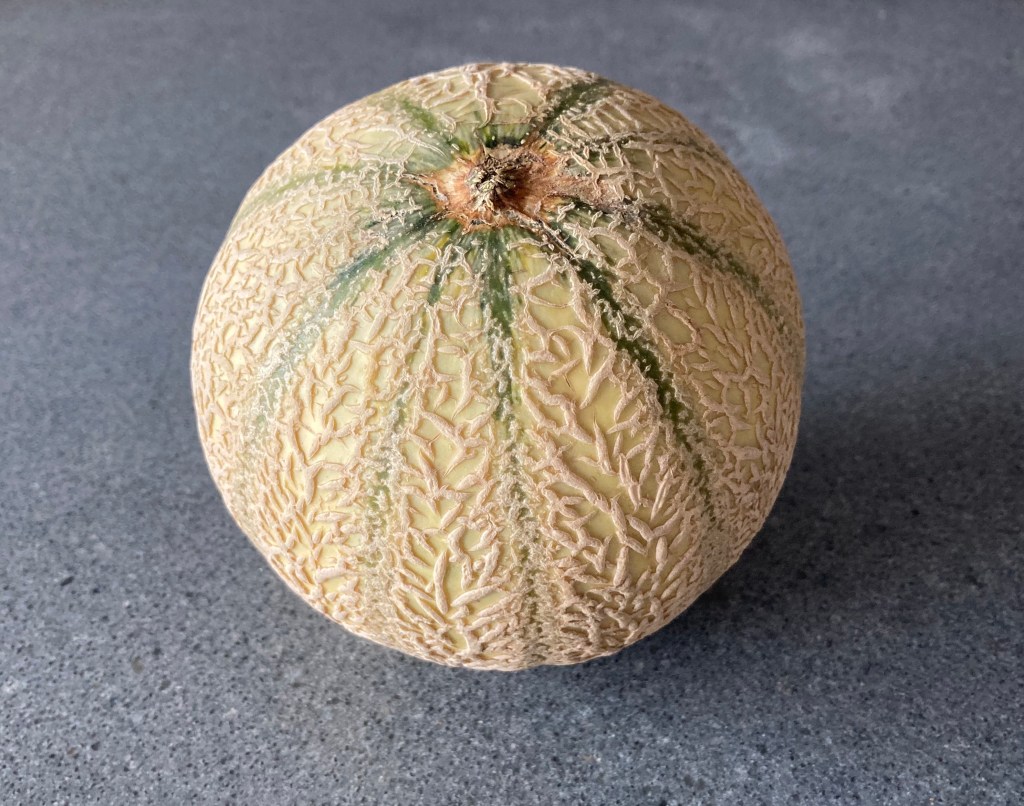
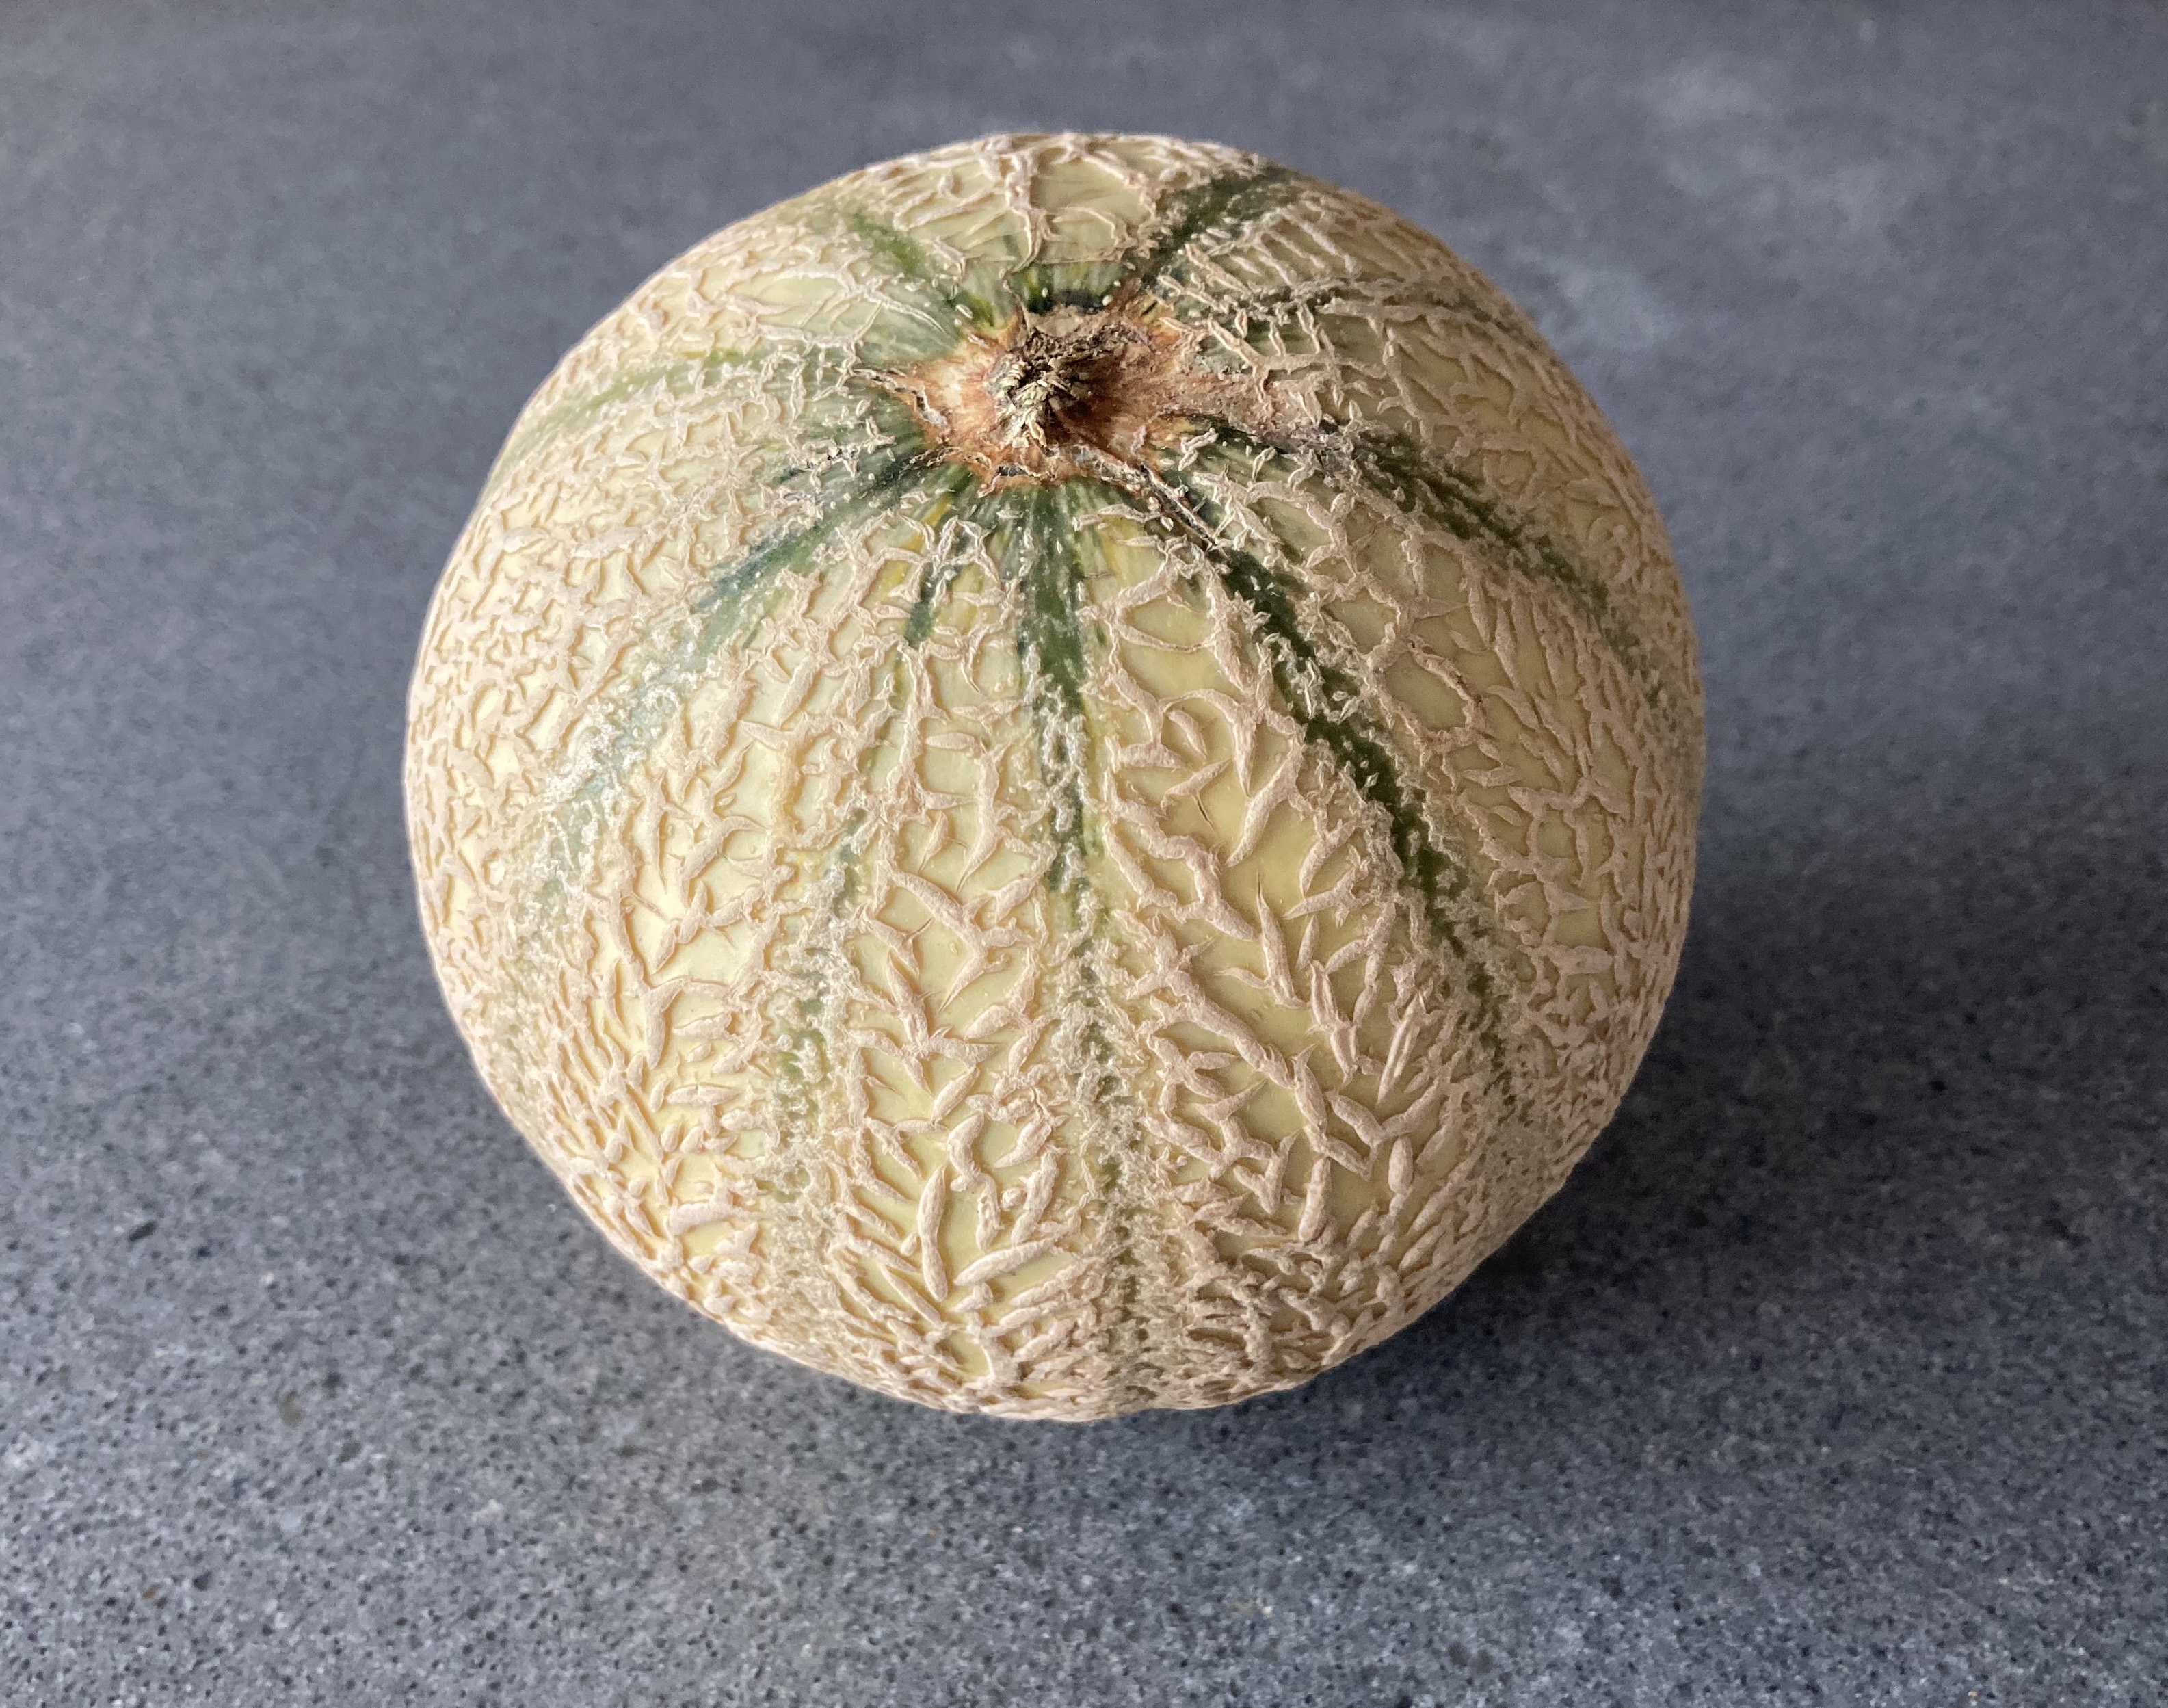
Regardless what it is, the success is the result of the quality of the ingredients. You need an excellent melon, preferably a cantaloupe. Ripe and sweet, one that fills the room with honey. And you need the best ever cured ham. Could be from Italy or Spain, as long as it paper thinly sliced with nice layers of marbled fat.

Sweet and salty, moist and dry, soft and with texture, intense aromas and long-lasting flavours. Every aspect you can think of is on your plate. No need to add anything, no ricotta, no salad, no balsamic vinegar, no pesto. It’s about the combination of two very different yet beautiful products.

Wine Pairing

Enjoy your Prosciutto e Melone with a light, refreshing wine that reflects summer. A glass of prosecco, bubbly, refined and with a touch of sweetness. But if you want to open a bottle of rosé, please do so!

What You Need

  • A ripe Melon (Cantaloupe)
  • Dry-Cured Ham (Prosciutto or Serrano)

What You Do

The melon must be cold, the ham should be at room temperature.
Slice the melon, probably in eight wedges. Remove the seeds. Use a sharp knife to cut off the rind. Wrap each wedge of melon with a slice of prosciutto, making sure you can still see the melon at the ends.

PS

It’s definitely not a recipe from Pellegrino Artusi. He describes the combination of fresh green peas (also sweet and moist) with Prosciutto. 

Field Peas with Summer Savory

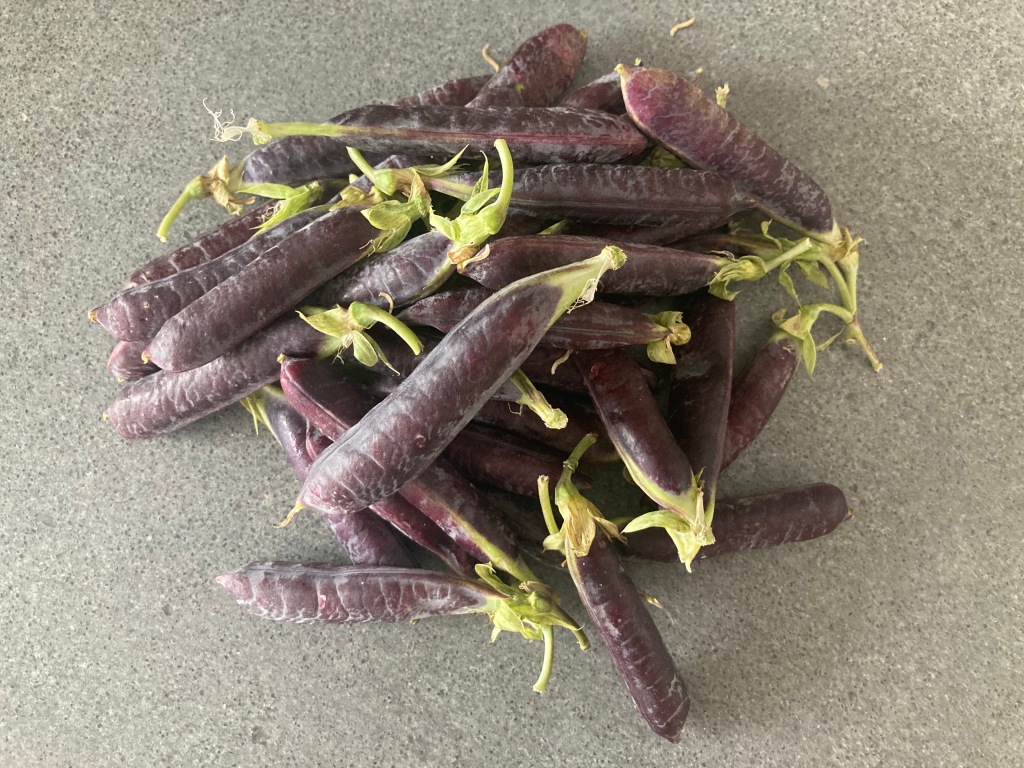
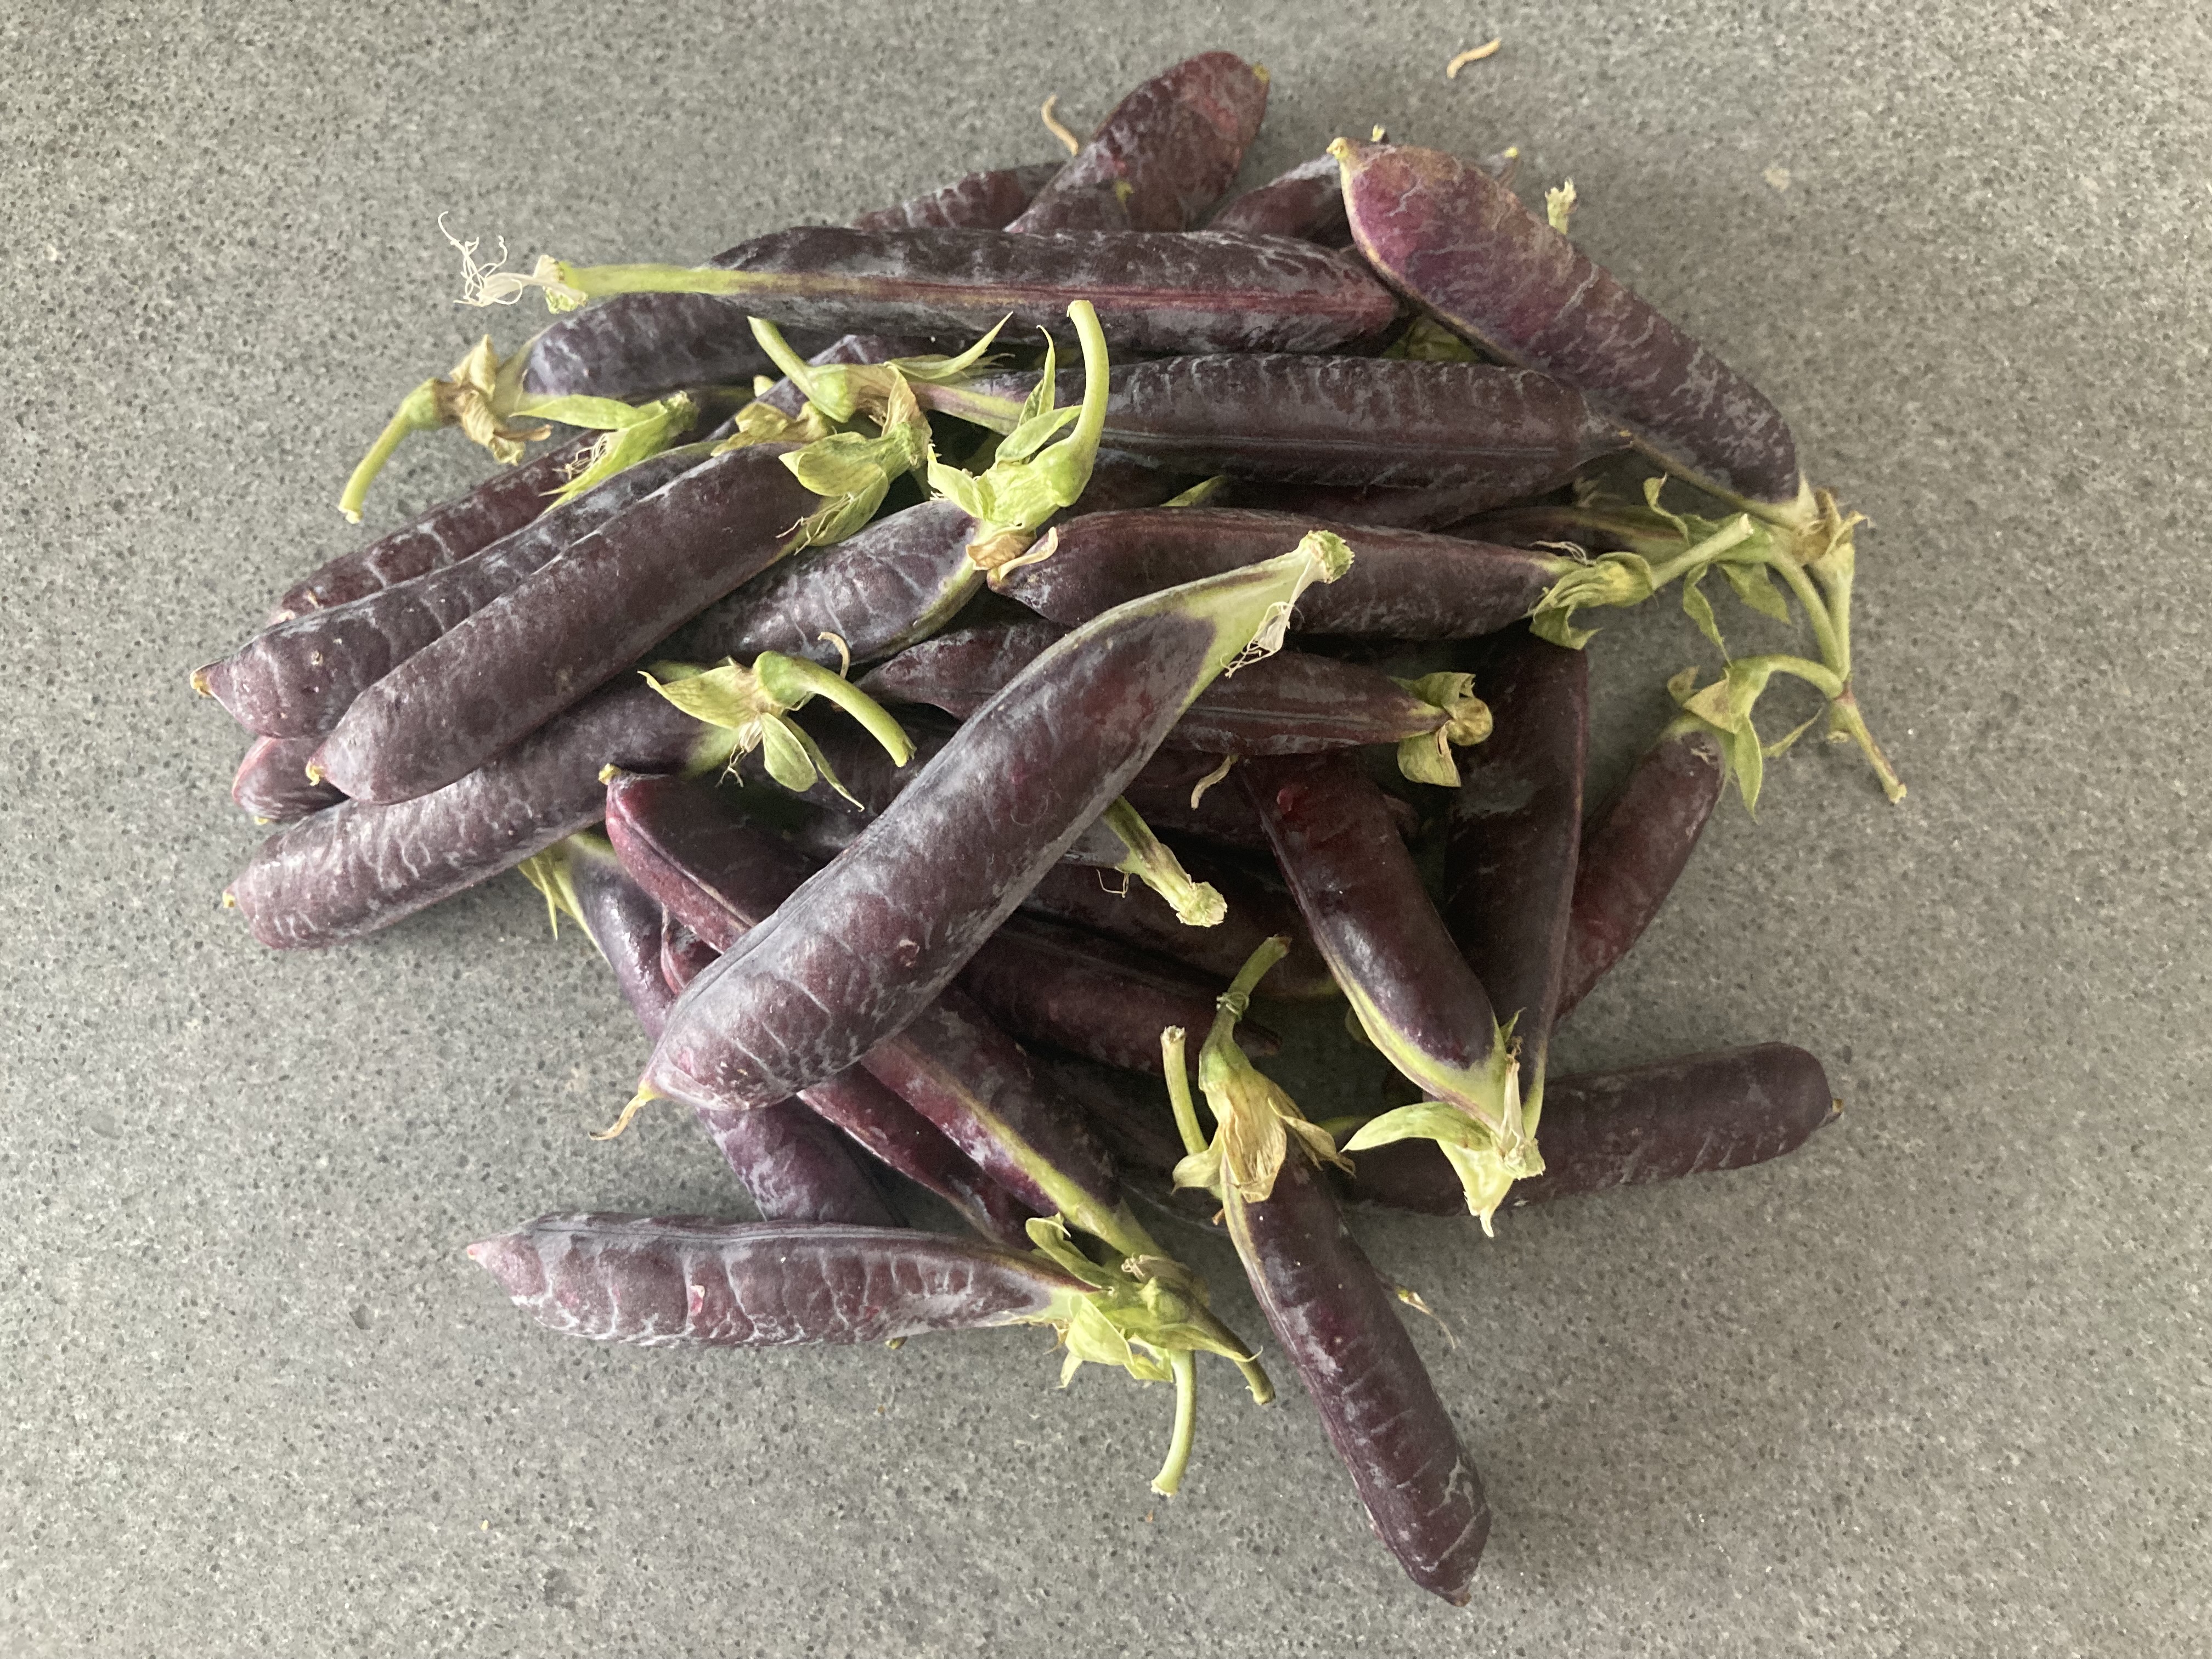
Seasonal products, we simply love them! Fresh field peas are available for a few weeks in June and July only. They are easy to recognise by their purple pod. An old and forgotten vegetable, perhaps because the (older) peas tend to be starchy and not very tasteful.
Young field peas, however, are sweet and moist with a good texture. Combining them with summer savory is a great idea, but if you want to give your field peas a more modern twist, then replace the savory with fresh oregano.
Field peas, different from fresh green peas, require some fat or oil. The combination with for instance crispy fried pork belly works really well. Simple, a bit old fashioned and delicious.

Wine Pairing

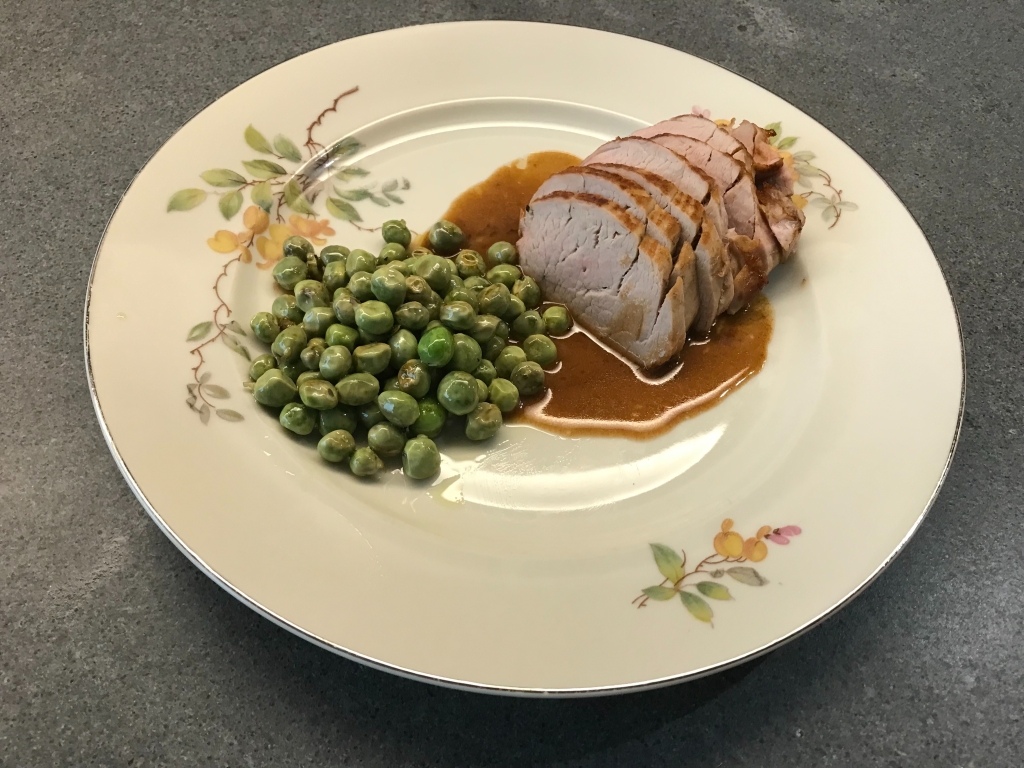
We combined our field peas with pork fillet. The dish is robust, so we decided to drink a red wine from the Dão region in Portugal, to be more precise we enjoyed a glass of Prunus as produced by Gotawine. One of our favourites! It has lots of dark fruit (plums, blackberries, cherries), it is lightly oaked and its taste is fruity, long and well balanced. Grapes include Jaen (also known as Menci), Tempranillo and Touriga Nacional. In general you’re looking for a medium bodied, not too complex, yet elegant red wine.

What You Need

  • Fresh Field Peas
  • Sprigs of Summer Savory
  • Olive Oil

What You Do

Shell the peas and steam them for 4 minutes maximum. Let cool and set aside. Heat a small skillet, add olive oil, reduce heat and very gently fry the peas. Add some finely chopped summer savory. Mix. Just before serving add the remaining chopped savory, mix and serve.

If you combine the field peas with pork fillet, then use excellent organic fillet only. Fry the fillet in a heavy iron skillet until nearly done. Wrap in foil and leave to rest for 10 minutes. Add the meat juices to the pan, add some mustard and (vegetable, veal or chicken) stock. Reduce. Add some cold water to help the emulsification. Slice the fillet. It should be a touch pink. Serve with some black pepper and the jus.

  • Field Peas with Summer Savory ©cadwu
  • Fresh Field Peas ©cadwu
  • Prunus Label ©cadwu

All Our Recipes For You

A few years ago we created an overview of recipes per season, simply because it’s such a good idea to enjoy what is available in the season. Nice to eat strawberries in Winter, but isn’t it a much better idea to enjoy seasonal slow cooked pears?

We then introduced overviews per course, ranging from side dish to lunch. The categories didn’t always make sense, so we added a few more, making our admin more complicated, especially when we updated a recipe or a picture.

The obvious thing happened: we lost track of recipes, noticed some links were broken and the overviews became incomplete.

So how to organise this blog?

After much debate and intense workshops (not really) we’re pleased to present to you an old fashioned, up to date and very easy to use (and maintain) index of All Our Recipes For You!

All Our Recipes For You ©cadwu

Asparagus with Basil and Olives

End of June means end-of-season for asparagus, morels and ramson (wild garlic). But let’s not be sad! It’s also the beginning of Summer; time to dine al fresco and serve vibrant, light flavours. We combine the very last white asparagus with green asparagus, black olives and basil. Feel free to use green asparagus only. The dish will lose some of its bitterness and complexity but it’s still a great combination of flavours and aromas.

Wine Pairing

Best to enjoy with a full bodied and elegant red wine. Flavour-wise you’re looking for lots of fruit, mild tannins and a touch of wood. We enjoyed our asparagus with a glass of Cantine Due Palme Salento Il Passo Nero 2019. This wine from Puglia (Italy) is made from late harvested negroamaro grapes. Dark berry fruit, medium full tannins and a beautiful deep colour.

What You Need

  • Asparagus
    • Equal Amount of White and Green Asparagus
    • Basil
    • Black Olives (preferably Cailletier or Taggiasca)
    • Olive oil
  • Lamb Chops
    • Olive Oil
    • Thyme
    • Garlic
    • Black Pepper

What You Do

Peel the white asparagus and cut of the end. Wash the green asparagus and cut of the end. Slice the asparagus in nice chunks (4 centimetres or so). Combine the asparagus with olive oil and a nice amount of black olives. Transfer to the refrigerator.
When ready for your al fresco dinner, heat your oven to 190˚- 200˚ Celsius (or 375˚- 390˚ Fahrenheit). Mix after 10 minutes and again after 20 minutes. The asparagus should now be ready (if not, another 10 minutes should do the trick). Add half of the basil leaves.

If you serve the asparagus with lamb chops: leave the chops to marinate in olive oil, crushed garlic and thyme for 24 hours in the refrigerator. Remove thyme. Heat a heavy iron skillet and fry the chops in olive oil (4 minutes depending on the size). When ready keep the chops warm in aluminium foil. Fry the thyme in the remaining oil. In parallel add more basil leaves to the asparagus and mix.

  • Asparagus with Basil and Olives ©cadwu
  • Ingredients of Asparagus with Basil and Olives © cadwu
  • Asparagus with Basil and Olives Ready to go into the Oven© cadwu

Daube Provençale

On a warm summer’s evening, sitting on your terrace, relaxing and sipping rosé, you wonder what to eat. Perhaps something that will make you think of the beautiful Cote d’Azur, with the chirping of cicadas and aromas of pine trees? A Salade Niçoise or something more substantial?
That’s the moment to dive into your freezer and look for that last portion of Daube Provençale. Excellent beef, stewed in red wine and packed with flavours, olives and mushrooms.

Fortunately preparing Daube Provençale is not too much work (and it keeps well in the freezer). You can also be fairly flexible with the recipe. Well known chef Hélène Barale (La Cuisine Niçoise, Mes 106 Recettes) uses beef, veal and pork with tomatoes and dried mushrooms, Hilaire Walden (French Provincial Cooking) suggests marinating the beef in red wine and also adds orange peel and olives whereas the classic La Cuisinière Provençale published in 1897 and written by Jean-Baptiste Reboul suggests adding vinegar to the marinade but doesn’t use tomatoes, mushrooms or olives.

Wine Pairing

We prepared our daube with red wine from France, made from Cabernet Franc grapes and produced by La Tour Beaumont. In general you need a full bodied, fruity red wine, with a good structure. You could of course enjoy the daube with the same red wine, but the daube is flexible. Just remember that the flavours and aromas are intense. 

What You Need (for 4)
  • 750 grams of Excellent Marbled Beef (Blade Steak for instance)
  • ½ Carrot
  • Shallot
  • 3 Garlic Gloves
  • 250 grams of Mushrooms
  • 50 grams of Black Olives (Kalamata or Taggiasca)
  • Olive Oil
  • Bouquet Garni (Bay Leaf, Thyme, Oregano, Rosemary, Parsley, Chives and/or Sage)
  • 500 ml Red Wine
What You Do
  1. Slice the meat into nice, big cubes
  2. Heat a heavy large pot through and through, add olive oil and fry the meat until brown
  3. Probably you need to do this in two or more batches
  4. Set the meat aside
  5. Fry the chopped shallot, the carrot and the garlic until smooth
  6. Transfer the meat to the pot, stir well, add the red wine, the (halved) olives and the bouquet garni
  7. Keep on low heat for 2 hours
  8. Clean the mushrooms and add these to the pan
  9. Keep on low heat for another two hours
  10. Check if the meat is soft and tender
  11. Quickly cool the pot and transfer the content to the refrigerator
  12. The next day label off some of the fat (we prefer not to do this, but feel free to do so)
  13. You could divide the daube in two portions. One for the freezer, the other one to enjoy today
  14. Warm the daube
  15. Option 1: remove some of the bigger mushrooms and four tablespoons of cooking liquid. Blender the liquid and mushrooms very fine and transfer back to the pan. This mixture will thicken the cooking liquid
  16. Option 2: combine 15 grams of flour with 15 grams of butter until it’s a smooth paste. Add this to the daube, making sure it’s fully dissollved. This way of thickening is called Beurre Manié
  17. Leave the daube to gently simmer for an hour.
  18. If the sauce has not yet reached the right consistency, then transfer cooking liquid to a separate pan and reduce on medium to high heat. Transfer back to the main pan and combine.
  19. Serve with red bell pepper salad, pasta, polenta or boiled potatoes.
  • Daube Provençale ©cadwu
  • Ingredients of Daube Provençale ©cadwu
  • Daube Provençale ready to be stewed ©cadwu