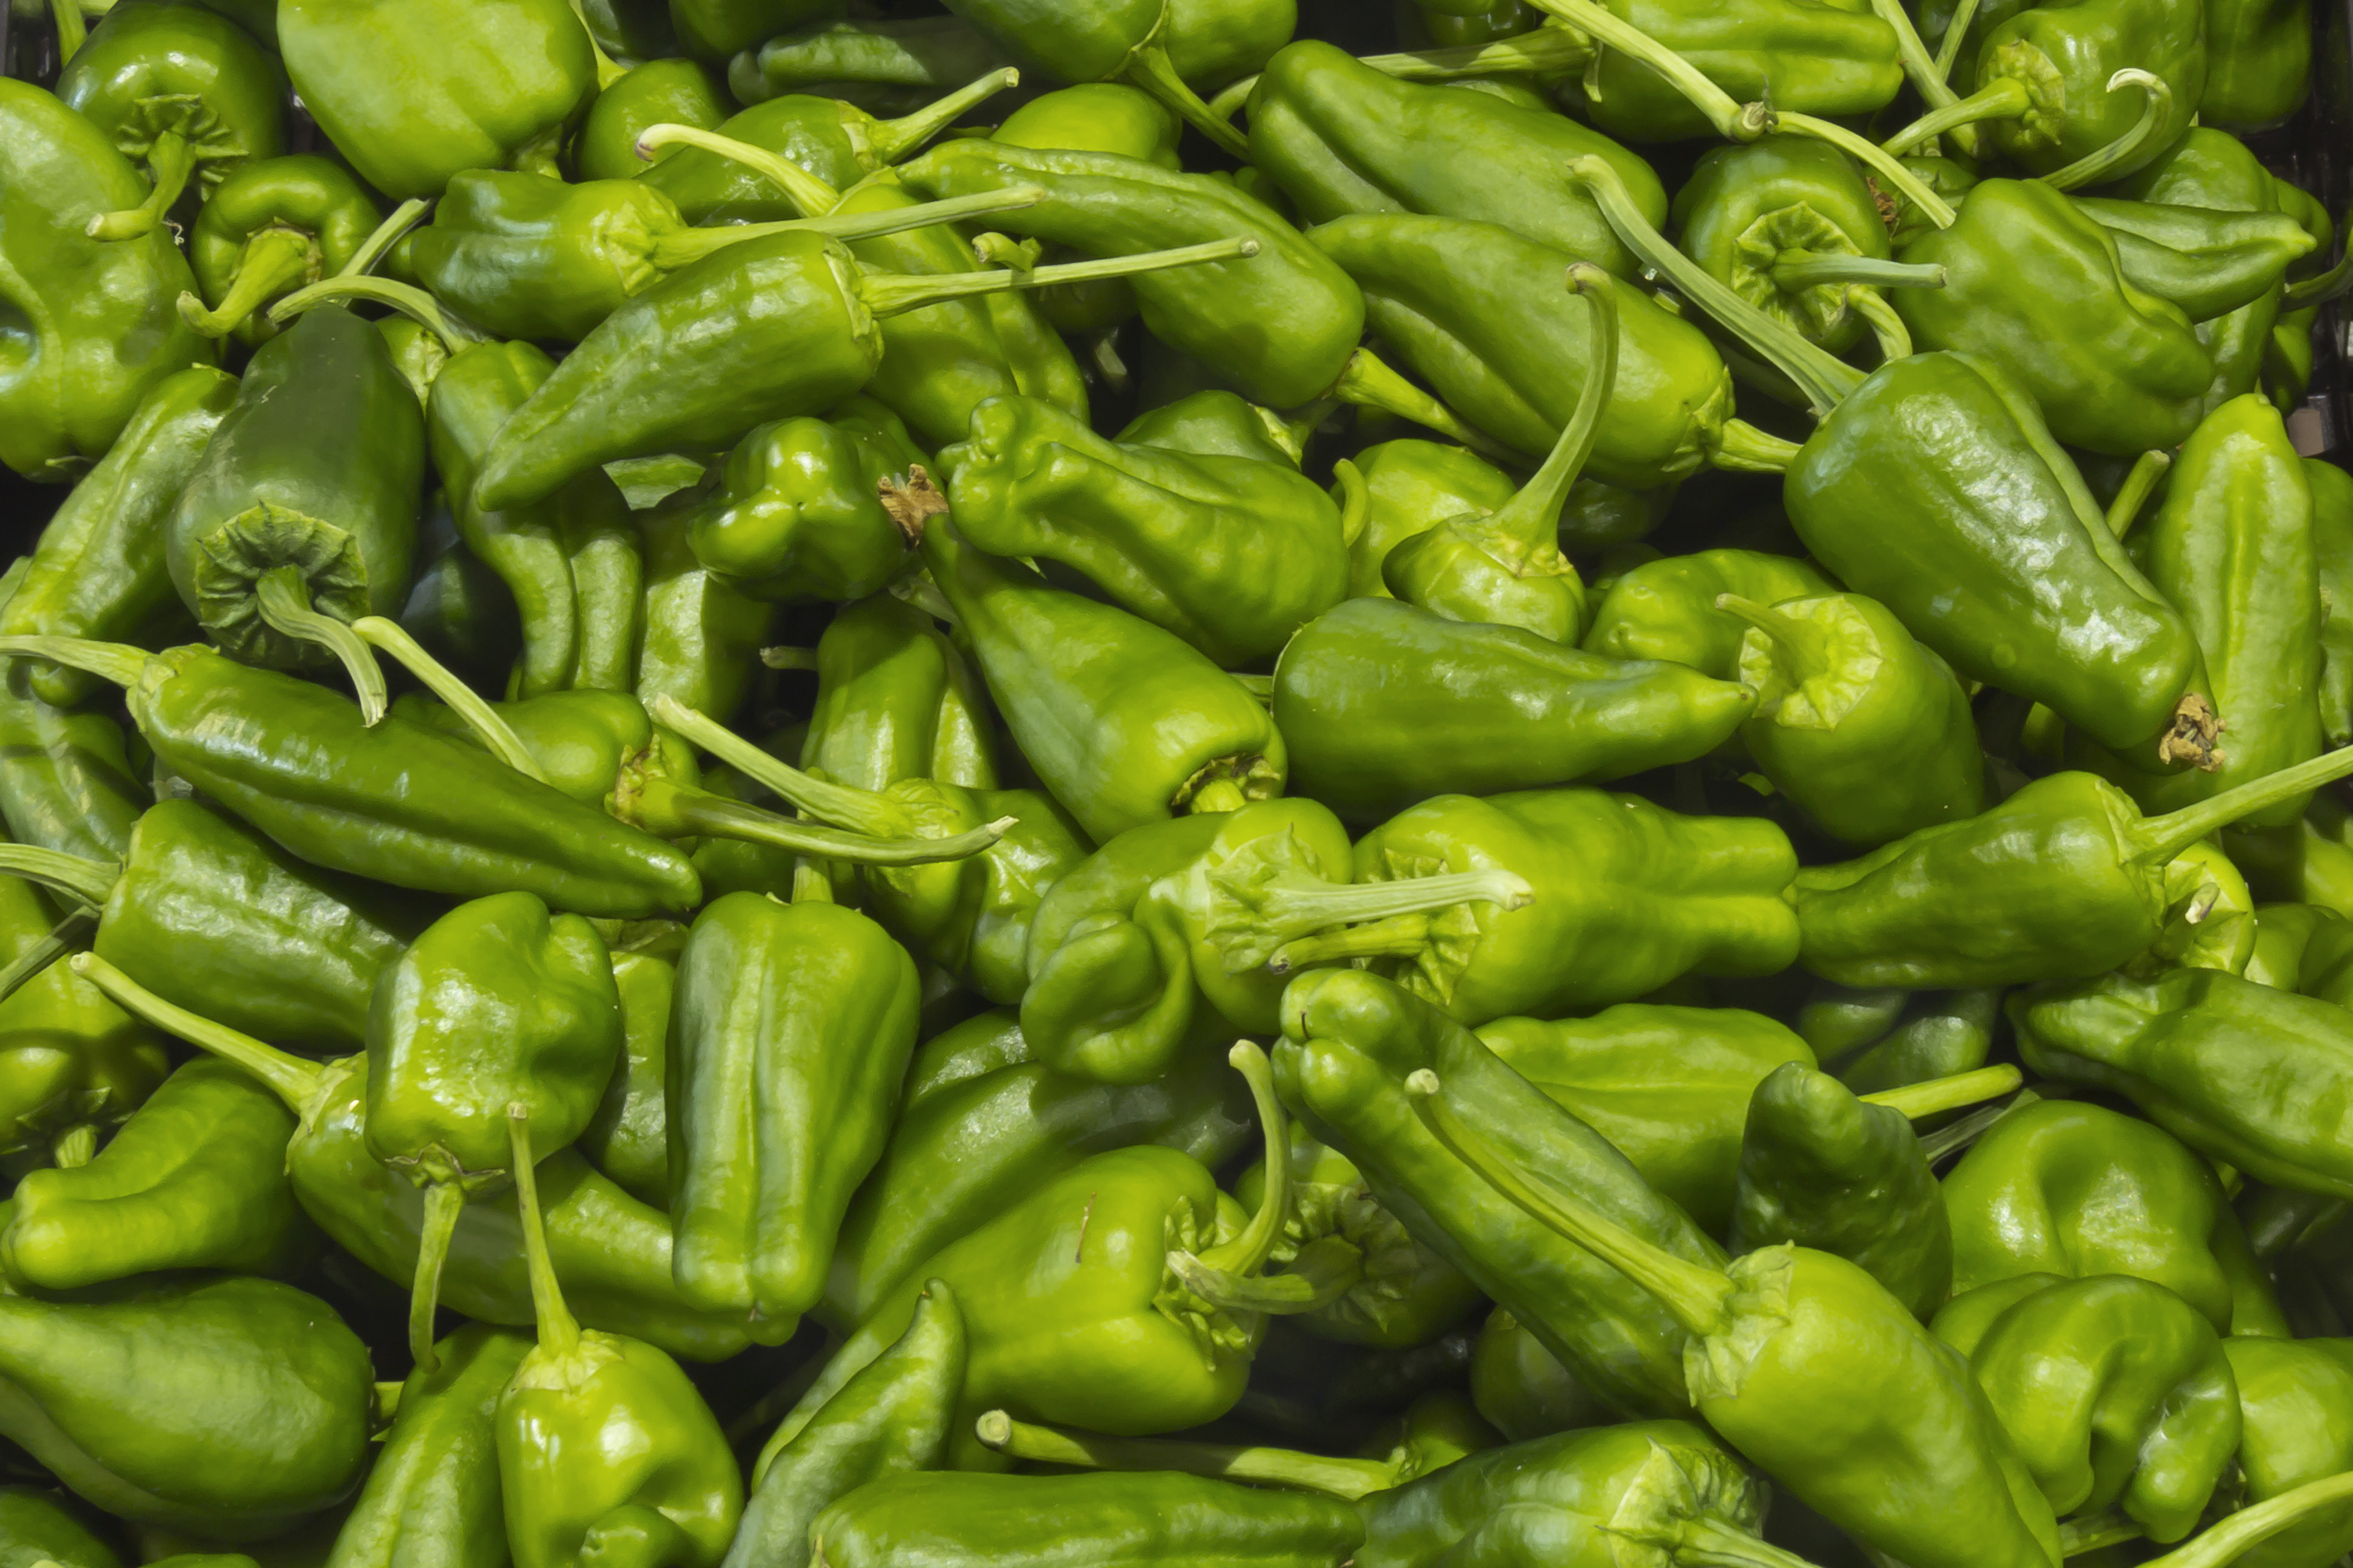
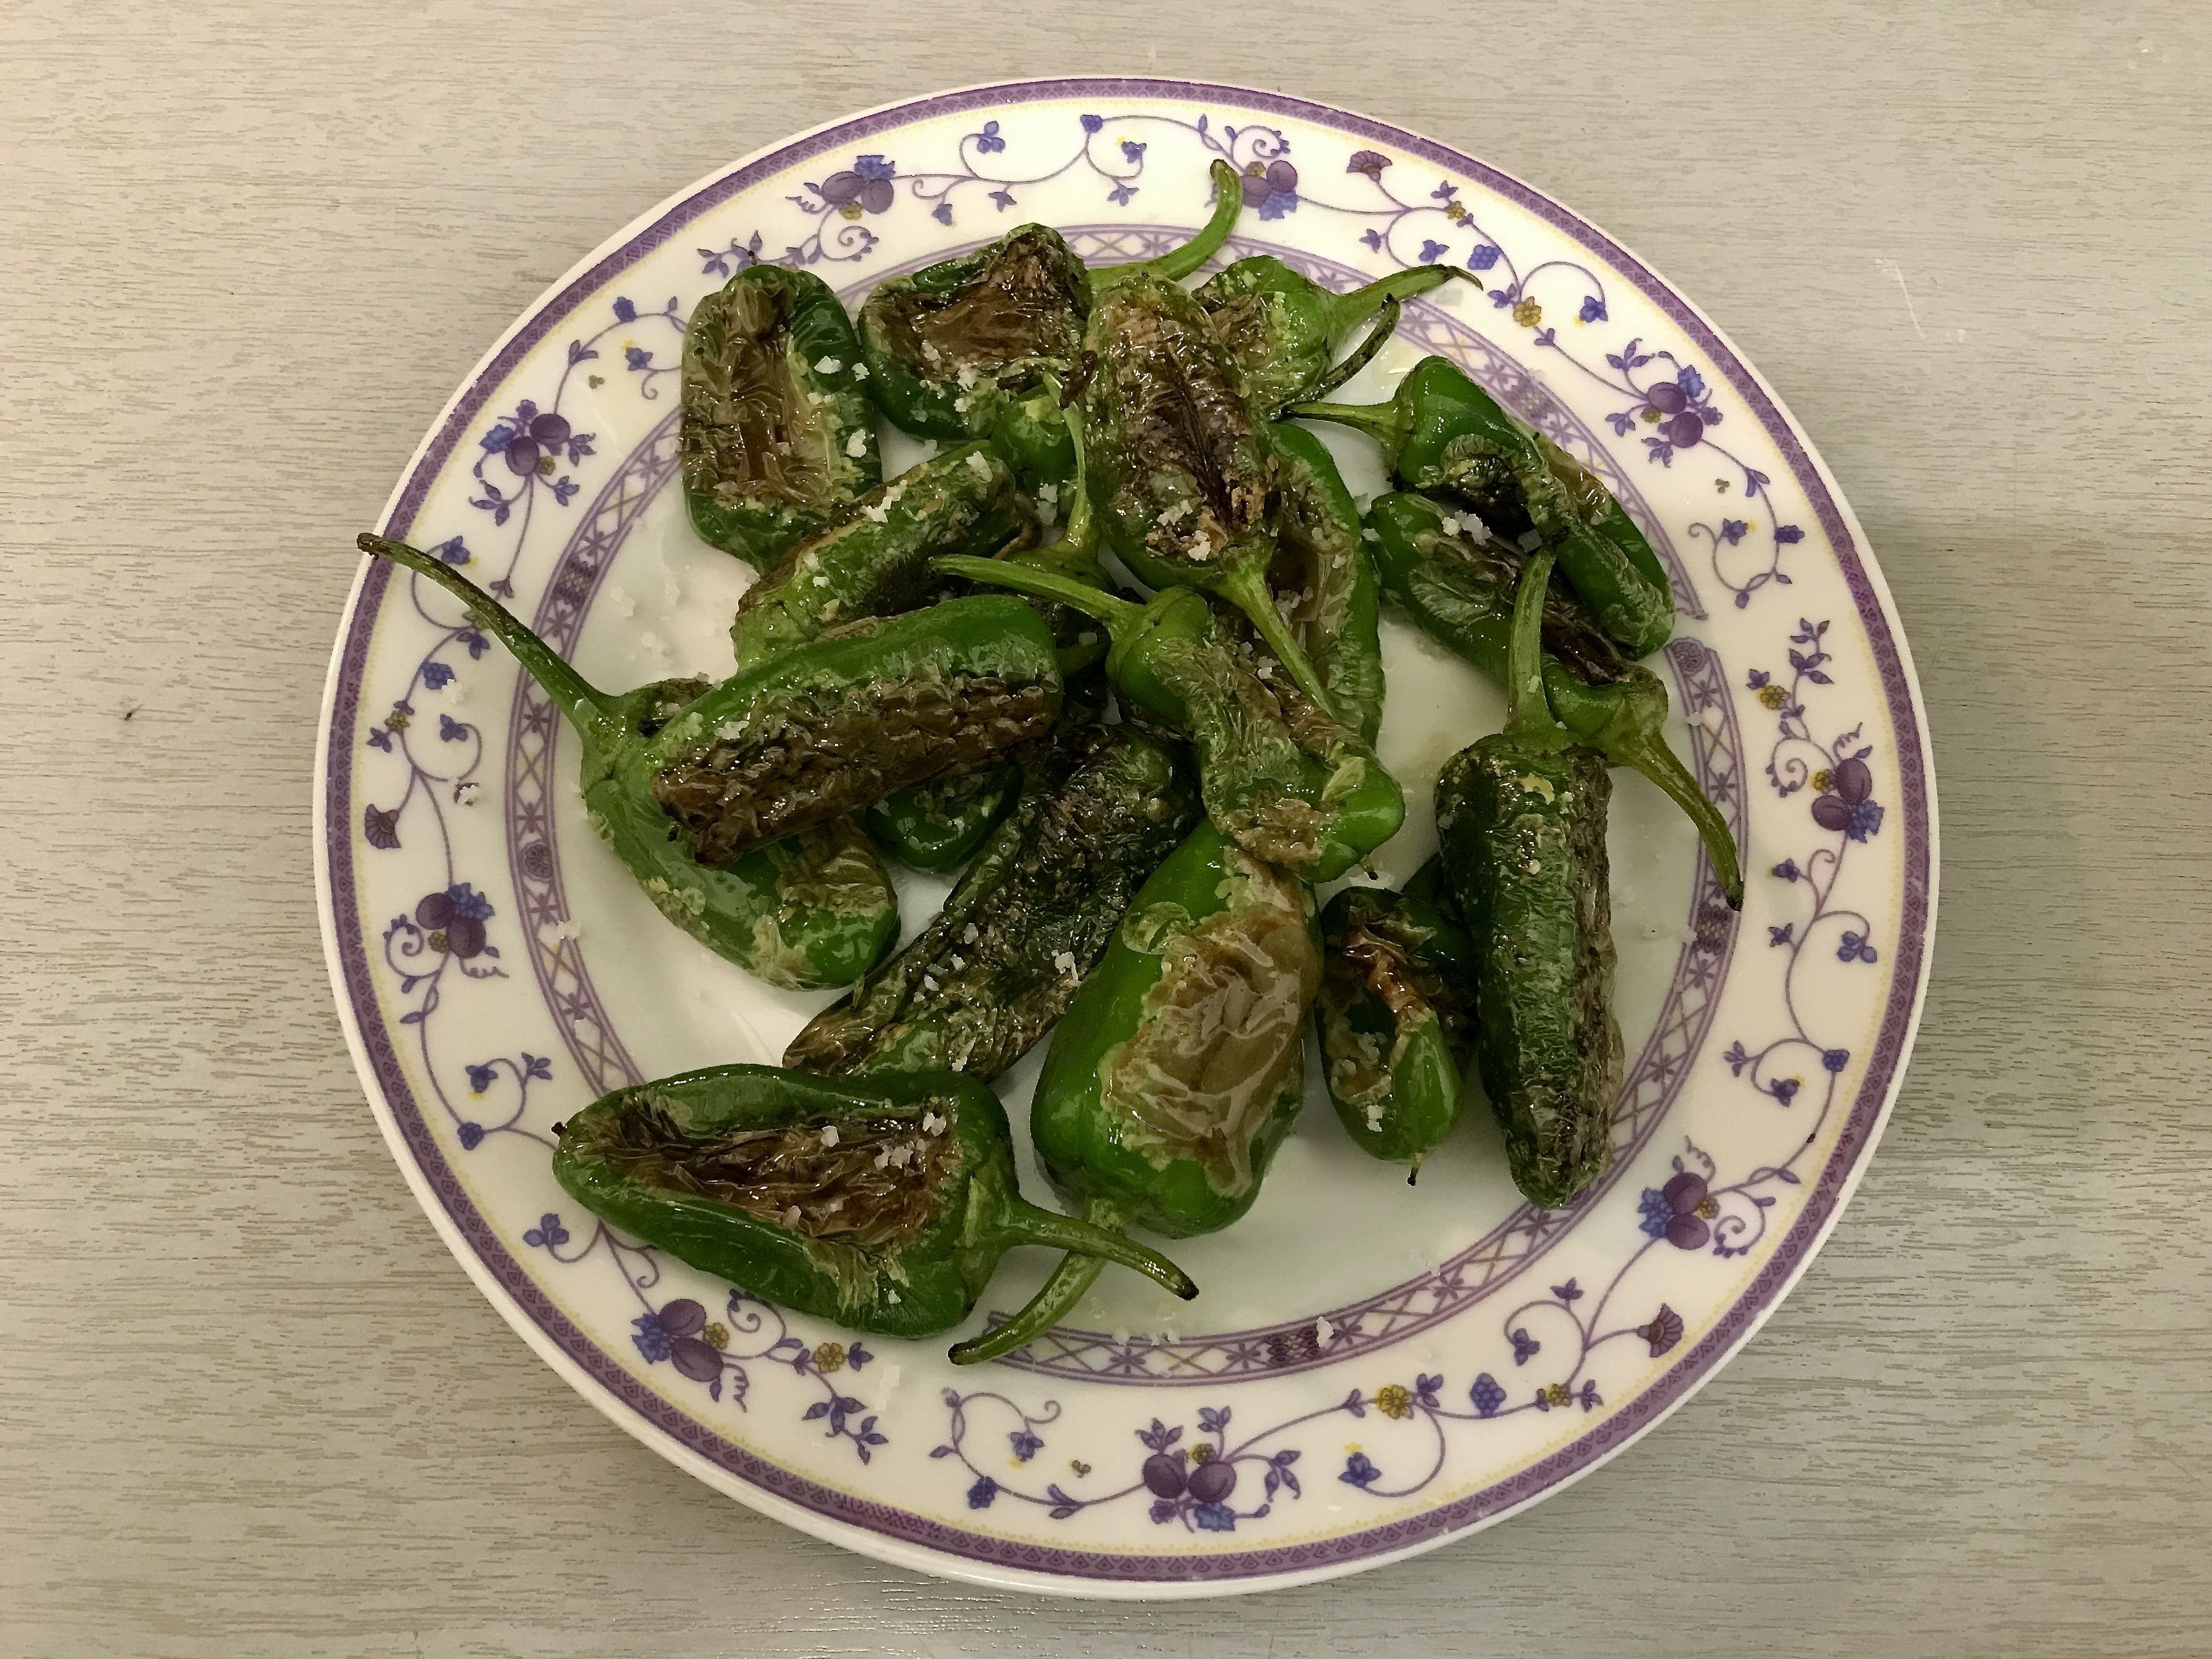
Pimientos de Padrón are mild, sweet tasting and small green peppers, originally from the Galicia region in Spain, but now they are more widely available. Story has it that one in a hundred (or more?) is actually very spicy, but rest assured, we have eaten many more and never encountered a spicy one.
Wine Pairing
The dish combines sweetness and saltiness. The charring of the peppers gives extra flavour. In general you’re looking for a crisp non-oaked white wine. We enjoyed a glass of white wine, made with verdejo grapes in the Spanish Rueda area by Bardos. The wine has a beautiful yellow colour and its taste is fruity and fresh with nice acidity. A glass of Cava will also be great with the peppers!
We could also imagine drinking a Vinho Verde with the Pimientos de Padrón. Vinho Verde is a wine from the most northern part of Portugal, between the Douro and Minho rivers. Verde refers to the fact that the grapes are harvested very early in the year. This implies that the grapes contain a fairly small amount of sugar. As a result of this the wine (in most cases) has a fairly low percentage of alcohol (think 10%). But don’t be surprised if you find one with a higher percentage. In general Vinho Verde is undervalued. It’s a great, very tasty wine; one that is not just wonderful on a summer’s evening
What You Need
Pimientos de Padrón
Olive Oil
Sea Salt
What You Do
Wash the peppers and dry
Heat a heavy iron skillet, add olive oil and fry or better said blister the peppers for a few minutes
Make sure the peppers are fried and not cooked
Remove from the heat
Sprinkle some salt over the peppers
Move the pan making sure the salt is evenly distributed and somewhat absorbed in the olive oil
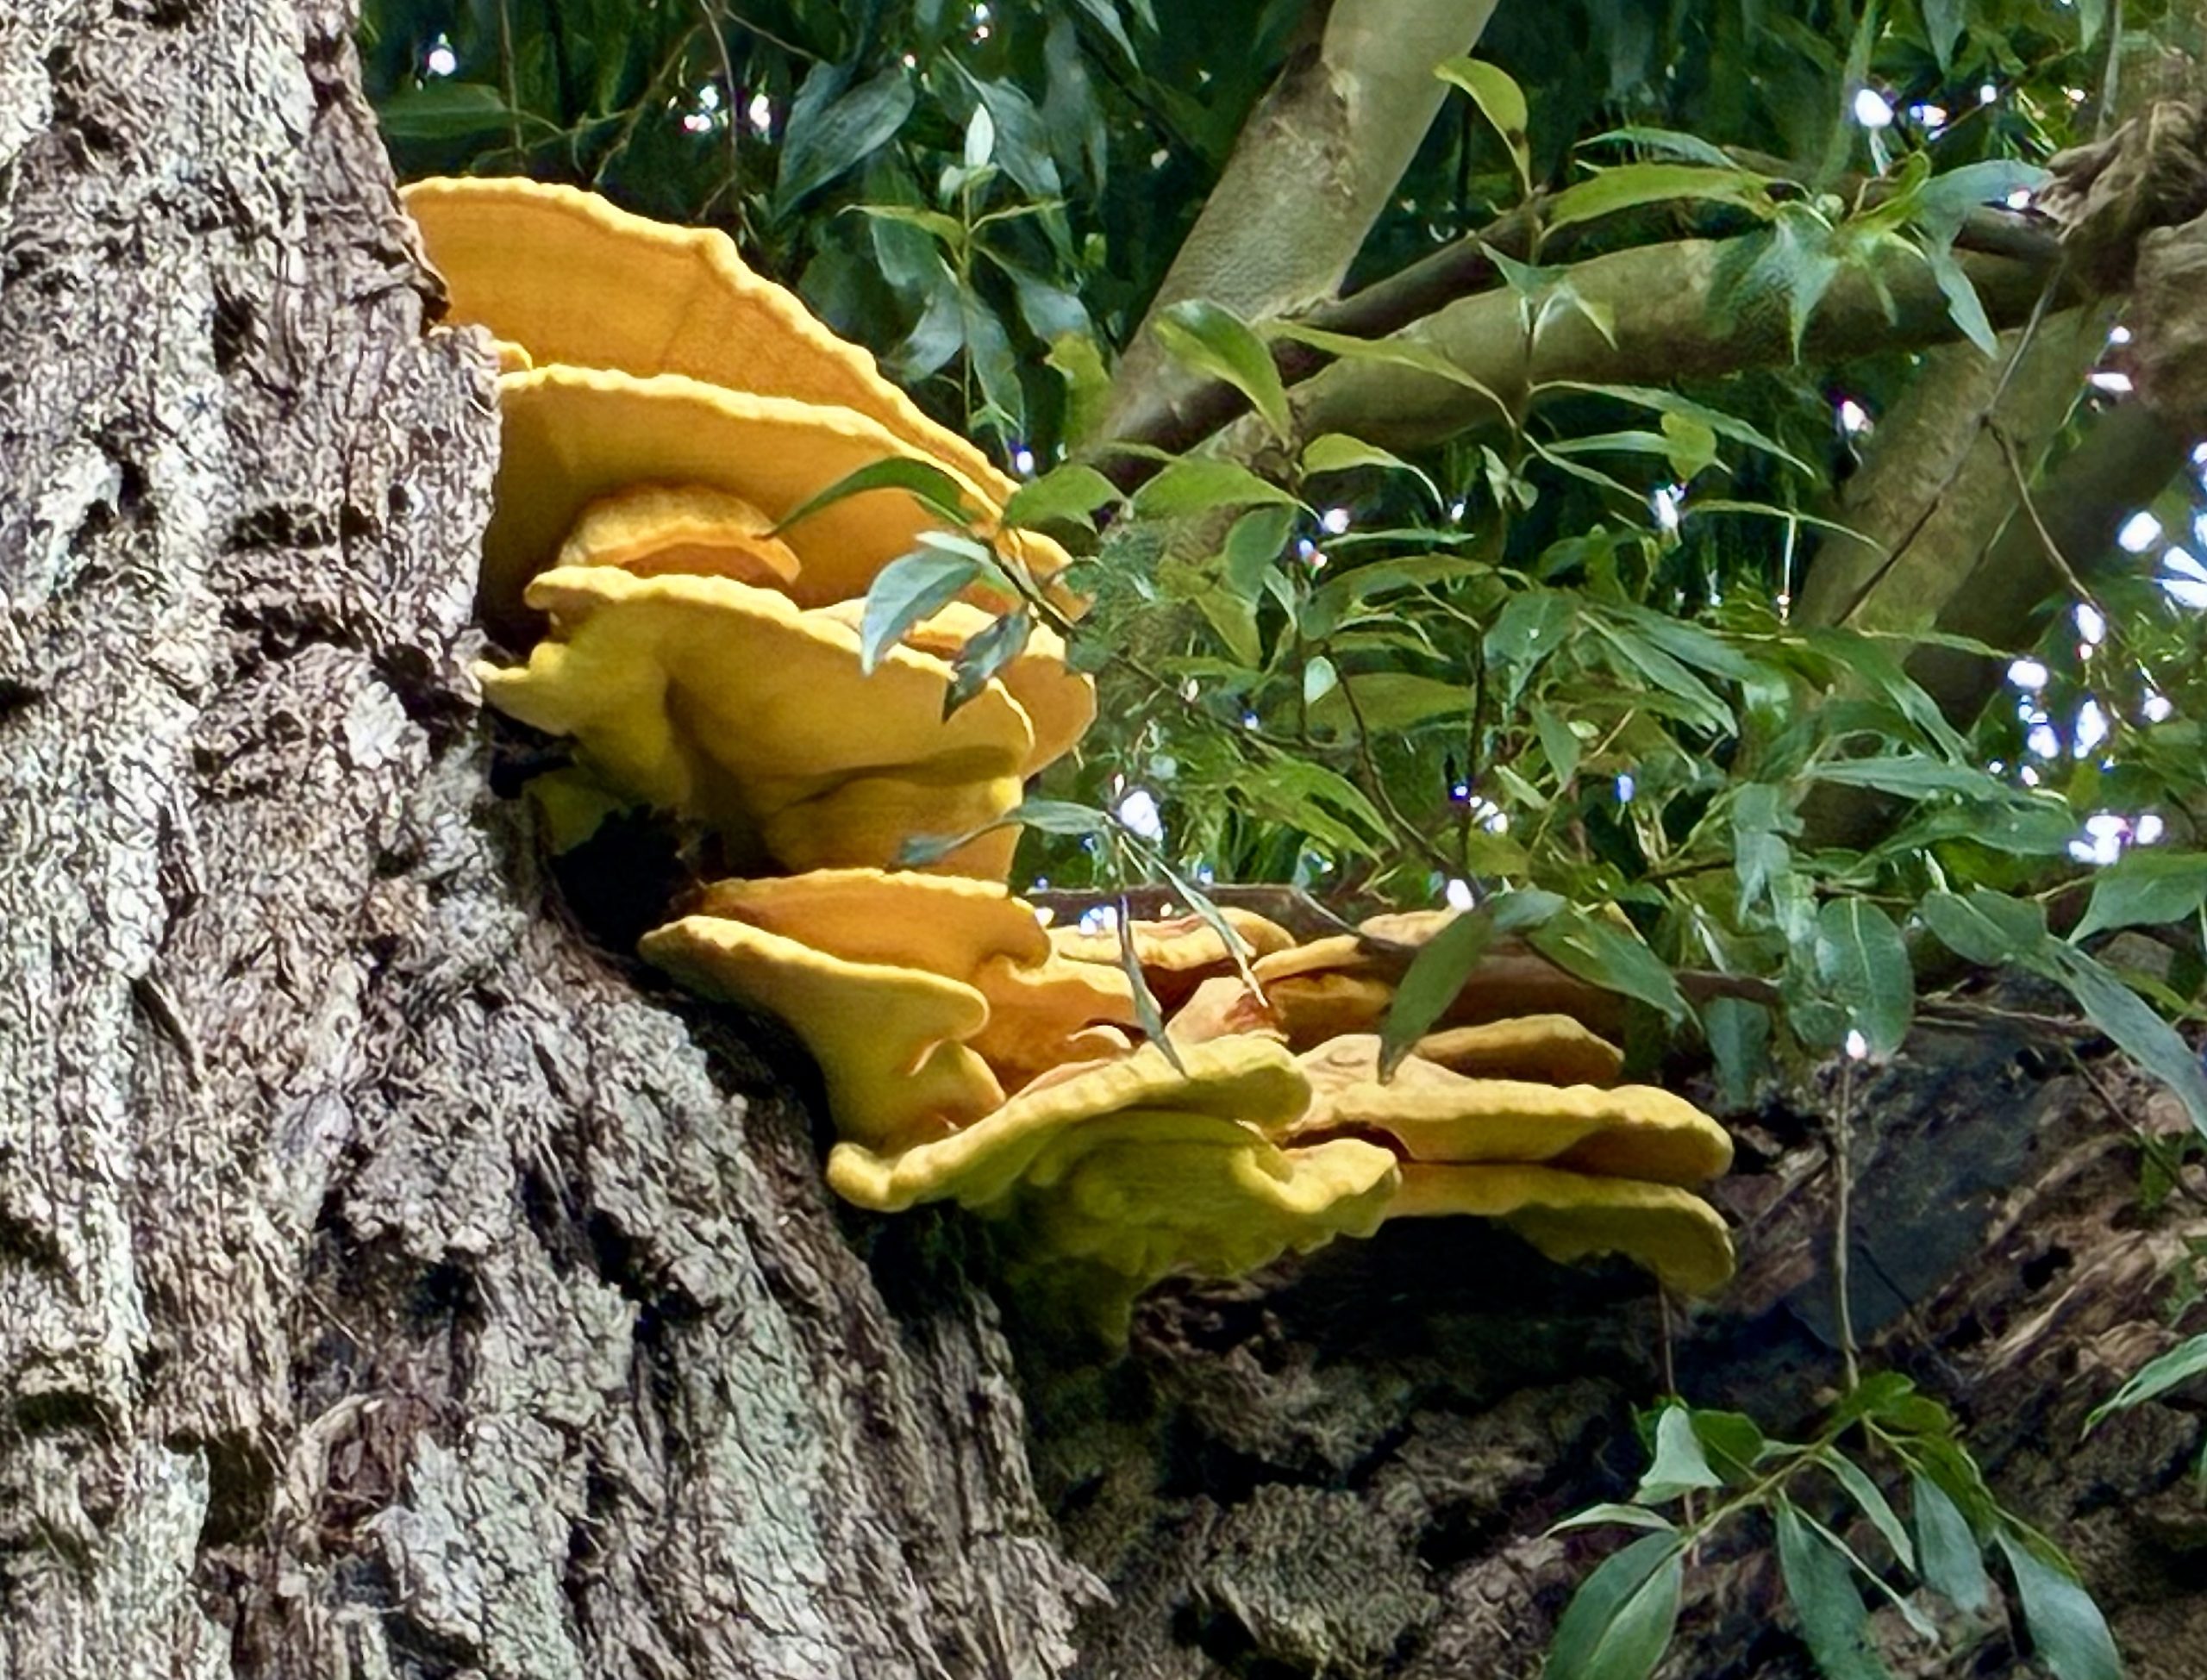
After a warm and dry European summer and some rainy days, it’s fun to see so many mushrooms, like this Chicken of the Wood (that’s what we think it is!). It’s not a mushroom we would buy; it can be chewy and acidic, even after cooking.
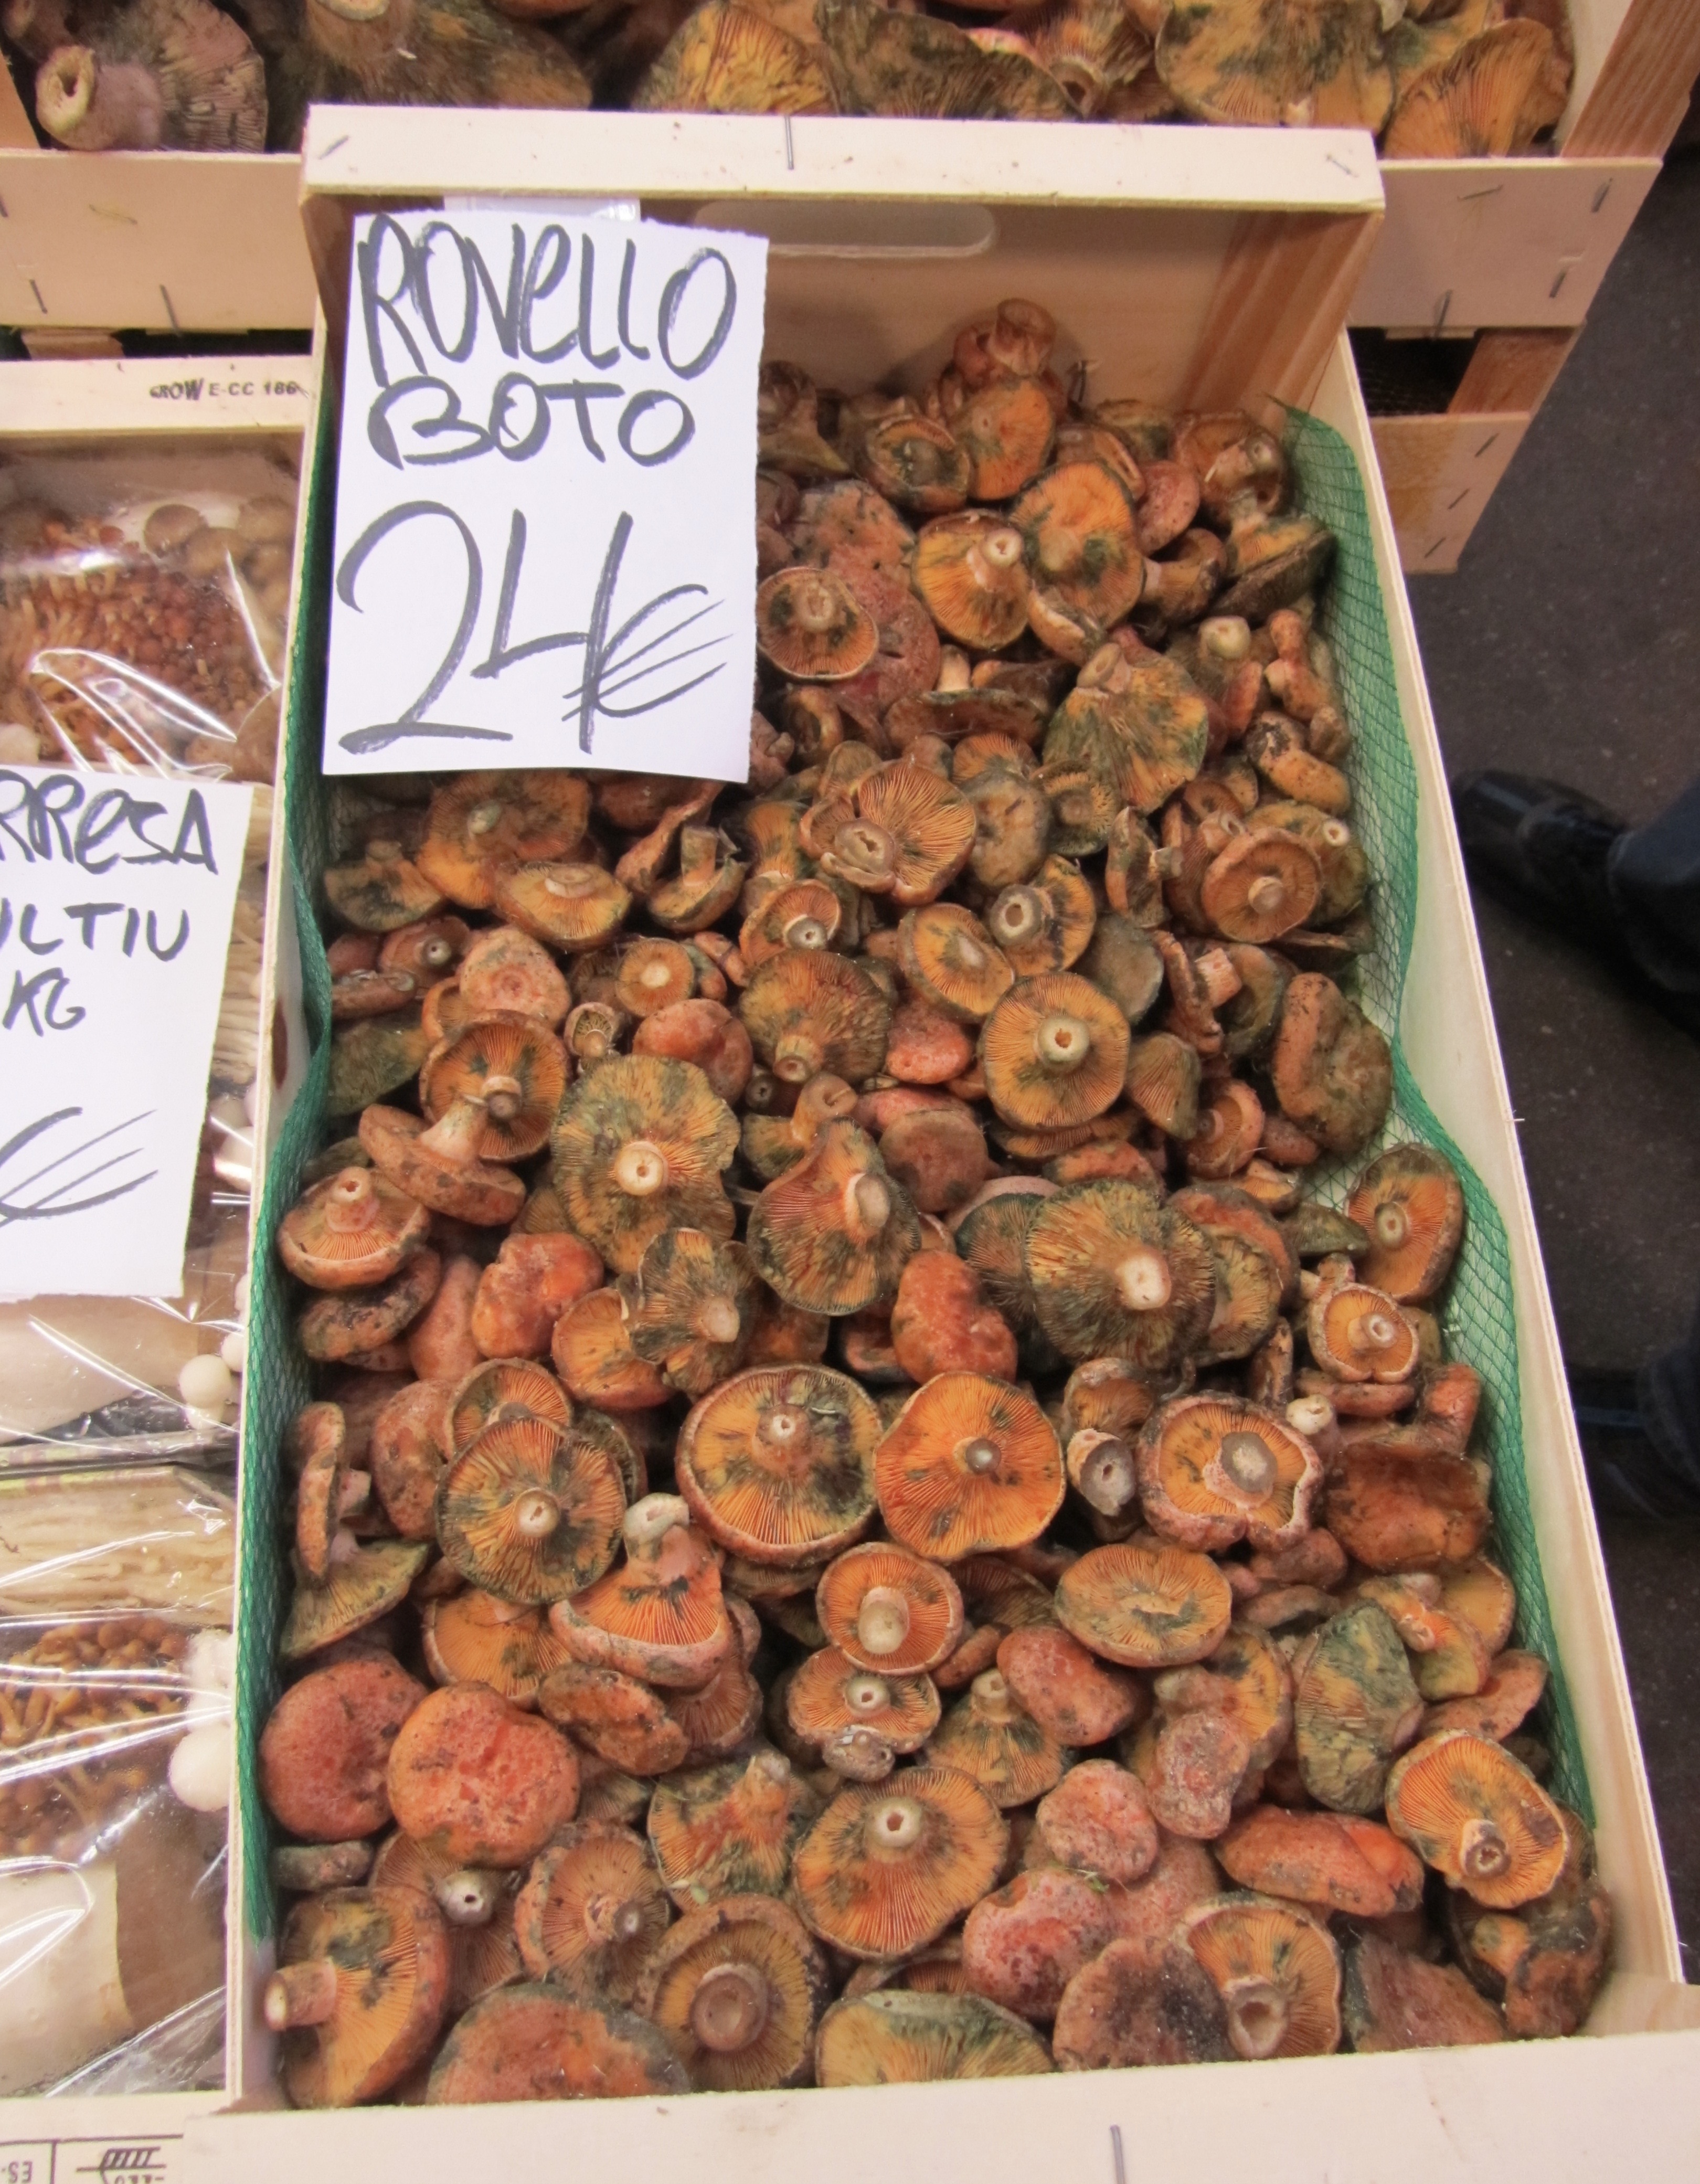
Autumn is clearly peak season for mushrooms. Typical autumn mushrooms are Chanterelle, Hen of the Woods (Mai Take), Saffron Milk Cap and Lion’s Mane. Depending of course on where you live! But actually, there is no off-season for mushrooms. For instance in spring you will be able to buy fresh Morels, St. Georges Mushrooms and Fairy Ring Mushrooms. Winter brings Field Blewit, Truffles and Wood Ear. Cèpes (Porcini, King Bolete) are best in summer.
If you’re looking for useful mushroom recipes, then we suggest Antonio Carluccio’s The Quiet Hunt or Mushroom by Johnny Acton and Nick Sadler. Or look at our list of mushroom recipes.
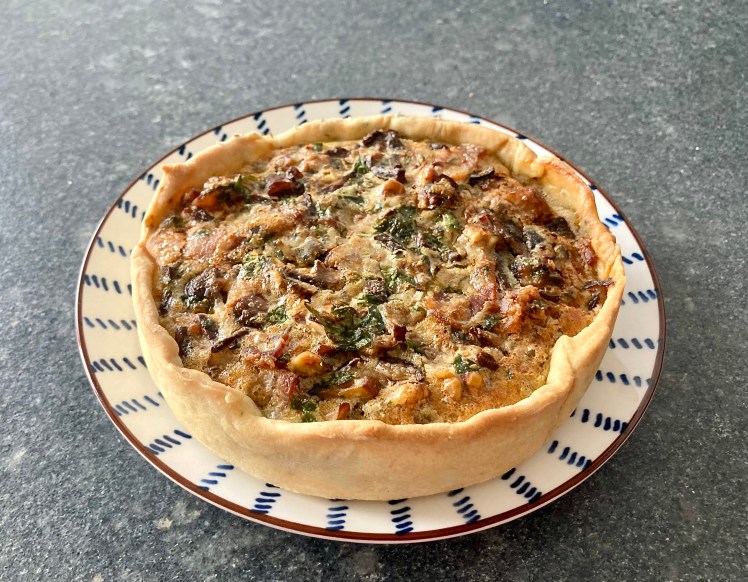
The walnuts are the star of this pie! They have a drying effect, thanks to the tannins in the seed coat (the brown around the edible kernel) and they are slightly bitter, which pairs beautifully with the Roquefort. The walnuts give the pie a pleasant crunch. We use a mix of mushrooms. If not possible, use chestnut mushrooms. Don’t use oyster mushrooms, as they release too much moisture.
Wine Pairing
Serve as a starter with a glass of unoaked, dry white wine. A cold beer will also be nice. The cake is not fussy!
What You Need
For the Pastry (15 cm or 6 in springform cake tin)
100 grams of Flour
50 grams of Water
10 grams of Olive Oil
teaspoon Oregano
1 gram of Salt
For the Filling
4 rashers of Bacon
150 grams of Mushrooms (Button Mushrooms, Shiitake, Nameko)
small Shallot
one Garlic Clove
Parsley
2 organic Eggs
50 ml Double Cream
30 grams of Crème Fraîche
handful of Walnuts
75 grams of Roquefort
Black Pepper
What You Do
Combine flour, oregano and salt
Add water and olive oil
Kneed for a minute or so and store in the refrigerator for at least 30 minutes
Preheat your oven to 180˚ C or 355˚ F
Roll out the dough with a rolling pin on a lightly floured surface
Coat a 15 cm or 6 inch round springform cake tin with oil
Place the dough in the baking form
Use a fork to make small holes in the pastry
Line the pastry with parchment paper or aluminium foil, add baking beans and bake blind for 10 minutes. Best is to use the second level of the oven rack, so just below the central one
Remove the beans and the paper or foil
Leave the pie shell in the oven for 5 minutes
Remove from the oven and allow to cool
Chop the shallot, the mushrooms, the parsley and the garlic
Crush the walnuts
Crumble the roquefort
Heat a heavy iron skillet
Fry the bacon until golden brown
Remove from the pan and allow to cool
Reduce heat
Add the shallot to the pan and glaze
Increase heat, add mushrooms and fry
After a few minutes reduce heat and add garlic
After 5-10 minutes transfer to a plate and allow to cool
Slice the bacon
Add the eggs to a bowl and whisk
Add cream and crème fraîche and mix
Add Roquefort, parsley and black pepper and mix well
Add bacon and mushroom mixture to the bowl and combine
Add the filling to the blind-baed pie shell
Transfer to the oven for 30-40 minutes on on 180˚ C or 355˚ F, same level as earlier
Immediately after having removed the pie from the oven, brush the outside with olive oil. This will intensify the colour of the pastry
Let cool and enjoy lukewarm (65˚ C or 150˚ F)
PS
Feel free to use more cream and less crème fraîche if you prefer a richer filling. If using a blue cheese with less presence, add more of it.
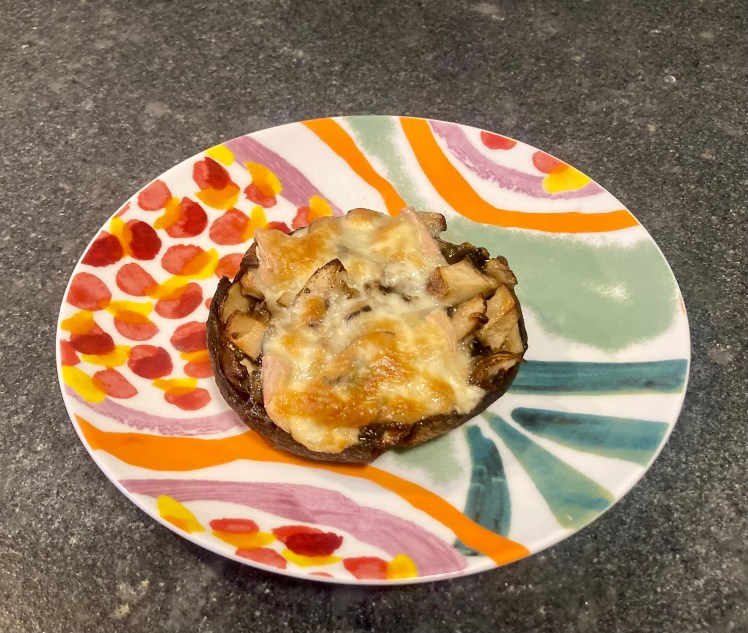
Portobello mushrooms are mature chestnut mushrooms (also known as common mushroom, champignon de Paris, button mushroom, cremini etcetera). Ideal to stuff and serve as a starter. We found them stuffed with ratatouille, with blue cheese and walnuts, with shrimps, with sausage and peppers: it seems anything goes! We decided to remain close to the flavour of the mushroom by stuffing them with chestnut mushrooms, shiitake and oregano. We topped them with taleggio, a semi-soft cheese from Italy with a mild taste. It melts easily, so you need to keep an eye on your oven! If you can’t get hold of taleggio, then use mozzarella instead and add a bit more flavour to the mushroom stuffing.
Wine Pairing
We decided to enjoy a glass of Viognier, made by Domaine Coudoulet in the Languedoc (France). The wine has aromas of peach and anise. The taste is fresh with a hint of orange zest. In general, we recommend a fresh, lightly fruity, unoaked white wine.
What You Need
For the Mushroom Stuffing
150 grams of Button Mushrooms and Shiitake
one small Shallot
one Garlic Clove
Oregano
Black Pepper
(Excellent) Olive Oil
2 Portobello mushrooms
Taleggio
What You Do
Clean and chop the button mushrooms and shiitake
Finely chop the oregano, the shallot and the garlic
Gently fry the shallot in olive oil in a heavy iron skillet
Add the mushrooms and fry on medium heat
Reduce heat
Add herbs and garlic
Continue on low heat for 10-15 minutes
Transfer the mushroom mix to a plate and let cool
Add some olive oil to make the mixture smoother
Taste and add some black pepper
Store in the refrigerator
Preheat your oven to 180 °C or 355 °F and line a baking sheet with parchment paper.
Remove the stem of the portobello
Using a small spoon, scrape out the dark gills from the caps
Generously brush both sides of the caps with olive oil
Slice the taleggio (with crust!)
Stuff the portobello with the mushroom mixture and top with slices of cheese
If you’re a true lover of taleggio: add a slice of cheese to the cap before stuffing with the mushroom mixture
Transfer the mushrooms to the oven for 15 minutes
(optional) During the last minutes increase to 200 °C or 400 °F
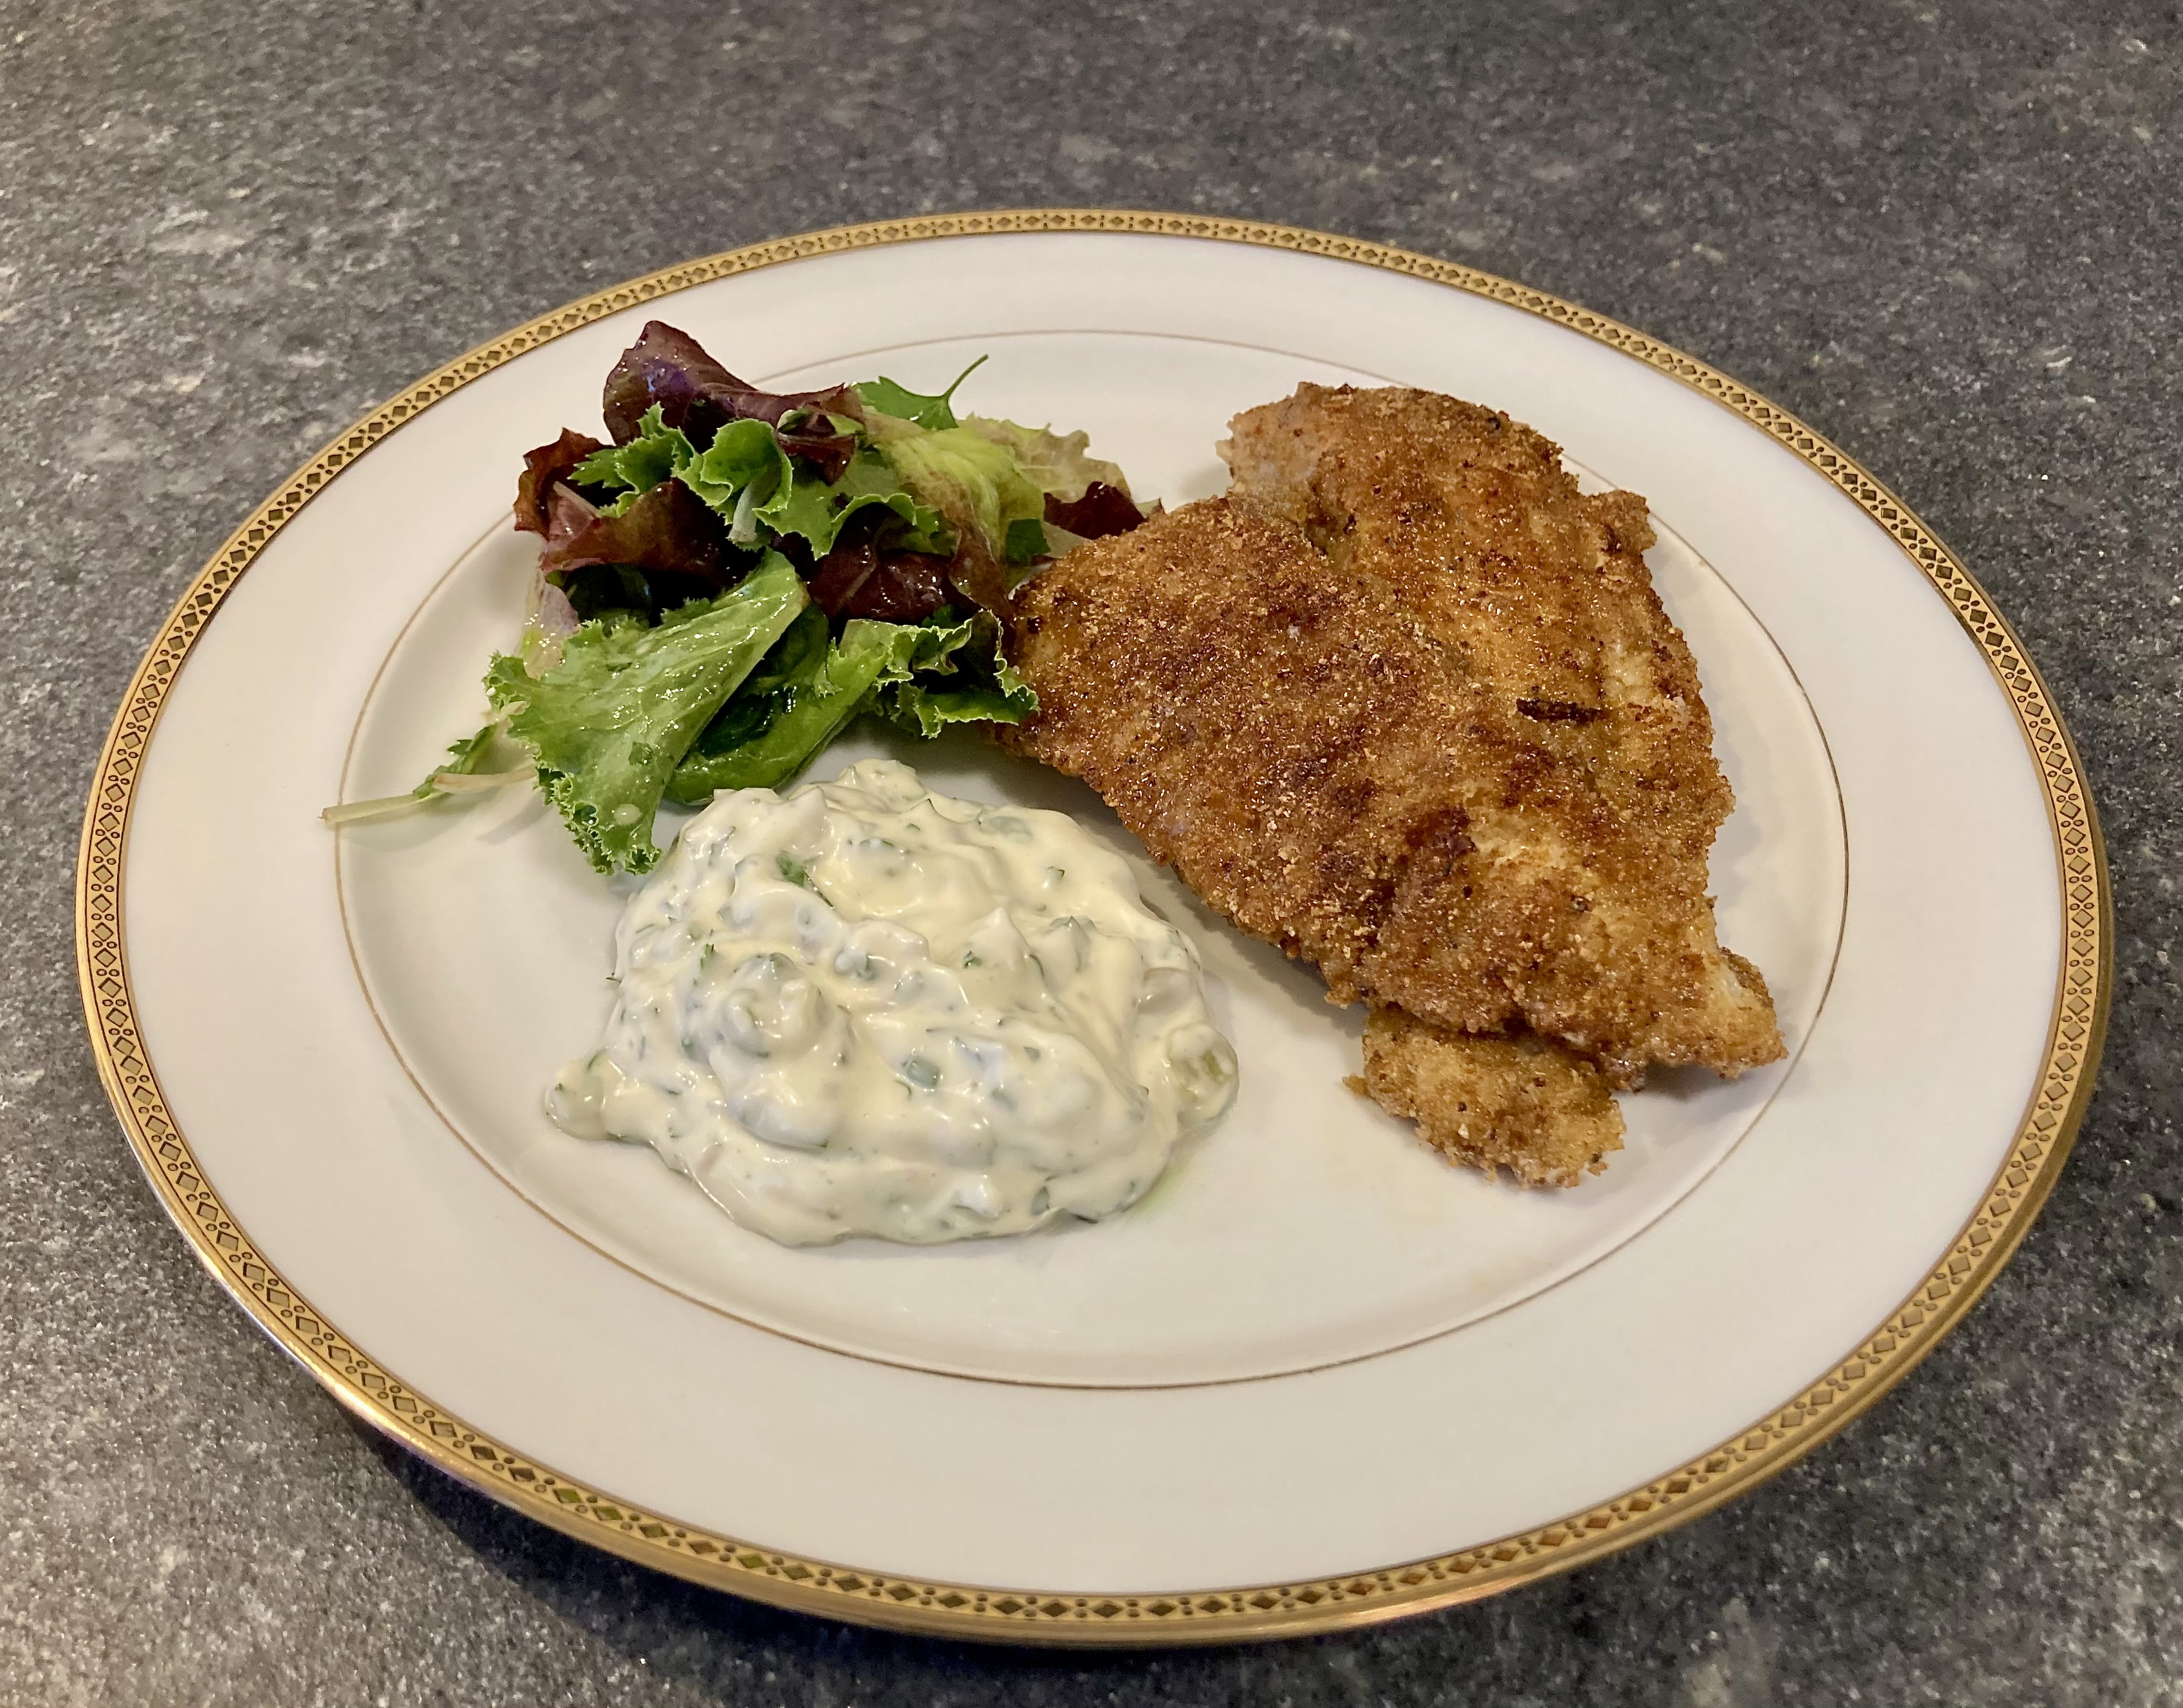
A few months ago we read an article in a Dutch wine magazine about pairing wine with a combination of fried cod, remoulade and a small salad. A nice challenge given the acidity in both the salad and the sauce plus the richness of the fried fish.
Remoulade is a sauce that goes very well with cold meat and fried or smoked fish. It combines mayonnaise with mustard, cornichons, capers, lemon and various herbs. Additional ingredients include anchovies, shallot and horseradish. Herbs could be parsley, tarragon, chives and chervil. Turn it into a traditional French starter by adding celeriac (celery root).
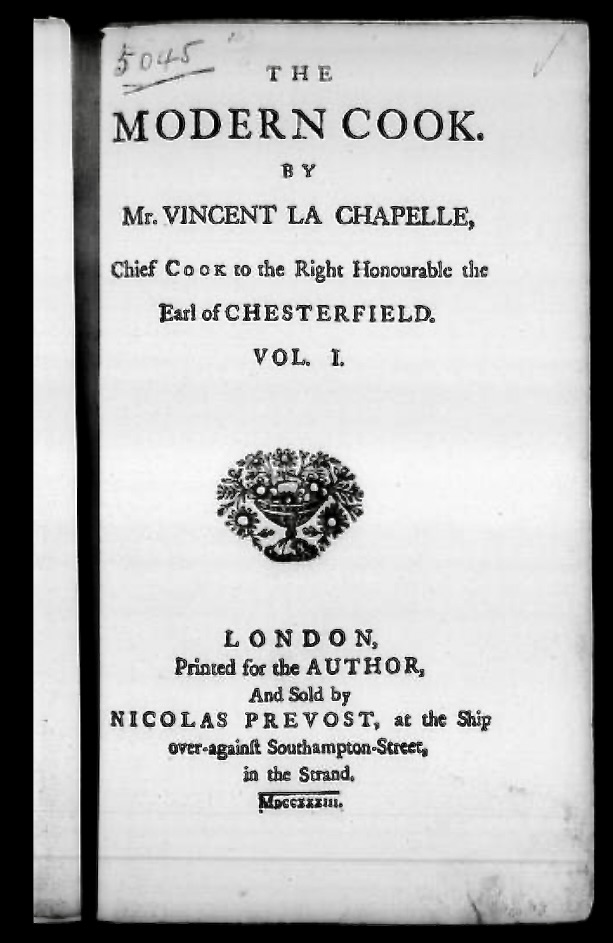
One of the first recipes for remoulade (actually two recipes) was published in London in 1733 by Vincent La Chappelle, chef to the Earl of Chesterfield, in volume 1 of his book The Modern Cook. Both versions contain oil, shallot, garlic, lemon, parsley, mustard, cullis (meat broth) and capers. Other ingredients of the first version (hot remoulade) are gravy, wine and cloves. Additional ingredients of the second version are green onions and anchovies.
Wine Pairing
According to the magazine’s wine expert the flavours in the dish are round and filming. The expert suggests a white wine with some oak or a white wine from a warmer country. We decided to drink a glass of Verdejo made by Castelo de Medina with 100% verdejo grapes. The wine is well balanced, fresh and full bodied. It has a delicate bitterness which works very well with all components in the dish.
What You Need
Remoulade
200 ml Mayonaise
teaspoon of Mustard
2 Cornichons
teaspoon of Capers (in brine)
½ small Shallot
Lemon Juice
2 tablespoons of mixed herbs (Parsley, Chervil and Chives)
Fish
Cod, Hake, Haddock, Weever or another firm white fish
Make a dressing by combining olive oil. lemon and mustard
Toss the salad with the dressing
Serve the fried fish with the remoulade and the salad
PS
Comparing the list of ingredients used by Chef La Chapelle you wil notice that modern remoulade doesn’t contain garlic or cullis. He didn’t use mayonnaise for the simple reason that the first recipe for mayonnaise was published in 1828, nearly one hundred years later.
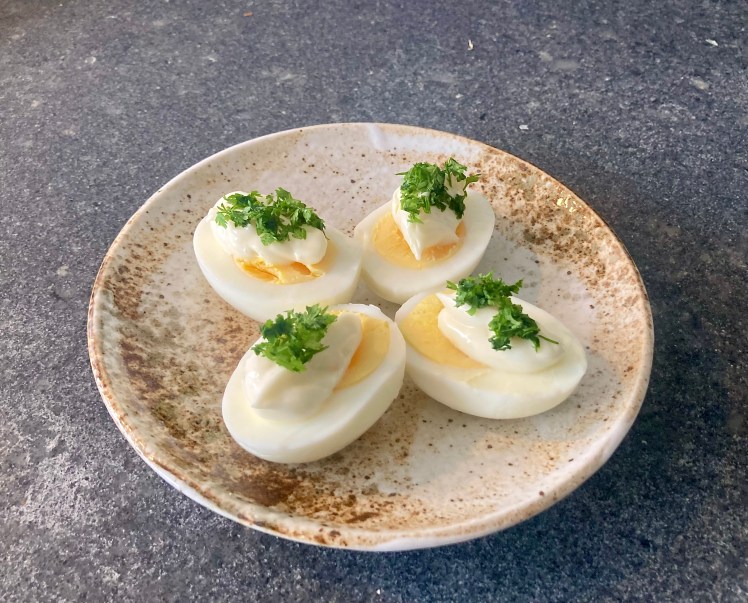
Œufs Dur Mayonnaise is a classic French bistro dish. Beginning of the 20th century the instruction was simple: make mayonnaise (egg yolk, white wine vinegar, oil, salt and white pepper), quarter or halve hard boiled eggs and place these on a layer of mayonnaise. Today’s versions use mayonnaise with mustard. Delia Smith adds garlic to her mayonnaise. Presentation-wise the eggs are topped with mayonnaise and served with lettuce, cornichons or olives. Another possibility is to serve the halved eggs as a dome, covered with mayonnaise.
Œufs Dur Mayonnaise may look simple, and perhaps you think it’s too simple to be a starter on its own. It’s actually very nice, if you use quality ingredients and make your own mayonnaise. Its simplicity doesn’t allow you to cheat (boil the eggs days in advance, overcook them, use cheap eggs, use ready made mayonnaise etcetera).
Today’s recipes suggest leaving the egg yolk slightly creamy. After having tried a number of cuissons (donenesses if that’s a word!) we think it’s best to use hard boiled eggs. We rely on our Emerio egg cooker to create the perfect egg!
Drink Pairing
The taste of Œufs Dur Mayonnaise is savoury, mineral and rich. The mayonnaise gives a velvety mouthfeel. As this is a classic bistro dish, we suggest a simple white wine, nicely cooled, or a beer, or a glass of cold water.
What You Need
fresh, organic Eggs
Mayonnaise
(optional) Chervil
What You Do
Prepare mayonnaise. We suggest adding a bit more mustard and vinegar than usual
Prepare hard boiled eggs
Peel the eggs and let cool
Halve the eggs and add some mayonnaise on top
(optional) decorate with chervil
PS
The number of bistro’s in France went down from some 170.000 in the 1960’s to 35.000 in the 2020’s. Œufs Dur Mayonnaise became unpopular: eggs contain a high amount of cholesterol and mayonnaise is high-fat food and calorie-dense. In 2018 L’Association pour la Sauvegarde de l’Œuf Mayonnaise (the association to protect Œuf Mayonnaise) was founded, to promote the dish and bring it back to the table. The Association organises an annual championship. The 2026 winner of the award was restaurant Au Rêve in Paris (Œufs Mayonnaise is on the menu for 4 euro).
In the 1860’s Lucien Olivier was chef of the restaurant Hermitage in Moscow. The restaurant served a dish with luxurious ingredients, such as pheasant, caviar, lobster, tongue, potatoes, pickles and lettuce with a sauce, perhaps sauce Provençal. These ingredients were served separately on one plate. One evening some of the guests combined the ingredients into one dish, which was not the intention of chef Olivier, but when he tasted it, he found that the blend worked very well. He improved the sauce by adding one or more secret ingredients and the Olivier Salad was born! It quickly became a very popular dish at the restaurant.
Sadly the recipe for the original Olivier Salad is not known. One of his sous chefs, Ivan Ivanov, wrote down what he thought was the recipe (without the secret ingredients, obviously), became head chef at another restaurant and sold the recipe to various publishers. It became known as Russian Salad. As more often, the popular version is made with less expensive ingredients, such as ham, chicken, carrots, green peas and mayonnaise.
In 1909 Tsar Nicholas II visited King Victor Emmanuel III in Racconigi, some 35 kilometres south of Turin. Russian chefs explained to their Italian colleagues how to prepare Russian salad. The Italian chefs used vegetables from the royal gardens such as carrots, peas, beans and potatoes (which we think is a bit odd given the luxurious ingredients of the original). The salad was decorated with cream to evoke the snow of the Russian steppes. It became very popular in the Savoy region, a region that included the Principality of Piedmont and the County of Nice, among others. In the south of France it is known as Salade Piémontaise.
The anecdote about the creation of the Olivier Salad seems credible, but is it? The second edition of The Modern Cook by Charles Elmé Francatelli (chef to Queen Victoria) was published in 1846. Recipe number 1215 is for…. Russian Salad! It is made with lobster, thunny (‘tuna’ we think), anchovies, crayfish, prawn tails, stuffed olives, capers and red mayonnaise (a combination of lobster coral, mayonnaise, cayenne pepper and mustard), to be served in a vegetable border (made with cauliflower, asparagus, beans, peas, potatoes, artichoke bottoms and aspic). Two great chefs think alike?
We can’t recreate the Olivier Salad, but we can follow Francatelli’s instructions and make an original Russian salad. Anyone?
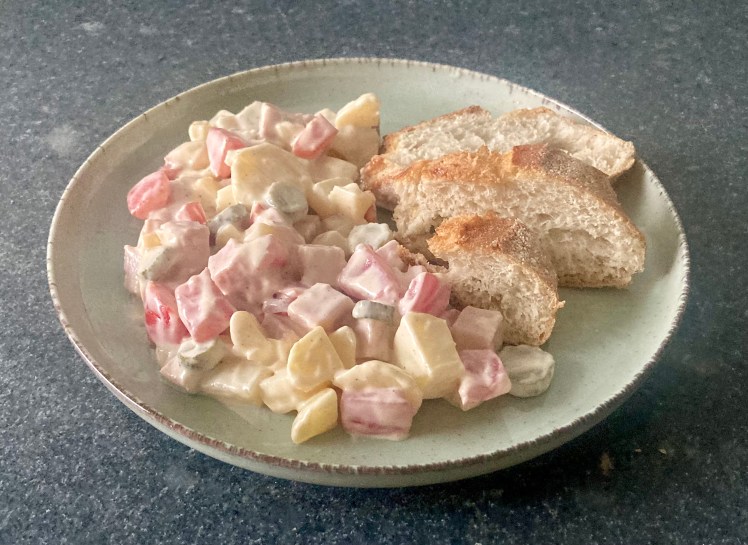
Our version of the Salade Piémontaise is based on the salad as sold by the Boucherie de France in Nice. It’s a surprisingly light dish that allows you to enjoy all ingredients, thanks to the lemon juice and the fairly neutral mayonnaise.
Wine Pairing
Piemonte is well known for its great wines, such as Barolo and Barbaresco, both made with Nebbiolo grapes. We decided to go for a more simple wine from the region, produced by Fontanafredda and made with 100% Barbera grapes. A wine that is fruity (black berries, plums) with low tannins and a relatively high acidity, which is very nice with the salad.
De-seed the tomatoes and slice, same size as the potatoes and the ham
Steam or boil the egg, let cool and dice
Slice the cornichons
Combine the ingredients
Coat with mayonnaise and mix gently
Add lemon juice, black pepper and adjust
Leave in the refrigerator until cool
Serve with crusted bread
PS
In 1852 Francatelli published A Plain Cookery Book for the Working Classes to help poorer members of society. The book contains 241 recipes with inexpensive ingredients. Not just royalty and exclusivity for him!
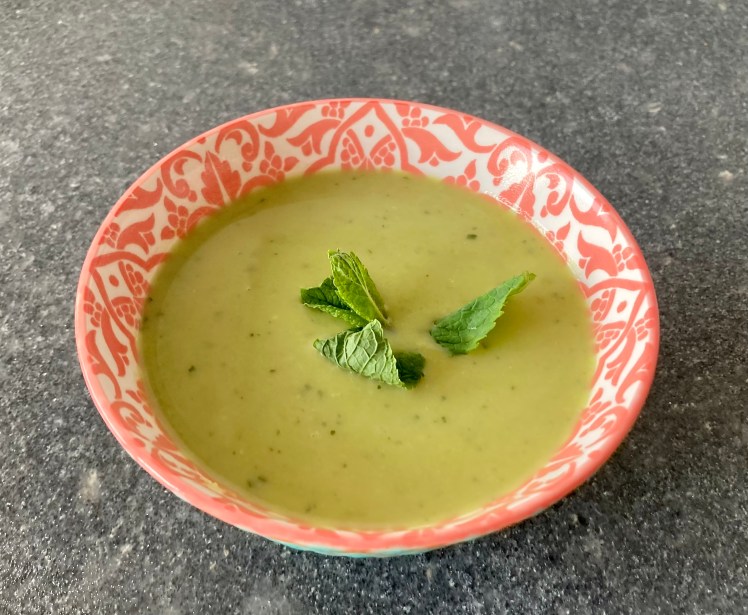
We love refreshing chilled soups during summer. Could be gazpacho, could be avocado and cucumber soup or this classic. It’s delicious and uplifting when it’s really warm. Serve with crusted bread for a lovely, light starter.
What You Need
1 small Shallot
1 clove of Garlic
400 ml of Vegetable Stock
175 grams of (frozen) Peas
handful of fresh Mint
Lemon Juice
Black Pepper
2 tablespoons of Cream
Olive Oil
What You Do
Chop the shallot, the garlic and the mint
Heat the oil in a large pan
Add shallot to the pan and glaze for a few minutes
Add garlic to the pan and gently sauté for one or two minutes
Pour in the stock and bring to the boil
Add peas and reduce heat
Leave for a few minutes until the peas are relatively soft
Add mint and cream
Allow to simmer for one or two minutes
Add some lemon juice and black pepper
Hand blender until smooth
Taste and adjust (mint, lemon juice, black pepper)
Pour into a large bowl and allow to cool
Cover and chill in the refrigerator for three or more hours
Spoon the soup into cold soup bowls and decorate with a sprig of mint
PS
Don’t overcook the peas. If you do, the soup will become too smooth and it will not be bright green.
You could add some olive oil just before serving and pulse with a hand blender. This will give the soup a velvety, rich feel plus it will make the taste more complex.
We wanted to celebrate the end of the Dutch season for white asparagus with something special, perhaps grilled asparagus with Parmesan cheese or asparagus with miso. Normally the season ends on June 24th, the feast day of Saint John the Baptist. This year the season started very early (March 7th) and probably ended early, so we were too late. No final dish with white asparagus this year!
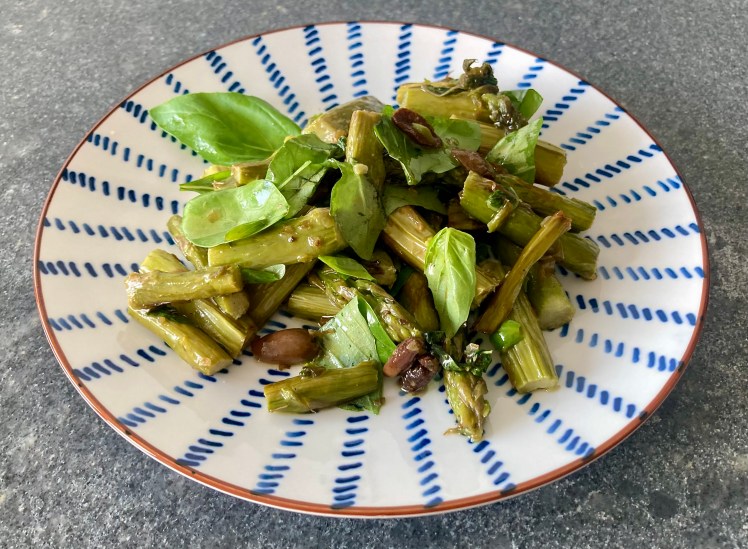
We decided to prepare a very tasty salad with green asparagus, oregano, basil and black olives. A very limited list of ingredients, but there is no need to add anything else. The olives bring umami, the asparagus sweetness and bitterness, the basil and oregano are aromatic, sweet and a touch peppery. A very uplifting combination.
Wine Pairing
We enjoyed a glass of Verdicchio, a dry white wine made by Tenuta Colpaola in Italy. The wine has a very nice balance of fruit (green apples) and acidity, body and freshness. The wine has a beautiful, deep yellow colour, medium body and complexity, making it ideal with the various flavours of the dish. In general we suggest a dry white wine with sufficient acidity and character, to balance both the asparagus and the olives. You could also serve the salad with a glass of dry, crisp, floral and flavourful rosé, for instance Monte del Frà Bardolino Chiaretto. It has delicate aromas of berries accompanied by light and refreshing hints of green apples and subtle spicy tones. The refreshing acidity works very well with the salad as a whole.
What You Need
350 grams of Green Asparagus
10-15 Black Olives (Taggiasca preffered, pitted)
1 generous teaspoon of Dried Oregano
Basil
Black Pepper
Olive Oil
What You Do
Pre-heat your oven to 190 °C or 375 °F
Wash the asparagus and dry
Remove the bottom of the asparagus. Be generous, you don’t want to serve a chewy salad
Halve the olives
Slice the asparagus (chunky)
Add asparagus, dried oregago and olives to a (cast iron) oven dish
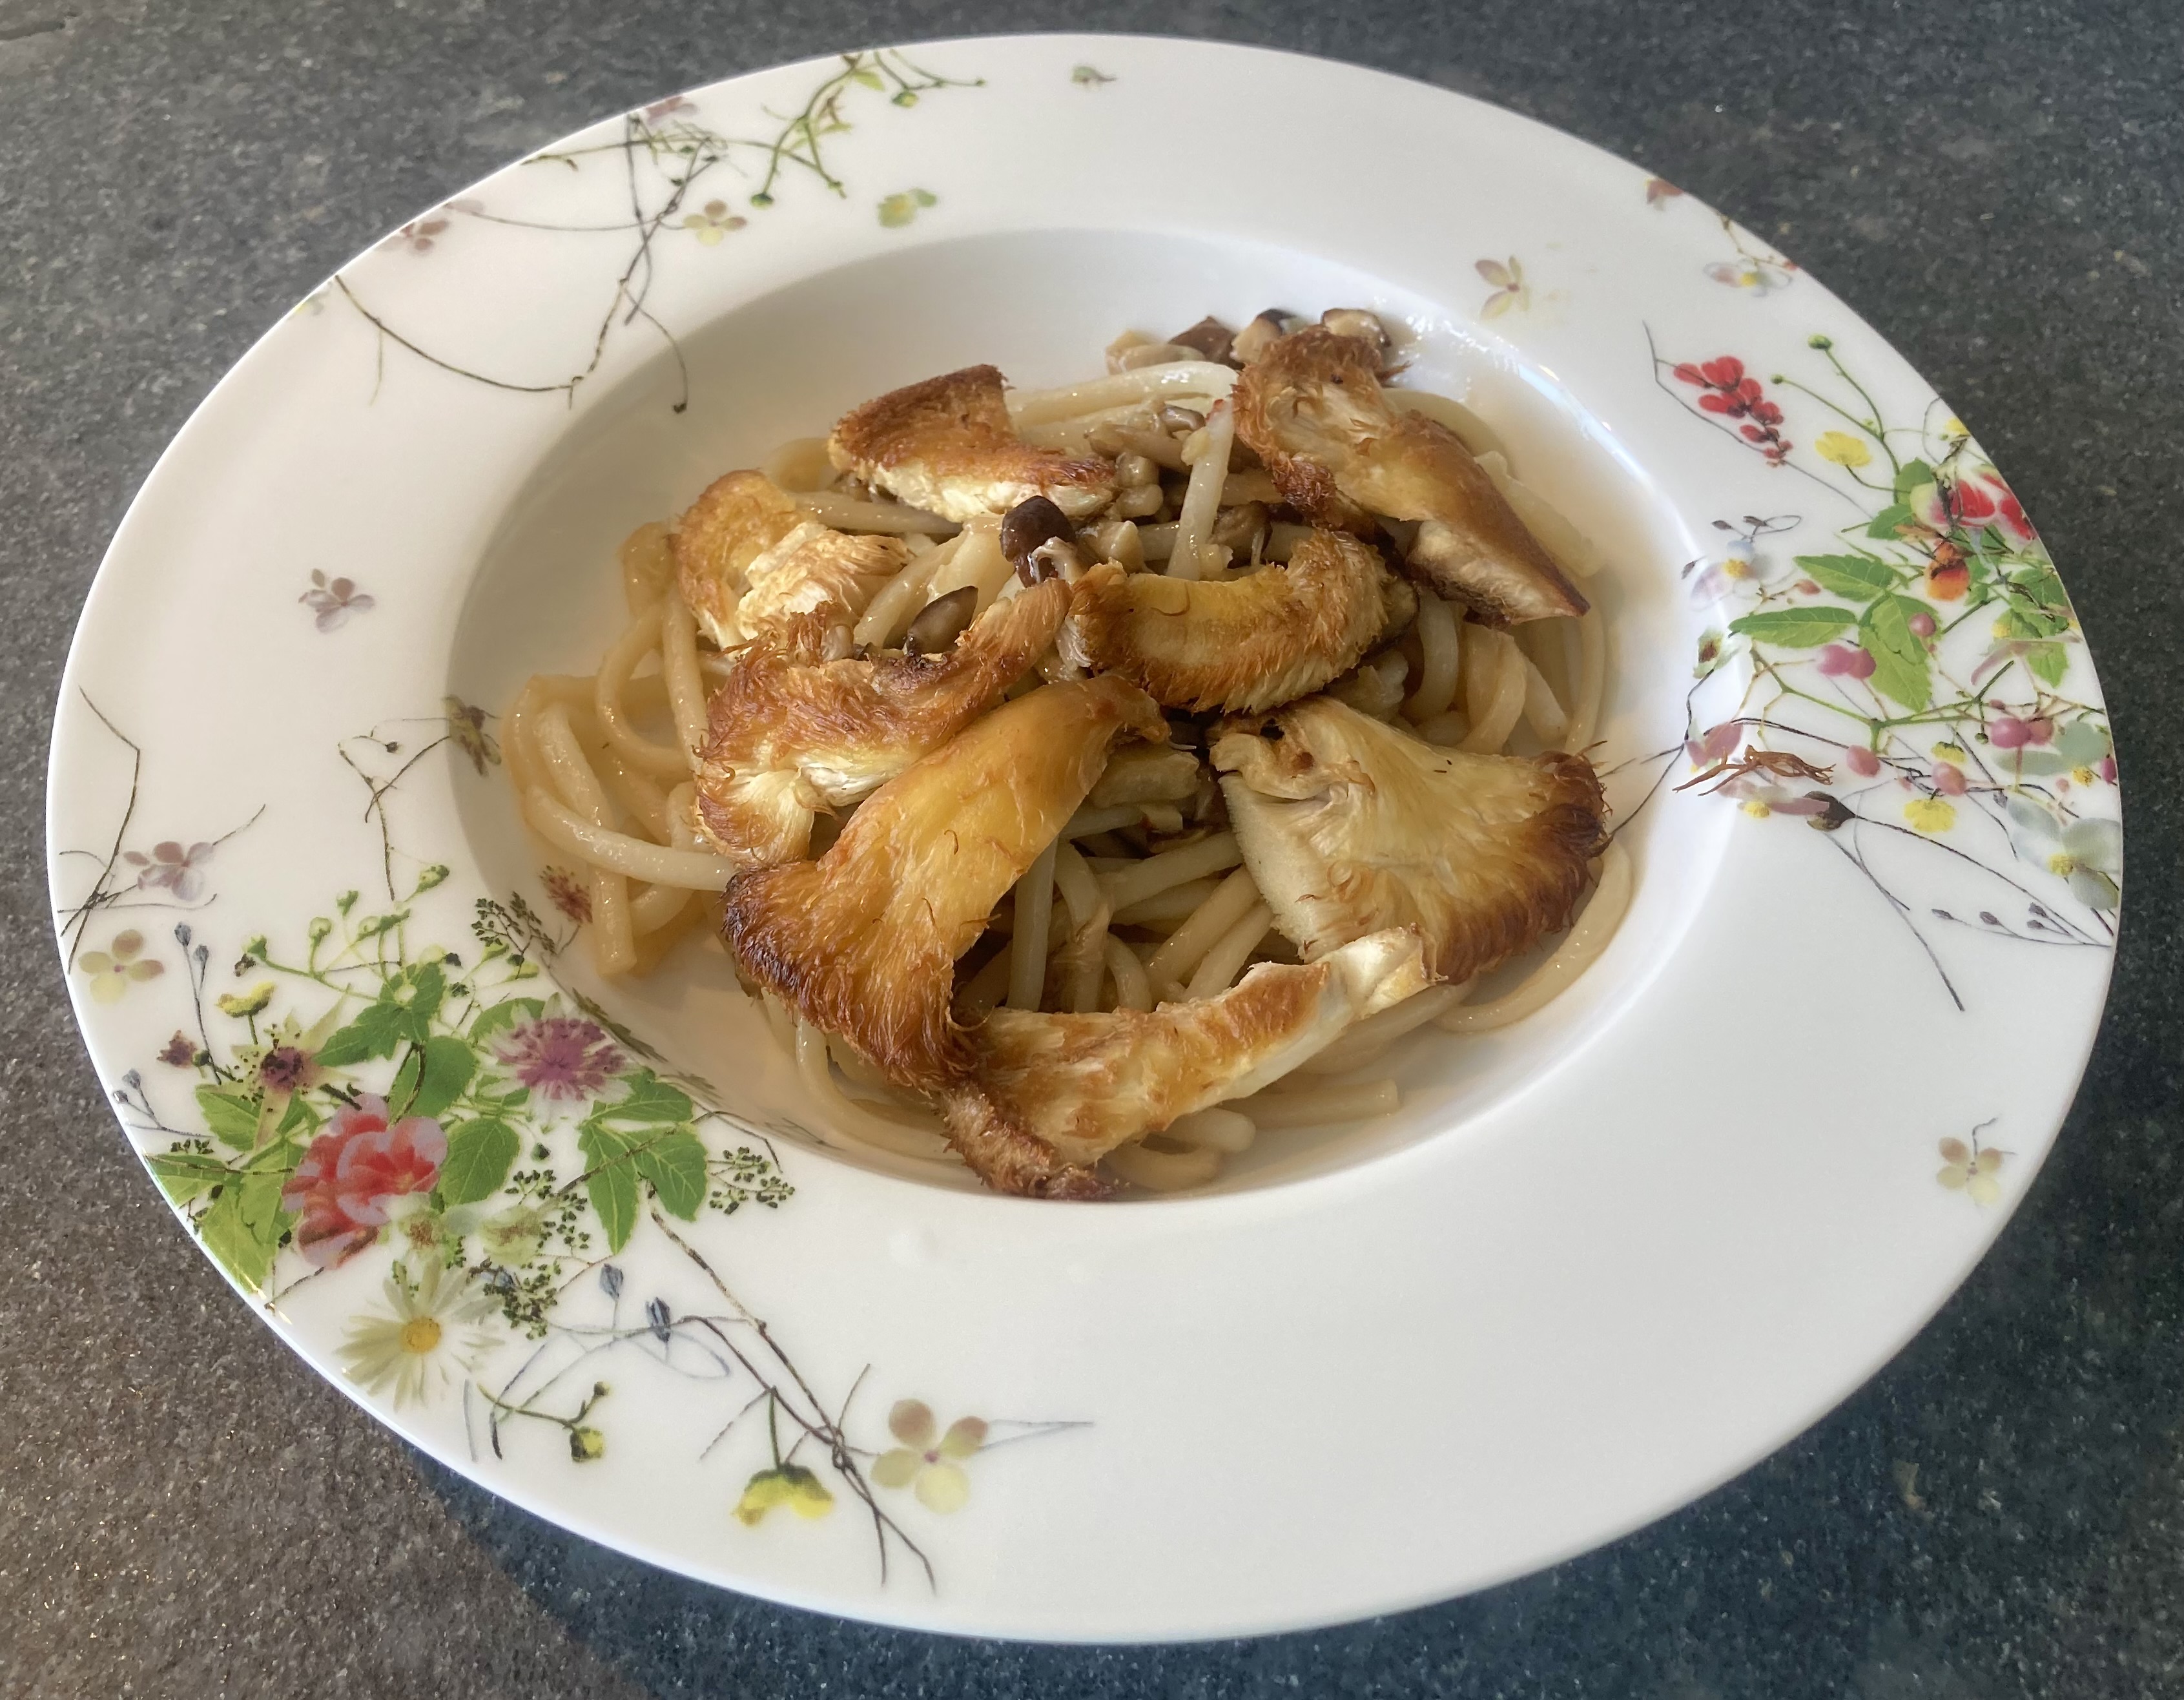
If you search for Lion’s Mane mushrooms, you will find lots of references to supplements with wonderful health benefits, ranging from supporting longevity to improved cognitive functions. It’s also supposed to have antibiotic, anti-fatigue and anti-ageing properties. Sounds great, but how do the fresh mushrooms taste?
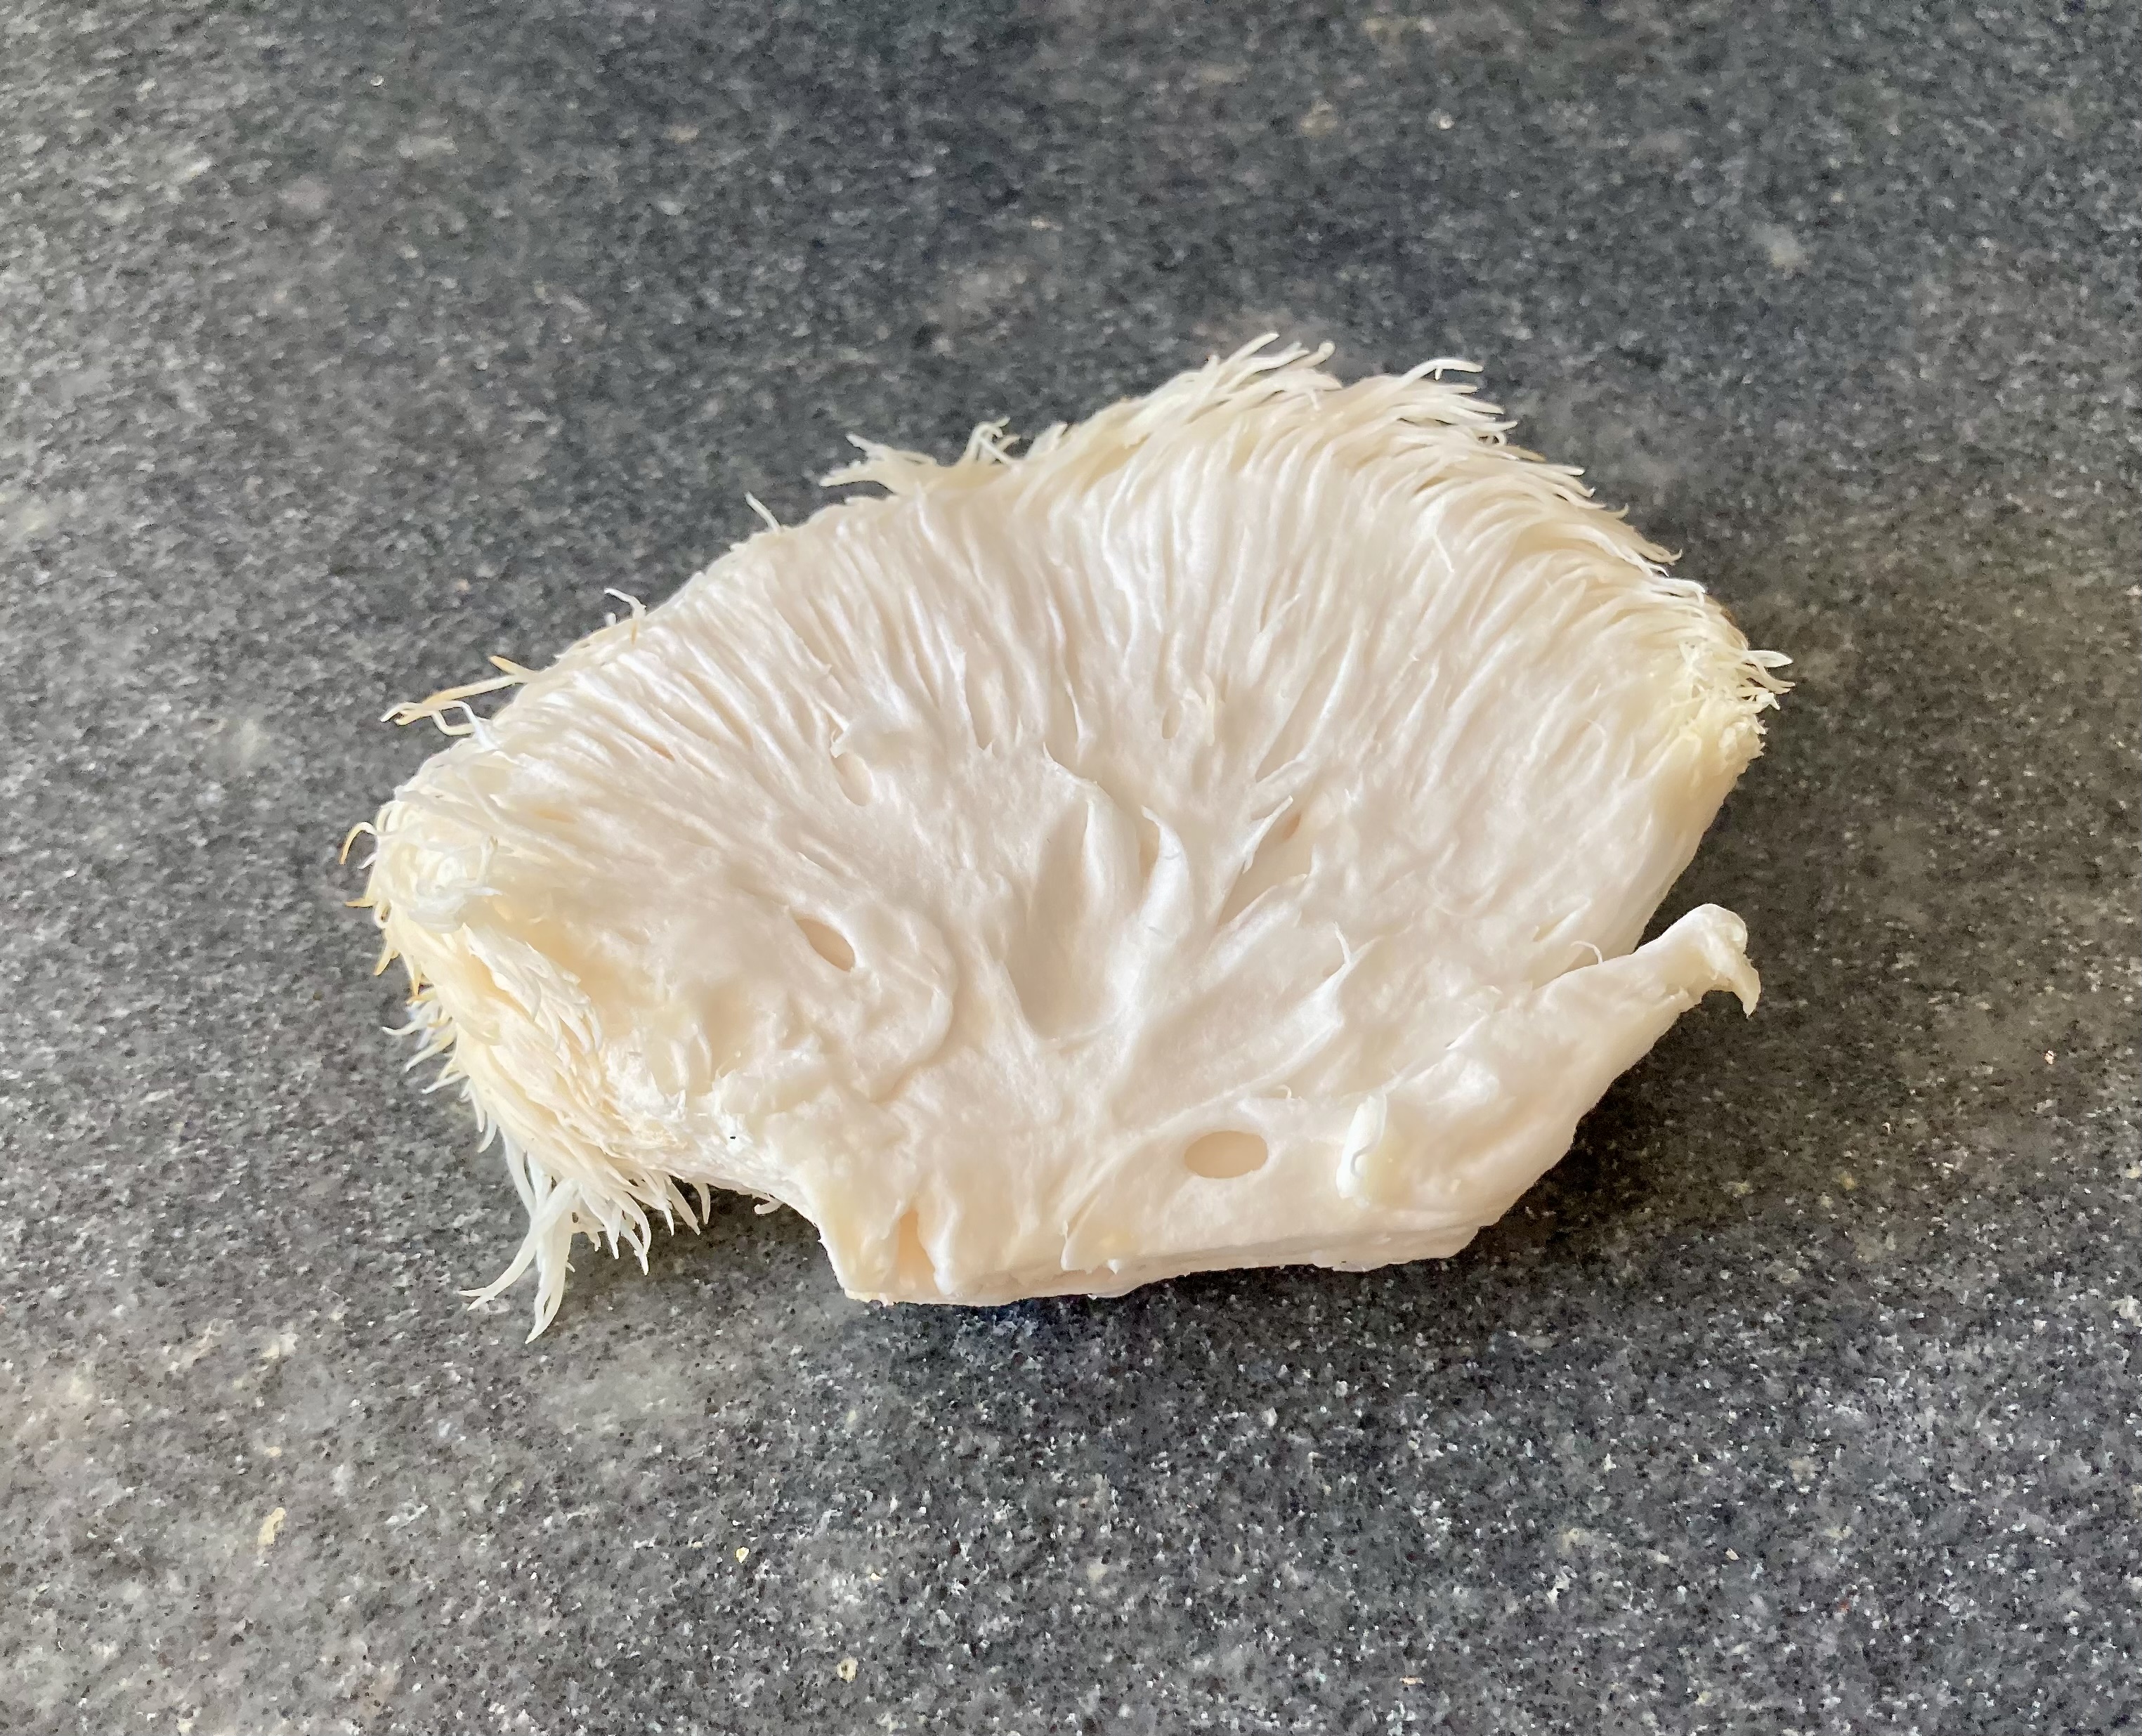
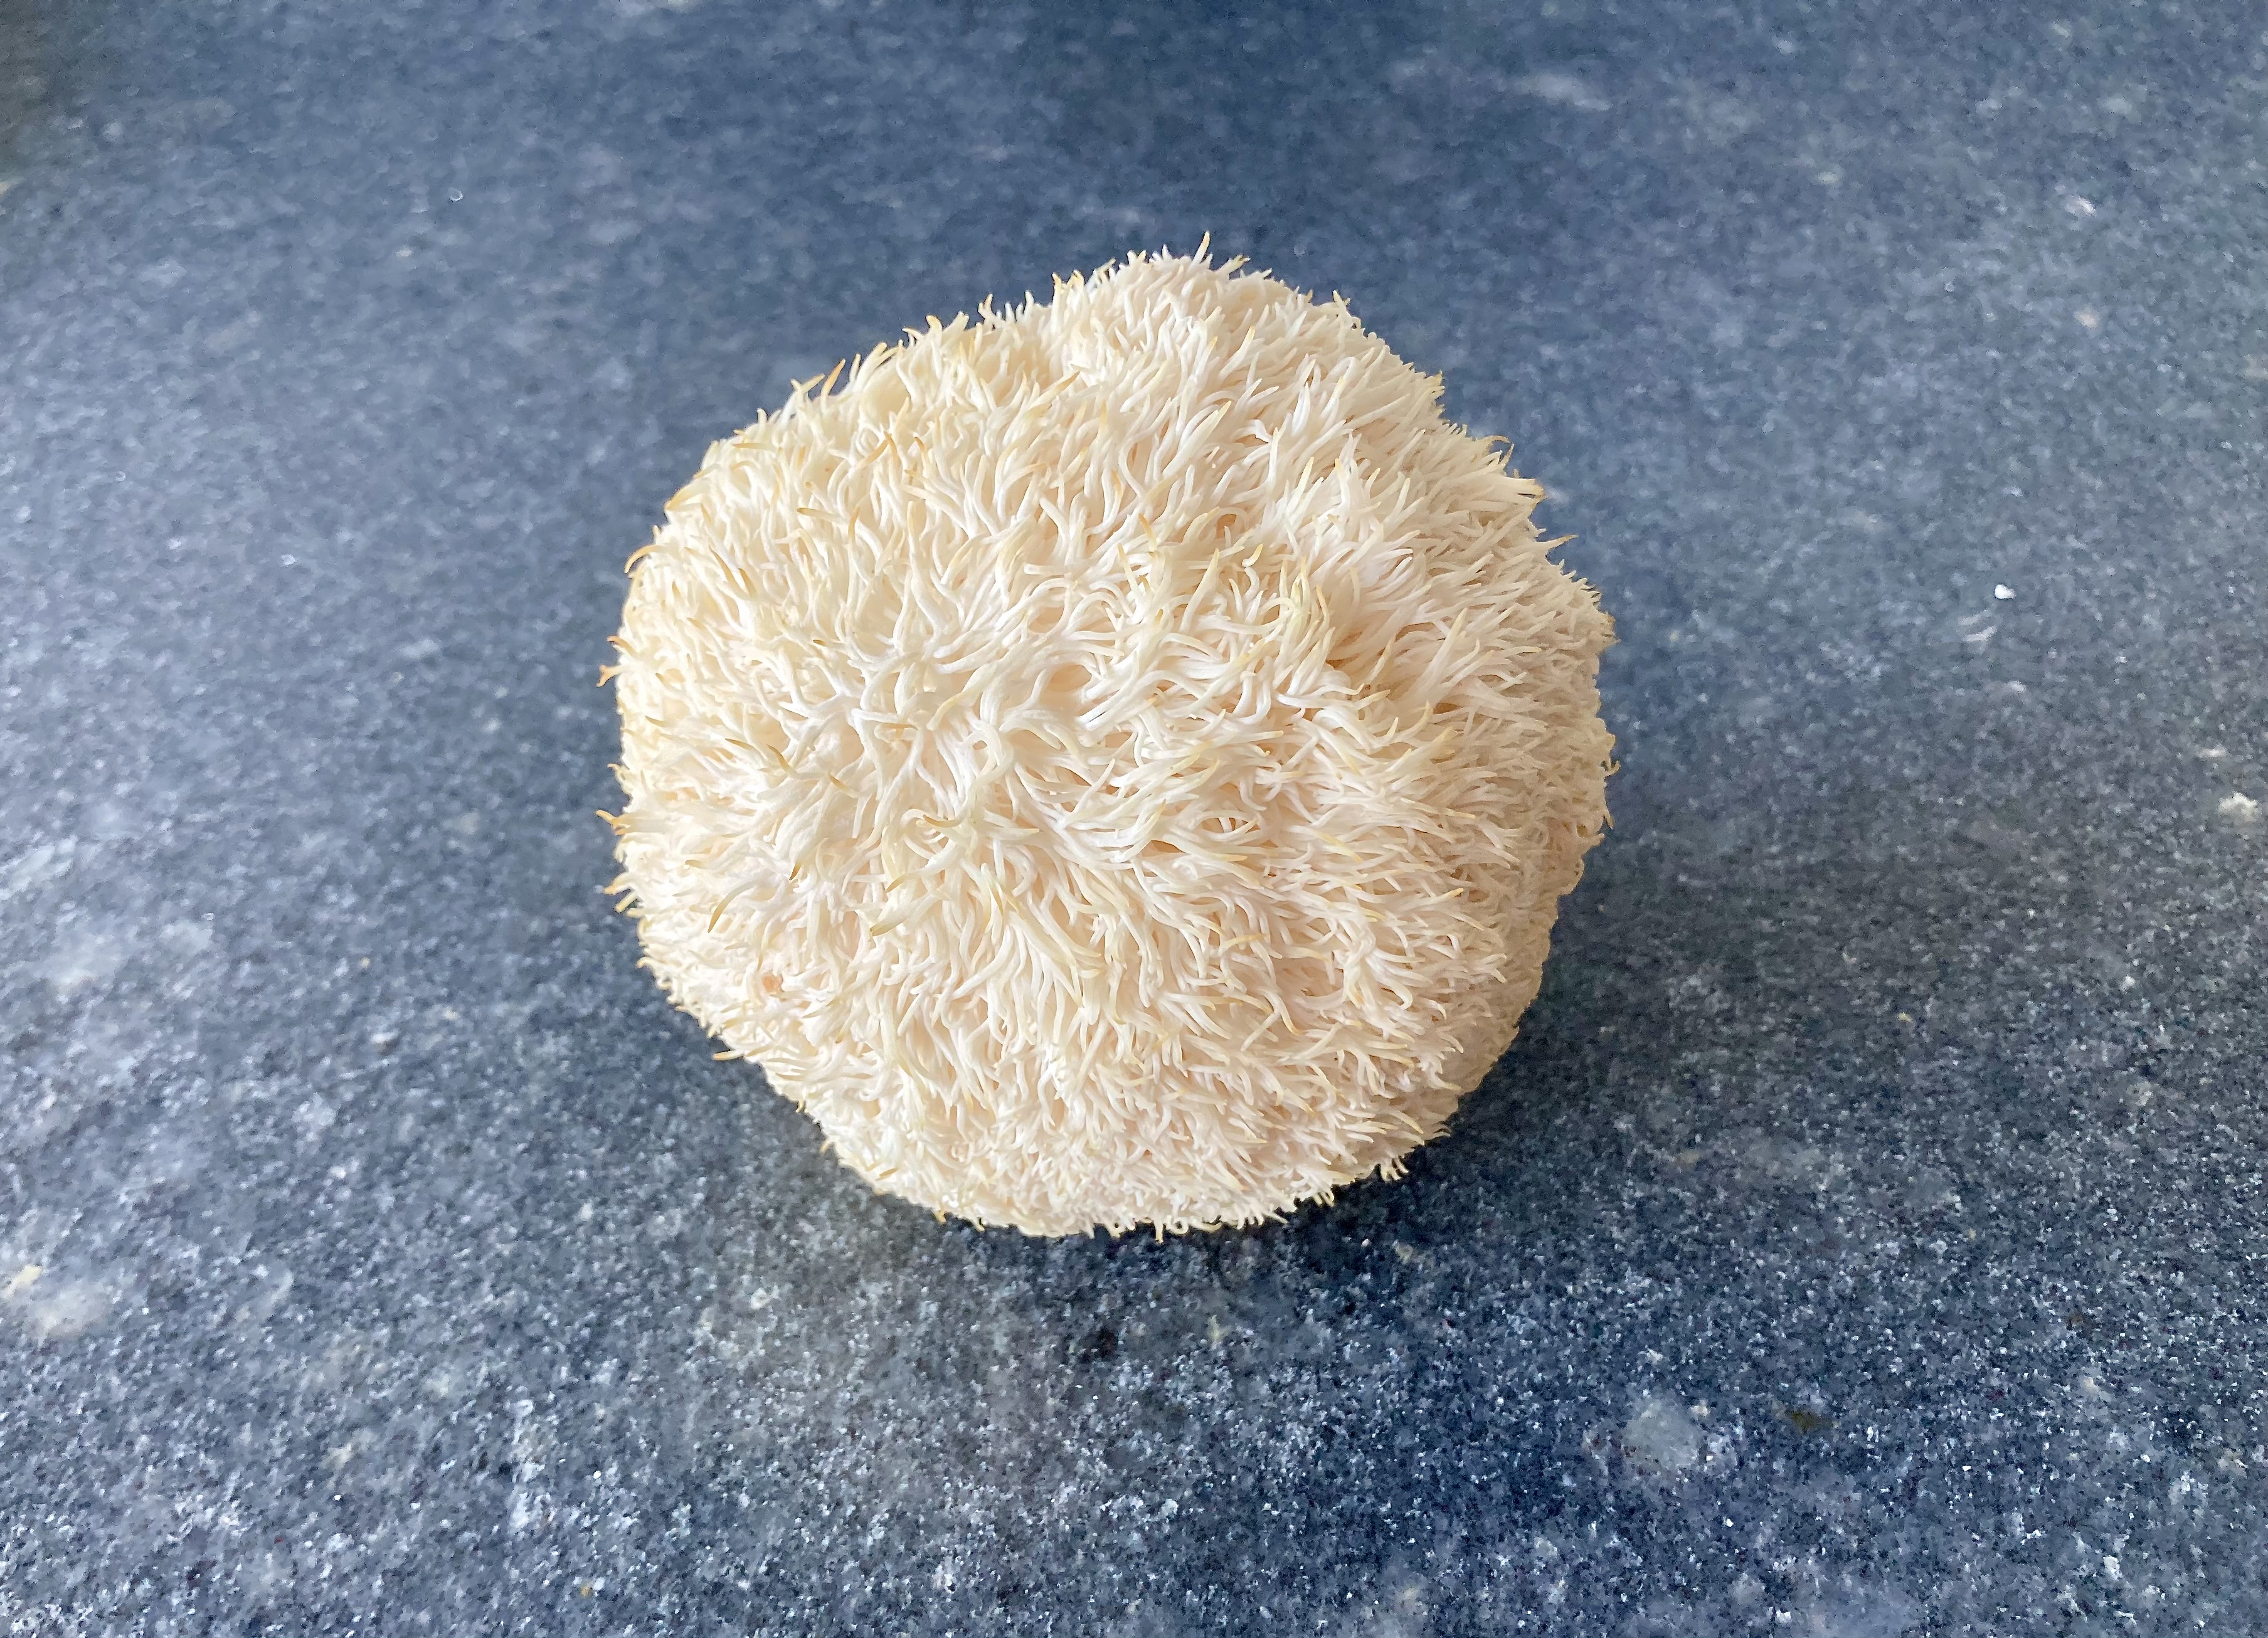
Lion’s Mane (also known as Yamabushitake and Hou Tou Gu) is a mushroom native to North America, Asia and Europe. Their flavour and texture sets them apart from many other mushrooms. A bit sweet, mild, some umami, subtle, a hint of seafood (crab, lobster). The texture meaty and elastic with a unique structure thanks to the spines.
Alan Bergo (the Forager Chef) uses them to make crab cakes. He writes: This is one of my all-time favorites. I guarantee this is so good, some people may not be able to tell it’s a crabcake made from mushrooms instead of crab.
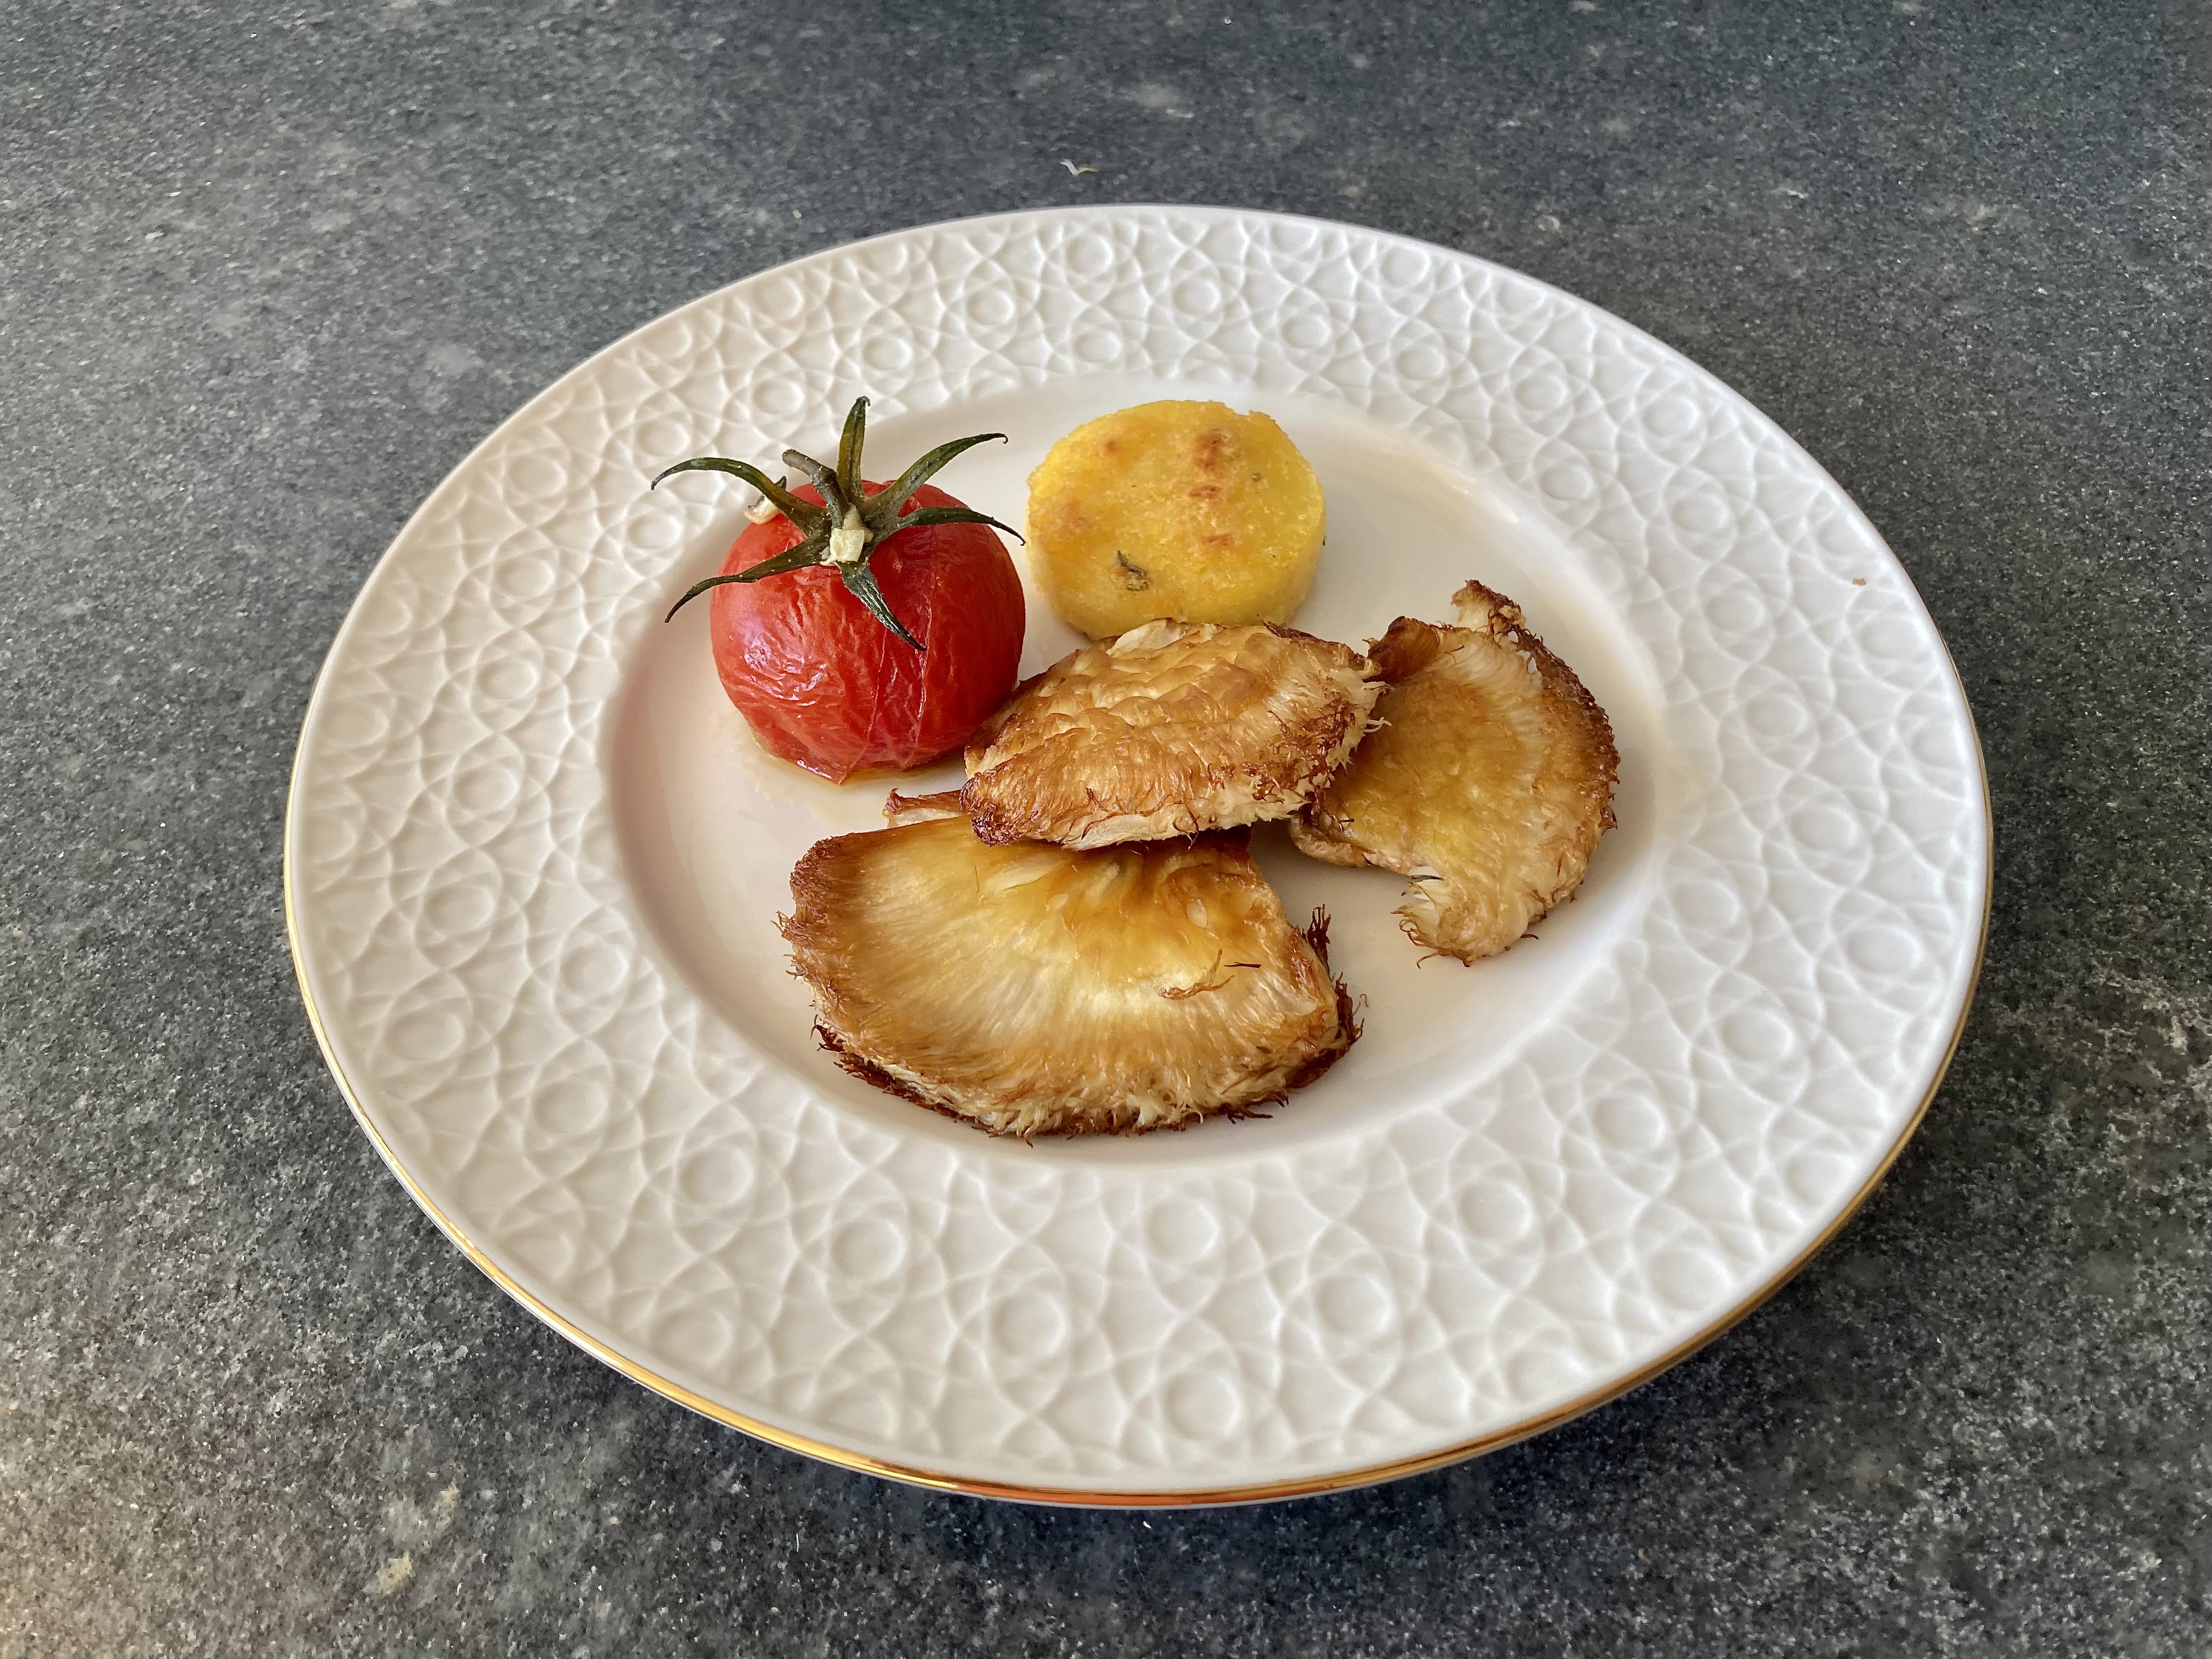
We thought it would be nice to make a dish with various flavours, allowing us to taste the mushroom on its own, but also with the Tomato Confit and Polenta. Combining it with tomato enhanced the flavour of the mushroom and made it more complex (sweet, sour, umami, aromatic). The combination with Polenta was nice, perhaps because of the various textures.
Wine Pairing
Grüner Veltliner is a wine typical for Austria, with flavours such as lime, grapefruit and white pepper. We enjoyed a glass of Grüner Veltliner, made by Eisacktal Valle Isarco, from the Alto Adige region in Italy. It is fruity, fresh and slightly spicy with clear acidity. Very nice with the flavours in the dish. In general we suggest a fresh, dry white wine with hints of green apple and/or citrus.
What You Need
Mushrooms
100 grams of Lion’s Mane
Olive Oil
Polenta
Polenta
Vegetable Stock (optional)
Parmesan Cheese
Thyme
Tomatoes
Tomatoes
Thyme
Rosemary
Garlic
Olive Oil
What You Do
Day before
Cook (in vegetable stock) the polenta according to the package until ready
Add some Parmesan cheese and thyme
Pour the polenta on a plate and smooth it into an even layer (1,5 centimetres) with a spatula
Cool to room temperature
Cover with foil
Transfer to the refrigerator for use the next day.
A few hours before
Wash and dry the tomatoes and add these to a baking dish
Chop the garlic
Add herbs, garlic and a generous amount of olive oil to the dish
Put in the oven for something like 2 hours on 90 °C or 200 °F
Baste the tomatoes once or twice
Don’t forget to use the cooking liquid as well, it’s another pack of flavours!
Preheat your oven to 65 °C or 150 °F
Turn out the polenta onto a cutting board
Cut it into a shape you like (strips, triangles, circles)
Fry in relatively hot olive oil in a non-stick pan until golden, probably 2*5 minutes.
In parallel clean the mushroom and slice (not too thin)
Fry in olive oil until golden brown, probably 2*2 minutes
Transfer to the oven
Leave for 5 minutes in the oven
Add just a hint of black pepper to the mushrooms before serving.
Assemble and serve on a warm plate.
PS
Best to buy young mushrooms, the size of a tennis ball.