White Asparagus with Summer Truffle
Spring and Summer
Time to celebrate! Summer has just begun and the Asparagus season has come to a close. So let’s bring the two together in this slightly extravagant dish. It is earthy, slightly bitter and sweet, velvety and complete.
The Summer Truffle (Tuber Aestivum) is not as intense and overwhelming as the Winter Truffle. It should be used immediately and preferably grated. It loses its taste when heated, so don’t use it for your Tournedos Rossini. This dish should be luke warm, so an excellent environment for a Summer Truffle. Take your time to appreciate the delicate combination in your plate.
Wine Pairing
We drank a glass of Pinot Blanc made by Bott Frères (Ribeauvillé, France) with our Asparagus with Summer Truffle. This dry, fresh wine has a bouquet of well-ripened fruit. It comes with just a touch of sweetness.
A glass of Gewürztraminer is also a good choice with this dish, provided it has a touch of sweetness only.
Parsley is essential because it brings freshness to the dish; nicely balanced with the velvety taste of the egg and butter. And butter is the ideal bridge between egg, asparagus and truffle. So your wine needs to have a certain suppleness.
What You Need
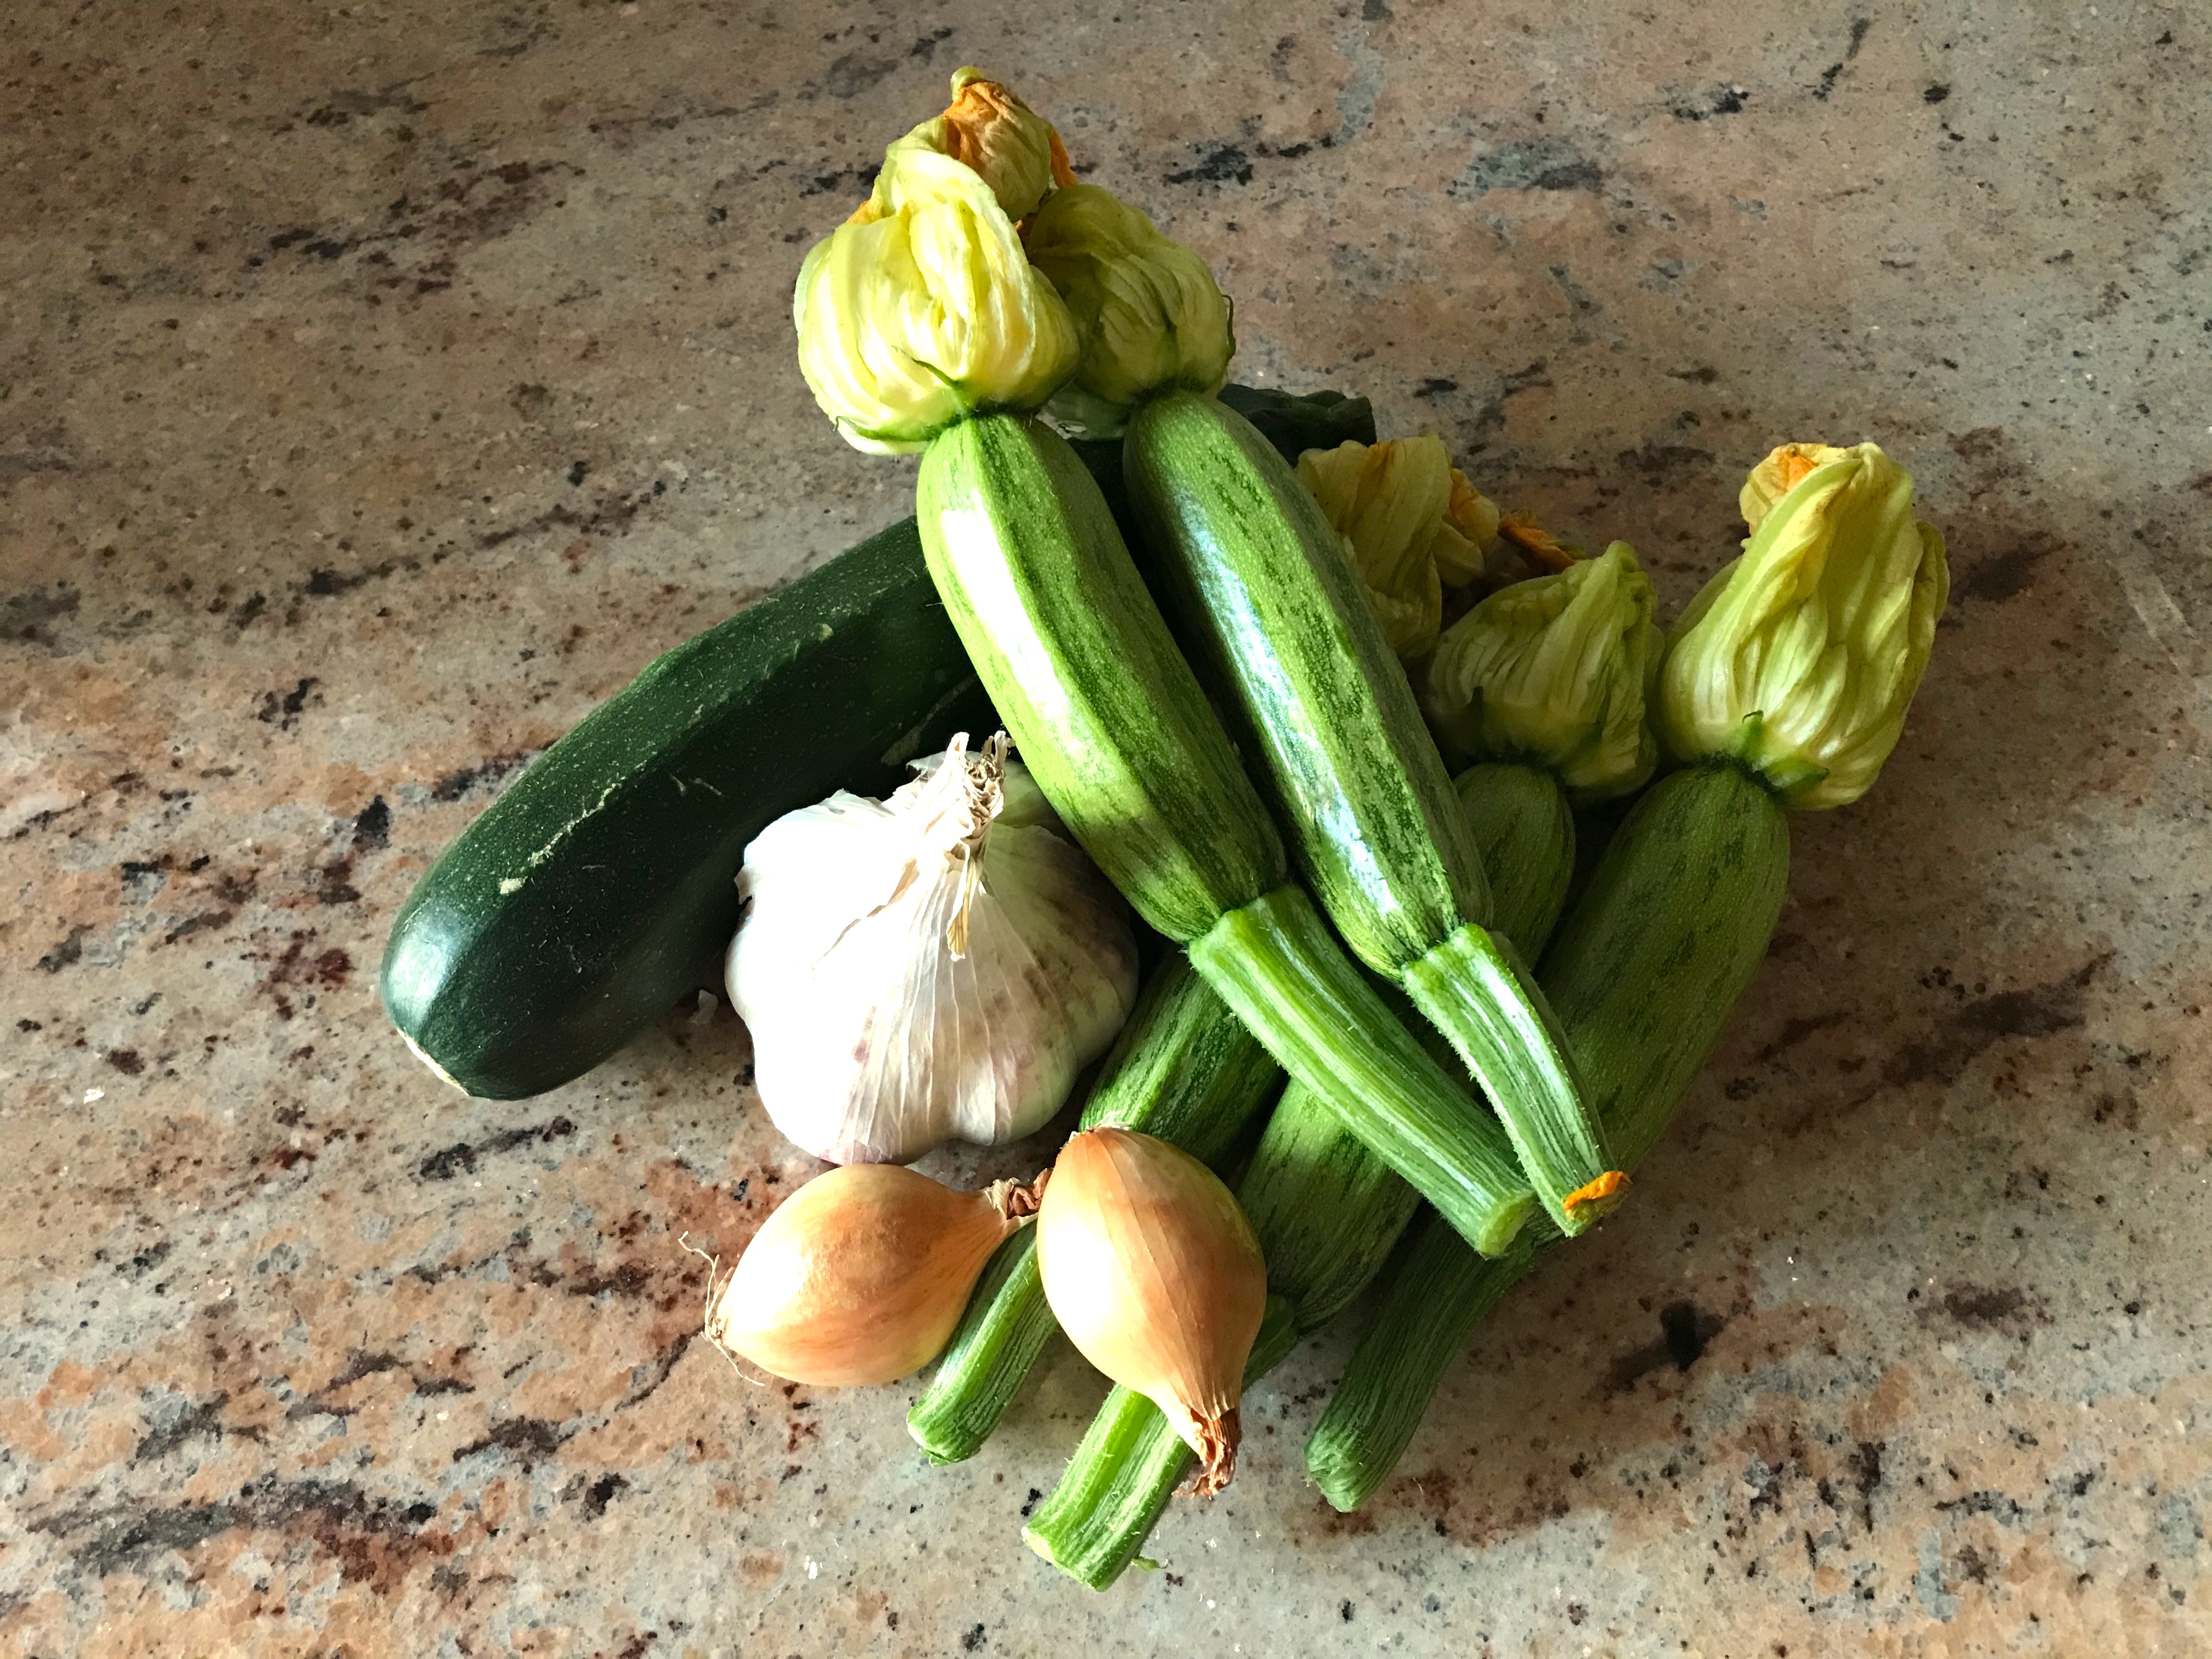
- 4 Asparagus
- 2 Eggs
- 25 grams of Butter
- 20 grams of Summer Truffle
- Parsley
- Black Pepper
What You Do
Cook or steam the asparagus. Make sure they are just done. Cook the eggs for 8-9 minutes. The yolk should not be completely firm. Cool the eggs in cold water, peel and mash with a fork. Add the finely chopped parsley and some black pepper. Taste. Melt the butter.
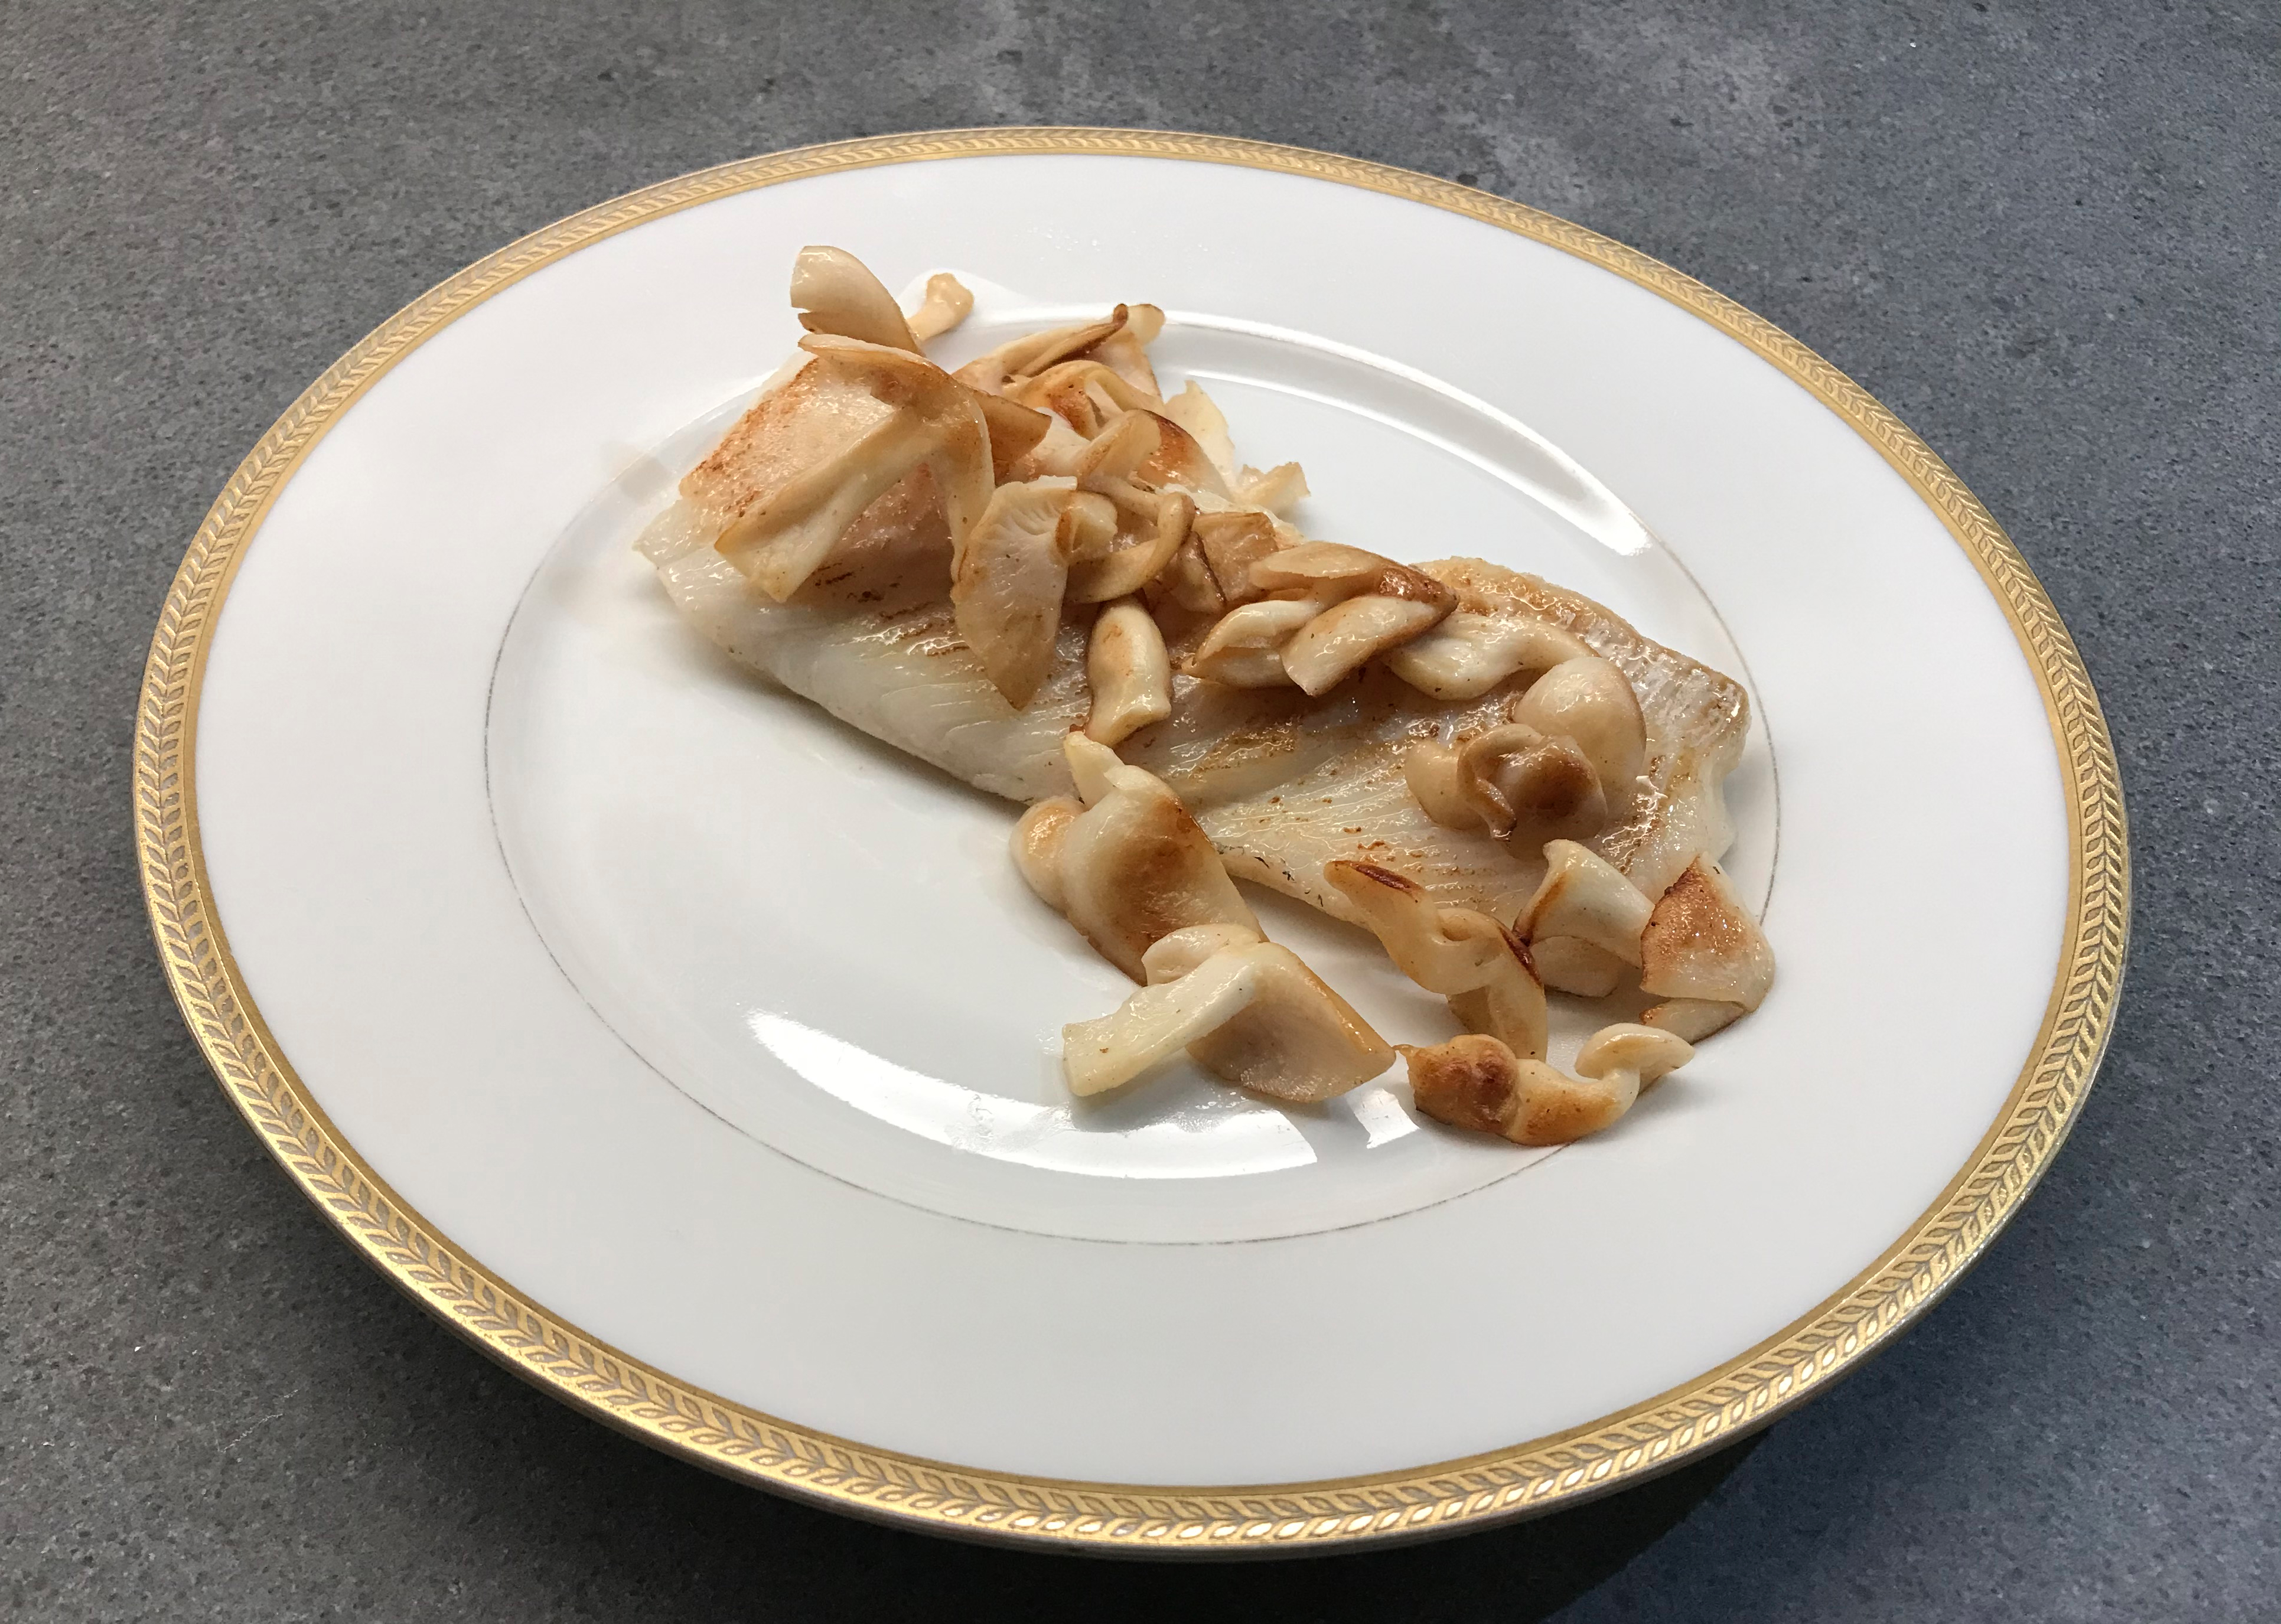
Put two asparagus per person on the plate, pour the warm butter over the asparagus, making sure they are fully covered, add the egg and finish by sprinkling the grated truffle. Poor a glass of excellent Pinot Blanc and enjoy the start of summer by eating the very last of this years asparagus.