Ratatouille Niçoise
It’s always hard to say what the original version of a dish is, assuming it even exists. In most cases recipes evolve over time, influenced by people, availability of ingredients and culinary trends. Ratatouille is a good example: it originates in the Provence, or more precisely: in the Niçoise region. Its local name is ratatolha. Ingredients are typical for this area: tomatoes, onions, garlic, zucchini, eggplants and herbs like thyme and marjoram. Meaning that we don’t really know what the ingredients were before the introduction of tomatoes and bell peppers in the region.
In 1976 chef Michel Guerard in his book Le Cuisine Minceur introduced Confit Bayaldi, a variation whereby the vegetables (and mushrooms) are thinly sliced and baked in the oven.
In 1999 chef Thomas Keller added a piperade and a vinaigrette to the Confit Bayaldi. This is the ratatouille that features in the classic film Ratatouille.
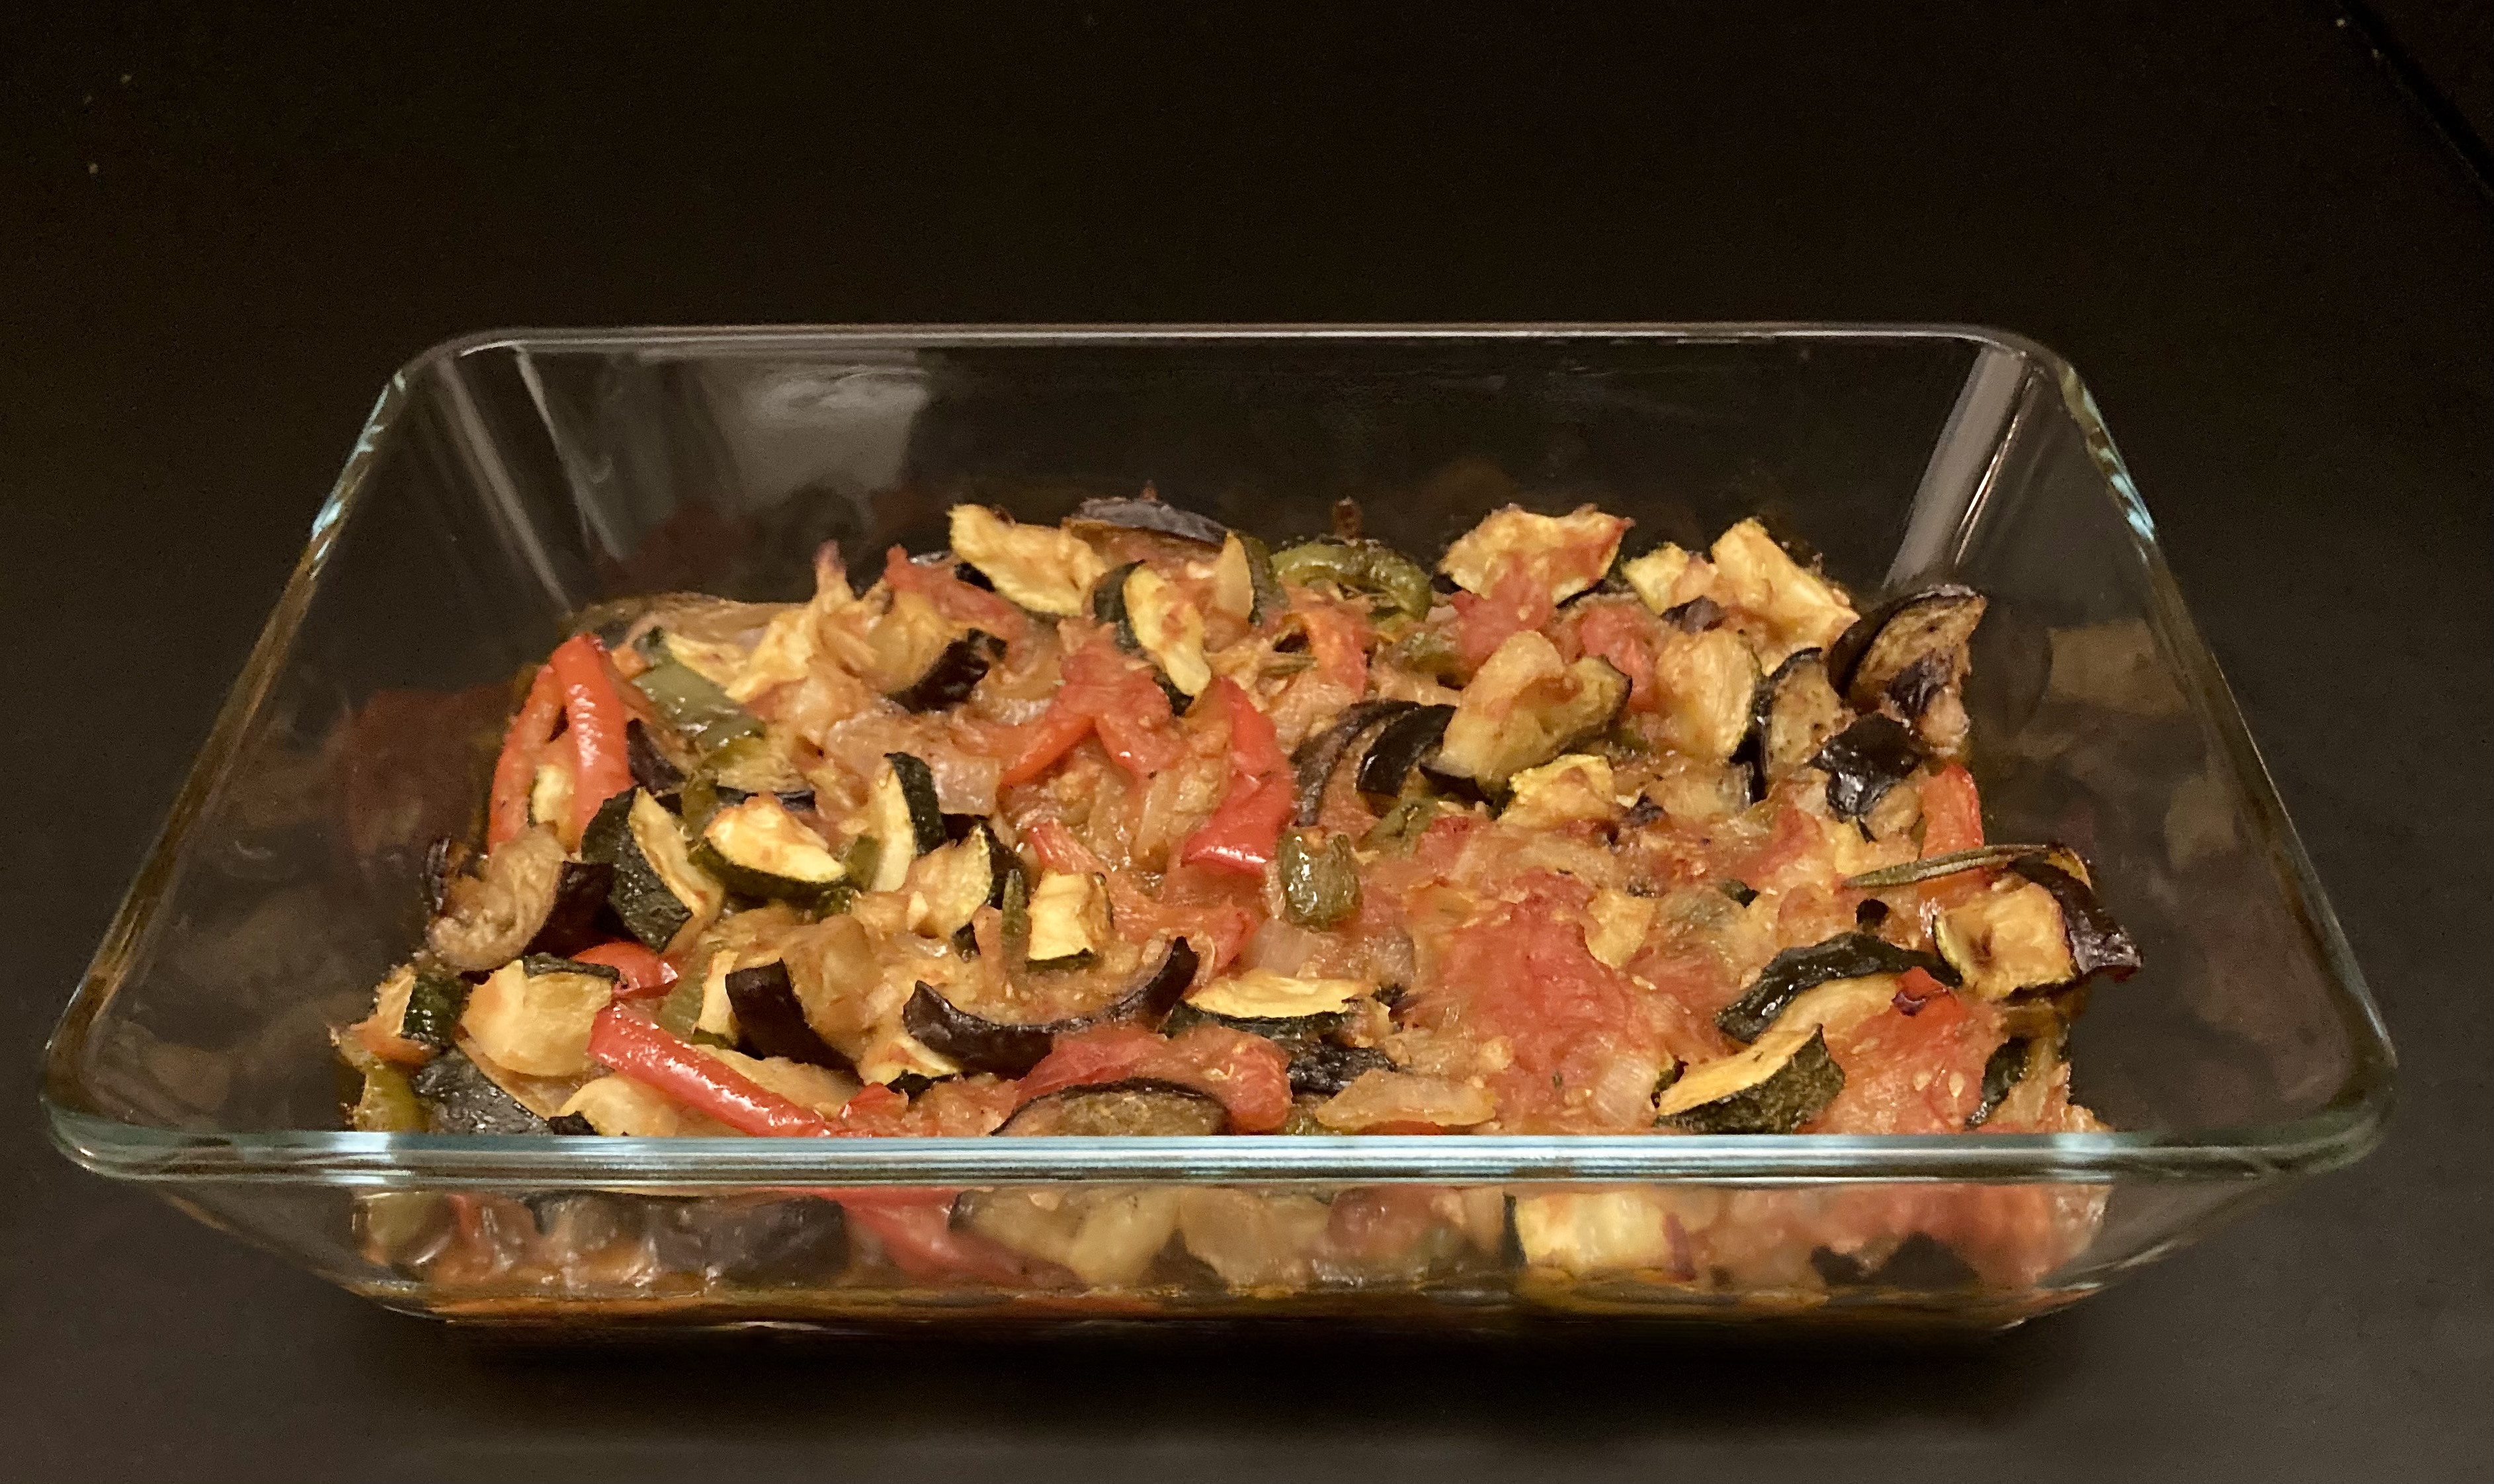
When reading the recipe for Ratatouille Niçoise, we noticed that the vegetables are fried separately, the onions are caramelised and the tomatoes are used to make a sauce that is added to the other vegetables towards the end.
The result is a very tasty, rich and powerful dish. Thanks to the way it’s prepared you will be able to taste the individual flavours and the combination. Making your ratatouille this way is perhaps a bit of work, but’s it’s not difficult and it’s worth the effort.
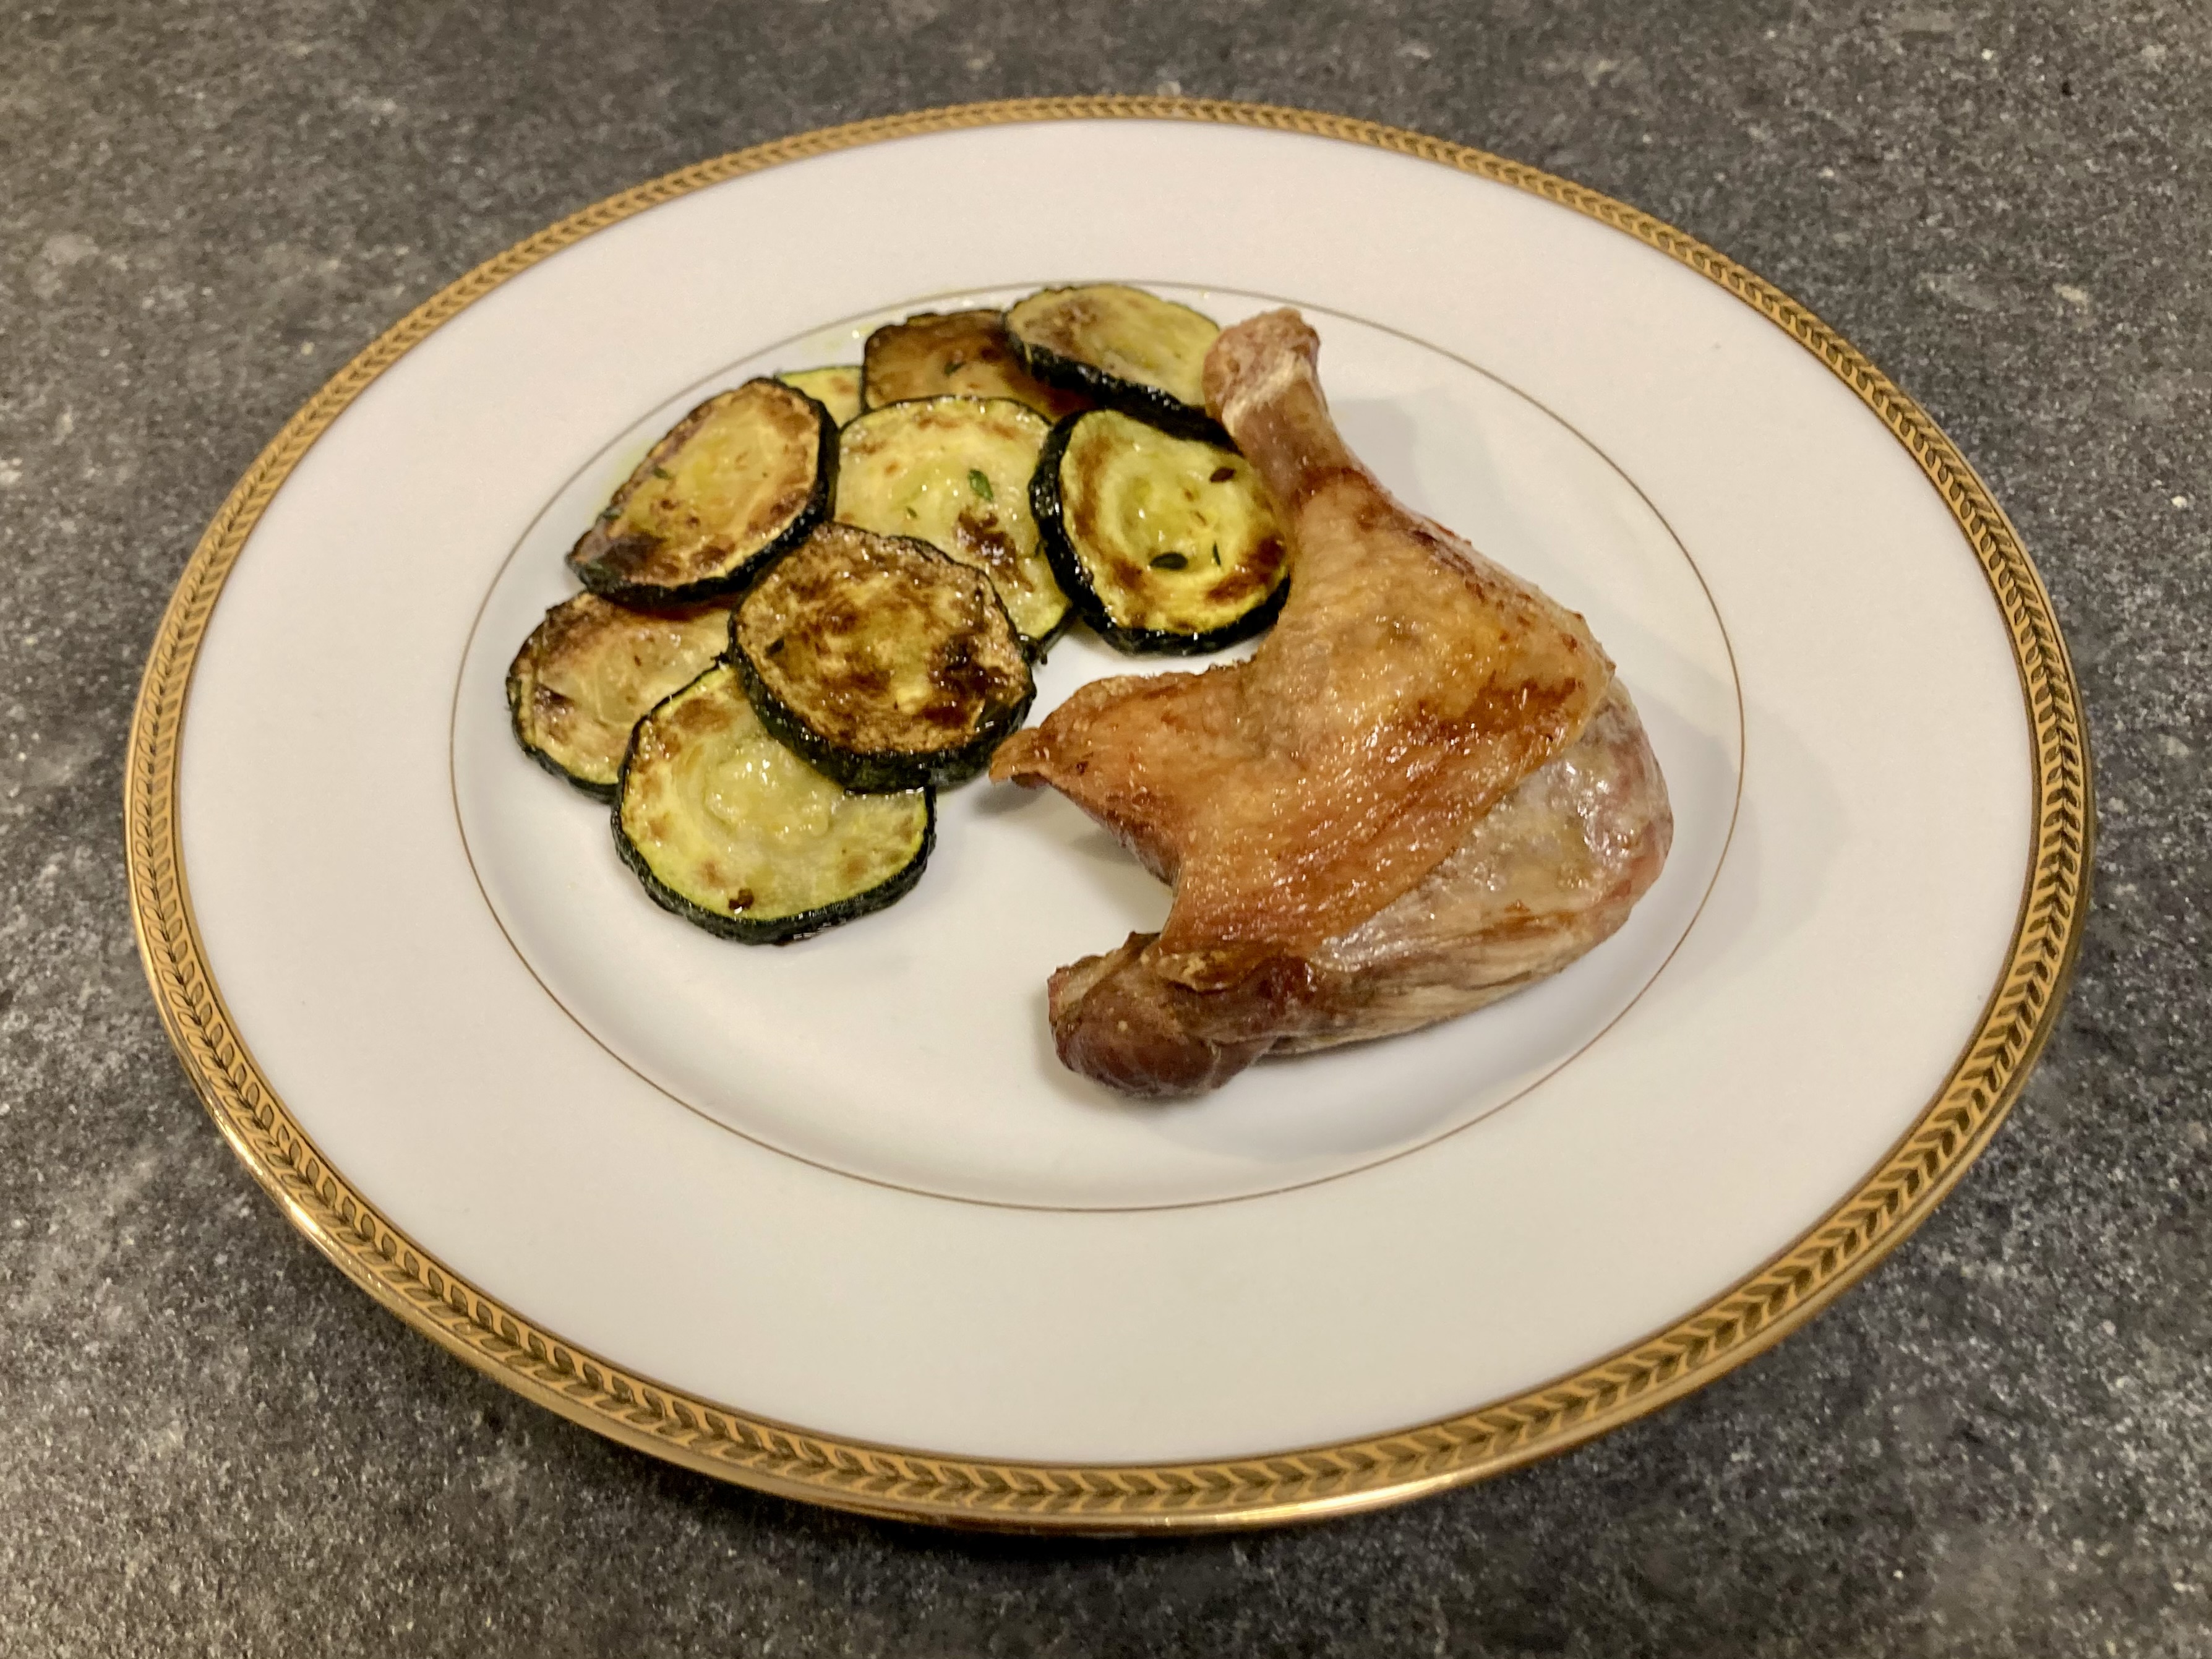
We served our Ratatouille Niçoise with grilled lamb chops.
Wine Pairing
We decided to enjoy a glass of red wine from the French Languedoc-Roussillon area, made with Syrah grapes by Les Jamelles. The wine has an intense dark colour and aromas of dark berries and a touch of vanilla. The flavour is a combination of some spiciness, dark fruit and mild tannins. In general, we suggest a not too complex red wine with some oak, dark fruit and character.
What You Need
- 1 Zucchini (Courgette)
- 1 Eggplant (Aubergine)
- 4 Tomatoes
- ½ Green Bell Pepper
- ½ Red Bell Pepper
- 1 large White Onion
- 4 small Garlic Cloves
- Olive Oil
- Bouquet Garni (Thyme, Marjoram, Rosemary, Oregano)
- Black Pepper
What You Do
- Clean the vegetables
- Coarsely chop the zucchini, the eggplant and the bell peppers
- Slice the onion
- Peel the tomatoes (heat a pan with water, dip 1 tomato in the hot water for 10 seconds and use a sharp knife to peel. If it doesn’t come off easily, dip for another 10 seconds)
- Chop the tomatoes
- Warm a Dutch oven, add olive oil and fry the onion until golden
- Add the chopped tomatoes, one crushed garlic clove, the bouquet garni and black pepper. Leave on low heat, no lid required. The sauce must become thick and smooth. This will take some time!
- In parallel: heat a skillet, add olive oil and fry the zucchini. When nicely coloured reduce the heat and add 1 crushed garlic clove and some black pepper. After a few minutes transfer to a plate and set aside
- In parallel: we used the same skillet to repeat step 8 twice, first with the bell peppers and then with the eggplant
- Once the vegetables are fried and the sauce is ready: warm a second Dutch oven, add the vegetables and combine with sauce
- Leave on low heat for one hour. No lid required
- Set your oven to traditional and 180 °C or 355 °F
- Transfer the pan to the oven for 30 minutes, leaving the door slightly open
- Just before serving remove the bouquet garni
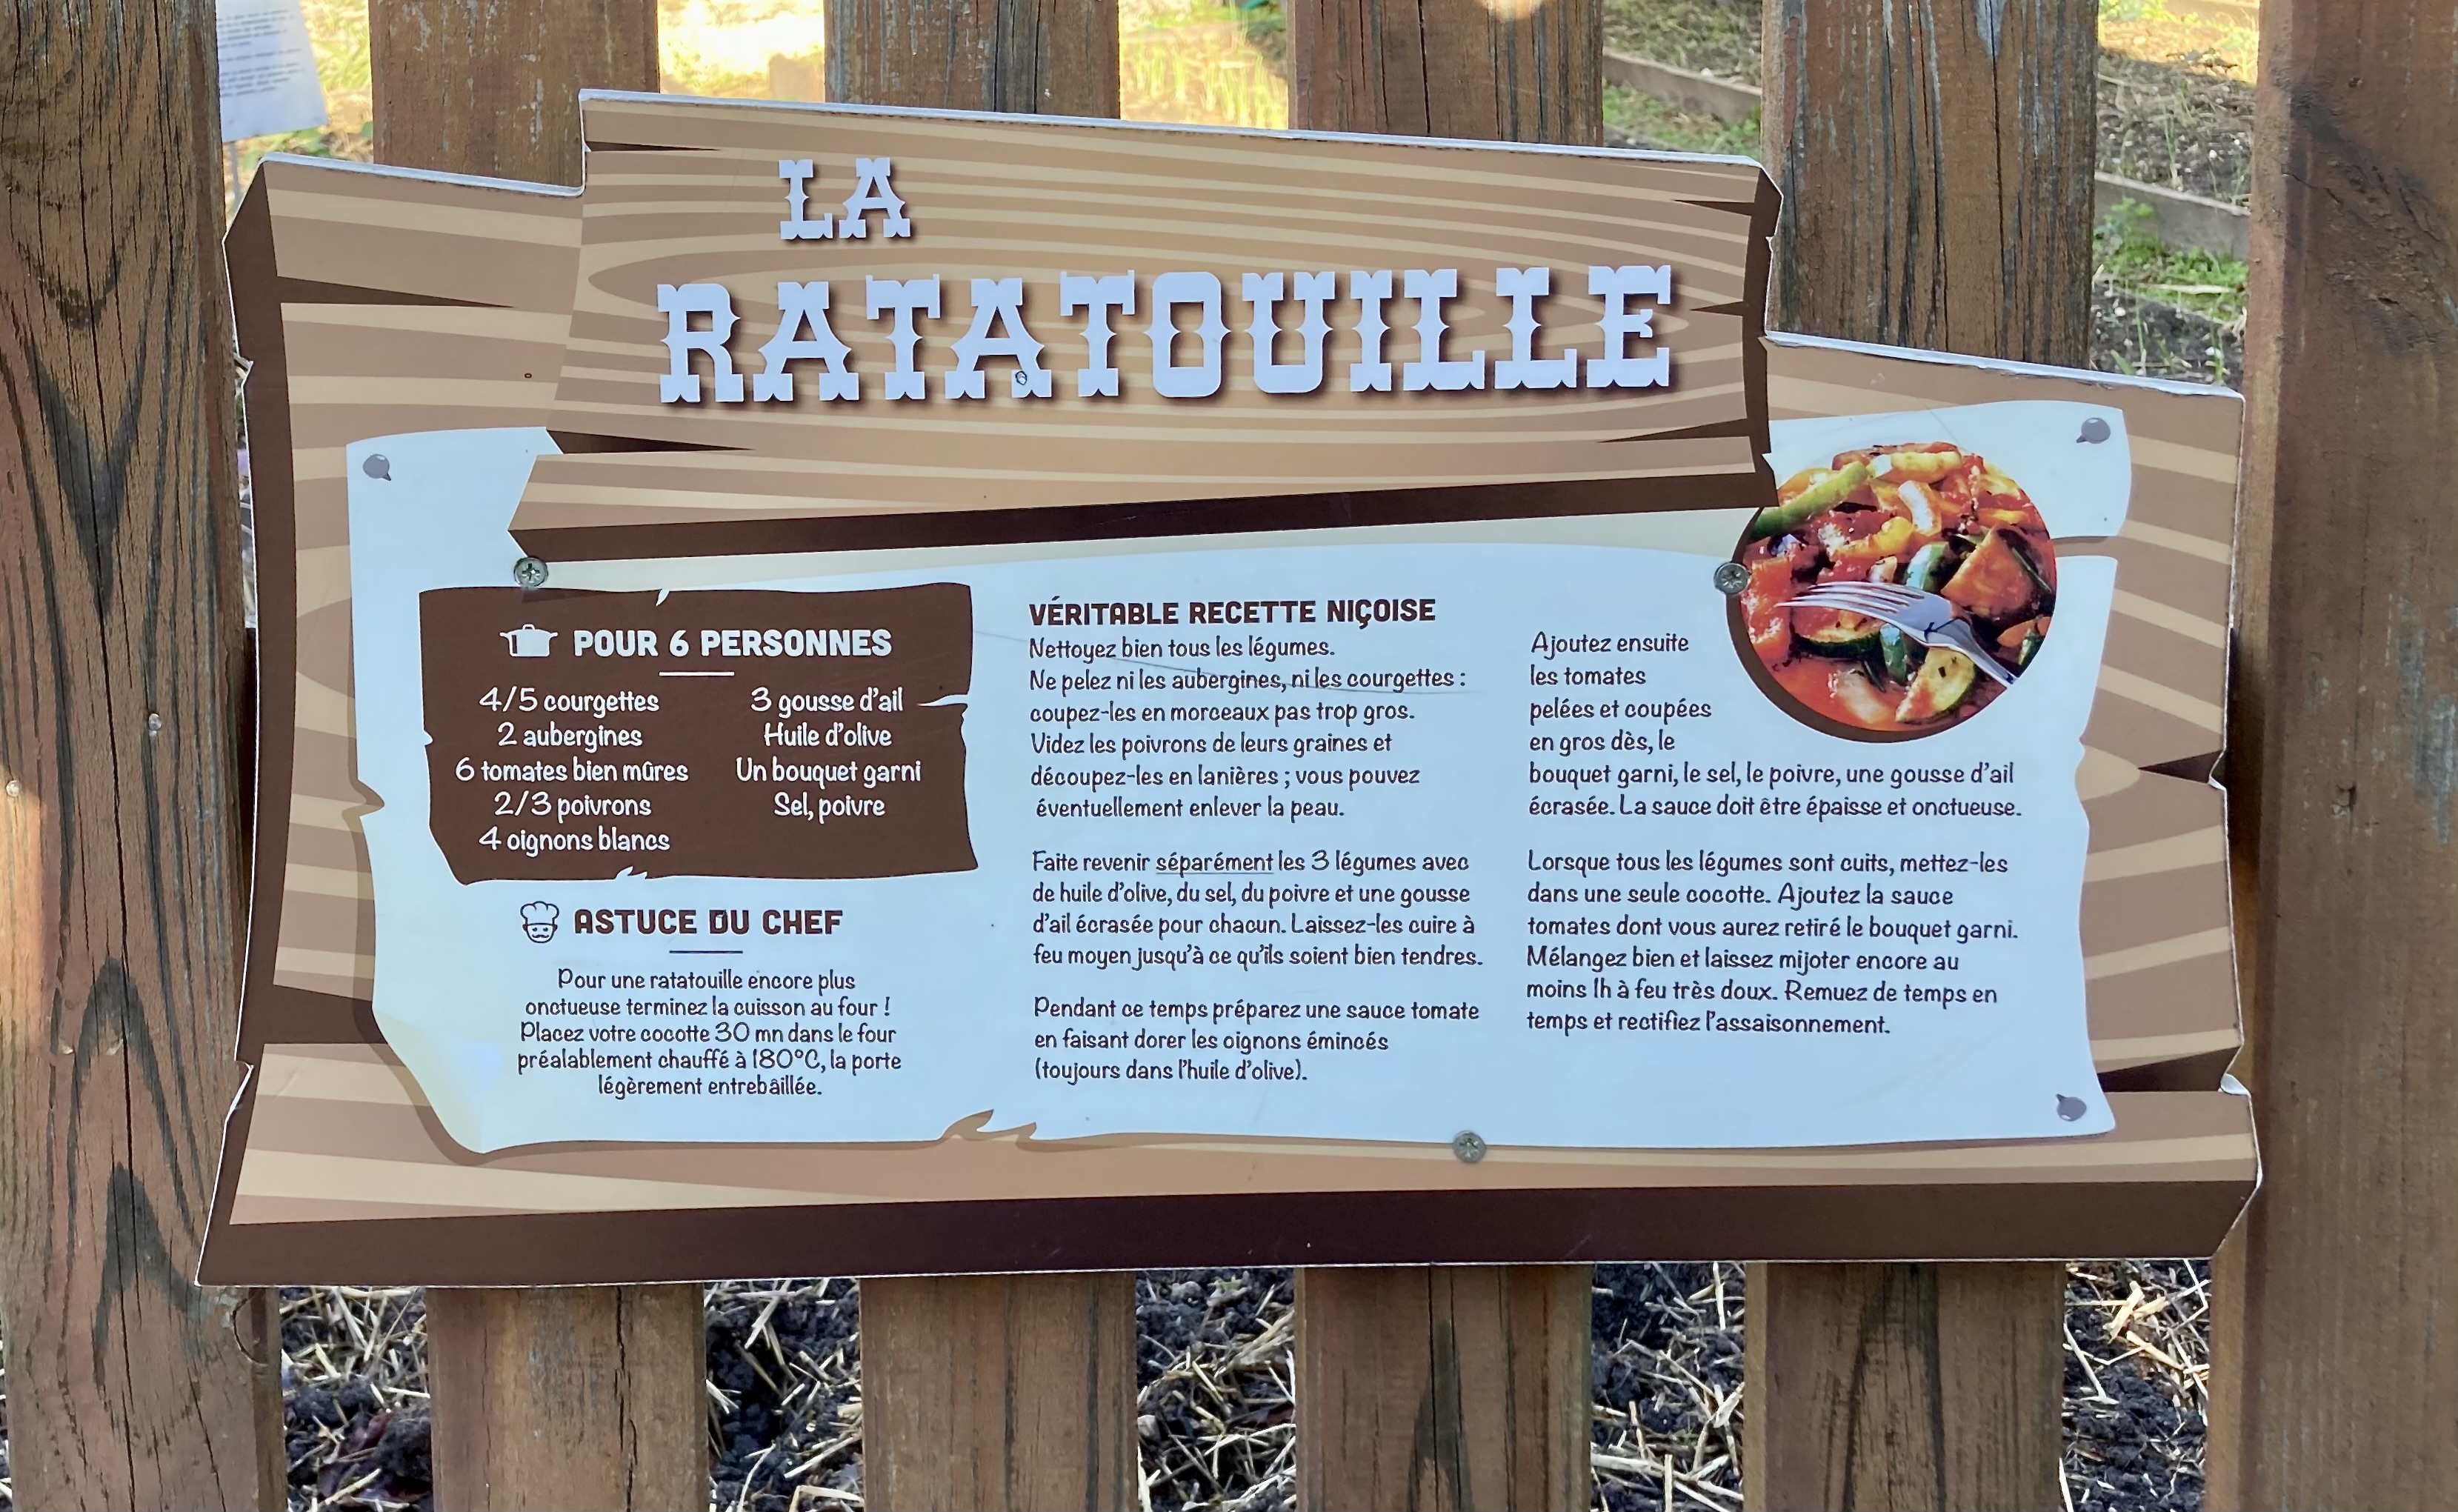
PS
The recipe is on display in Parc Phoenix in Nice, so it must be the original!