Scones

A few weeks ago, our local supermarket promoted original, traditional English clotted cream, scones and strawberry jam, obviously. We bought a jar but couldn’t find the scones. The clotted cream ended up in the refrigerator and we forgot about the scones. Fortunately, clotted cream keeps very well so when we spotted the jar some two weeks later, we decided to open it and taste the cream. Yummy! So, all we needed for our Cream Tea were scones. And since we couldn’t find them, we baked them ourselves.

What You Need

  • 250 grams of Self Raising Flour
  • 2/3 teaspoon Baking Powder
  • 75 grams of Butter (room temperature)
  • 30 grams of Sugar
  • 120 grams of fresh Whole Milk
  • 125 grams of Raisins
  • One egg
  • Pinch of Salt

What You Do

Start by soaking the raisins for 10 minutes in hot water. Drain and squeeze gently. This way the raisins will be tasty and moist. Lightly beat the egg, just enough to combine the white and the yolk. Now combine self raising flour, baking powder, butter and sugar until you have a crumbly pastry. Best is to use a hand mixer with kneading hooks. This may take some time. When well mixed, add half the egg and the milk. Make a smooth dough. Fold in the raisins and store the result in the refrigerator for one hour. Preheat your oven to 210 °C or 410 °F. Roll out the dough. We used a 7-centimetre (cookie) cutter. Coat the top of the scones with beaten egg. Allow to rest for 15 minutes. Coat the scones for the second time. Bake the scones for some 10 minutes. Keep an eye on your oven because the scones will bake very quickly!

Serve with a generous amount of English clotted cream and strawberry jam. The best way is to split the scone in two, cover each half with clotted cream and put the strawberry jam on top.

PS

If you want to see how our favourite Dutch Pâtissier Cees Holtkamp makes scones (in his home kitchen, supported by his granddaughter), then this video will help. It’s in Dutch (with YouTube provided subtitles). Please note that his list of ingredients is slightly different.

Scones ©cadwu
Scones ©cadwu

Red Bell Pepper Paste

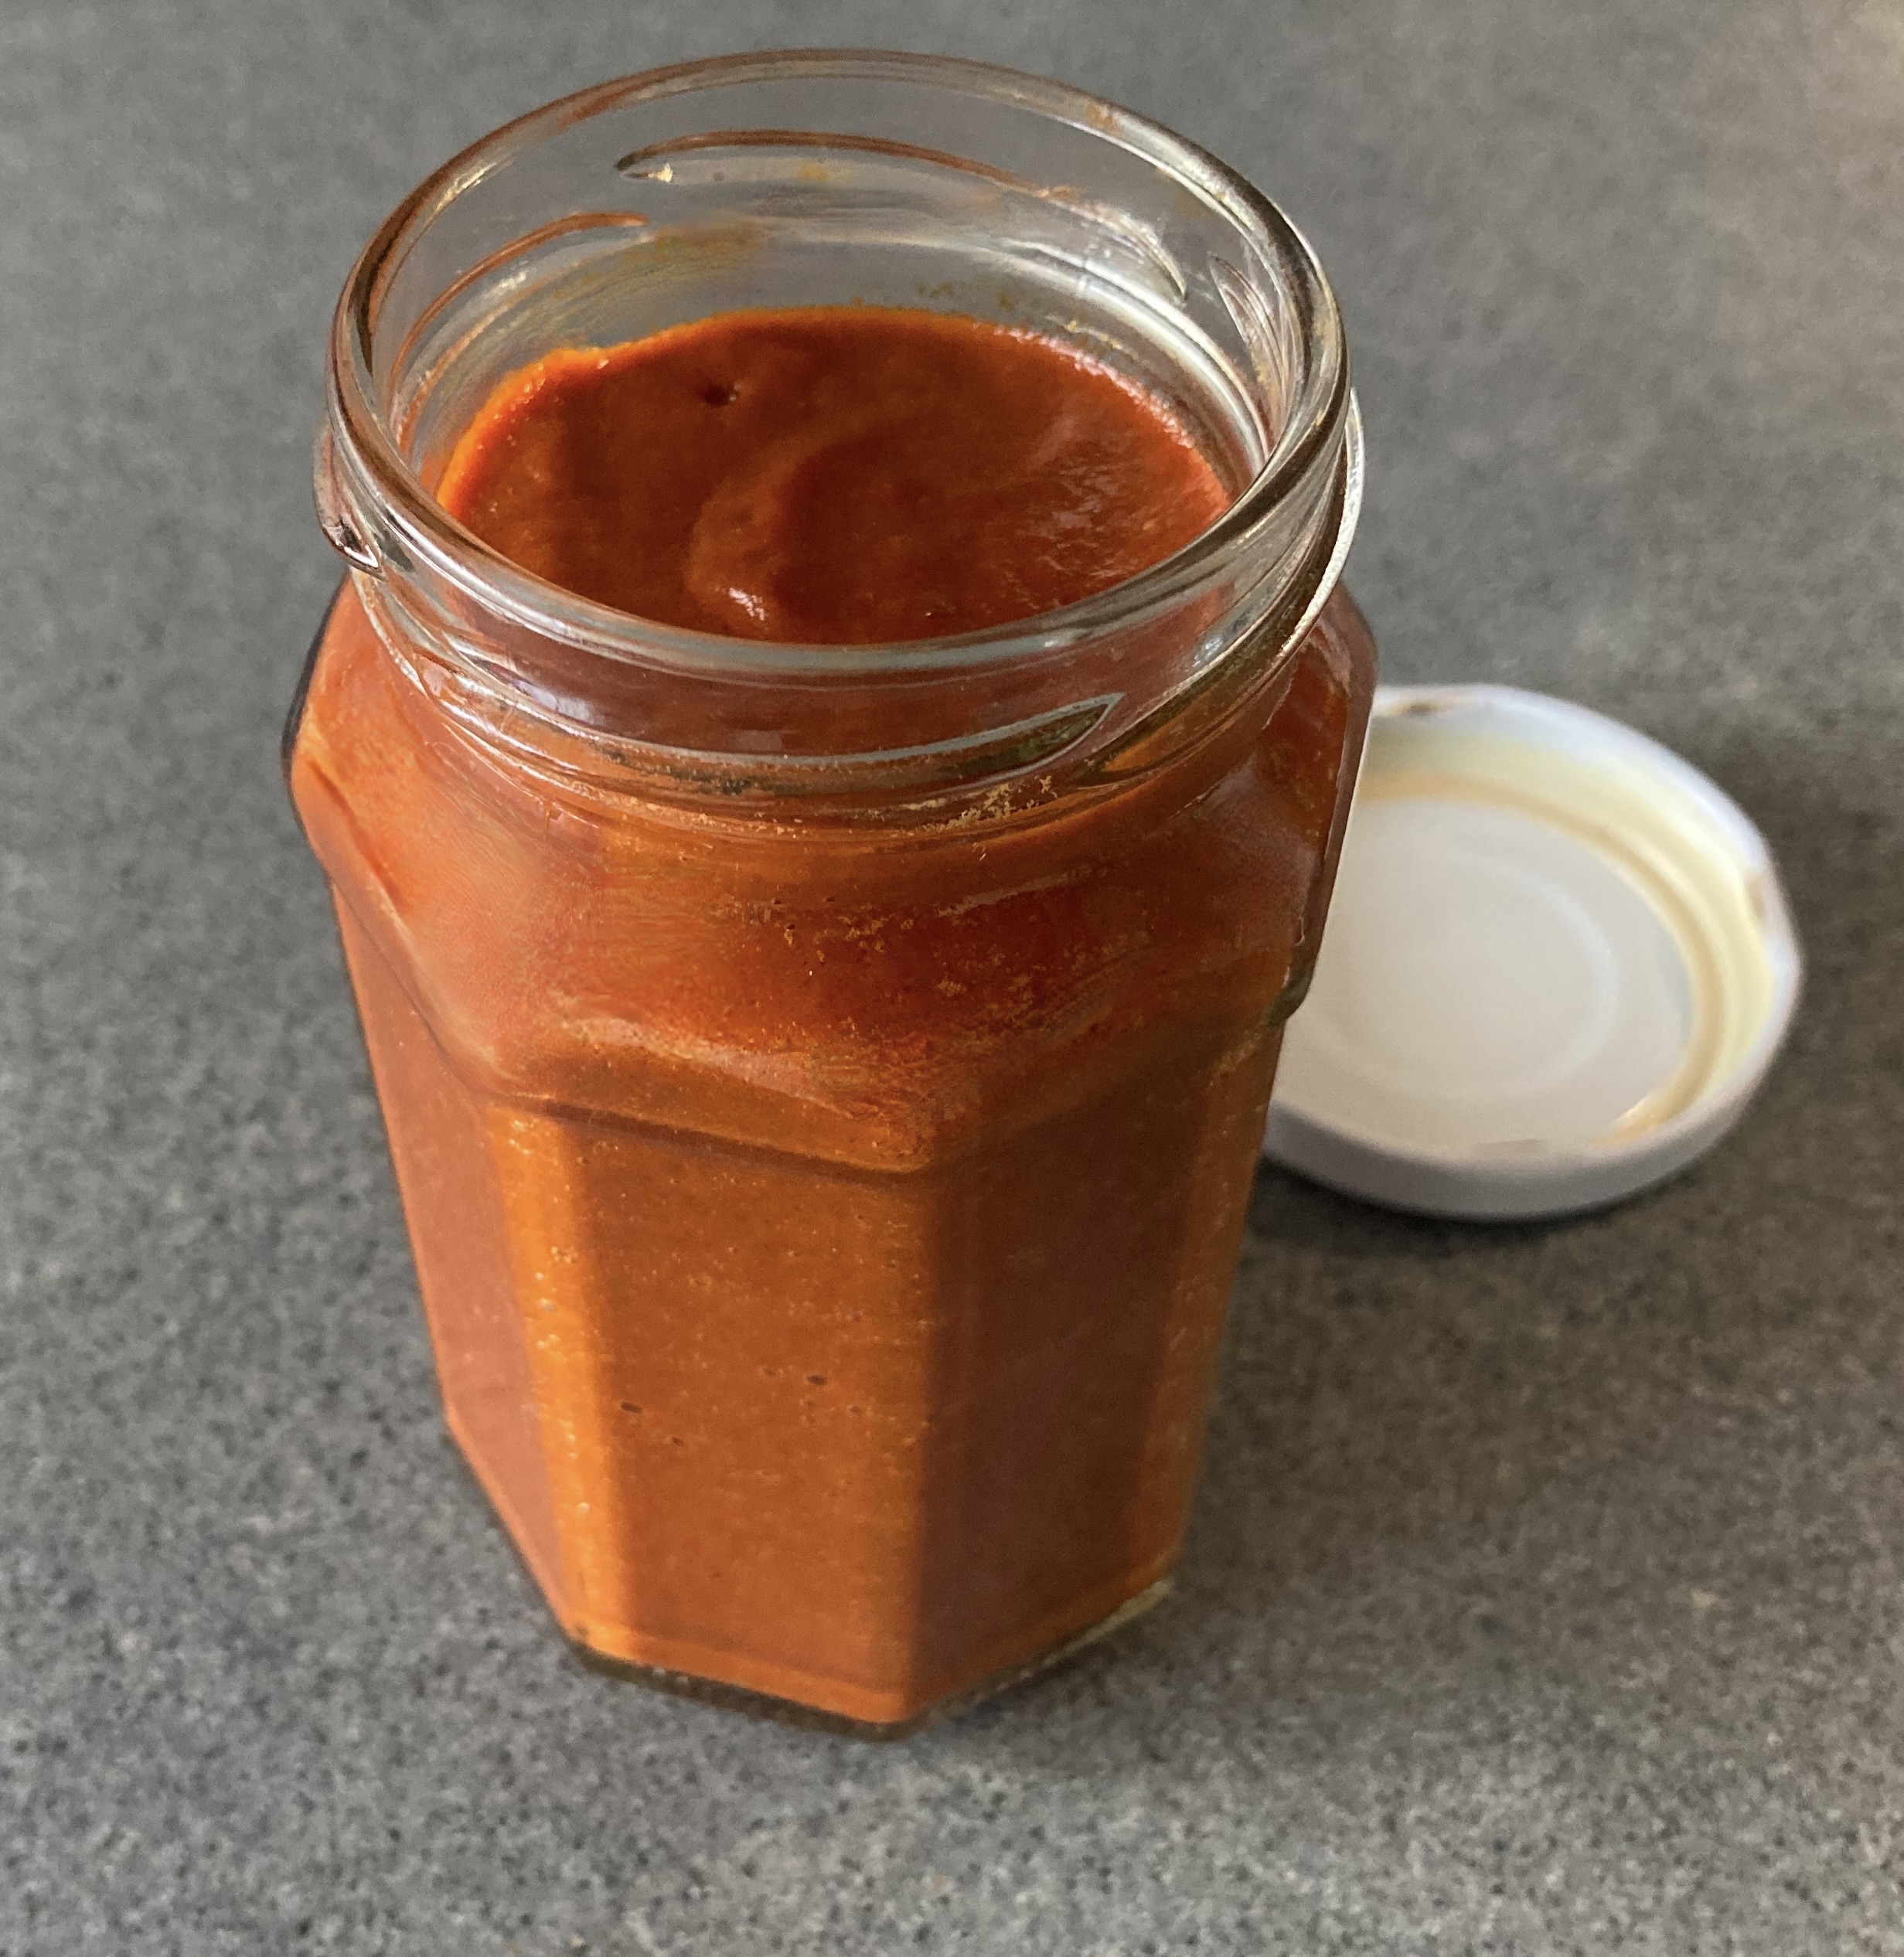
Sweet, smokey, mild, umami: red bell pepper paste is a great condiment when you’re making a pasta sauce with tomatoes, marinating pork or chicken for a stew or looking for a basis for a spread or dip. Very popular in the Portuguese kitchen (Pasta de Pimiento Rojo).

You could make the paste with red bell peppers only; you could add a pinch of salt or perhaps some garlic. Our alternative has a deeper colour and more intense flavours, thanks to the shallot, garlic and red wine. 

Red Bell Pepper Paste keeps very well in the refrigerator, especially when you store it in a jar under olive oil.

What You Need

  • Red Bell Peppers
  • Optional: Salt, Garlic

What You Do

Clean the bell peppers, remove the seeds and the veins; cut in 4. Transfer to the oven and grill or roast for 10 minutes or until well charred. When still hot, put the bell peppers in a plastic container and close it. After one hour it’s easy to remove the skin of the bell pepper. Chop and blender until smooth and thick. You could add a pinch of salt or some grated garlic.

What You Need (Alternative)

  • Red Bell Peppers
  • Shallot
  • Garlic
  • Red wine
  • Olive Oil

What You Do

Clean the bell peppers, remove the seeds and the veins; cut in 4. Transfer to the oven and grill or roast for 10 minutes or until well charred. When still hot, put the bell peppers in a plastic container and close it. After one hour it’s easy to remove the skin of the bell pepper. Chop the shallot, the bell pepper and the garlic. Add olive oil to a pan, glaze the shallot. Add the garlic. After a few minutes add the chopped red bell pepper and any remaining liquid. Add some red wine and reduce. Repeat this step two or three times. Transfer the content to the food processor and blend until smooth and thick.

PS

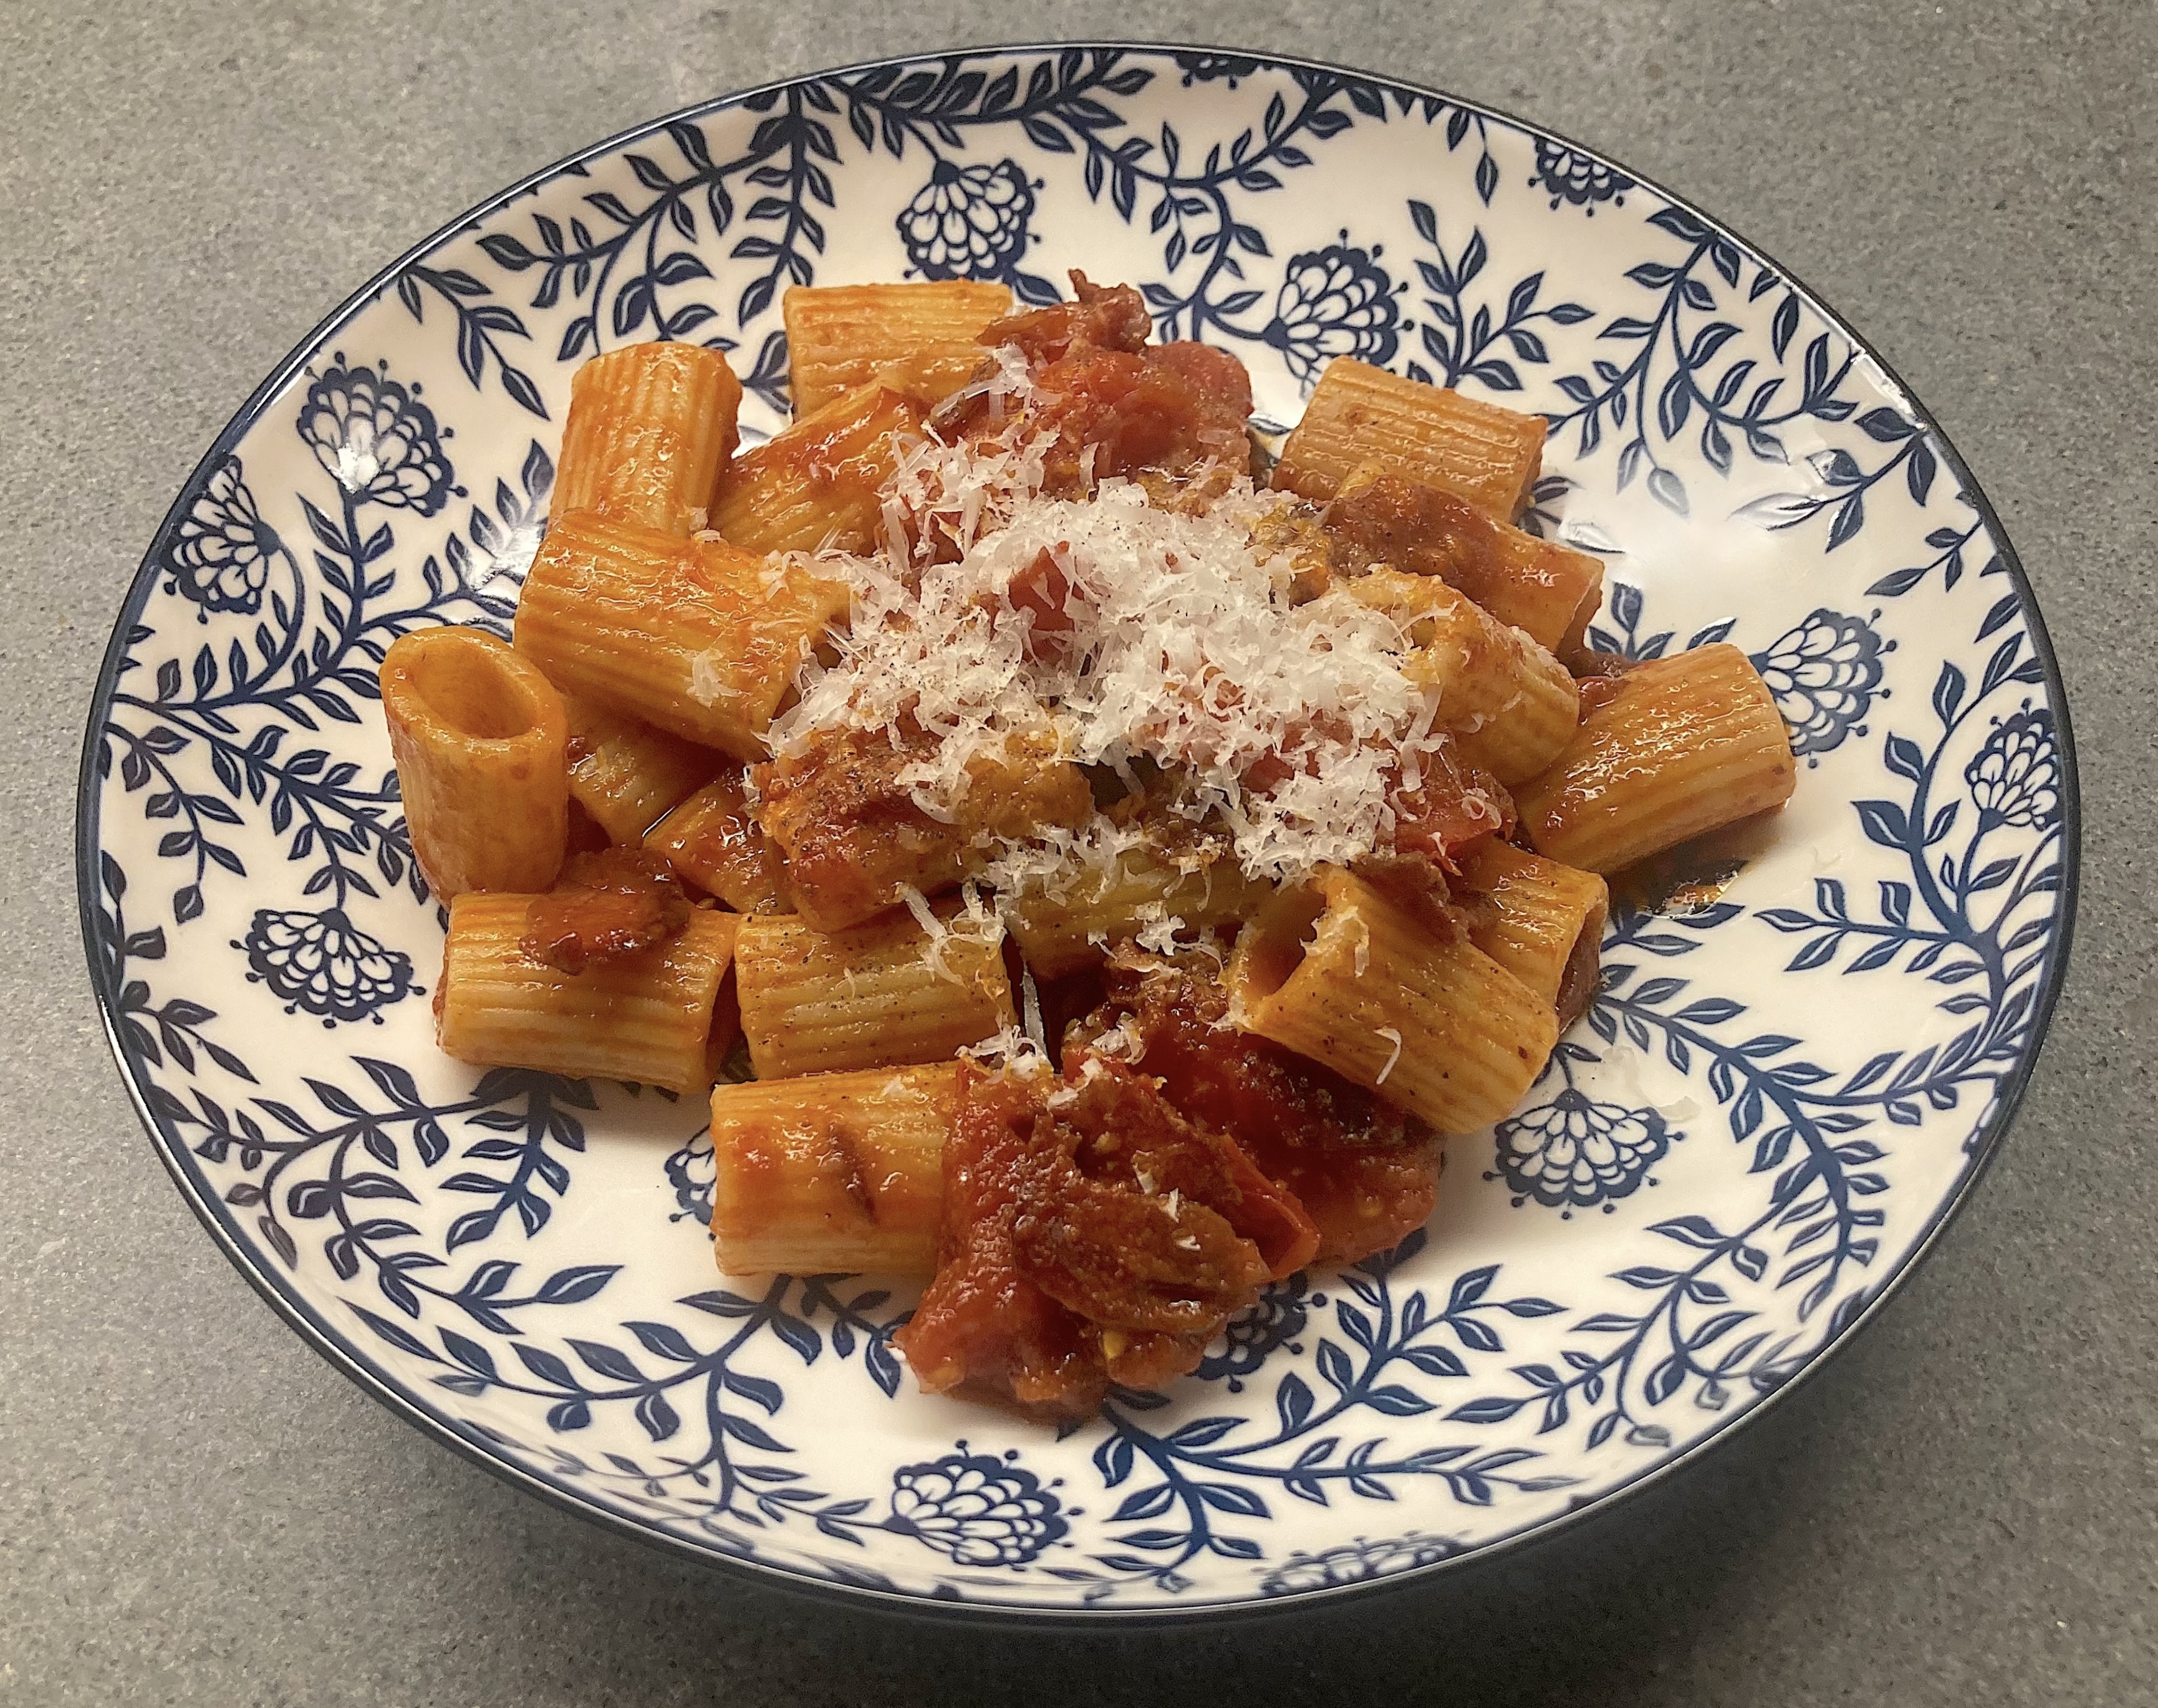
We used our red bell pepper paste for a pasta dish with tomato confit.

Bouchée à la Reine

Crispy, fluffy, flaky puff pastry and a rich, warm filling with mushrooms and parsley, what better way to turn leftovers into a tasty starter. Bouchée a la Reine: a classic in Belgium and France. Not modern at all, but such fun to serve (and eat). You could fill the pastry with poultry, with mushrooms, shrimps, sweetbread, just about anything will go, as long as you use a rich roux as basis.
Making our own puff pastry is a bit too much for us, making your own bouchée is not too difficult, but buying them at the bakery is also fine. 

Wine Pairing

It all depends on the filling of your Bouchée a la Reine. It could be a light red wine if you have some left over veal, if it’s sweetbread then a lightly oaked chardonnay is fine et cetera. In all cases keep in mind that the filling comes with a generous amount of butter.

What You Need

  • 2 Bouchées
  • Some left over Veal or Chicken or Shrimps
  • Mushrooms
  • For the Roux
    • Butter
    • All Purpose Flour
    • Stock
  • Parsley
  • Lemon
  • Black Pepper
  • Butter

What You Do

Chop the (already cooked) meat and the mushrooms. Gently heat some butter in a pan, add the mushrooms and leave them for 10 minutes or so. Add the meat. Taste and add black pepper, perhaps some lemon juice, spices and herbs, definitely lots of parsley. In parallel make the roux. Warm the stock. Add butter to a pan, add the equal amount of flour plus a bit more (remember you also have some butter in the other pan). Softly fry the flour until you begin smelling that typical cookie aroma, then start adding the warm stock, slowly at first, constantly whisking. Add the meat, the mushrooms, some black pepper and the chopped parsley. Don’t turn the roux into a sauce, it must be ragout like. At this stage you could cool the filling for use later on.
Heat the bouchée in an oven at 180 °C or 355 °F for 10 minutes. Transfer from the oven onto a plate, add the filling and serve immediately.

Bouchée a la Reine ©cadeau

Leek with Truffle

This winter truffles are even more expensive than usual, due to a warm and dry season in the Italian and French truffle regions. The number of truffles is limited and the ones that are harvested are small. Bad news for the truffle-lover.

The first to talk to us about truffles were Fred and Yolanda de Leeuw. Not only did they run a very special butcher in Amsterdam, they also imported truffles and truffle related products. 
Their shop was the only place in Amsterdam where you could buy Wagyu beef before it became popular, foie gras, quails, Spanish veal, bread from Paris, oysters with wasabi sabayon, capon, home-made pastrami and black pudding. Expensive, delicious and always of the highest quality.

Fred and Yolanda contributed to various cookbooks with recipes for truffle-based dishes. In 1999 chef Alain Caron and author Lars Hamer published a book about the shop, the meat, the patés, the sausages, the salads and the dishes they prepared. One of these recipes is for a leek salad with summer truffle and Jus de Truffe. The truffle juice is obtained after maceration of the truffles for six months to one year in the juice of the first cooking process for conserved truffles. Jus de Truffe has the deep earthy aromas and flavour of fresh truffle.

We prepared the leek salad as a tribute to two people who were genuinely passionate about what they did, what they sold and what they prepared.

Wine Pairing

The dish comes with a range of flavours: the leek is buttery with a hint of onion and the vinaigrette earthy and fresh with a touch of bitterness. Wine wise we suggest a Soave, a white wine made with garganega grapes, because it goes very well with the citrus and the aromatic leek flavour. 

What You Need

  • Young Thin Leek
  • Lemon
  • Olive Oil
  • Jus de Truffe
  • Mustard

What You Do

Clean and wash the leek. Slice in three, making sure all slices have the same length. Cook in hot water for 20-30 minutes until they have a soft, creamy texture. Cool quickly and set aside. Make a dressing by adding jus de truffe to a bowl. Add half a teaspoon of mustard, a few drops of lemon juice and half a teaspoon of excellent olive oil. Now it’s a matter of adjusting. It all depends on the intensity of the jus de truffe, the tartness of the lemon and flavour of the olive oil. Dry the leek carefully, whisk the dressing and serve. And if you can afford it, add some freshly grated truffle.

Eton Mess

For some reason we were talking about summer, about typical summer food, about strawberries, green peas, melon, okra, peaches, spinach and new potatoes. Of course, most of these are available all year round, but we like to enjoy the season. Today was different, we really wanted to eat strawberries and we decided to make Eton Mess.
According to Hilaire Walden in her excellent Book of Traditional English Cookery the strawberry dessert is eaten on June 4th in Eton during a picnic for pupils and parents of Eton College, as part of the annual prize giving ceremony. Others say it was first served during the annual cricket match between pupils of Harrow School and Eton College.
One anecdote is that a chef planned to make Pavlova but it collapsed, the other anecdote is that the Pavlova was perfect but a dog sat on it, making a mess, an Eton Mess.

Mascarpone is sometimes added to the cream, but that’s a bit over the top. No need to add sugar to the cream because the meringue is sufficiently sweet. Hilaire Walden suggests soaking the strawberries for two hours or longer in kirsch, an idea we liked. She also suggests using ready-made meringues, which make it even easier to make Eton Mess.

What You Need

  • Strawberries
  • Raspberries (optional)
  • Kirsch (or Brandy)
  • Cream
  • Merengue
  • Lemon Zest

What You Do

Clean the fruit, chop, place in a bowl and sprinkle with kirsch or brandy (one or two small tablespoons per portion). Leave in the refrigerator for at least two hours. Whip the cream. Add some lemon zest, mix. Start assembling the Eton Mess: first a layer of merengue crumbles, then fruit, then whipped cream, then a second layer, same order but make sure you can see some of the red fruit. Serve immediately.

PS

In case you want to make your own (French) meringues: you need 2 egg whites and 100 grams of (finely granulated) sugar. The weight ratio should be 1:2, egg white to sugar. Set your oven to 90 °C or 190 °F. Whip the egg whites until somewhat stiff. Start slowly adding the sugar and continue whipping until the egg white mixture shows stiff peaks. Pipe the mixture on a baking sheet, transfer to the oven for 2 hours. The shape of the meringues is not important because you will need crumble for the Eton Mess

  • Eton Mess ©cadwu
  • Book of Traditional English Cookery - Hilaire Walden

Mashua

This edible, very productive plant (Tropaeolum Tuberosum ) is originally from the Andes. It grows very well in colder climates, it’s not very demanding and comes back year after year thanks to its tubers. Other names include Capucine Tubéreuse, Knollige Kapuzinerkresse en Knolcapucien.
We saw Mashua Tubers in our local bio supermarket and we bought them, without having a clue how to prepare the tubers.

The leaves are supposed to taste like Indian Cress (same family) and the deep orange-red trumpet flowers will do very well in a salad. The leaves can also be turned into pesto or prepared like spinach. The tubers (vibrant yellow with an intriguing purple pattern) are often used in stews and soups. They can be eaten raw in a salad, grated or thinly sliced. Not our favourite. The taste is radish like, but sharper and not very elegant.
The taste and the texture of the cooked mashua tubers took us by surprise: delicate cocoa but not sweet, moist and with a pleasant structure thanks to the peel.

We combined our Mashua with chicken and shiitake, a combination that worked very well, although we must admit we were a bit overwhelmed by the Mashua!

Wine Pairing

A medium bodied, fruity, non-oaked red wine will go very well with the Mashua. A glass of Merlot perhaps?

What You Need
  • For the Mashua
    • 5 Mashua Tubers
    • Cumin
    • Shallot
    • Olive Oil
  • For the Chicken
    • 2 Organic Chicken Thighs
    • 50 grams of Shiitake
    • Olive Oil
    • Black Pepper
What You Do
  1. Wash the mashua (don’t peel them)
  2. Cook for 5 minutes
  3. Let cool
  4. Slice the tubers lengthwise in two
  5. Dry with kitchen paper
  6. Peel the shallot, quarter and slice
  7. Warm a small skillet
  8. Add a generous amount of olive oil to the pan and glaze the shallot for a few minutes
  9. Add cumin (crushed seeds preferred)
  10. Add the halved mashua
  11. Leave for 30+ minutes until just a bit soft
  12. Turn them occasionally to coat the roots with the flavours of the oil, the shallot and the cumin
  13. No need to colour them
  14. Add some extra cumin 5 minutes before serving
  15. In parallel, fry the chicken thighs and transfer to the oven (60 °C or 140 °F). Clean and slice the shiitake, add to the pan and fry. Add the chicken, allow to integrate. Add black pepper to taste.

Bitter Orange

One of our favourite dishes is Duck Breast with Orange Sauce. Not difficult to make and the result is always tasty. Use a combination of fresh orange juice, thyme, rosemary, butter, Mandarine Napoléon, Cointreau, chicken stock and/or orange peel to make a tasty, not to sweet sauce. Mandarine Napoléon is preferred because it gives bitterness and depth to the sauce. The juicy meat, the sweetness of the duck and the orange, the nice aromas, the herbs and the velvety mouthfeel of the sauce make this an excellent combination.

Last week we were lucky, very lucky when we spotted Orange Amère on our local market. Bitter Orange! Also known as Seville Orange, Bigarade Orange or Pomerans. Finally! The ideal ingredient to make Orange Curd, Marmalade and of course Orange Sauce.

We bought a handful and as soon as we were at home, we wanted to taste it. The Bitter Orange does not contain much juice, their seize is similar to that of a clementine and the seeds are relatively big. The taste is sweet and gentle at first, and then you have bitterness, some astringency and length. Wow! We rushed to our butcher, bought an excellent magret de canard and later enjoyed a perfect Duck Breast with Orange Sauce.

Bitter Oranges are normally available from late December until the end of February. Ask your greengrocer!

Our suggestions: Duck Breast with Orange Sauce and Orange Curd.

  • Bitter Orange ©cadwu
  • Duck Breast with Bitter Orange Sauce ©cadwu

Mousse au Chocolat

Crème Brulée, Ile Flottante, Crêpes Suzette and Mousse au Chocolat: four classic French desserts. It’s tempting to buy them ready-made, especially Mousse au Chocolat is popular in supermarkets, but why not make your own?

From 1992 until 2002 Belgian cook Herwig van Hove and host Dré Steemans (better known as Felice Damiano) had a weekly program on television called ‘1000 seconds’. In these 1000 seconds (just under 17 minutes) Herwig van Hove would prepare a three-course meal. Sometimes he took a short cut by serving cheese as dessert, but very often he would prepare three courses. His recipe for Mousse au Chocolat is quick and easy. The result is a delicious Mousse au Chocolat, one that will keep well for at least 24 hours.

What You Need (for 4)

  • 2 fresh organic Eggs
  • 35 grams of fine Sugar
  • 100 grams of Dark (Cooking) Chocolate
  • 165 grams of Cream
  • Raspberry (to decorate, optional)

What You Do

  1. You will need 2 bowls plus one larger bowl
  2. Start by separating the eggs
  3. In a smaller bowl beat the egg white until firm
  4. In the larger bowl beat the egg yolks and the sugar until ‘ruban’ (meaning thick and pale)
  5. In a smaller bowl whip the cream until firm
  6. This order allows you to use one wire whisk for all three steps in the process!
  7. Melt the chocolate with 65 grams of cream in your microwave on very low power. No rush, the result should be lukewarm. This will take 3 minutes or longer
  8. Use a spoon to mix the cream and chocolate until smooth
  9. For the next steps you need a spatula
  10. Add the chocolate mixture to the egg yolks and combine
  11. Now fold in the cream using a spatula and then fold in the egg whites. Don’t stir or mix, just fold
  12. Fill four nice glasses with the mousse, cover with cling foil and transfer to the refrigerator
  13. Just before serving decorate with raspberries and perhaps some freshly whipped cream.
  • Mousse au Chocolat ©cadwu
  • Mousse au Chocolat not decorated ©cadwu

Deviled Eggs with a Twist

Easy to make, tasty, and most people love them. You only need a few simple ingredients such as hard boiled (organic) eggs, mayonnaise, Dijon mustard, vinegar (or lemon juice) and black pepper. Sprinkle some paprika on top and they’re ready.

Alas, we’re not huge fans of paprika. Why would you ruin lovely ingredients like egg, mayonnaise and mustard by adding a spice that is at best a touch sweet and in most cases bland?

Paprika (powder) is made from dried red peppers and probably originates from Mexico. When it was brought to Europe, local versions were created, for instance a hot Hungarian version (essential when making goulash) and a smoked Spanish version (pimentón, key ingredient of chorizo and paella). Local peppers were used, including red bell pepper, and the flavours ranged from mild and sweet to hot. By the way, the term ‘deviled’ refers to the spiciness of the dish.
Unfortunately, nowadays factory produced paprika seems to be used for its red colour only.

We combine a bit of everything by adding roasted bell pepper. It adds depths, smokiness, complexity and flavour.

What You Need

  • 6 organic Eggs
  • Mayonnaise
  • Dijon Mustard
  • Lemon Juice
  • Red Bell Pepper
  • Black Pepper
  • Parsley (optional)

What You Do

Grill the bell pepper in your oven until nicely burned, perhaps 10 minutes. Transfer to a plastic container and close the lid. Wait a few hours before peeling the bell pepper. Use a sharp knife to mash the bell pepper. It’s fine if the mash has a bit of structure.
Boil the eggs and let cool. Slice the eggs lengthwise, remove the yolk. Use a fork to crumble the yolks (mimosa) and then combine with mayonnaise, mustard and mashed bell pepper. Add lemon juice and black pepper to taste. Remember the stuffing should be ‘devilish’. Add mixture to the egg whites. Decorating with parsley gives an extra twist to the deviled eggs.

Deviled Eggs ©cadwu
Deviled Eggs ©cadwu

Crostini

You don’t want to spend hours in the kitchen when serving drinks and you want to enjoy a warm appetizer (snack, finger food, quick nibble)? What to do? Of course: serve crostini! You can prepare them in advance and the only thing you need to do is put them under the grill for 3-5 minutes. A nice crunchy appetizer with a rich taste and intense aroma.

We use taleggio, a semi-soft cheese from Italy with a mild taste. It melts easily, so you need to keep an eye on your oven! If you can’t get hold of taleggio, then use mozzarella instead and add a bit more flavour to the mushroom topping.

What You Need
  • For the Mushroom Topping
    • Button Mushrooms and Shiitake
    • Garlic Cloves
    • Olive Oil
    • Thyme and Rosemary
    • Black Pepper
    • (Excellent) Olive Oil
  • For the Crostini
    • Old, stale Bread (Baguette preferred)
    • Garlic (optional)
    • Excellent Olive Oil
  • Taleggio
What You Do
  1. One day before serving the crostini
    1. Clean and chop the mushrooms
    2. Finely chop the rosemary, the thyme and the garlic
    3. Fry the mushroom in olive oil in a heavy iron skillet
    4. Reduce heat
    5. Add herbs and garlic
    6. Continue on low heat for 10-15 minutes
    7. Transfer the mushroom mix to a plate and let cool
    8. Transfer to a kitchen aid and on low speed add some olive oil
    9. Taste and add some black pepper.
    10. You’re looking for a coarsely chopped mixture, one that you can easily distribute over the crostini
    11. Store in the refrigerator.
  2. Also one day before serving the crostini
    1. Slice the bread and toast it
    2. Halve a garlic clove, very gently rub the top of the toasted bread with the garlic and then brush with olive oil
    3. An alternative is to preheat your oven to 180 °C or 350 °F, brush both sides with olive oil and bake until golden, 15 to 20 minutes. Perhaps you need to turn the slices over once
    4. Store in a plastic container.
  3. A few hours before serving the crostini
    1. slice the taleggio (with crust!)
    2. top the bread with the mushroom mixture and then with a slice of cheese.
    3. Set your oven to grill (broiler)
    4. Transfer the crostini to the top of your oven
    5. Wait for a few minutes (watch carefully!) and serve immediately.
Crostini with Mushrooms and Taleggio ©cadwu