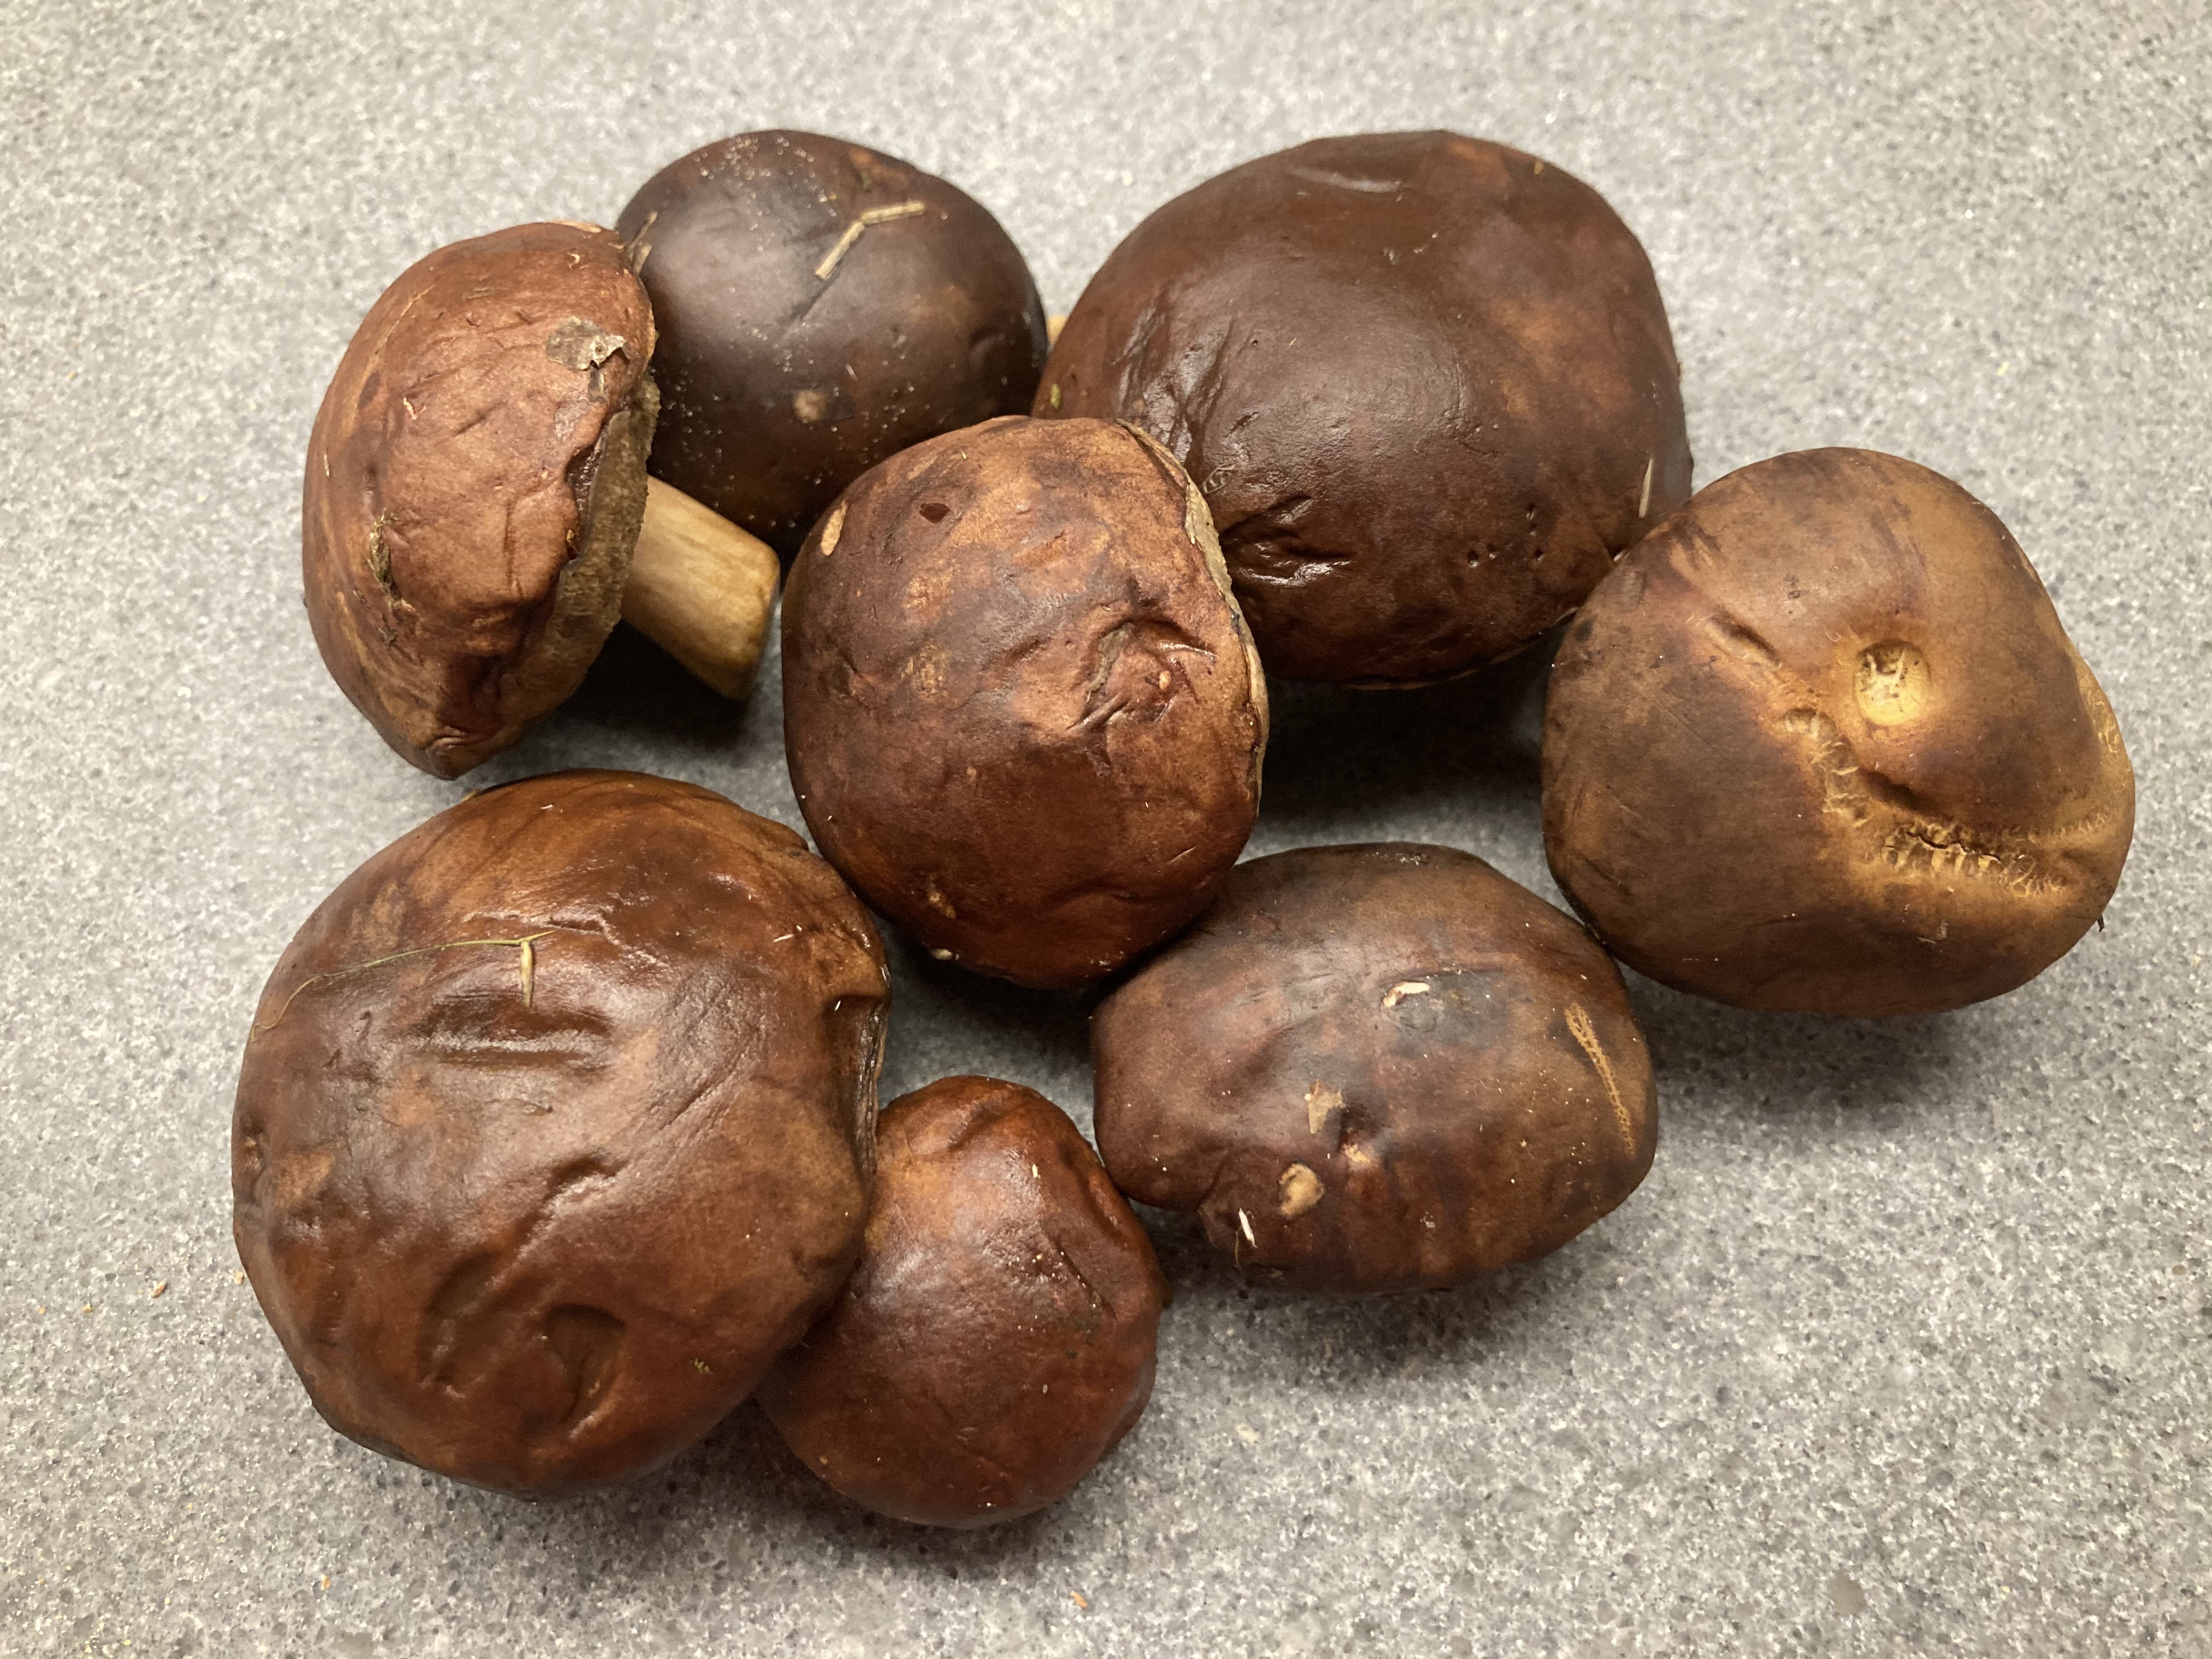
Jerusalem Artichokes
So much to tell about this plant! It originates from North America (so nothing to do with Jerusalem), its flowers are beautiful and resemble sunflowers, its tuber contains inuline (hence the sweetness) and the taste does make you think of artichokes. Other names include earth apple, topinambour (such a mysterious name!) and sunroot. Once a popular, cheap, nutritious vegetable, now nearly forgotten.
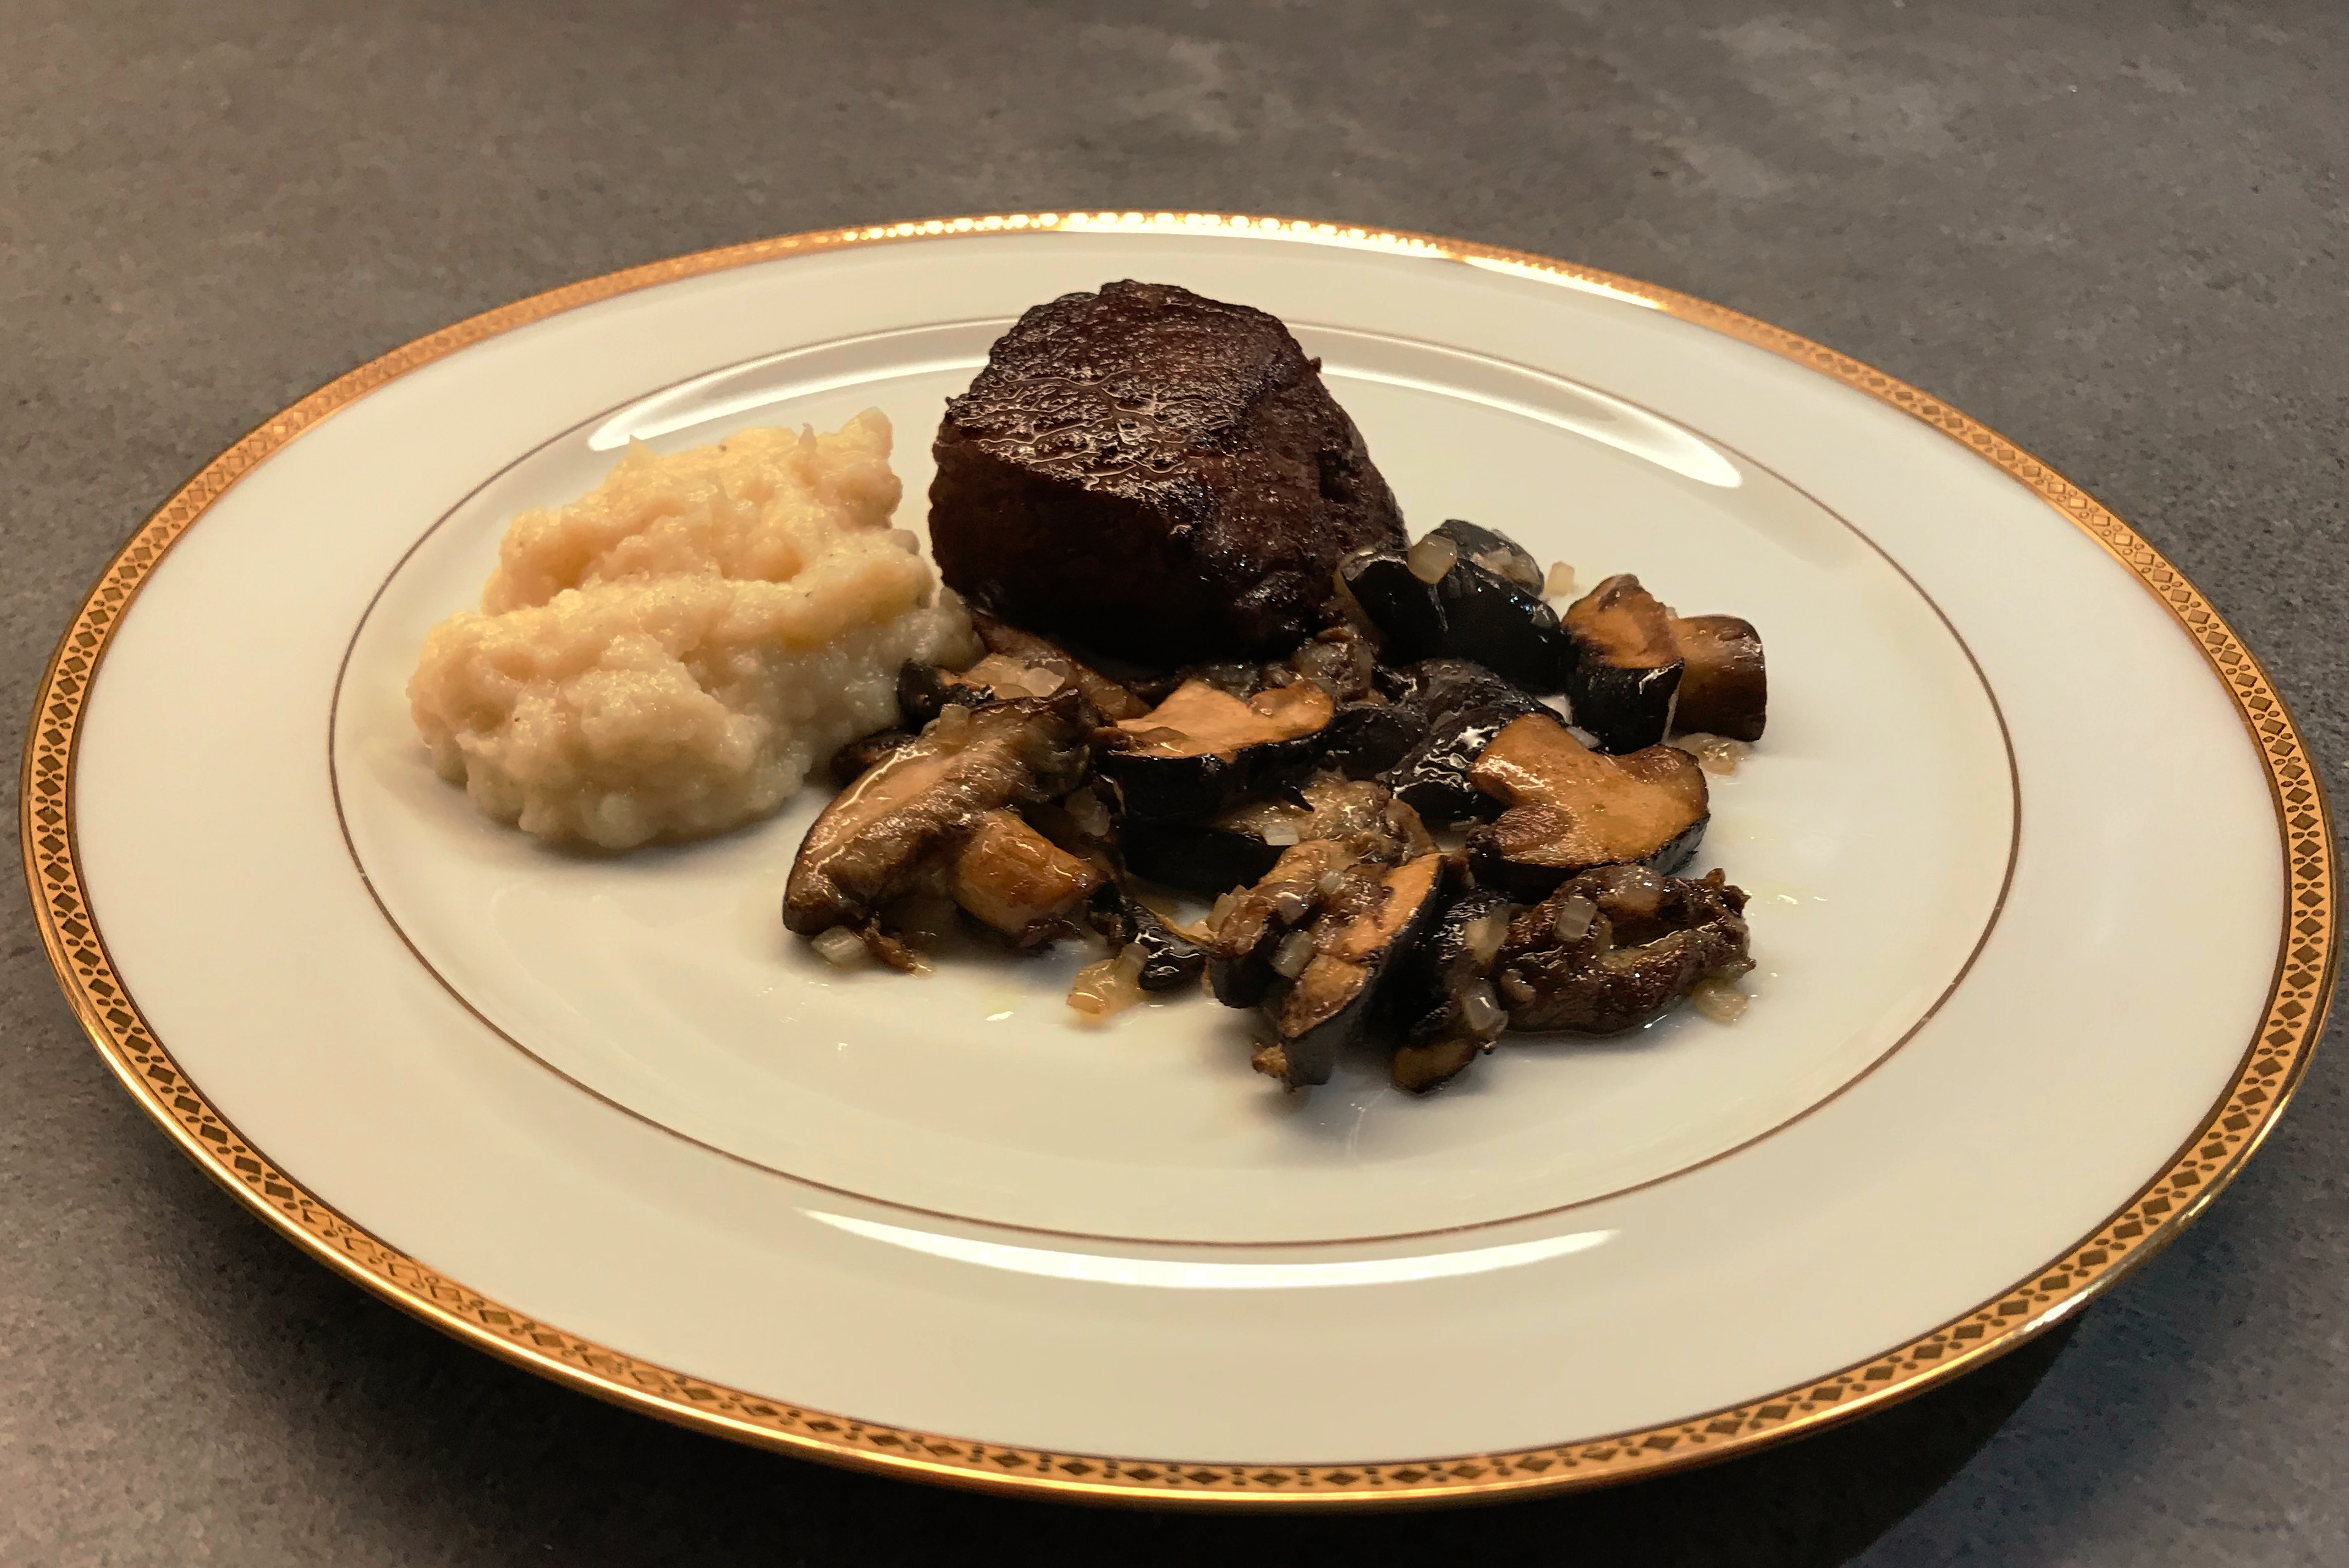
Most people cook or steam the tuber and turn it into a mash. Works well, especially when you add some excellent olive oil or some crème fraiche. Jerusalem Artichokes only contain a very limited amount of starch, so you could use a blender, but we prefer using a fork and passing it through a sieve because the mash becomes glue easily. A better idea is to quarter the Jerusalem Artichokes and cook them gently in olive oil with nutmeg, onion and garlic. When nearly ready add a glass of white wine and some stock, reduce the liquid and serve as a stew.
Jerusalem Artichokes can be used in many ways, you can eat them raw, use them as a basis for a soup, combine them with other seasonal vegetables in the oven, et cetera. We treated them as potatoes and served them with excellent beef and Brussels sprouts.
Wine Pairing
Your choice of wine is of course much influenced by the way you prepare the tubers and what you serve with them. In our case we suggest a Valpolicella Ripasso: red fruit, cherries, not too much tannins, fresh and zesty. Works very well with the sweetness of the Jerusalem Artichokes and the slightly nutty taste of the Brussels sprouts. Or should we say the slightly nutty taste of the Jerusalem Artichokes and the sweetness of the Brussels sprouts?
What You Need
- Jerusalem Artichokes
- Olive Oil
- Butter
What You do
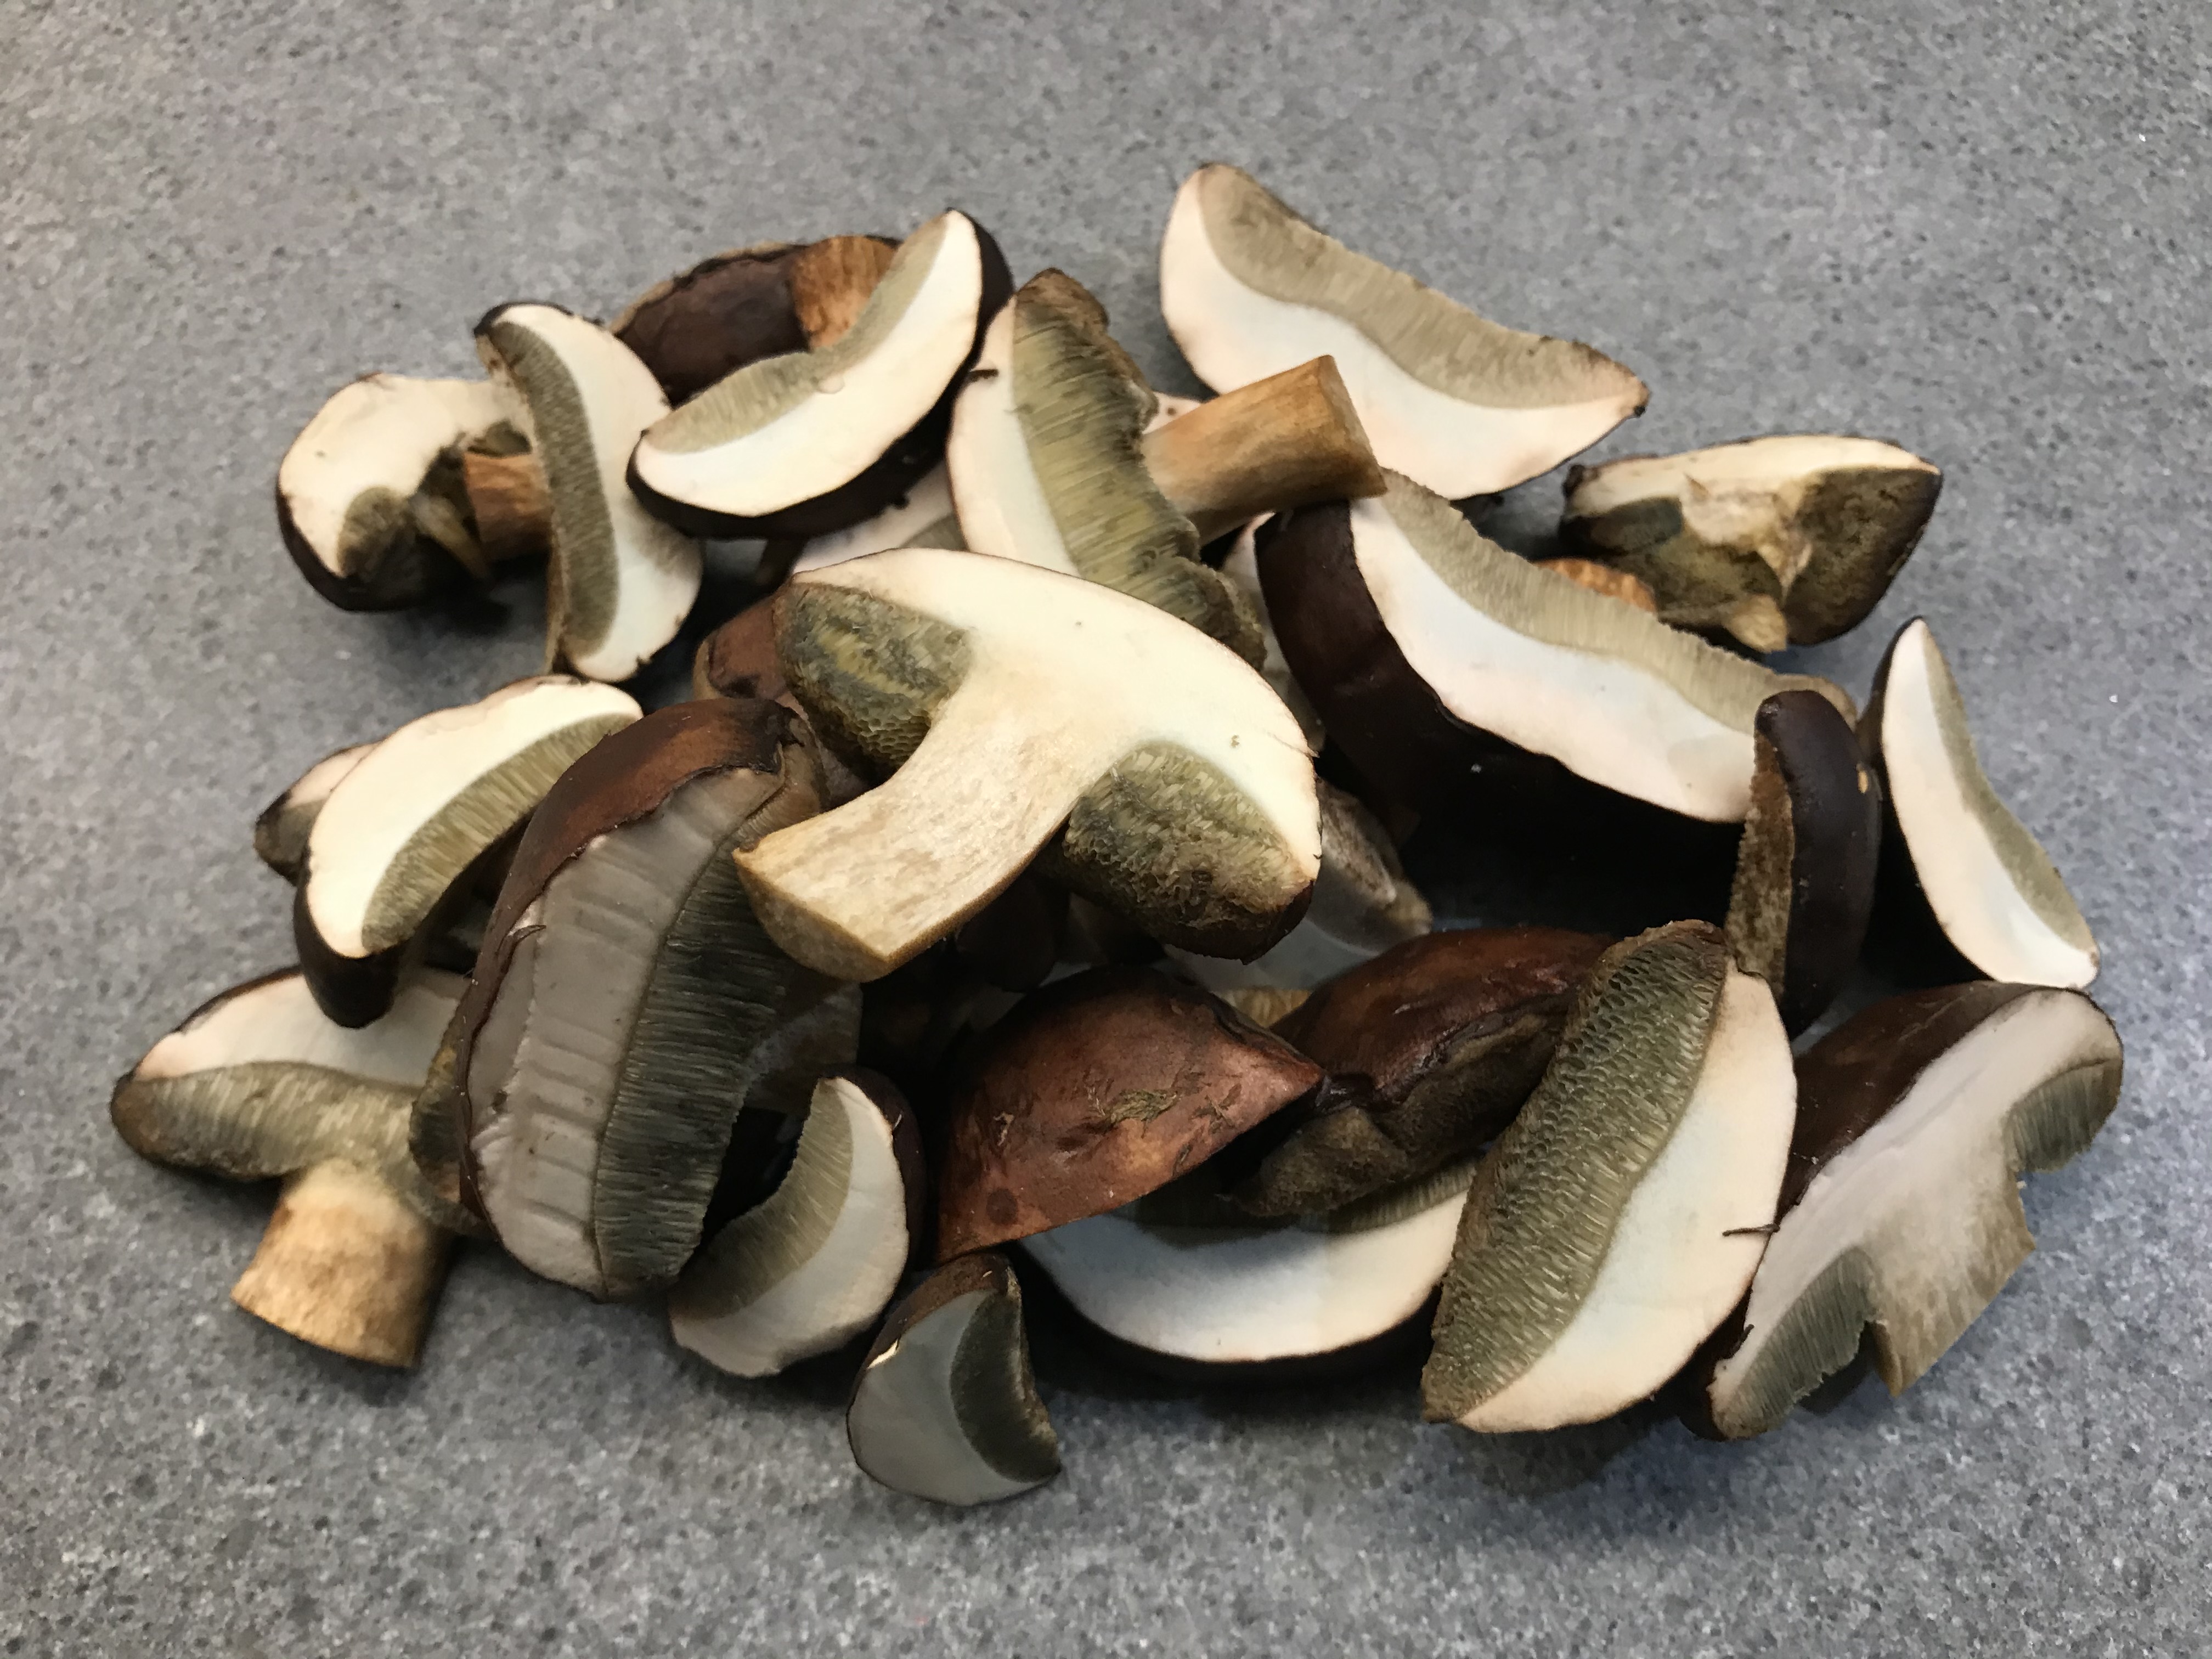
Wash the tubers and steam them for 20 minutes or so, depending on the size. You could also cook them, but be careful since they overcook easily. Another option is to put them in the oven for an hour or so on 80° Celsius or 175° Fahrenheit (for instance when you are preparing Choucroute). Let cool. Peel and slice the tubers. Warm a non-stick pan, add olive oil and perhaps some butter. Fry the slices gently. Take your time and watch carefully, the fructose in the Jerusalem artichokes burns easily.