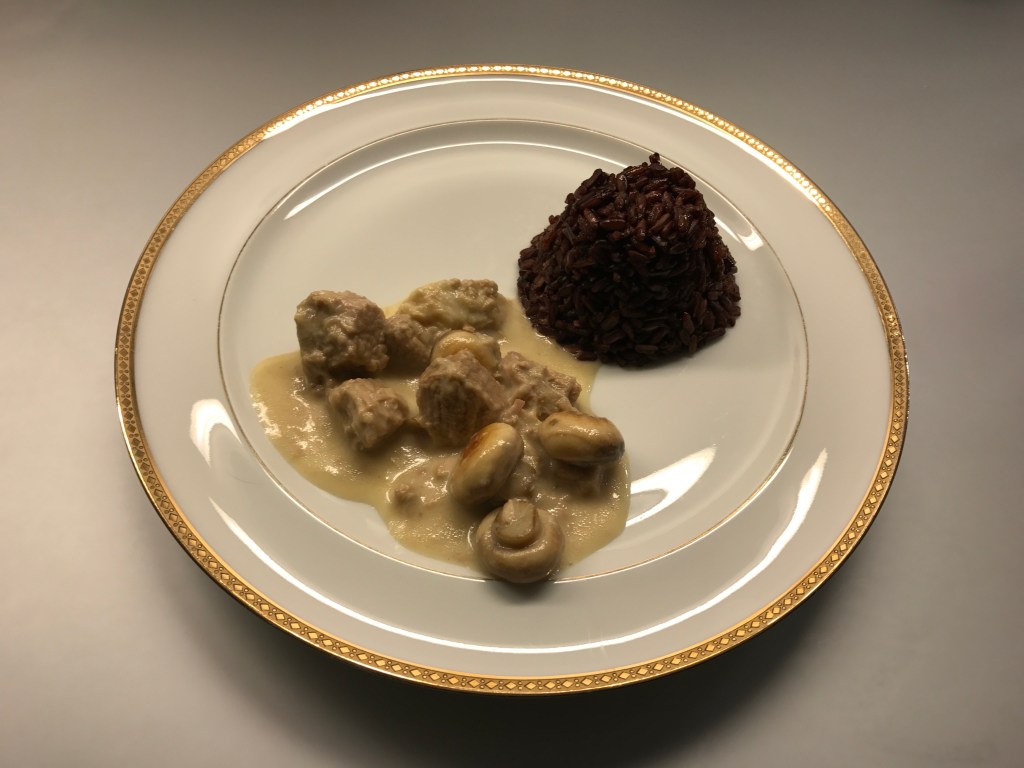
Veal with Mai Take and a Madeira jus

The Dancing Mushroom

In Japan and China Mai Take (or Hen of the Woods) is a much-loved culinary mushroom. Legend has it that Mai Take got its name because foragers danced with happiness when finding it. Mai Take can be wild or cultivated but in both cases its taste is powerful, intense and nutty. Make sure you cook Mai Take through and through, otherwise you may upset your stomach (and other parts of your body).
Mai Take combines very well with beef and thyme. It is also great when combined with shrimps, crab, coquilles St Jacques, coriander, dill and parsley; a salad created by Antonio Carluccio and published in 2003 in the Complete Mushroom Book. The book has a wealth of wonderful, simple recipes.

In this case we combine beautiful veal rib eye with Mai Take, using a Madeira jus to bring the flavours together. The fried Mai Take comes with a lovely crunch. We love the way the taste of the combination develops in the mouth. We use rib eye because it is the most tender and delicate part of the veal. It is nicely marbled making it an excellent choice to grill or fry.

Don’t be tempted to buy so called ‘cooking Madeira’. This is some horrible, sweet liquid that is not even close to Madeira. One for the bin. We bought a bottle of medium dry Madeira (Santa Maria). It is perfectly suited for this recipe.

Wine Pairing

A Rioja Crianza is a good choice. In general a Rioja Crianza is a high-quality, affordable wine. It’s not too rich, but with Tempranillo’s natural high tannin it has quite a bit of body. The wines are commonly aged for one year in used oak casks, so the oak flavours are not too strong. The wine will show notes of sweet spice, vanilla, black and red fruit.

What You Need

  • Veal Rib Eye (let’s say 300 grams)
  • Veal stock
  • 75 gram Mai Take
  • Olive Oil
  • Butter
  • Madeira
  • Black Pepper

What You Do

The veal must be at room temperature. So take it out of the refrigerator let’s say 2 hours in advance. Heat a heavy iron skillet, add olive oil and butter. Fry and cook to perfection (pink is the colour you’re looking for). You could also transfer it to the oven for an internal core temperature of 60° Celsius or 140° Fahrenheit. When ready wrap in foil and allow to rest for 15 minutes. Add some veal stock and Madeira to the pan and warm. Add the liquid from the veal on a regular basis.
Remove the base of the Mai Take and then slice in 2 of 4 parts and fry for a few minutes. Apply some pressure, you want the Mai Take to look like a fan, perhaps the suggestion of coral.
Slice the veal and serve with the Mai Take, a generous amount of jus and some black pepper.
PS In case you have too much meat, simply store it in the refrigerator for the next day and serve as Vitello Tonato.

Roulade of Chicken with Rosemary and Pancetta

A Kitchen Puzzle

Roulade sounds terribly old-fashioned. And if not old-fashioned it will probably make you think of meat in a net, seasoned with something like ‘chicken herbs and spices’. Yuk! You have two options: ask your butcher to make one for you or the much-preferred option: Do It Yourself.
The key to a roulade is to buy smaller bits of meat. In this case we used 4 chicken thighs. This is the very tasty, boneless half of a chicken leg. To create a roulade you need fairly thin slices of meat that will be the outside of the roulade. For the inner part of the roulade you can use smaller, chunkier bits. Take your time to solve the puzzle. It may seem easier to buy one thin slice of meat and simply roll it up, and that could work very well with beef, but building a roulade with smaller bits of pork, veal or chicken is very rewarding. Use plenty of kitchen string to make the roulade.
After having tied the last knot, leave the roulade in the refrigerator for a few hours. This will help the roulade to become firm, which is helpful when frying it. It will also help the flavours to integrate.

Wine Pairing

We enjoyed our Roulade with a glass of excellent Austrian Zweigelt. This red wine is fruity and elegant which combines really well with the powerful rosemary and the full-bodied chicken roulade.

What You Need

  • 300 grams of Chicken Thigh
  • 3 sprigs of Rosemary
  • 2 slices of Pancetta
  • Butter
  • Olive Oil
  • Thyme
  • Chicken stock
  • Cream

What You Do

When you’ve solved the puzzle, simply add two slices of pancetta and the two sprigs of rosemary. Tie the roulade together with kitchen string. Cool for a few hours in the refrigerator. Heat some butter and olive oil in a skillet. Fry the roulade making sure you fry the seam first. A few minutes should be sufficient. Transfer the roulade to the oven, let’s say 160 °C. A higher temperature will shorten the cooking time and enhance the color, but you risk an overdone roulade. That’s why we prefer 160 °C or lower. When your roulade is bigger, feel free to turn it every 10 minutes.
Remove the roulade when the temperature in the centre is 70 °C. Wrap in foil and leave to rest for at least 15 minutes.
Start building the sauce by adding chicken stock, the third sprig of rosemary (leaves only) and some thyme. Cook gently for 5 – 10 minutes. Use a blender to make a smooth mixture and pass through a sieve. Transfer back to the skillet and add some cream. Remember to add the juices of the roulade as well. The juices should be clear. If not, the roulade needs to rest longer.
When the sauce is ready to be served, transfer the roulade from the foil, carefully remove the string and slice the roulade with a very sharp kitchen knife. Serve with the sauce on a hot plate.

Vegetables With Couscous

Couscous Bidaoui

A classic dish from the Moroccan cuisine: Couscous Bidaoui. It very likely originates from Casablanca. Making couscous is all about steaming the semolina in a couscoussier and while doing this create a rich broth and cook the meat (lamb or beef) and the vegetables with various herbs and spices. It doesn’t work with instant couscous, so what to do in case you don’t have a couscoussier? Our challenge is to cook something that somewhat resembles a classic dish without having the essential equipment.

Let’s talk about things we do have: lots of vegetables! The classic couscous Bidaoui contains vegetables such as onions, turnips, carrots, chickpeas, tomatoes, courgette, pumpkin and cabbage plus herbs like parsley and cilantro. That shouldn’t be too difficult so let’s start cooking!

Wine Pairing

A wine from the French Alsace, for instance a Gewurztraminer (an aromatic white wine with a touch of sweetness) will be very nice with the vegetables and the spices. You could also go for a glass of Rosé (Côtes de Provence for instance) or a red wine, provided it’s not too powerful. Pinot Noir would be good choice.

What You Need

  • Onions
  • Turnips
  • Carrots
  • Chickpeas
  • Courgette
  • Cabbage
  • White Raisins
  • And we added Red Bell Pepper, Garlic and Red Chilli
  • Turmeric Powder
  • Cumin Seeds
  • Cinnamon Stick
  • Vegetable Stock
  • Preserved Lemon
  • Couscous (one cup)
  • Butter
  • Black Pepper
  • Olive Oil
  • Black Olives
  • Cilantro

What You Do

If using dried chickpeas: soak these overnight. Start by slicing and cutting the vegetables. In a large heavy pan glaze the onions. Then add the garlic, followed by the carrot and the turnip. Make sure they are nicely coated with olive oil. Continue by adding the chickpeas, the courgette, the bell pepper, a bit of chilli and the white raisins. Crush the cumin in a mortar. Add stock, cumin, cinnamon stick and turmeric and let simmer for 30 minutes at least. Use plenty of stock because you will need one cup for the couscous. When the vegetables are nearly ready, add the roughly chopped cabbage and a few slices of preserved lemon. In parallel make the (instant) couscous (this will normally take 5 minutes) using one cup of the cooking liquid. When ready use a fork to make the couscous fluffy and add some butter. Create a ring of couscous and add the vegetables to the centre. Perhaps some black pepper. Sprinkle with cilantro and add a few olives.

Seasonal Vegetables

Bring Autumn And Winter To Your Table

This year the University of Amsterdam will award the prestigious Johannes van Dam price to Alain Passard, the French chef who showed that vegetables can be the centrepiece of your meal.
In 1986 Alain Passard opened his restaurant Arpège in Paris and ten years later he obtained a third Michelin star. He published a number of great books, for instance In the Kitchen with Alain Passard (a graphic novel) and The Art of Cooking with Vegetables.

In this dish we simply combine a variety of seasonal vegetables into an inspiring side dish. Some of the vegetables are known as ‘forgotten’ vegetables. And although some are forgotten for a very good reason, you will find most forgotten vegetables very tasty and colourful. This dish will allow you to taste the individual and combined flavours. Don’t worry if you have some left over: it’s even better the next day.

Wine Pairing

A simple full-bodied red wine will work very well with the dish.

What You Need

  • Parsley Root
  • Turnip
  • Sweet potato
  • Truffle potato
  • Jerusalem Artichoke
  • Red and Yellow Beetroot
  • Black Carrot
  • Parsnip
  • Rosemary
  • Thyme
  • Olive Oil
  • Black Pepper

What You Do

You don’t need all of the above, but make sure you have a nice variety. Wash and clean the vegetables. Peel the vegetables if so required, but don’t peel the truffle potato. Slice it, this way you will be able to see the great pattern of the potato later on. Cut the other vegetables in chunks, making sure they are all of similar size. Sprinkle generously with olive oil, making sure everything is nicely covered. Add a bit more if in doubt. Add sprigs of thyme and rosemary.
Heat the oven to 180° Celsius. Put in the oven (upper half) for 60 minutes or longer. Mix after 15, 30 and 45 minutes. You may want to increase the heat to add a nice golden color to the vegetables. Remove sprigs and serve with black pepper.
Please note there is no need to add onions or garlic. The combination of vegetables, herbs and oil should do the trick.

Tuna with Sesame Seeds and Pickled Cucumber

Tataki

This starter is easy to prepare and simply delicious, provided you have the best quality ingredients: fresh tuna, tasty sesame seeds, sesame oil and pickles.
Japanese sesame oil is made from roasted sesame seeds. As with olive oil the best sesame oil is ‘extra vierge’ so the oil is extracted from the seeds using pressure only. We used oil produced by La Tourangelle, a company specialised in gourmet oils. Think Walnut oil, Hazelnut, Almond, Pistachio, but also Coconut and Avocado oil. As always, this sesame oil is more expensive than the usual sesame oil, but the difference in taste is impressive. A few drops of this wonderful sesame oil work perfectly with the tuna and the lightly toasted sesame seeds.
Pickled cucumber is a great addition to this dish; it comes with a bit of ginger, sesame seeds (!) and a light acidity. Not difficult to make, but buying it is fine too.

Sake Pairing

The world of sake is a complex one. We decided to drink a glass of Yamato Shizuku, Junmai Gingo. The production of sake is labour intensive and it very much depends on the quality of its four main ingredients (rice, koji, yeast and water) and the skills of the brewers. Junmai means that only these four ingredients were used and Ginjo means that the sake was made with carefully selected products and that more or less traditional techniques were used. In most cases sake is produced in Kobe; this one however is from the northern part of Honshu. This sake is light, yet it still has a bit of umami. The taste is refreshing, floral and mineral with a clear but pleasant presence of alcohol (15,5%). It works wonderful, with the fish, the sesame and the pickles.

What You Need

  • Small piece of Tuna (125 gram)
  • White Sesame seeds
  • Olive Oil
  • Sesame Oil
  • Pickled Cucumber

What You Do

We want the tuna to be red on the inside and the sesame seeds gently roasted. Best is to buy a fairly thick slice of tuna and make sure it’s cold. Dry the tuna with some kitchen paper, coat both sides with the sesame seeds and fry in oil in a hot non-sticky pan. Keep it moving. Monitor the side of the slice. Turn the tuna when you see the beginning of a crust. Ideally the sesame seeds are now light golden brown. When ready, quickly transfer to a cutting board and slice. Put on a warm plate, drizzle some excellent sesame oil over the tuna and garnish with pickled cucumber.


Blanquette de Veau

Hard to say what the original way of preparing Blanquette de Veau is. In all cases the veal is added to a cold liquid (preferably a combination of water, wine and stock) and then cooked slowly. The sauce must be made using egg yolk.
Make sure the veal has some nice layers of fat. This will add falvour to the dish and it will help make the meat moist.
We use mace to add additional flavour to the Blanquette. Mace is the outer skin of a nutmeg seed. It is removed by hand and then dried. It is sold in whole pieces or ground. Given its strong flavour, using mace comes with a risk. Use a small piece and taste well after 30 minutes or so. Remove the mace from the stew before it becomes overwhelming.
Don’t underestimate Blanquette de Veau. You need time and patience.

Wine Pairing

We enjoyed our Blanquette de Veau with a Pinot Noir from Austria. A red Burgundy would also work. If you prefer a new world Pinot Noir, make sure it’s not too woody. The vanilla that comes with the wood is too strong for the delicate taste of the Blanquette.

  • 300 gram of Veal
  • 1 Shallot
  • Little bit of Mace
  • Cup of White Wine
  • Cup of Veal or Chicken Stock
  • Water
  • 100 gram white Champignons de Paris
  • Butter
  • One or two Egg Yolk(s)
  • Cream
What You Do – Day 1
  1. Cut the veal into cubes. Not too small because during the cooking process they will become smaller
  2. Take a pan, add wine, stock, veal, peeled (but not chopped) shallot, mace and water, making sure the veal is covered
  3. Put on a medium heat and wait until you see a brownish froth
  4. Carefully remove this  with a slotted spoon
  5. Transfer the pan back and leave for 30 minutes on low heat
  6. Taste and check if you’re okay mace-wise
  7. Remove the mace when you think it is becoming too present
  8. Check again after 30 minutes
  9. Cook in total for 3-4 hours on low heat
  10. Clean the mushrooms and fry very gently in a skillet with butter for 15 minutes on low heat
  11. Remove the shallot and mash with a fork.
  12. Decide if you want to reduce the liquid, depending on taste and volume
  13. If you decide to reduce, store the meat on a plate for the duration of the proces
  14. Transfer the mushrooms to the stew and leave for 15 minutes
  15. Make sure you get all the juices form the skillet
  16. Cool the Blanquette and put in the refrigerator for the next day.
What You Do – Day 2
  1. Warm the stew gently
  2. Combine one egg yolk (or two, depending on the volume) with the cream
  3. Mix well
  4. Now add a spoonful of the very warm liquid
  5. This is what is called ‘marrying’
  6. Add more liquid, one spoonful at the time
  7. Keep stirring
  8. Once your mixture is of a similar temperature, add the liquid to the stew and keep stirring until it starts to thicken
  9. Make sure the stew is (very) warm but not cooking. If it becomes too warm you will ruin the marriage.
  10. Taste, check if you want to add some white pepper
  11. Serve on a warm plate with rice or with green beans with a splash of olive and grated nutmeg (!) and crusted bread.
PS

A very tasty alternative is to use Girolles. Agreed, the blanquette will become a bit yellow, but the taste of the Girolle goes very well with the mace and the sauce. It’s a more intense, powerful blanquette.

Cod with Lentils and Cilantro

Plat du Jour

Think France, think a nice small bistro in a small street, off centre, nothing posh, no Michelin star in sight. It’s 12.30, time for a quick lunch. You enter the restaurant, take a seat and order today’s dish, the plat du jour. It turns out to be a generous helping of brown lentils, two fried sausages and mustard. A beer works beautifully with it. After having enjoyed your lunch, you think about the joy of good food, French mustard and the beauty of lentils. Time for coffee. And maybe a glass of Calvados?

Lentils

Let’s talk about lentils. Not expensive at all, very healthy and a pack of essential vitamins and nutrients. Lentils are used in many kitchens and grown in many countries (India, Canada, Australia and also Europe, North Africa and the USA). Lentils have been around for a long time, possible 10.000 years. So you would expect lentils to be popular, but for some reason you don’t see them too much, unless in restaurants serving organic food or as soup. A pity, because a simple dish of rice and lentils with a dash of chutney is healthy, cheap and tasty.

The red lentil (key element to Indian Dhal) is well-known. We use it in our pumpkin soup. It is a split lentil and it will cook very soft.
The Beluga lentil is black, as the name suggests. We could have used Beluga lentils in this recipe because of the colour combines nicely with the white fish.
Most lentils are green or brown. The Du Puy green lentil is special, not only because of its Appellation d’origine contrôlée but very much because of their great taste and the fact that they keep a beautiful shape, even when cooked. Beware of fake Du Puy lentils! All Du Puy lentils are green and from France, but not all green lentils from France are Du Puy lentils. They have names like ‘Le Puy lentils’ or ‘Dupuis lentils’. All nasty marketing. If you want real Lentille Verte du Puy then look for the A.O.P and A.O.C. We prefer the ones from Sabarot (Happy 200th Birthday!)
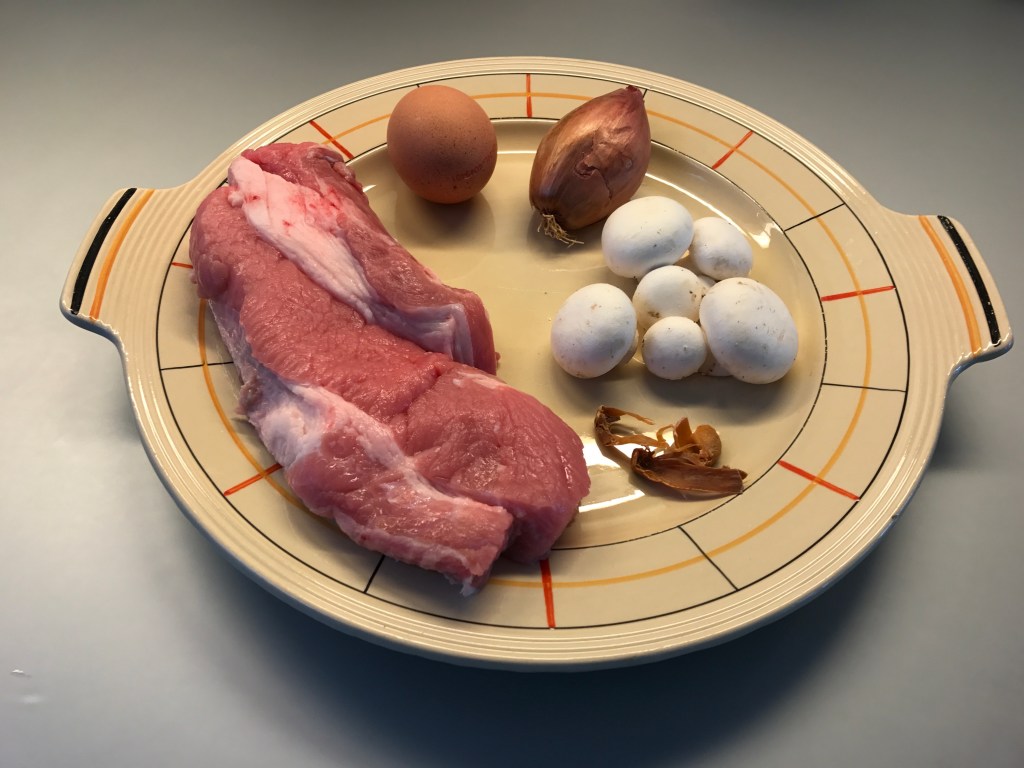
The recipe for the plat du jour is relatively straight forward (make sure the meat in the sausage is not too finely minced) and we have enjoyed it many times.
Lentil soup combines really well with fresh cilantro, so we use the same combination in this case, although using fresh parsley is also a good idea. Key elements in this dish are excellent fresh cod, a mild fish stock and cilantro leaves and seeds.

Wine Pairing

We very much enjoyed a glass of Spanish Verdejo with this dish. In our case a bottle of Monteabellon Rueda. In general wines made from the Verdejo grape combine very well with fish. The wine comes with the right acidity, giving freshness to the wine. It has floral aromas typical for the Verdejo grape. You may recognise the aromas of banana and exotic fruit.

What You Need

  • Shallot
  • Butter
  • Cilantro Seeds
  • Green, Du Puy or Beluga Lentils
  • Mild Fish Stock
  • Cod
  • Butter
  • Fresh Cilantro (or Parsley)
  • White Pepper

What You Do

Cut the shallot in small bits and glaze gently in butter. In the mean time check the lentils for small pebbles; wash them. Once the shallot is glazed, add the lentils and heat them for a few minutes, as you would do with risotto rice. Gently crush the cilantro seeds a bit and add to the pan. Add the mild fish stock and leave to simmer on low heat. In parallel pan-fry the cod in butter in a non-stick pan. Just before the lentils are ready add half of the finely cut cilantro or parsley to the lentils and mix.
Timing is all. The lentils should be cooked, all liquid evaporated and absorbed and the cod just done. Meaning the cod is opaque and the flakes can be separated easily. And overcooked meaning you can see those small white bits and the fish becomes dry.
Serve the cod on top of the lentils and sprinkle some cilantro or parsley over the lentils and cod. Maybe add a touch of white pepper.


A Classic for you – 1

Ratatouille

Think summer vegetables, think Ratatouille! Which is also a comedy released in 2007 about a rat called Remy with a passion for cooking. If you want to see how he prepares ratatouille then simply enter Remy cooks ratatouille as search term in YouTube (or buy the DVD if you’re old fashioned like us).
Ratatouille brings back memories of summer, of the South of France, of the Mediterranean. Or for some, of their youth. It combines very well with a simple sausage, with lamb, with grilled chicken.
However you prepare your ratatouille, be sure to use courgette or zucchini, aubergine or eggplant, tomato and bell peppers. Also make sure you prepare it a day ahead. The taste becomes much more integrated after a day (or two) in the refrigerator.
Our recipe is very much the recipe of a dear friend. She taught us how to make ratatouille in her summer kitchen, overlooking the pool and the garden with herbs and vegetables. Indeed, fond memories.
To our surprise she added cilantro (you would expect thyme or basil) and many years later we are still grateful for this twist. The cilantro enhances the feeling of summer and it supports the various vegetables in a beautiful way.

We enjoyed our ratatouille with a glass of simple, red wine with lots of red and black fruits. Spicy. A wine that brings summer to your glass.

Here is what you need:

  • Aubergine
  • Courgette
  • Red Bell Pepper
  • Chili Pepper
  • Tomatoes
  • Cilantro
  • Garlic (optional)
  • Olive oil

If you combine 1 of each, with the exception of 3 tomatoes, this will serve 4 people.
Start by cutting the aubergine in small but not too small chunks. Drizzle with salt and mix. Let the mixture rest for a few hours, allowing for the aubergine to loose water and become firm. Best way to do this is by putting the aubergine in a sieve and let it rest above a bowl.
The tomatoes require some attention as well. You could peel them, but that’s optional. What is not optional is to separate the tomato meat and juices from the pits. First step is to remove the internal hard bits and the pits and put these aside. You now have the outer part of the tomato, which you can slice. Cut the remainder of the tomatoes roughly, add to a sieve and by using the back of a spoon make sure you capture the juices. Be surprised about the volume of tomato juice and the small amount of tomato bits that remain in your sieve.
Peel the courgette, slice in the way you sliced the aubergine and fry over medium heat in olive oil. In the mean time cut the bell pepper into long slices and add these to the pan. Continue frying. Add the finely chopped chilli pepper (not the seeds of course). Add the firm aubergine after having removed the remaining salt with water. After a few moments add the tomato chunks, fry a bit more, add the tomato juice (and the optional garlic) and leave on a medium heat for 30 minutes. Try not to stir too much; otherwise you risk creating mashed vegetables. Cool, set aside and store in the refrigerator.
The next day gently warm the ratatouille, add some chopped cilantro, mix and add more cilantro just before serving.


Apricot Chutney

One For The Cupboard

Something you have to have in your cupboard (or refrigerator in our case): chutney. Why? Because once in a while you don’t feel like making a sauce when you eat duck, rib eye or grilled lamb chops. Or because you want to eat something nice, simple and vegetarian, like rice with lentils and, there we are, chutney.
If there would be a top three of main ingredients for chutney it would read mango-tomato-apricot. The basic recipe is the same for all three; it’s a matter of adjusting the quantities and choosing the spices.
Chutney needs to integrate, much more than jam or marmalade. So cook it for an hour or so and leave it in a jar for at least a week before using it. The fact that it needs to integrate will create a hopefully nice surprise when opening the jar. If not, there is little you can do (eat more quickly, give a jar to a not too close friend et cetera).
We use just a bit of sugar so our chutney needs to be stored in the refrigerator. Too much sugar (200 grams on 1 kilo of mango for instance) will only hide the taste of the mango. Chutney is a balance of sweet (fresh fruit, onion, garlic, cinnamon), sour (vinegar), bitter (the skin of the apricot or tomato), spiciness (ginger, red chilli, garlic) and depth (cardamom, nutmeg, cumin). Too much sugar will only disturb the balance. Cooking is about pairing tastes and textures, not about creating a simple, one-dimensional product.
Why would we make apricot chutney if it’s our number 3? Simple: we like the touch of bitterness that comes with the apricot.
When making mango chutney, try using unripe mangos. The chutney will be much tastier and complex!

What You Need

  • 1 kilo stoned Apricots (meaning 1,25 kilo of Apricots)
  • 2 Shallots
  • Olive Oil
  • 2+2 gloves Fresh and Cooked Garlic
  • 1 Red Chilli
  • 100 ml Vinegar
  • 100 ml Water
  • 50 grams of Sugar
  • Fresh Ginger
  • Spices such as
    • Cardamom
    • Mustard Seed
    • Coriander
    • Cinnamon
    • Nutmeg
    • Cumin

What You Do

Stone and quarter the apricots. Cut the shallots in 4 and slice (not too thin). Slice the fresh garlic. Same with the seeded red chilli. Cut let’s say 5 cm of ginger in small bits. Start by glazing the shallots for 10 minutes in olive oil, making sure they will enhance the sweetness of the chutney. Then add all other ingredients to the pan, mix, add the grated ginger, the spices of your choice, mix and bring slowly to a simmer. We used vinegar and water given the acidity of our apricots. If your apricots are really sweet and ripe use 200 ml of vinegar. Spices wise we prefer using cardamom, cinnamon, and a touch of cumin and nutmeg. Leave to simmer for at least one hour. Stir occasionally but gently. After an hour increase the heat and transfer to very, very clean glass jars. Close the jars, leave them to cool a bit, then put in cold water and later on transfer to the refrigerator.


This Week was Special-A

This week on Friday and Saturday the annual Amsterdam Symposium on the History of Food took place at the main auditorium of the University of Amsterdam. Such a pleasure to listen to great papers presented, discussing the origin of umani or the history of Byzantine taste (presented by Anouk Everts). The key-note was delivered by Peter Klosse. He made many interesting points with regard to taste and flavour. His analysis of Mouth Feel is food for thought and discussion.
PS Garum as used in the Byzantine kitchen is a fish sauceIt is made from fermented fish (sardines for instance) and salt. It goes back to Roman times. Fun to make, actually….

Johannes van Dam prize

Yotam Ottolenghi received the prestigious Johannes van Dam prize. The jury, chaired by professor Louise O. Fresco, mentioned Yotam’s impressive contribution to current Dutch and International cuisine. The prize is named after culinary writer and critic Johannes van Dam who was not only known for his reviews of restaurant but also for his massive collection of books on food and drinks. Mr. Ottolenghi was very pleased to receive the prize (as you can see in the picture!)

Joop Witteveen prize

Antwerpen a la carte was the winner in the Academic category, the Joop Witteveen Prize. A book that discusses not only the history of food in the port city of Antwerpen, but also today’s role of a (hungry) city in the area of food production and consumption. Main authors are Ilja van Damme and Leen Beyers. The book is linked to an exposition at the MAS in Antwerp.
More information about the papers can be found on the website of the conference.