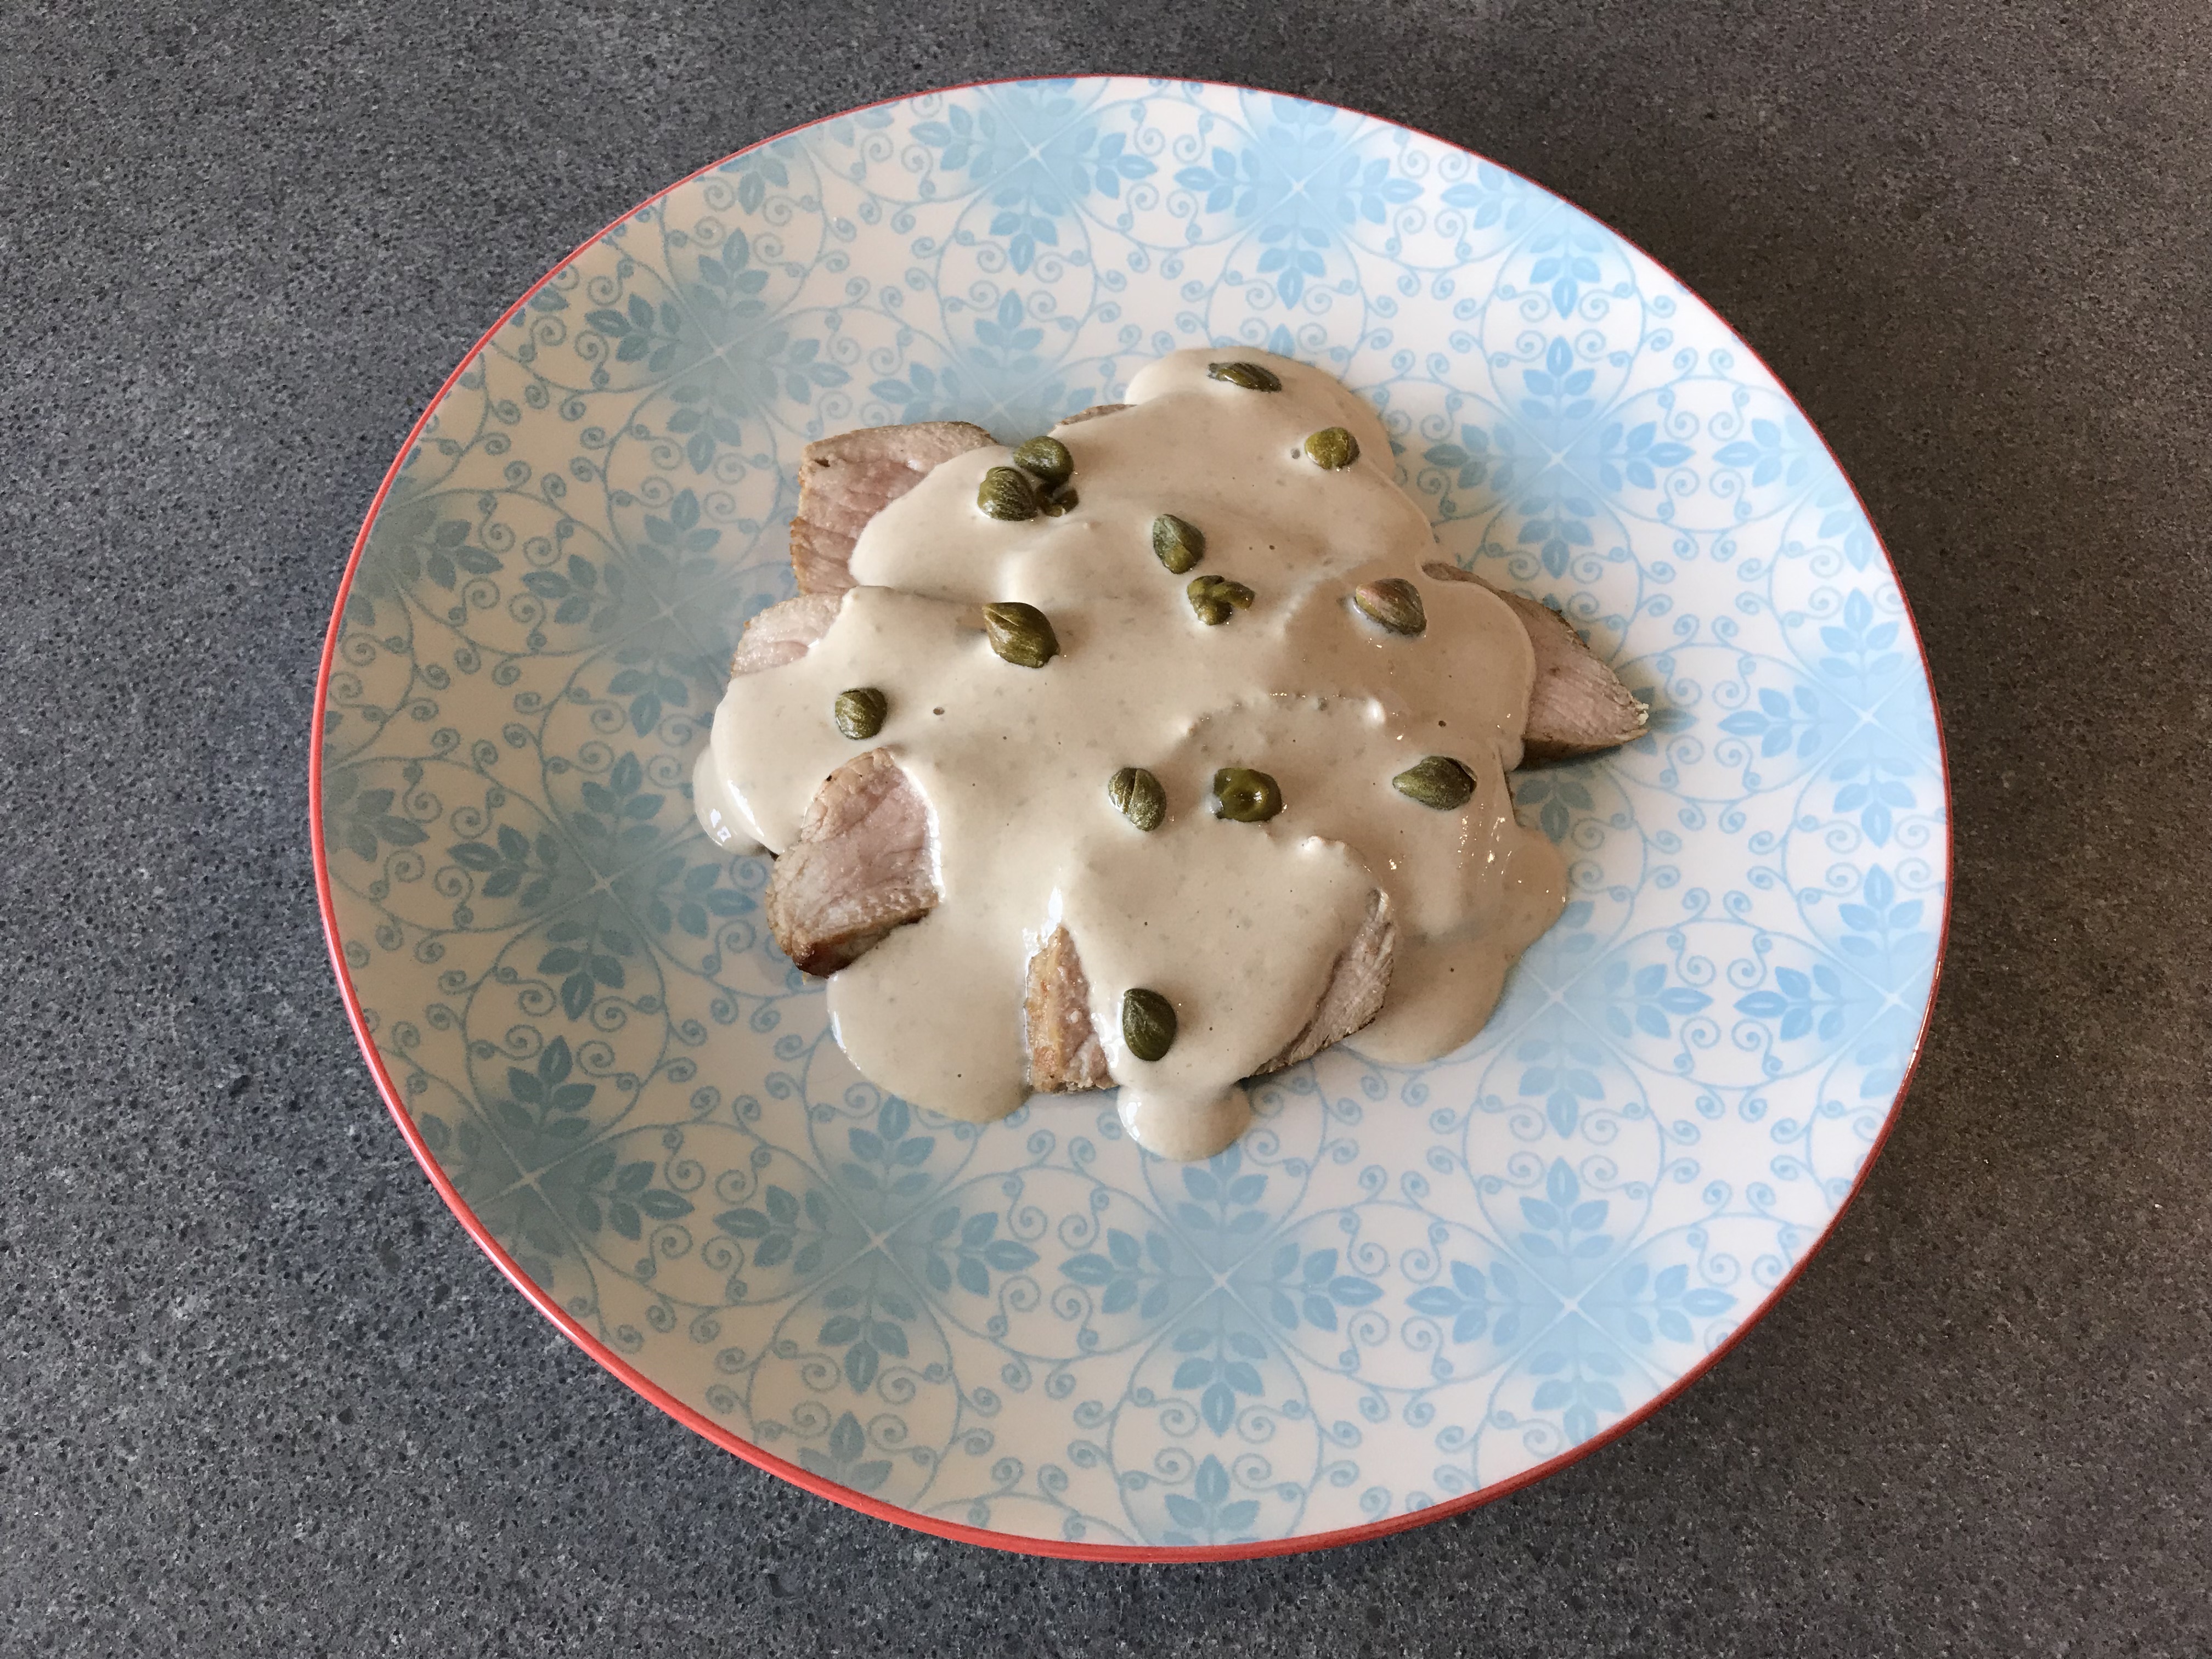
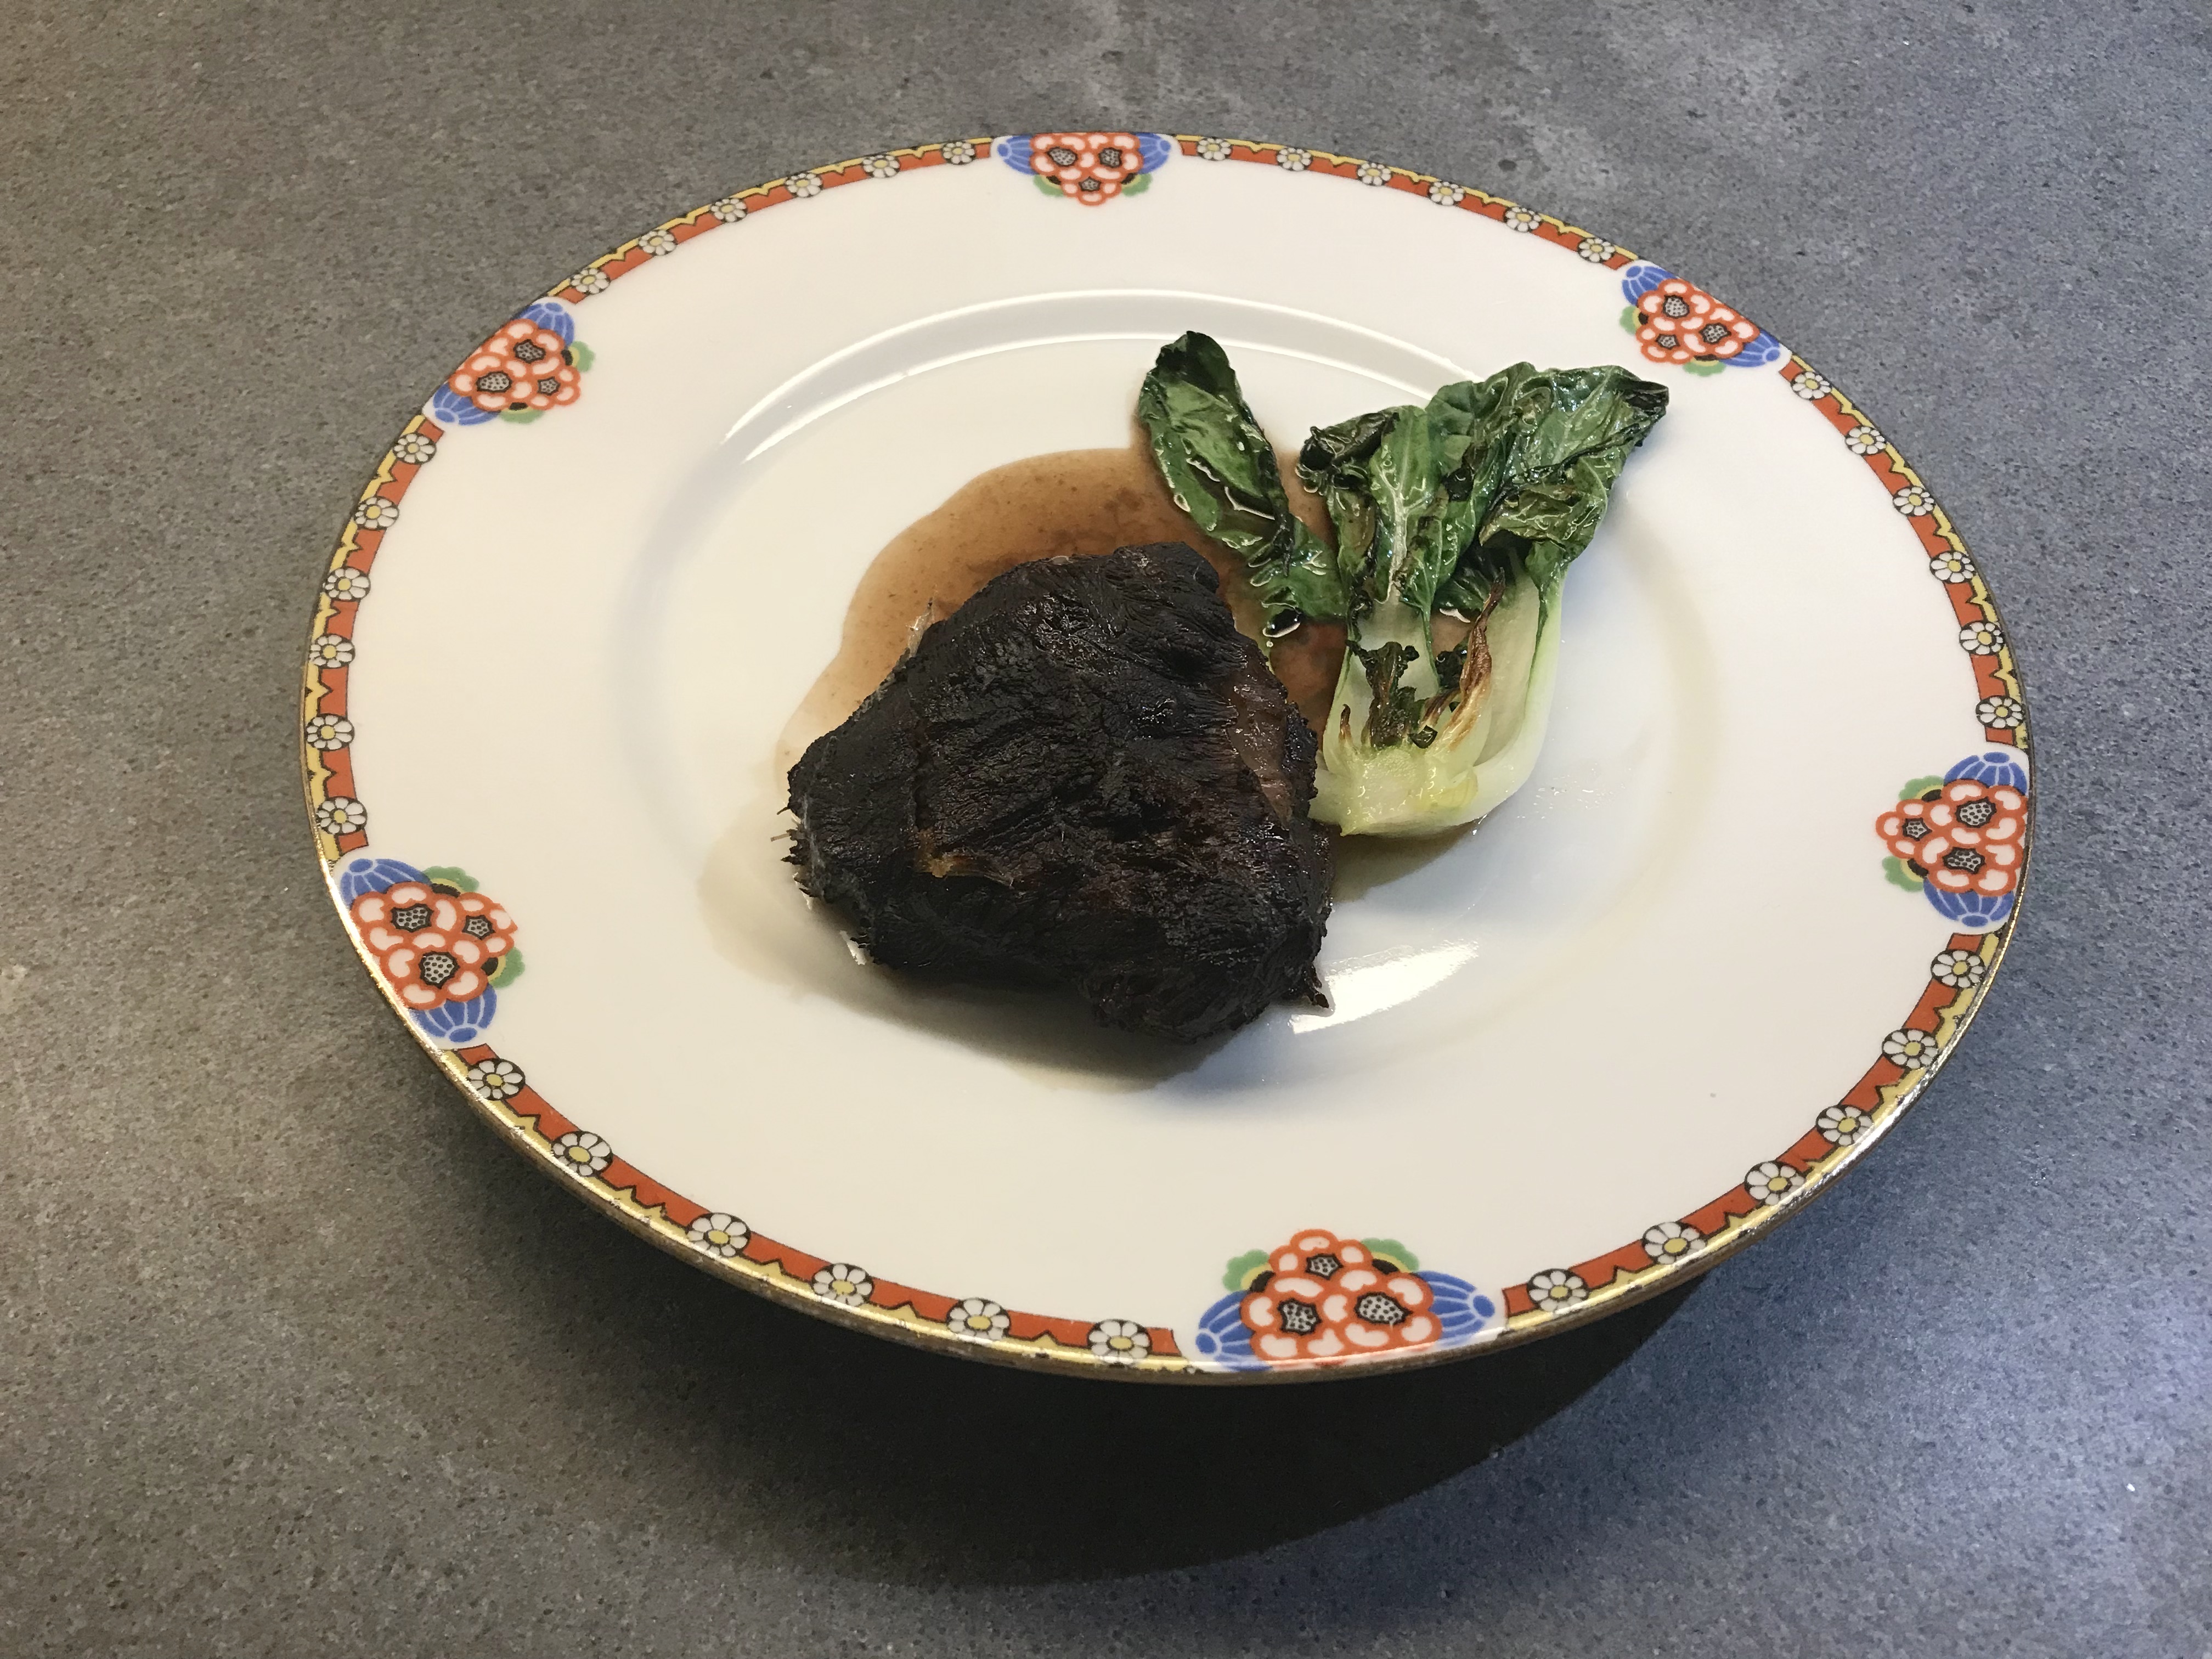
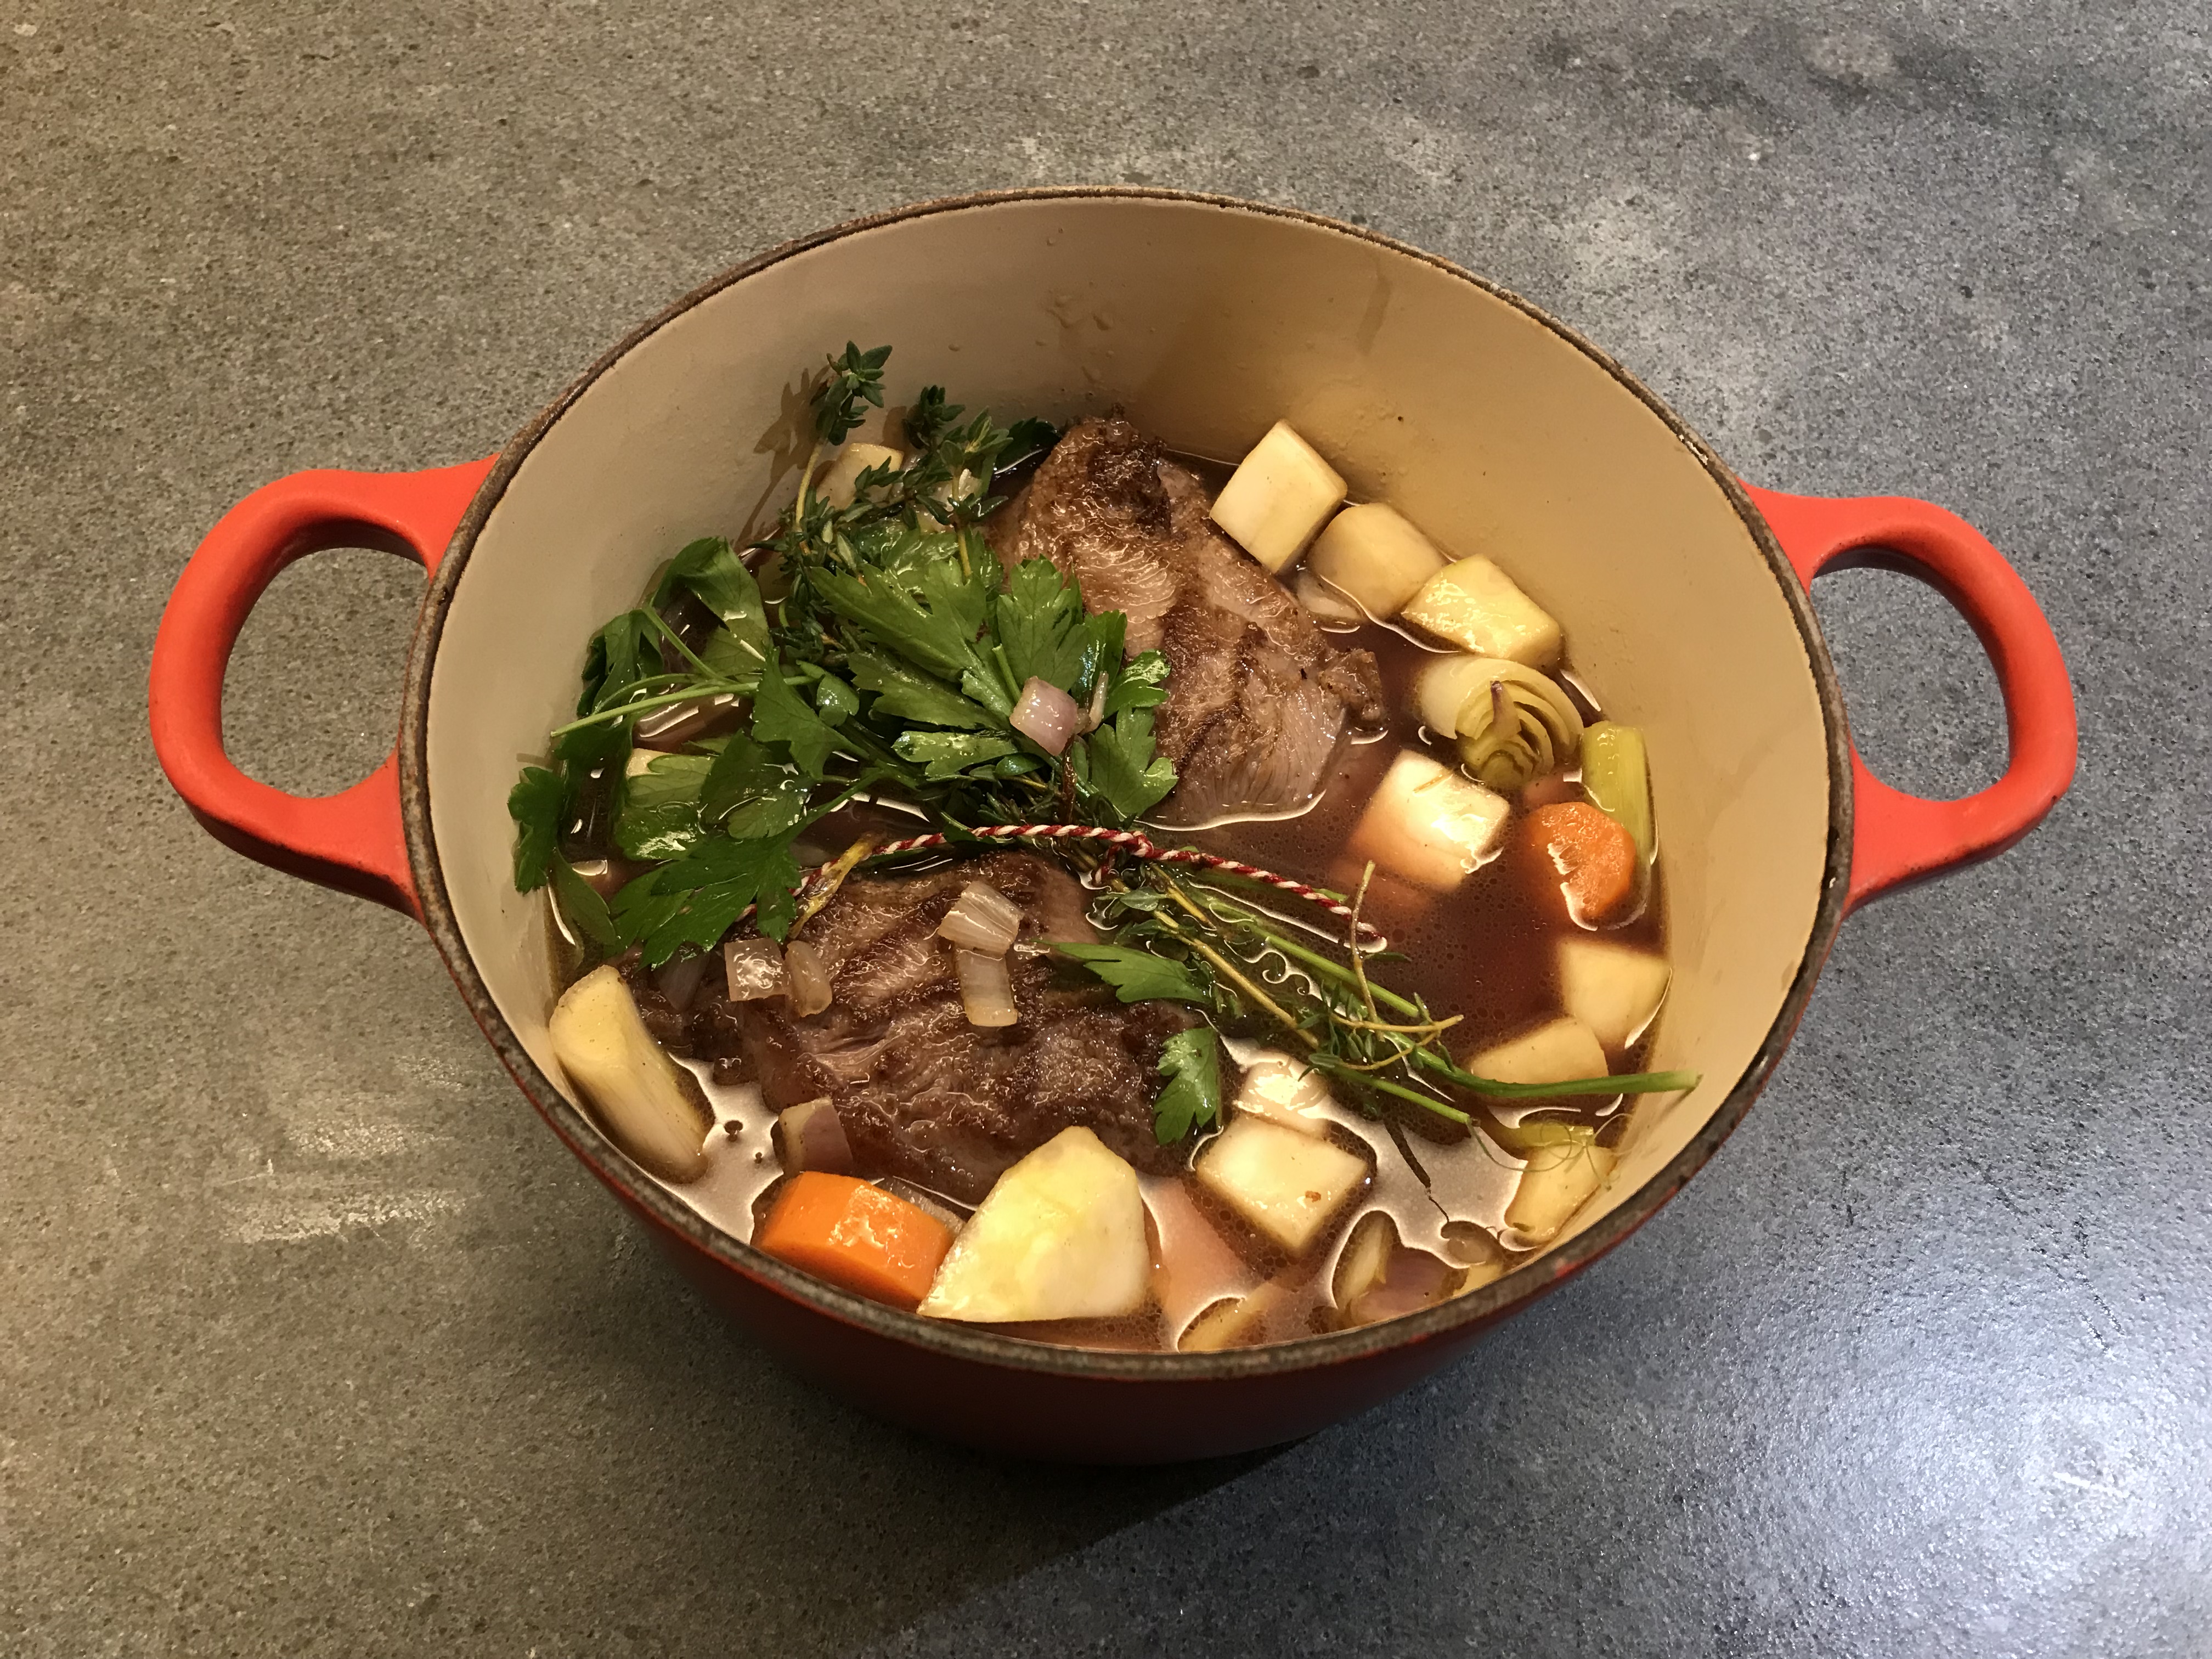
Veal Cheeks with Pak Choi (Bok Choy)

Joue de Veau

You may have spotted this in a French Boucherie or Supermarket. Probably close to the Ris de Veau, the Collier D’Agneau and the Abats de Porc. Not the most obvious choices, but in reality the Joue de Veau (Veal Cheek) is a true delicacy. The meat requires a few hours to become tender, but it’s worth the wait. When you serve it you will pleasantly surprised: the meat is extremely tender, juicy and a touch of pink on the inside. Which makes it a great idea to serve it sliced, especially because the outside of the meat is deep dark brown.
The Joue or Cheek requires cleaning. Best is to ask your butcher to do this or use a very sharp knife.
We use a classic combination carrot, onion, leek and celeriac plus red wine and a bouquet garni. Don’t make the bouquet too powerful; the idea is to support the meat, nothing else.
No need to use an expensive wine for the stew. A simple, red wine is fine. Some people will argue that the wine you use for cooking must be the one you serve with the food. Nonsense. Feel free to drink a Baralo (like we did) with the Veal Cheeks, but don’t waste half a bottle of it by using it as a cooking liquid.
The Pak Choi works really well with the Veal Cheeks. It brings the bitterness of cabbage, balancing the sweetness of the meat and the deep taste of the sauce. Plus the fried Pak Choi is a bit crispy, both the leaves and the stem, which is great in combination with the moist, tender meat.

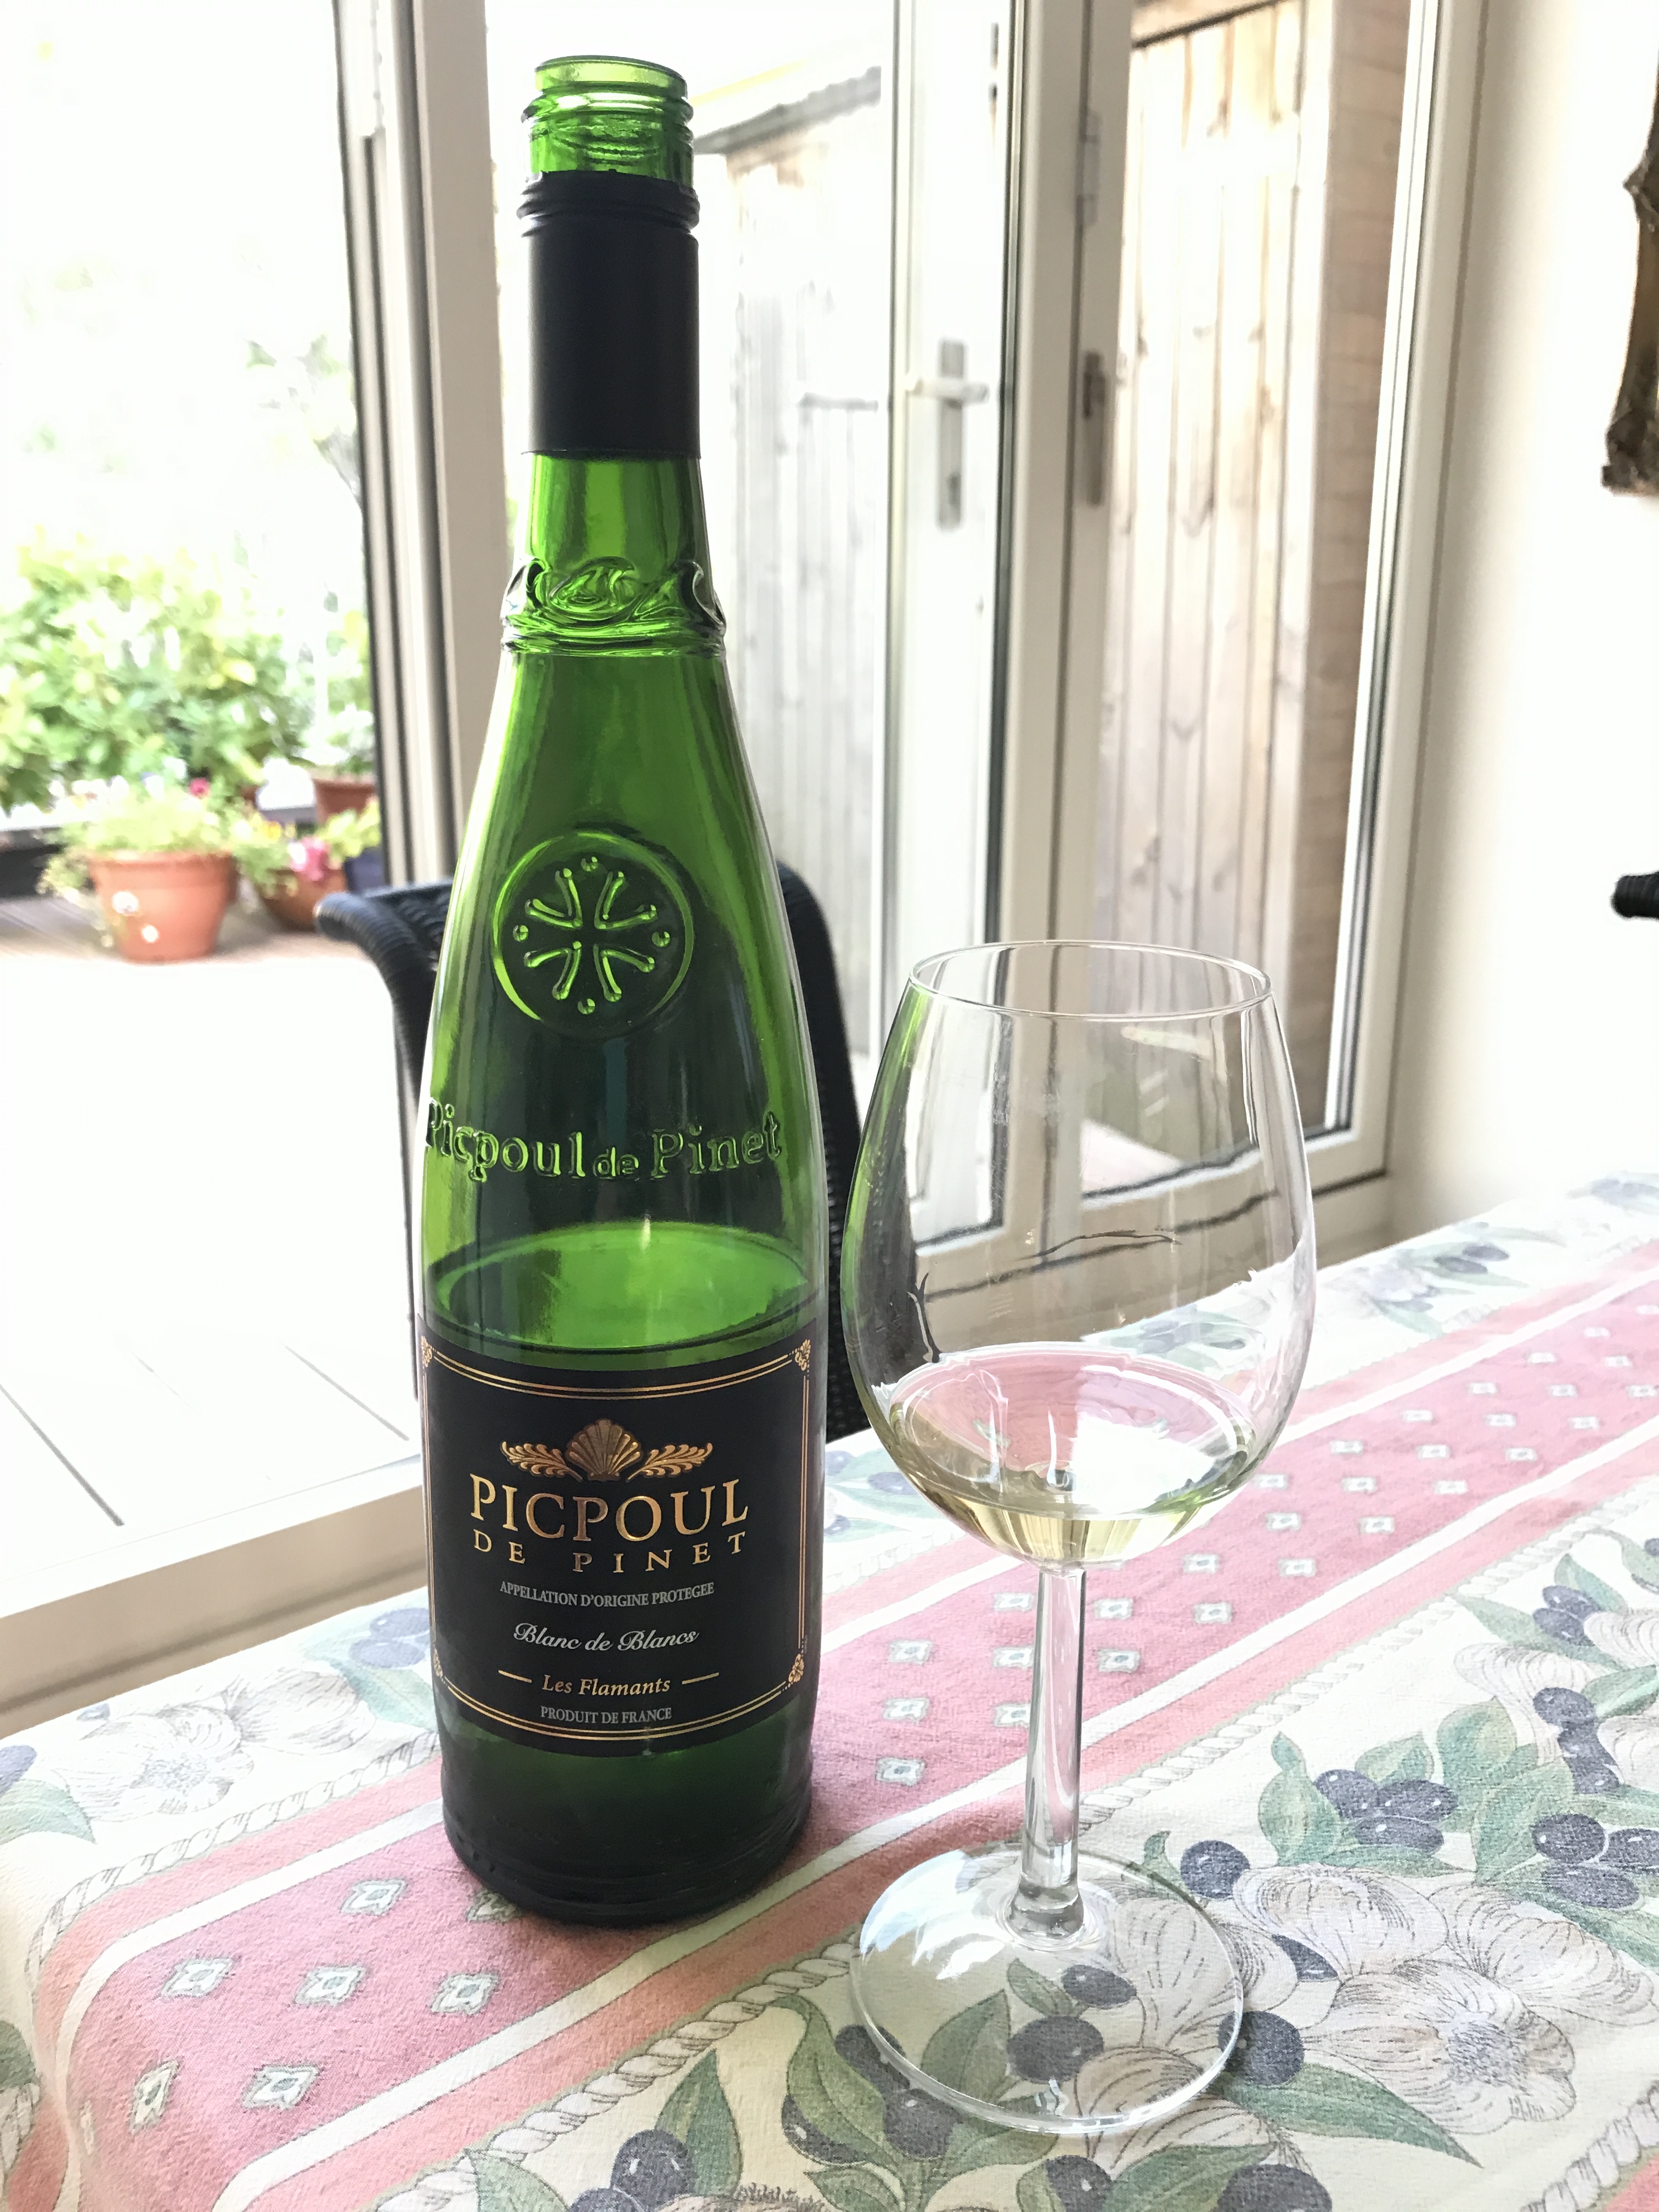
Wine Pairing

A full-bodied red wine with clear tannins, a delicate smell and red fruit aromas will be an excellent choice. Velvety and smooth. As the Veal Cheeks: simple yet complex. We drank a glass of Barolo San Silvestro, Serra Dei Turchi, 2014. A perfect match with the braised veal, the sauce and the cabbage.

What You Need

  • 2 Veal Cheeks (one per person)
  • Carrot
  • Celeriac
  • Onion
  • Leek
  • Olive Oil
  • Bouquet Garni
    • Bay Leaf
    • Thyme
    • Parsley
  • Red Wine
  • Cognac
  • (baby) Pak Choi (Bok Choy)

What You Do

Start by adding oil to the pan. Fry the Veal Cheeks until they have a nice, golden colour. Transfer to a plate. Add more oil and fry the chopped vegetables. Be careful not to add too much carrot or celeriac. Stir for a few minutes and then add the meat. Add wine and the bouquet garni. Leave on a low heat for 4-6 hours until tender. Make sure to turn the meat every hour or so. Cool the stew and transfer to the refrigerator. The next day remove the fat (if any) and warm the stew. When warm, transfer the meat to a plate and keep warm (for instance in an oven of 70 C, the ideal temperature for your plates as well). Remove the vegetables and the bouquet. Reduce the liquid with one-third or more. Taste the sauce. Add a splash of cognac. Black Pepper? Cook a few minutes longer allowing for the alcohol to evaporate.
In a non-sticky pan heat some oil and fry the Pak Choi for 2 times 2 minutes, maximum. In parallel fry the meat in a non-sticky pan, one or two minutes in total. This will give the meat a crispy touch and an even deeper dark brown colour. Serve the Joue de Veau with the sauce, crusty bread and the Pak Choi.

Chicken a la Carolus Battus

In the year 1593

The history of food is interesting for a number of reasons. Following old recipes provides you with the opportunity to discover new combinations, techniques and new flavors, or better said, forgotten combinations, techniques and flavors.
The University of Amsterdam is home to the Special Collections, the material heritage of the University. One of the collections is related to recipes, cookbooks, books on etiquette, nutrition, food et cetera. The oldest cookbook is Eenen seer schoonen ende excelenten Cocboeck, inhoudende alderley wel geexperimenteerde cokagien, van ghebraet, ghesoden, Pasteyen, Taerten, toerten, Vlaeijen, Saussen, Soppen, ende dier-gelijcke: Oock diversche Confeyturen ende Drancken, etc. by Carel Baten (Carolus Battus) published in 1593. The book contains some 300 recipes for a range of food and drink. It was published as an annex to his Medecijn Boec, after all he was a medical doctor.

In 2018 Onno and Charlotte Kleyn published Luilekkerland; a great book on 400 years of cooking in the Netherlands. They must have spent months at the Special Collections going through various cookbooks and manuscripts with recipes. Many thanks for creating ‘a magical mystery tour’ through the kitchens of the past.
In the book they describe one of the recipes of Carolus Battus: een sause op eenen gesoden capoen. Or in English: poached Capon with sauce.
The short version: make a poaching liquid with carrot, leek, celeriac and onion. Add the capon and poach it until it’s done. In parallel combine old breadcrumbs with white almonds, white wine, ginger powder and sugar. Create a sauce by gently warming the mixture with some of the cooking liquid and serve.

Capon is very expensive, so like Onno and Charlotte we go for chicken. Our recipe is for 2 chicken thighs, but we could also imagine making a roulade and then serving a slice of chicken roulade with the sauce as a starter.
The surprise is in the sauce: the combination of bread, ginger and almonds is tasty and complex. The sauce may appear to be filming and fat, but actually it’s not. The texture of the sauce is interesting as well: the bread will make the sauce a bit porridge like and the crushed almonds prevent the sauce from being smooth.
Our version of the recipe is a bit closer to 2018: we’re not the biggest fans of poaching and we don’t see the need for sugar. Plus why use powder if you can get fresh ginger?

Wine Pairing

Best is to go for a white wine with a touch of sweetness, for instance a Gewurztraminer. This will combine very well with the somewhat unusual flavors in the dish. If you go for a glass of red wine, then we would suggest a pinot noir, nice and earthy.

What you need

  • 2 chicken thighs
  • Chicken stock and optional
    • Leek
    • Carrots
    • Celeriac
    • Onions
  • Olive oil
  • Butter
  • 15 grams of white Almonds
  • 1 – 2 cm of Fresh ginger
  • 1 dl of Dry white wine
  • Slice of toasted Bread

What you do

If your chicken stock needs a boost, then add the vegetables and let simmer for 15 minutes or so. In a small skillet heat the butter and olive oil. Fry the chicken until nearly done. In parallel blender the almonds and the toasted bread. Grate the ginger. Add the white wine and the ginger to the mixture and blender. Add some stock and blender for a few seconds. Transfer the mixture to a pan and warm over medium heat. It requires attention, so keep an eye on the sauce and stir every minute or so. The sauce will thicken so you will probably need to add more stock. Transfer the chicken to a warm oven and let rest. Deglaze the pan with some stock and add this liquid to the sauce. Stir well. Now it’s time to taste. Remember the taste is new, so take your time. Almonds? Bread? Hint of acidity? Ginger? Chicken? Overall? Serve the chicken with the sauce.
We enjoyed the chicken as a main course with some Brussels sprouts, olive oil and nutmeg.

Lamb Shank with Rosemary

When In Paris…

A few years ago when attending a business lunch in Paris (the things we have to endure in life…) we were overwhelmed by the menu. We quickly decided to go for Lamb and told the waiter in our very best French we would like to taste Souris d’Agneau au Vin Rouge et aux Herbes, although not exactly knowing what a Souris might be. So during that lunch we discovered the joys of Lamb Shank.
Most recipes recommend preparing lamb shank in a hot oven (200 °C or so) but that’s actually not the best way to do it. Too hot, too fast, too dry.

Lamb shank has a generous amount of fat which makes it ideal for slow cooking. Our preferred option is to use a pressure cooker. Within 45 minutes the lamb shanks will be perfectly cooked, tender and moist.

Wine Pairing

We would suggest drinking a glass of Bordeaux with the lamb shank. The Bordeaux is in general a classic blend with Merlot, Cabernet Sauvignon and Cabernet Franc. The wine should be well structured with lots of fruit. It should support the sweetness of the dish (carrots, lamb, leek). Soft tannins, a smooth texture and sufficient length. We very much enjoyed a glass of Chateau Beaulieu (2012) with our lamb.
Remember to use the same wine for cooking the lamb!

What You Need

  • 2 Lamb Shanks (with fat, please!)
  • 2 Shallots
  • Carrot
  • Leek
  • Celeriac
  • 2 Garlic Gloves
  • Olive Oil
  • Bouquet Garni, for instance:

    • Bay Leaf
    • Parsley
    • Thyme
    • lots of Rosemary (and 2 extra sprigs)
  • Red Wine
  • Water
  • Black Pepper
  • Brussels Sprouts or Carrots

What You Do

Start by colouring the lamb shanks in olive oil. Transfer to a plate and then gently fry the shopped shallot, the leek, the carrot, the celeriac and the garlic. When ready add the red wine and some water, depending on your taste. Add the generous bouquet garni with extra rosemary and some cooked garlic. Transfer the lamb shanks back to the pan and close the pressure cooker. Cook for 30 – 45 minutes depending on the size of the shanks. Transfer the shanks to a warm plate, pass the cooking juice through a sieve (discarding the vegetables), check the sauce, reduce if necessary,  and serve the shanks with a classic branch of rosemary, Brussels sprouts and some bread.
If you want to emphasize the natural sweetness of the dish, then serve with glazed carrots.


Orange Flan

Such a nice small dessert! It combines the gentle taste of a classic flan with the fruity orange. The fun is that the orange is in the flan itself, in the gel and of course in the zest. We’re sure you and your guests will appreciate the lightness and long taste.

We love to combine this dish with Rivesalte Ambré. If you can’t get hold of the Ambré, then go for another Rivesalte. The Ambré has a long, deep taste that supports the taste of the flan very well; it lifts it to an exquisite level. The Ambré comes with a hint of citrus; if it’s clementine even better.

 Here is what you need

  • For the flan
    • 8 small Coddlers (so-called standard size)
    • 2 Eggs
    • 2 Egg Yolks
    • 200 ml fresh Orange Juice
    • 20 grams of Sugar (depending on the sweetness of the orange juice)
    • butter
  • For the gel
    • 100 ml fresh Orange Juice
    • Grand Marnier or Cointreau
    • 0,5 gram of Agar Agar
  • And also
    • Orange Zest
    • Edible Flower

In a bowl mix the eggs and the egg yolks using a spoon. Make sure to do this very gently; we don’t want any bubbles in the mixture. Now add 20 gram of sugar to the orange juice and make sure it’s totally absorbed. Combine the juice and the egg and stir gently. Pass through a sieve. It’s important that the mixture is very smooth, so no bits of egg, sugar and orange. If not, pass through a finer sieve. If you have bubbles in the mixture then let rest in the refrigerator.
Apply a very thin layer of butter to the coddlers, just enough to cover the inside. Pour the mixture in the coddlers, but nor more than 2/3. The mixture will set but not raise (or only a little bit). Close the coddlers, but not too tight. You want to test one during the cooking process and you don’t want to burn your hands.
Set your oven to ‘classic’ and to 170° Celsius or 340° Fahrenheit . Place a large oven tray in the middel of the oven. When the oven has reached the right temperature, place the coddlers in the tray and add boiling water. The water should reach ¾ of the coddler, leaving ¼ free. Once in the oven reduce the temperature to 120° Celsius or 250° Fahrenheit and cook for 30 minutes. The flans are done when a metal pen comes out clean.
Remove the coddlers from the oven and allow to cool. You can do this by putting them in cold water, but you can also give it a bit of time. When cool, dry the inside of the metal lid (condense). Transfer to the refrigerator.
Reduce 100 ml orange juice and the Grand Marnier or Cointreau. When nearly reduced by 50% add the agar agar. Allow to simmer for a few minutes. You may want to test the consistency. Simply put some reduced liquid on a saucer, transfer to the freezer and wait for 2 minutes. The consistency will be a good indication of the final result.
Now for the zest: most citrus fruit is waxed, so you may need to rub the orange. Put a bit of very thin orange zest on top of the flan and finish by pouring some (still warm) gel over it. Ideally this will cover the top (and the zest) and flow between the coddler and the flan.
Put the coddlers in the refrigerator and let cool. Half an hour before serving, take them out of the refrigerator, remove the lid, dry the inside and put it back on again.
If you can get hold of a nice edible flower, then put it on top of the gel, just before serving.
You can serve them with a slice of confit of orange. And if you have made these anyway, why not dip them in deepest, darkest chocolate?

orange flan

Monkfish with Tomato Olive Sauce

Not the kind of fish you want to meet when swimming in the sea, but definitely one you want to meet when shopping at the fishmonger. Make sure you bring some money because monkfish tends to be expensive. Great meat, delicate yet distinctive taste and not difficult to prepare as long as you’re not in a hurry.
The sauce has to be made a day in advance. It needs time to cook and time to integrate.
You will need to remove the skin of the monkfish. There seem to be several layers of skin and one is (when cooked) really rubbery and inedible. So take you knife, start at the tail end and move forwards, thus removing the membrane. You will find useful videos on the Internet. Unfortunately these videos suggest removing the main bone of the fish, which is a mistake for three reasons. You lose taste and meat plus you lose a natural indicator of the cuisson of the fish.

Monkfish is an essential ingredient of Zarzuela because of its texture and taste. In this recipe we combine the obvious: monkfish and tomato. We add a bouquet garni consisting of rosemary, thyme and bay leaf. The black olives give the required twist to the sauce and the dish as a whole.

Wine Pairing

We suggest a glass of Chardonnay to accompany the monkfish, provided the wine is not too woody; a light touch of oak will be best. Soave could also be a good combination.

What You Need
  • one Shallot
  • one Garlic Glove
  • Olive Oil
  • two Tomatoes
  • Pitted Black Olives
  • Bay Leaf
  • Thyme
  • Rosemary
  • Monkfish (200 gram per person, bone included)
  • Black Pepper
What You Do
  1. Start by making the sauce
  2. Gently fry the chopped shallot in a splash of olive oil
  3. After a few minutes add the chopped garlic
  4. Add the chopped tomatoes and the pitted black olives (depending on their taste we suggest between 10 and 15)
  5. Add the bouquet garni and allow to cook on low heat for a number of hours
  6. Make sure to check on a regular basis
  7. When ready, remove the bouquet garni and transfer the sauce to a blender
  8. Pass the mixture through a sieve. The sauce should be as smooth as possible
  9. Transfer to the refrigerator and use the next day.
  10. Clean the fish
  11. Use a heavy iron skillet to fry the monkfish in olive oil
  12. When nicely coloured, reduce the heat and start adding the sauce
  13. Since the sauce is cold, you need to do it spoon by spoon
  14. Coat the fish with warm sauce, again, and again
  15. Use your knife to try separating the meat from the bone. When this is possible without applying too much pressure, the fish is nearly perfect
  16. Remove the bone, turn the fish on the side that was connected to the bone and cook for one or two minutes
  17. Taste the sauce; maybe you want to add some fresh black pepper.
  18. Serve on a warm plate with some crusted bread.

Pissaladière

Pissaladière is a very tasty combination of onions, local French herbs, anchovies and black olives. It originates from the South of France (Côte d’Azur) and many a local boulangerie will offer their home-made, original pissaladière. We compared many recipes, enjoyed lots of slices of Pissaladière when in France and are pleased to present our version. It does not include tomatoes, milk, almonds, sugar, coconut oil and is not made with puff pastry.

Best is to make your own pastry (especially because it’s very simple) and use fresh yeast. Since it’s more and more difficult to buy, we use dried yeast. Key to making pissaladière is time. The onions need an hour, they need to cool and the dough needs to proof twice. But we’re not in a hurry!

We combined our pissaladière with French charcuterie; think Paté en Croûte (recipe to follow), Rossette (from Lyon), Rillettes d´Oie, Jambon persillé and cornichons. You could also combine pissaladière with a nice simple green salad.

We enjoyed our Pissaladière with a glass of Cô­tes de Pro­ven­ce ro­sé made of Cinsault, Grenache and Shiraz grapes. Dry, with a touch of grapefruit and wonderfully pale pink.

Here is what you need

  • 600 grams of White Onions (or a combination of White Onions and Shallots)
  • Olive Oil
  • Butter
  • Bay Leaf
  • Anchovies
  • Halved Black Olives
  • Pastry
    • 125 grams of Flour
    • 2 grams of Yeast (depending on the yeast you use)
    • 75 ml of Water
    • Dash of Salt
    • Some Olive Oil
    • Herbes de Provences (or thyme)

Start by caramelizing the onions. Peel the onions, cut in 4 and slice. Not too thin, the onions will shrink. Fry gently in olive oil and butter. When starting to color reduce the heat, add the bay leaf and allow to simmer for one hour, stirring every 15 minutes or so. Check the taste, the bay leaf can be overpowering. Let cool and set aside (for instance until the next day).
Mix flour, yeast, salt and herbes de Provences. Add water and olive oil and knead for 10 minutes. Let proof for 2 hours. Transfer to kitchen top and create a thin rectangular pastry. Coat a baking plate with oil and transfer the pastry to the plate. With a fork make small holes in the pastry (not in the edge). This is important given the fact that the onions are cold and moist. Now add the onions and make a nice pattern with the anchovies and the halved olives. Bake in a hot oven (top half, 220˚ Celsius or 430˚ Fahrenheit) for 15 minutes. Serve warm (or cold) but not hot.

Chicken with Tarragon, Leek and Nero d’Avola

Some combinations are made in heaven. Chicken and Tarragon is such a combination: it simply works brilliantly. Tarragon is a very powerful, aromatic herb, full of flavors such as anise and licorice. It’s the key ingredient of the sauce Béarnaise and it is of course wonderful when combined with vinegar and mustard. For kitchen purposes you need to buy French tarragon. The other well-known variety is called Russian tarragon. It’s a nice plant for your garden or balcony, with flowers and lots of leaves, but the taste is very bland, so not one to use in the kitchen.

We use butter to carry the taste of the tarragon to the chicken and to the sauce. It’s the principle behind enfleurage and maceration in the perfume making industry: fat is used to absorb the fragrance. So yes, you need an excellent chicken with lots of fat under the skin.

This recipe works with a whole chicken, with breasts and legs, provided they come with a skin. The crux of this recipe is to create a layer of tarragon butter between the meat and the skin, allowing for a crispy skin in combination with rich, flavored meat. You can stuff the chicken in the morning or the day before. Ideal when you’re having guests!

The sauce is very rich, so instead of using flour or cream, we create an emulsified sauce by blendering the mixture. The result is a velvety, filming sauce.

We enjoyed our chicken with a glass of Inycon Nero d’Avola. The wine is elegant, fruity, not too full bodied and it has soft tannins and a gentle acidity. You will also taste licorice, which is a nice reflection of the tarragon and the Pastis. The balance of the acidity of the wine and the filming structure of the sauce is essential to the dish.

Here is what you need

  • 2 Chicken Legs
  • 8 Sprigs of Tarragon
  • 20 + 10 grams of Butter
  • Olive Oil
  • Pastis
  • Chicken Stock
  • Optional: Leek, olive oil and water

Strip the tarragon leaves from the stem and chop. Let’s say you need one or two sprigs of tarragon per chicken leg. Use a fork to make the tarragon butter. Use your fingers to create space (a pocket) between the skin and the meat. Start for instance in the middle of the leg (outside) or at the rear of the whole chicken. Be careful not to open the edges, otherwise the tarragon butter can’t do its work. Put some of the butter between the skin and the meat and use your fingers to create a thin layer by pressing the butter to the sides. Coat the bottom of a shallow baking pan with olive oil.
Transfer the chicken legs to the pan. Add some additional butter to the pan (not on top of the chicken). Also add the sprigs you haven’t used. Put the pan in an oven of 200˚ Celsius or 390˚ Fahrenheit for 30 minutes.
Transfer the chicken legs and two sprigs of tarragon to a plate and keep them warm in the oven (just switch it of and keep the door open). Deglaze the pan with chicken stock and Pastis. Deglazing simply means that you add a liquid and then by stirring the mixture you capture the residue in the pan. As if you are cleaning the pan. Blender the mixture and poor through a sieve into a small saucepan. You now have a homogenous, emulsified sauce. Warm the sauce and stir occasionally for five minutes. Serve the chicken with the sauce, the fried sprigs of tarragon and the briefly cooked leek.

(P.S. Clean the leek, making sure you have removed the sand and dirt. Slice thinly and cook with some olive oil and a drop or two of water. Five minutes maximum should do the trick.)

Neck of Lamb with Star Anise, Ginger and Djeroek Poeroet

We can hear you thinking, ‘Shouldn’t that be rack of lamb?’.

Isn’t it interesting how much we are focused on specific parts of an animal? We love our steak, but what to do with an oxtail? We love pork loin, but how about the pig’s nose? And we enjoy grilled rack of lamb, but how about the lamb’s neck?
Supermarkets and butchers know all about our focus. So if you would like to cook pig’s feet (or trotters), kidneys, liver, sweetbread or lamb’s neck: where to go? Try finding a ‘real’ butcher, one that buys the whole animal, not just the parts that can be sold directly.

Lamb’s neck is very underrated, inexpensive and tasty. Some feel it’s okay for your dog only, but we completely disagree. When cooked slowly for hours it is great. Tasty, well structured, juicy and tender.

The obvious way to prepare the lamb is to fry it briefly in oil en butter and then cook for hours in red wine with a bouguet garni of rosemary, thyme, parsley and sage. Maybe add a small tomato to help the sauce. We take a different approach by adding strong tastes like ginger, cilantro seeds, star anise, soy sauce and the leaves of the Makrut or Thai lime (also known as Djeroek poeroet or Djeruk purut). You will get a full, complex sauce in combination with lovely, aromatic meat.

We very much enjoyed our Neck of Lamb with a glass of Alsace Gewurztraminer, Cave de Beblenheim. The wine has a beautiful gold colour, and an expressive nose with rose notes. The palate presents a nice structure with a fruity and spicy association which of course goes very well with the oriental twist to the stew. In general we suggest an aromatic white wine with just a touch of sweetness.

What You Need
  • 300 grams Neck of Lamb
  • Shallot
  • Olive Oil
  • Fresh Ginger (4 cm, depending on your taste)
  • 1 red Chili
  • 1 Garlic Clove
  • Noilly Prat
  • Cilantro Seeds
  • Star Anise
  • Low Salt Soy Sauce
  • 4 leaves of Djeroek Poeroet
What Yoi Do
  1. Cut the meat in not too small cubes – they will shrink during the cooking process
  2. Fry the meat in oil, giving it a nice colour. If so required, do so in multiple batches.
  3. In the mean time cut the shallot, peel the ginger and slice, remove the seeds from the chili and cut the garlic glove (but not too fine)
  4. Remove the meat from the pan and glaze the shallot, chili, ginger and garlic
  5. Add the Noilly Prat, crushed cilantro seeds, star anise, some low-salt soy sauce and the djeroek poeroet
  6. Stir
  7. Transfer the meat back to the pan and add some water, making sure the meat is just covered
  8. Leave to simmer for 6 hours in total
  9. Check the pan every hour and add water is so required
  10. Also check if the djeroek poeroet and/or chilli are not overpowering
  11. After 5 hours check the taste, add soy sauce, remove the djeroek poeroet or the star anise if so required
  12. After 6 hours cool the stew and transfer to the refrigerator. You could also decide to transfer it to the freezer for use at a later date.
  13. The following day remove as much of the fat as possible.
  14. Warm the stew, check taste and tenderness and continue to simmer if so required.
  15. When the meat is ready you may want to reduce the liquid.
  16. Serve with steamed Pak Choi, tossed with sesame oil.

PS

As an alternative use 2 lamb shanks.

Fried Large Prawns

Enjoying the Sea

Shrimps and Prawns, delicacies from the sea, just like lobsters, scampi and crabs. Popular food in many countries, just think shrimp cocktail, paella, salad with shrimps, pasta with seafood, stuffed eggs with shrimps, curry with prawns and of course, fried shrimps with garlic and lemon.

We think shrimps and prawns are as subtle, delicate and tasty as lobster. The prawn should be at the center, not just another ingredient of your fish soup. Not hidden by loads of garlic and lemon. Or even worse, wrapped in bacon (whoever came up with the idea of wrapping prawns and oysters (angels on horseback) in bacon is not a seafood lover).

We will use the shell, the legs and the so-called swimmerets of the prawns to create a sauce; a bisque like sauce.

Wine Pairing

We enjoyed our fried large prawns with a glass of rose. This Italian rose (from Garofoli) is made from 100% Montepulciano. It comes with beautiful scent of cherries and peaches. The flavor is full, velvety, present and balanced. A great companion for seafood. Other options are Chablis and Soave. A Viognier will probably be too fruity.

What You Need

  • Two large Prawns, either wild or organic
  • One small Shallot
  • Chili Pepper
  • Butter
  • Olive oil
  • Armagnac or Cognac
  • Garlic
  • One Cherry Tomato
  • One Saffron Thread
  • Water
  • Bouquet Garni (Thyme, Parsley)
  • Black Pepper
  • Crusted Bread

What You Do

We start by making a bisque-like sauce, using the shell of the prawns.
Chop the shallot and a bit of chili pepper and glaze gently for 10 minutes in butter and olive oil. In parallel use scissors to cut the shell of the prawn. Start behind the head and cut towards the tail. Just before the tail turn 90 degrees and make a cut around the prawn. This allows you to remove the shell and the legs of the body but keep the head and the tail on the prawn. Remove the black vein (the prawn’s intestines) and the slurry in the head (if any). Since you serve the prawn with the head (and tail) it is essential that the prawn is clean. You could gently rinse the prawn if you want to be absolutely sure about this. Transfer the prawns to the refrigerator.
Break the shell into smaller chunks. Add these to the pan and fry for a few minutes until red. Add a small splash of Cognac or Armagnac and flambé. Never do this when using the exhaust or range hood. Add one garlic glove, water, the quartered cherry tomato, the bouquet garni and the saffron. Stir well, cover the pan and let rest on low heat for 30 minutes.
Remove the bouquet and the shells from the pan and using a spoon and a sieve squeeze the juices from the bouquet and the shells, then discard. Blender the mixture and pass through a sieve. Taste the mixture, add pepper if so required. Leave for another 30 minutes on very low heat, allowing for the flavors to integrate and for the liquid to reduce.
Dry the prawns and fry them in a skillet in oil (depending on the size maximum 4 minutes in total) on both sides and on the back. Use warm plates, and serve the prawn on top of the sauce. Touch of black pepper on the prawn is fine. Enjoy with crusted bread.

Kimchi Soup

Kimchi Soup

A very tasty soup, nice as a starter to your Korean evening or as a quick and nourishing lunch. Kimchi soup can be made with pork belly or with tofu. We prefer the vegetarian option.
It’s not difficult to prepare kimchi from scratch (see below) but you can also buy kimchi from your local Korean shop.

Here is what you need (soup)

  • Kimchi
  • Onion
  • Garlic clove
  • Spring onion
  • Soybean paste (Korean Doenjang or Japanese Miso)
  • Red chili paste (Korean Gochujang)
  • Fish sauce
  • Tofu

Start by chopping the onion, the garlic and the spring onion. Keep some spring onion for decoration. Fry the garlic and onions in some oil. Add the soybean paste, the red chili paste and the chopped kimchi. Stir fry the mixture because this will enhance the flavours. Add water and leave for 15 minutes. Taste the soup and add fish sauce, soybean paste or red chili paste to your taste. Leave to simmer for another 15 minutes. Then add chunks of tofu and allow to simmer for another 5 minutes. Decorate with spring onion.

Kimchi background

Hipster food or the traditional Korean way of preserving cabbage? The latter of course. But we must admit, all the foodie-talk about Kimchi inspired us to join a workshop at Mediamatic in Amsterdam. Marrit Kuyng Ok Schakel ran an excellent workshop and not only did she share her passion for Korean food and Kimchi, she also showed us how to make our own Kimchi using white cabbage.

Making Kimchi is all about fermentation: a controlled biological process to change ingredients into food that can be preserved. Fermentation is at the heart of our food production. Beer, cheese, wine, bread, yoghurt, tea, coffee, classic Dutch haring et cetera: fermentation is an essential aspect.


Here is what you need (kimchi)

  • Chinese Cabbage
  • Salt
  • Garlic
  • Ginger
  • Red chili paste (Korean Gochujang)
  • Fish sauce
  • Spring Onion

The quickest way to make kimchi is by thinly slicing the cabbage, add salt, grated ginger, sliced garlic, red chili paste and fish sauce. The preparation is simple: just mix with your hands (do so for 5 minutes) store in a jar and wait for 5 – 10 days. The fermentation will produce some carbon dioxide so make sure to open the jar on a daily basis. The smell could be rather powerful in the beginning. In this case the amount of salt required depends on how much fish sauce was used. We suggest tasting the mixture and expect between 1% and 2%.

The better way to make kimchi? Slice the cabbage, starting at the bottom, but not completely. Tear the halves apart. Leave the cabbage in water with salt (5% is recommended) for 1-2 hours. Remove the cabbage, wash with cold water and taste if not too salty. If so, wah a bit more. Make a mixture of red chili paste, fish sauce, garlic and ginger. Using your hands, gently work the paste into the cabbage until all leaves are thoroughly coated. Move to a jar and leave to ferment

Also try making kimchi with Daikon, White Cabbage or Pak Choi. We will continue the experiment by using chicory.